2015 Alfa Romeo Giulietta service
[x] Cancel search: servicePage 1 of 288

OWNER HANDBOOK
Alfa Services
ENGLISH
Cop Alfa Giulietta EN QUAD 12/03/14 08.33 Pagina 1
Page 2 of 288

We really know your car because we invented, designed and built it: we re\
ally know every single detail. At Alfa Romeo Service authorised workshops you can find technicians directly trained by us,
offering quality and professionalism for all service operations.
Alfa Romeo workshops are always close to you for the regular servicing operations, season checks and practical recommendations by our experts.
With Alfa Romeo Genuine Parts you keep the reliability, comfort and performance features of your new car unchanged in time: that's why you bought it for.
Always ask for Genuine Parts for the components used on our cars; we rec\
ommend them because
they come from our steady commitment in research and development of high\
ly innovative technologies. For all these reasons: rely on Genuine Parts, because they are the only ones designed by Alfa Romeo for your car.
SAFETY:
BRAKING SYSTEMENVIRONMENT: PARTICULATE FILTERS, CLIMATE CONTROL MAINTENANCECOMFORT: SUSPENSION
AND WINDSCREEN WIPERS PERFORMANCE: SPARK PLUGS, INJECTORS AND BATTERIESLINEACCESSORI
ROOF RACK BARS, WHEEL RIMS
WHY CHOOSING GENUINE PARTS
Cop Alfa Giulietta EN QUAD 12/03/14 08.33 Pagina 2
Page 5 of 288

Dear Customer,
We would like to congratulate and thank you for choosing an Alfa Romeo. We have written this handbook to help you get to know all the
features of your car and use it in the best possible way. You should read it right through before taking to the road for the first time.
Here you will find information, advice and important warnings regarding use of your car and how to achieve the best performance from the
technological features of your Alfa Romeo. It also provides a description of special features and essential information for the care and
maintenance of your Alfa Romeo over time as well as for safe driving.
We urge you to read the warnings and indications found throughout the text with care, marked with the following symbols:
personal safety;
car safety;
environmental protection.
NOTE These symbols, when necessary, are indicated at the end of each paragraph and are followed by a number. This number
recalls the corresponding warning at the end of the relevant section.
In the attached Warranty Booklet you will also find a description of the Services that Alfa Romeo offers to its customers, the Warranty
Certificate and the detail of the terms and conditions for maintaining its validity.
We are sure that these will help you to get in touch with and appreciate your new car and the service provided by the people at Alfa Romeo.
Enjoy reading and happy motoring!
This Owner Handbook describes all versions of the Alfa Giulietta; please consider only the information relevant to your
car’s trim level, engine and version. All data contained in this publication is purely indicative. FCA Italy S.p.A. can
modify the specifications of the vehicle model described in this publication at any time, for technical or marketing
purposes. For further information, contact an Alfa Romeo Dealership.
Page 80 of 288

ACCESSORIES
PURCHASED BY THE
OWNER
If after purchasing the car, you decide
to install electrical accessories that
require a permanent electric supply
(radio, satellite anti-theft system, etc.) or
accessories that in any case burden
the electric supply, contact an Alfa
Romeo Dealership, whose qualified
personnel, besides suggesting the
most suitable devices from
Lineaccessori Alfa Romeo, will also
check whether the car's electrical
system is able to withstand the load
required, or whether it needs to be
integrated with a more powerful battery.
58)
INSTALLING ELECTRICAL
ELECTRONIC DEVICES
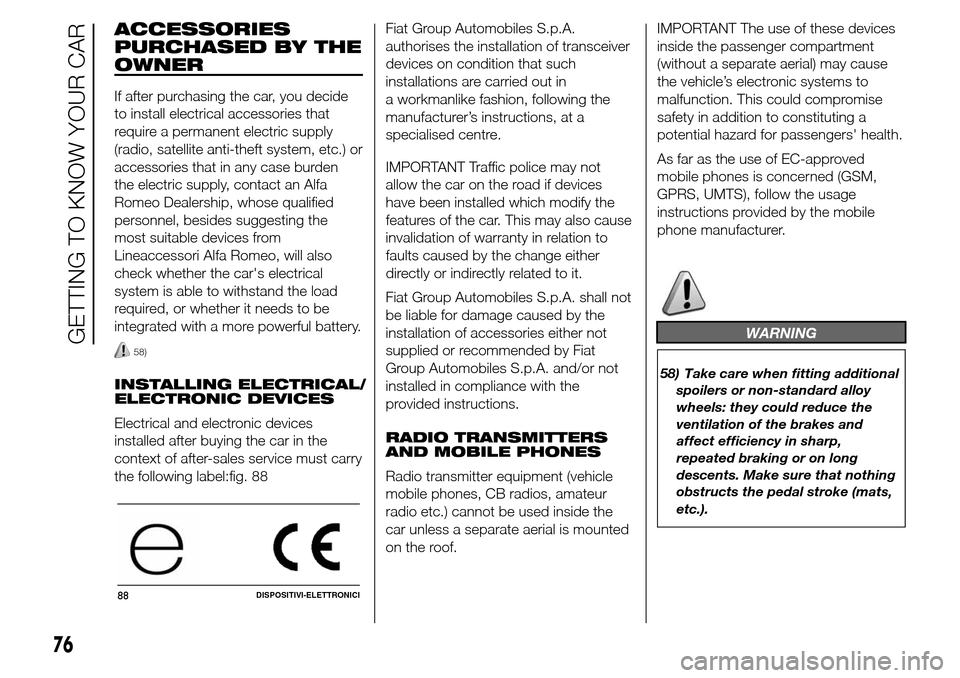
Electrical and electronic devices
installed after buying the car in the
context of after-sales service must carry
the following label:fig. 88Fiat Group Automobiles S.p.A.
authorises the installation of transceiver
devices on condition that such
installations are carried out in
a workmanlike fashion, following the
manufacturer’s instructions, at a
specialised centre.
IMPORTANT Traffic police may not
allow the car on the road if devices
have been installed which modify the
features of the car. This may also cause
invalidation of warranty in relation to
faults caused by the change either
directly or indirectly related to it.
Fiat Group Automobiles S.p.A. shall not
be liable for damage caused by the
installation of accessories either not
supplied or recommended by Fiat
Group Automobiles S.p.A. and/or not
installed in compliance with the
provided instructions.
RADIO TRANSMITTERS
AND MOBILE PHONES
Radio transmitter equipment (vehicle
mobile phones, CB radios, amateur
radio etc.) cannot be used inside the
car unless a separate aerial is mounted
on the roof.IMPORTANT The use of these devices
inside the passenger compartment
(without a separate aerial) may cause
the vehicle’s electronic systems to
malfunction. This could compromise
safety in addition to constituting a
potential hazard for passengers' health.
As far as the use of EC-approved
mobile phones is concerned (GSM,
GPRS, UMTS), follow the usage
instructions provided by the mobile
phone manufacturer.
WARNING
58) Take care when fitting additional
spoilers or non-standard alloy
wheels: they could reduce the
ventilation of the brakes and
affect efficiency in sharp,
repeated braking or on long
descents. Make sure that nothing
obstructs the pedal stroke (mats,
etc.).
88DISPOSITIVI-ELETTRONICI
76
GETTING TO KNOW YOUR CAR
/
Page 90 of 288

SET/: press briefly to access the
menu and/or go to next screen or
confirm the selection. Hold down to go
back to the standard screen.
: to scroll down through the
displayed menu and the related options
or to decrease the value displayed.
IMPORTANT The
and
buttons activate different
functions according to the following
situations:
❒within the menu, they allow you to
scroll up and down through the
options;
❒during settings operations, they
increase or decrease values.
SETUP MENU
The menu comprises a series of
options which can be selected using
the
andbuttons to access
the different selection and setting
(Setup) operations indicated below.
Some options have a submenu. The
menu can be activated by briefly
pressing the SET/
button.
The menu comprises the following
options:
❒MENU
❒LIGHTING❒SPEED BEEP
❒LIGHT SENSOR (for versions/
markets where provided)
❒RAIN SENSOR (for versions/markets,
where provided)
❒TRIP B ACTIVATION/DATA
❒SET TIME
❒SET DATE
❒FIRST PAGE (for versions/markets
where provided)
❒AUTOCLOSE
❒MEASUREMENT UNIT
❒LANGUAGE
❒BUZZER VOLUME
❒SEAT BELT BEEP/BUZZ
❒SERVICE
❒AIRBAG/PASSENGER BAG
❒DAYTIME RUNNING LIGHTS
❒ADAPTIVE LIGHTS (for versions/
markets, where provided)
❒COURTESY LIGHTS
❒MENU EXIT
NoteOn cars equipped with radio
navigator systems (for versions/
markets, where provided), some menu
items are shown on the navigator
display.Selecting an option from
the main menu without a
submenu:
❒press the SET/
button briefly to
select the main menu setting you
wish to change;
❒press buttons
or(with
single presses) to select the new
setting;
❒press the SET/
button briefly to
save the new setting and go back to
the previous main menu option.
Selecting an option from
the main menu with a
submenu:
❒briefly press the SET/
button to
display the first submenu option;
❒press buttons
or(with
single presses) to scroll through all
the submenu options;
❒briefly press the SET/
button to
select the displayed submenu option
and to open the relevant settings
menu;
❒press buttons
or(with
single presses) to select the new
setting for this submenu option;
❒press the SET/
button briefly to
save the new setting and go back to
the previous submenu option.
86
KNOWING THE INSTRUMENT PANEL
Page 95 of 288

Warnings volume
(Adjusting the
alert/warning acoustic
signal volume)
With this function it is possible to adjust
(to eight levels) the volume of the
acoustic signal which sounds in the
event of alerts and warning.
To set the desired volume proceed as
follows:
❒press the SET/
button briefly,
making the display flash the
previously set volume "level";
❒press the
orbutton to
make the adjustment;
❒briefly press the SET/
button to
go back to the menu screen or hold
the button down to go back to the
standard screen without saving.
Belt reminder
(Reactivation of SBR
buzzer)
(for versions/markets, where provided)
This function can be displayed only
after an Alfa Romeo Dealership has
deactivated the SBR system (see
paragraph “SBR system” in the “Safety”
chapter).To reactivate this function, proceed as
follows:
❒press the SET/
button briefly, the
display shows "OFF" flashing. Press
the
orbutton and "On"
will appear;
❒briefly press the SET/
button to
go back to the previous screen or
hold the button down to go back to
the standard screen without saving.
Service (Scheduled
servicing)
This function allows you to display the
information about km/mileage intervals
or, for versions/markets, where
provided, time intervals for car
servicing.
To consult this information, proceed as
follows:
❒briefly press the SET/
button: the
display shows when servicing is due
in km/mi or days (where provided)
or mi or days (where provided)
according to the previous setting (see
paragraph "Units of measurement");
❒briefly press the SET/
button to
go back to the menu screen or hold
the button down to go back to the
standard screen.IMPORTANT The “Scheduled Servicing
Plan” includes car maintenance at
fixed intervals (refer to the "Maintenance
and care" chapter). This is displayed
automatically, with ignition key at
MAR-ON, 2000 km (or equivalent value
in miles) before servicing or, where
provided, 30 days before servicing. It is
also displayed each time the key is
turned to MAR-ON or, for
versions/markets, where provided,
every 200 km (or equivalent value in
miles). Below this threshold servicing
indications are more frequent. The
display will be in km or miles according
to the unit of measurement set. When
the next scheduled service is
approaching, the word “Service” will
appear on the display, followed by the
number of kilometres/miles or days
(where provided) left, when the key is
turned to MAR-ON. Go to an Alfa
Romeo Dealership, where the
“Scheduled Servicing Plan” operations
will be performed and the message
will be reset.
When the service interval is reached
and for about 1000 km/600 mi or
30 days, a service due message is
displayed.
91
Page 172 of 288

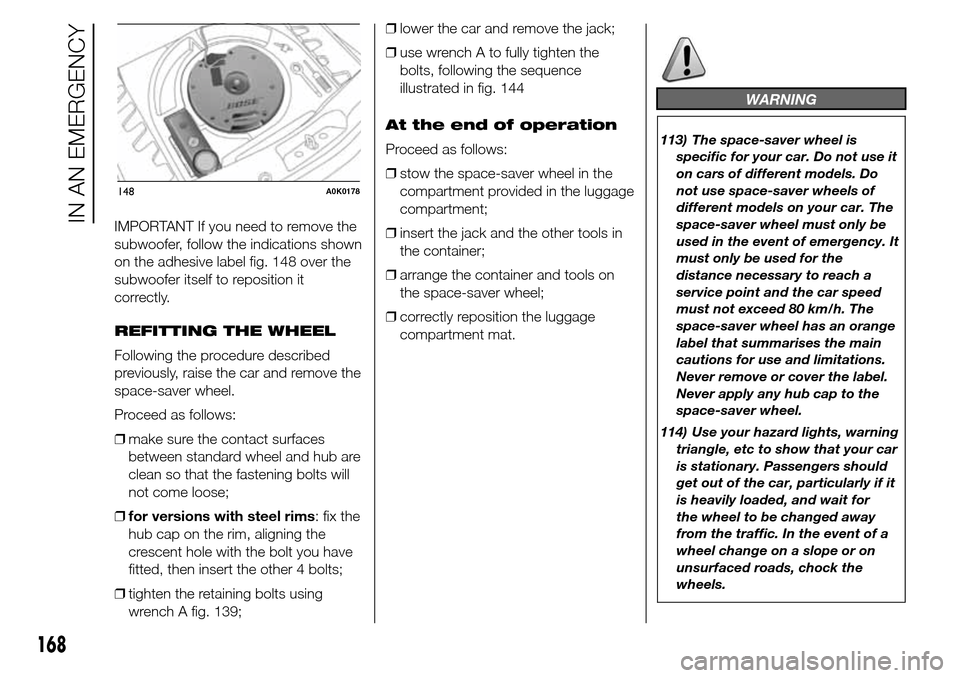
IMPORTANT If you need to remove the
subwoofer, follow the indications shown
on the adhesive label fig. 148 over the
subwoofer itself to reposition it
correctly.
REFITTING THE WHEEL
Following the procedure described
previously, raise the car and remove the
space-saver wheel.
Proceed as follows:
❒make sure the contact surfaces
between standard wheel and hub are
clean so that the fastening bolts will
not come loose;
❒for versions with steel rims: fix the
hub cap on the rim, aligning the
crescent hole with the bolt you have
fitted, then insert the other 4 bolts;
❒tighten the retaining bolts using
wrench A fig. 139;❒lower the car and remove the jack;
❒use wrench A to fully tighten the
bolts, following the sequence
illustrated in fig. 144
At the end of operation
Proceed as follows:
❒stow the space-saver wheel in the
compartment provided in the luggage
compartment;
❒insert the jack and the other tools in
the container;
❒arrange the container and tools on
the space-saver wheel;
❒correctly reposition the luggage
compartment mat.
WARNING
113) The space-saver wheel is
specific for your car. Do not use it
on cars of different models. Do
not use space-saver wheels of
different models on your car. The
space-saver wheel must only be
used in the event of emergency. It
must only be used for the
distance necessary to reach a
service point and the car speed
must not exceed 80 km/h. The
space-saver wheel has an orange
label that summarises the main
cautions for use and limitations.
Never remove or cover the label.
Never apply any hub cap to the
space-saver wheel.
114) Use your hazard lights, warning
triangle, etc to show that your car
is stationary. Passengers should
get out of the car, particularly if it
is heavily loaded, and wait for
the wheel to be changed away
from the traffic. In the event of a
wheel change on a slope or on
unsurfaced roads, chock the
wheels.
148A0K0178
168
IN AN EMERGENCY
Page 176 of 288

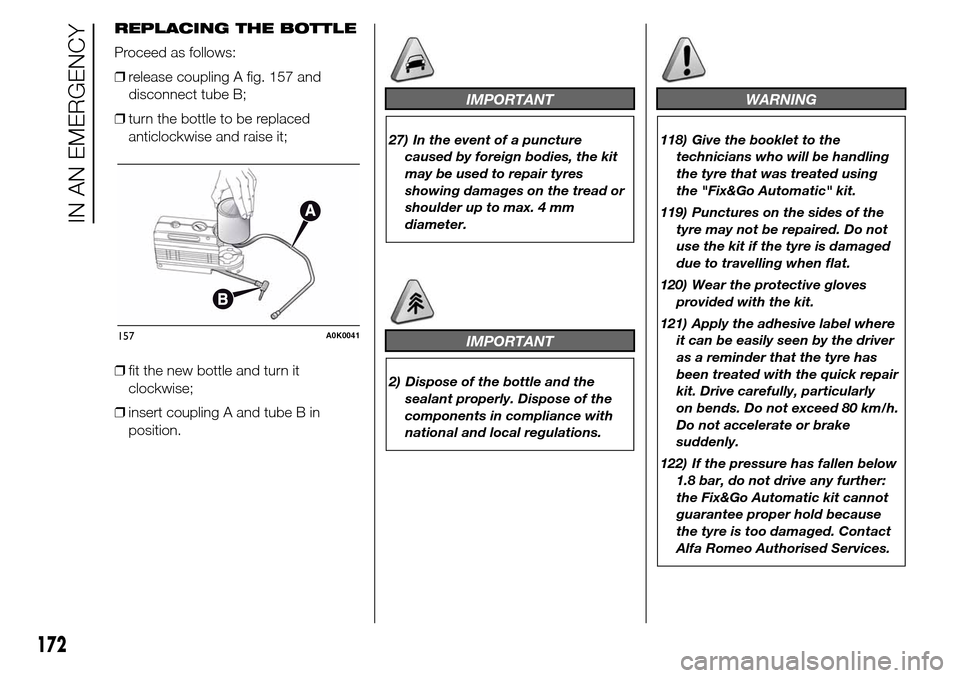
REPLACING THE BOTTLE
Proceed as follows:
❒release coupling A fig. 157 and
disconnect tube B;
❒turn the bottle to be replaced
anticlockwise and raise it;
❒fit the new bottle and turn it
clockwise;
❒insert coupling A and tube B in
position.
IMPORTANT
27) In the event of a puncture
caused by foreign bodies, the kit
may be used to repair tyres
showing damages on the tread or
shoulder up to max. 4 mm
diameter.
IMPORTANT
2) Dispose of the bottle and the
sealant properly. Dispose of the
components in compliance with
national and local regulations.
WARNING
118) Give the booklet to the
technicians who will be handling
the tyre that was treated using
the "Fix&Go Automatic" kit.
119) Punctures on the sides of the
tyre may not be repaired. Do not
use the kit if the tyre is damaged
due to travelling when flat.
120) Wear the protective gloves
provided with the kit.
121) Apply the adhesive label where
it can be easily seen by the driver
as a reminder that the tyre has
been treated with the quick repair
kit. Drive carefully, particularly
on bends. Do not exceed 80 km/h.
Do not accelerate or brake
suddenly.
122) If the pressure has fallen below
1.8 bar, do not drive any further:
the Fix&Go Automatic kit cannot
guarantee proper hold because
the tyre is too damaged. Contact
Alfa Romeo Authorised Services.
157A0K0041
172
IN AN EMERGENCY