Page 116 of 545

115
uuIndicators uMulti-Information Display Warning and Information Messages
Continued
Instrument Panel
Message
Condition
Explanation
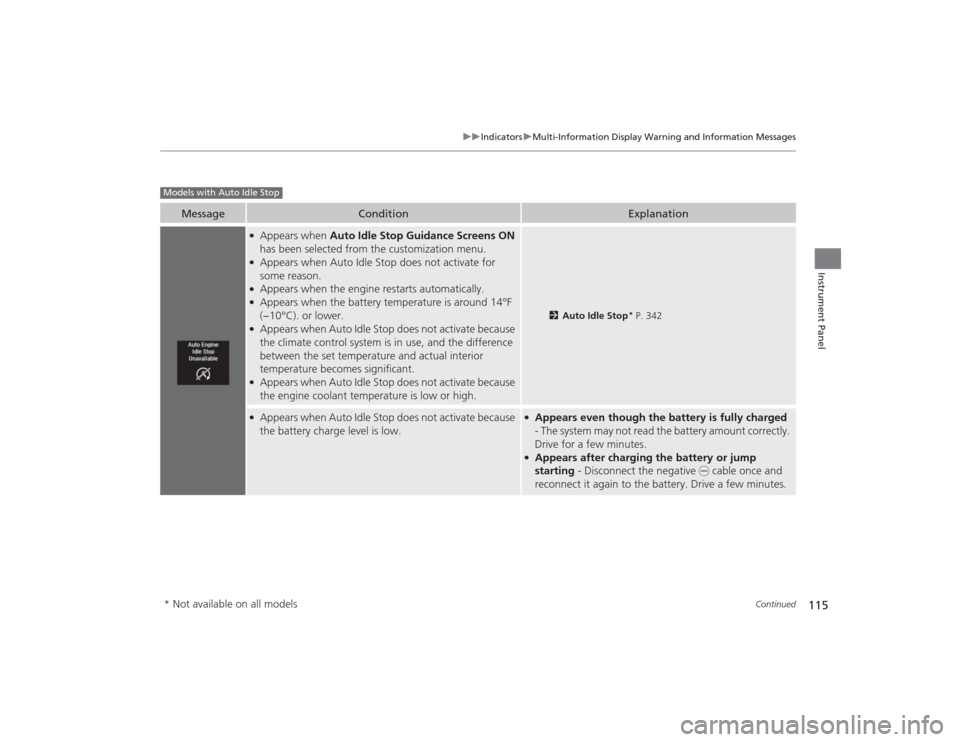
●Appears when Auto Idle Stop Guidance Screens ON
has been selected from the customization menu.●Appears when Auto Idle Stop does not activate for
some reason.●Appears when the engine restarts automatically.●Appears when the battery temperature is around 14°F
(−10°C). or lower.●Appears when Auto Idle Stop does not activate because
the climate control system is in use, and the difference
between the set temperature and actual interior
temperature becomes significant.●Appears when Auto Idle Stop does not activate because
the engine coolant temperature is low or high.
2 Auto Idle Stop
* P. 342
●Appears when Auto Idle Stop does not activate because
the battery charge level is low.
●Appears even though the battery is fully charged
- The system may not read the battery amount correctly.
Drive for a few minutes.●Appears after charging the battery or jump
starting - Disconnect the negative - cable once and
reconnect it again to the battery. Drive a few minutes.
Models with Auto Idle Stop* Not available on all models
Page 466 of 545

465Maintenance
BatteryChecking the BatteryThe battery condition is being monitored by the sensor on the negative terminal. If
there is a problem with the sensor, the warning message on multi-information
display will let you know. Have your vehicle checked by a dealer.
If your vehicle’s battery is disconnected or goes dead:
• The audio system is disabled.
2 Reactivating the audio system P. 213
•The clock resets.
2 Clock P. 138
•The navigation system
* is disabled.
2 Refer to the Navigation System Manual
Charging the Battery
*
Disconnect both battery cables to prevent damaging your vehicle’s electrical system.
Always disconnect the negative (–) cable first, and reconnect it last.
1 BatteryWARNING: Battery post, terminals,
and related accessori es contain lead
and lead compounds.
Wash your hands after handling.When you find corrosion, clean the battery terminals
by applying a baking powder and water solution.
Clean terminals with a damp towel. Cloth/towel dry
the battery. Coat the termina ls with grease to help
prevent future corrosion.
When replacing the battery, the replacement must be
of the same specifications.
Please consult a dealer for more information.
3
WARNING
The battery gives off explosive hydrogen
gas during normal operation.
A spark or flame can cause the battery to
explode with enough force to kill or
seriously hurt you.
When conducting any battery
maintenance, wear protective clothing and
a face shield, or have a skilled technician do
it.
* Not available on all models
Page 499 of 545
498Handling the Unexpected
Jump StartingTurn off the power to electric devices, such as audio and lights. Turn off the engine,
then open the hood.1.Pull up on the engine cover, remove it from
the pins.
2. Open the battery terminal cover.■
Jump Starting Procedure
1Jump Starting
Securely attach the jumper cable clips so that they do
not come off when the engine vibrates. Also be
careful not to tangle the jumper cables or allow the
cable ends to touch each other while attaching or
detaching the jumper cables.
Battery performance degrades in cold conditions and
may prevent the engine from starting.
3
WARNING
A battery can explode if you do not follow
the correct procedure, seriously injuring
anyone nearby.
Keep all sparks, open flames, and smoking
materials away from the battery.
6-cylinder models
Engine Cover
Pin
6-cylinder models
6-cylinder models
Battery
Terminal Cover
Page 500 of 545
499
uuJump Starting u
Continued
Handling the Unexpected
3.Connect the first jumper cable to your
vehicle’s battery + terminal.
4. Connect the other end of the first jumper
cable to the booster battery + terminal.
u Use a 12-volt booster battery only.
u When using an automotive battery
charger to boost your 12-volt battery,
select a lower charging voltage than 15-
volt. Check the charger manual for the
proper setting.
5. Connect the second jumper cable to the
booster battery - terminal.
Booster Battery4-cylinder models
All models
6-cylinder modelsBooster Battery
Page 502 of 545
501
uuJump Starting u
Handling the Unexpected
Once your vehicle’s engine has started, remove the jumper cables in the following
order.
1.Disconnect the jumper cable from your vehicle’s ground.
2. Disconnect the other end of the jumper cable from the booster battery -
terminal.
3. Disconnect the jumper cable from your vehicle’s battery + terminal.
4. Disconnect the other end of the jumper cable from the booster battery +
terminal.
Have your vehicle inspected by a nearby service station or a dealer.■
What to Do After the Engine Starts