Page 106 of 341
105
Entering a DestinationPlace Phone Number
Navigation
Place Phone Number
HMENU button More Search Methods Place Phone Number
Select a destination by phone number. On ly phone numbers in the database are
recognized.
1.Enter the area code and phone
number.
2. Rotate i to select OK. Press u.
3. Set the route to your destination.
2 Calculating the Route P. 112
1Place Phone Number
All 10 digits must be entered.
Phone numbers of private residences entered in
your address book are not stored in the database
and thus cannot be used to search for a
destination.
A list is displayed if there are multiple locations in
the database with the same phone number.
Rotate i to select a place from the list. Press
u .
Page 113 of 341

112
Navigation
Calculating the Route
This section describes how to calculate your route.1.Rotate i to select Set as
Destination . Press u.
The system calculates and
displays the route line on the
map screen.
2Route Line P. 116
Move w to scroll the map
around the destination.
The following options are available:
• View Routes : Displays three different routes.
2Viewing the Routes P. 113
• Route Preference : Move r to select Route Preference to change the route
preferences (calculating method).
2 Route Preference P. 54
2.Follow the route guidance to your
destination.
2 Driving to Your Destination
P. 114
The system provides you with
pop-up messages if your route
passes through unverified areas,
avoid areas, or areas with traffic
restrictions.
1Calculating the Route
The straight line distance (as the crow flies, not
driving distance) and dire ction to the destination
are shown.
You cannot use voice commands while the
system is calculating the route.
Search Nearby
You can find the nearest place/landmark (e.g.,
nearest gas station) by specifying a category.
2 Find Nearest Place P. 135
Call
You can place a telephone ca ll to the destination
phone number.
2 Bluetooth ® HandsFreeLink® P. 208
Save to Address Book
You can add the destination address to the
address book.
2 Adding an Address Book Entry P. 39
Edit/Delete Entry
You can edit or delete the address book entry.
2 Editing an Address Book Entry P. 41
Edit Home Entry
You can edit your home address entry.
2 Home Address P. 46
More Info
You can view detailed information about the
destination.
Page 139 of 341

138
Navigation
Resuming Your Trip
Stop your vehicle en route (e.g., to rest, stop for gas, etc.), and then continue on
your route.
If you did not complete your route, the Continue Trip screen is displayed when you
restart your vehicle.
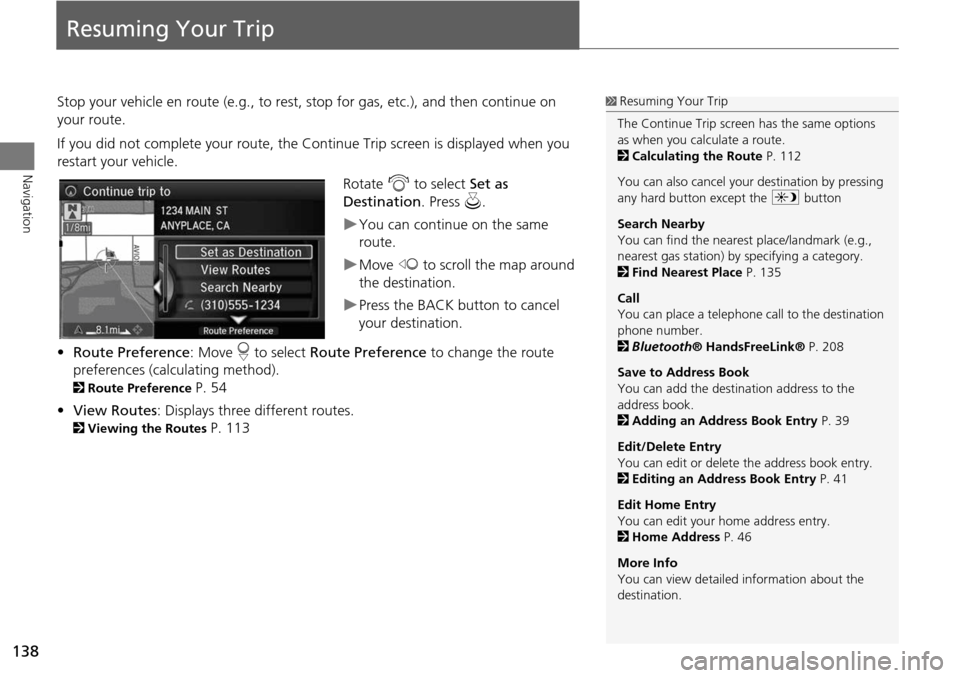
Rotate i to select Set as
Destination . Press u.
You can continue on the same
route.
Move w to scroll the map around
the destination.
Press the BACK button to cancel
your destination.
• Route Preference : Move r to select Route Preference to change the route
preferences (calculating method).
2 Route Preference P. 54
• View Routes : Displays three different routes.
2Viewing the Routes P. 113
1Resuming Your Trip
The Continue Trip screen has the same options
as when you calculate a route.
2 Calculating the Route P. 112
You can also cancel your destination by pressing
any hard button except the a button
Search Nearby
You can find the nearest place/landmark (e.g.,
nearest gas station) by specifying a category.
2 Find Nearest Place P. 135
Call
You can place a telephone ca ll to the destination
phone number.
2 Bluetooth ® HandsFreeLink® P. 208
Save to Address Book
You can add the destination address to the
address book.
2 Adding an Address Book Entry P. 39
Edit/Delete Entry
You can edit or delete the address book entry.
2 Editing an Address Book Entry P. 41
Edit Home Entry
You can edit your home address entry.
2 Home Address P. 46
More Info
You can view detailed information about the
destination.
Page 141 of 341

140
Audio
Audio System
About Your Audio System
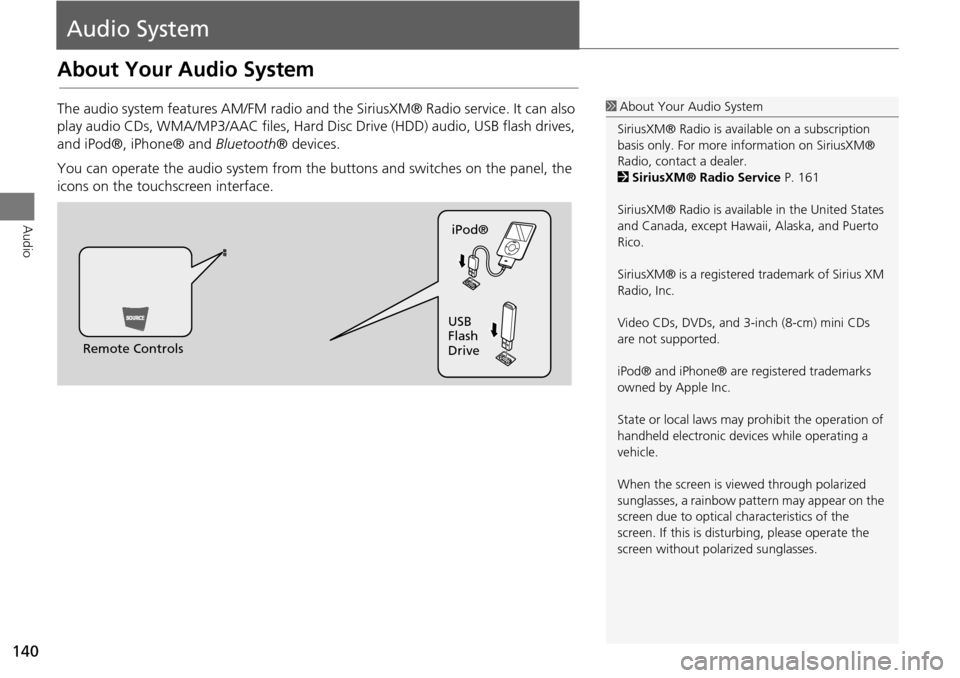
The audio system features AM/FM radio and the SiriusXM® Radio service. It can also
play audio CDs, WMA/MP3/AAC fi les, Hard Disc Drive (HDD) audio, USB flash drives,
and iPod®, iPhone® and Bluetooth® devices.
You can operate the audio system from the buttons and switches on the panel, the
icons on the touchscreen interface.1 About Your Audio System
SiriusXM® Radio is avai lable on a subscription
basis only. For more information on SiriusXM®
Radio, contact a dealer.
2 SiriusXM® Radio Service P. 161
SiriusXM® Radio is available in the United States
and Canada, except Hawa ii, Alaska, and Puerto
Rico.
SiriusXM® is a registered trademark of Sirius XM
Radio, Inc.
Video CDs, DVDs, and 3-inch (8-cm) mini CDs
are not supported.
iPod® and iPhone® are registered trademarks
owned by Apple Inc.
State or local laws may prohibit the operation of
handheld electronic devices while operating a
vehicle.
When the screen is vi ewed through polarized
sunglasses, a rainbow pattern may appear on the
screen due to optical characteristics of the
screen. If this is distur bing, please operate the
screen without polarized sunglasses.
Remote Controls iPod®
USB
Flash
Drive
Page 142 of 341
141
Audio SystemUSB Port
Audio
USB Port
Install the iPod® or iPhone® dock
connector or the USB flash drive to
the USB port.1 USB Port
• Do not leave the iPod® or USB flash drive in
the vehicle. Direct sunlight and high
temperatures may damage it.
• Do not connect the iPod® or USB flash drive
using a hub.
• Do not use a device such as a card reader or
hard disk drive, as the device or your files may
be damaged.
• We recommend backing up your data before
using the device in your vehicle.
• Displayed messages may vary depending on
the device model a nd software version.
If the audio system does not recognize the
iPod®, try reconnecting it a few times or reboot
the device. To reboot, fo llow the manufacturer’s
instructions provided wi th the iPod® or visit
www.apple.com/ipod.
Page 153 of 341
152
Playing FM/AM RadioAudio Screen Control
Audio
Select b or n to tune the radio
frequency.
Select c or x to search up and
down the selected band for a station
with a strong signal.
Select Presets to listen a preset
station.
Select and hold the preset number
you want to store that station.
Select More to display the menu
item.
2 Audio Menu P. 153
Select TAG to tag the song if it is
played on an HD RadioTM station.
The iPod®/ iPhone® should be
connected to the audio system to
store the tagged song information
on your device.
On Demand Multi-Use DisplayTM
Page 155 of 341

154
Playing FM/AM RadioAudio Menu
Audio
•Radio Text : Displays the text information br oadcast by the current RDS station.
• Tag Song : Displays the TAG information save d to the audio system when an HD
Radio
TM station is selected.
• Tagged Song List : You can store the TAG information in the connected iPod®/
iPhone®. If the iPod®/iPhone® is not connected to the audio system, the
information is stored in the audio unit temporarily, then once the device is
connected to the system, data is transferred to the iPod®/iPhone®.
• Tune/Seek : Tunes the radio to the frequency you select. Rotate i to select a
frequency, then Move u.
• HD subchannel : Displays the subchannel list when an HD Radio
TM station is
selected.
1 Audio Menu
iTunes Tagging
“iTunes” in “iTunes Ta gging” is a trademark of
Apple Inc.
When an HD Radio
TM station is selected, the HD
indicator appears on the Navigation screen and
On Demand Multi-Use Display
TM.
If you want to have the information on the song
played from the HD Radio
TM station, select TAG
in On Demand Multi-Use DisplayTM or select Tag
Song in the menu with Interface dial.
If iPod®/iPhone® is co nnected, the tag is
transferred to the connect ed device immediately,
otherwise the tag will be transferred when the
device will be connected and select Tag Song in
the menu with Interface dial.
Page 182 of 341

181
Audio
Playing an iPod®
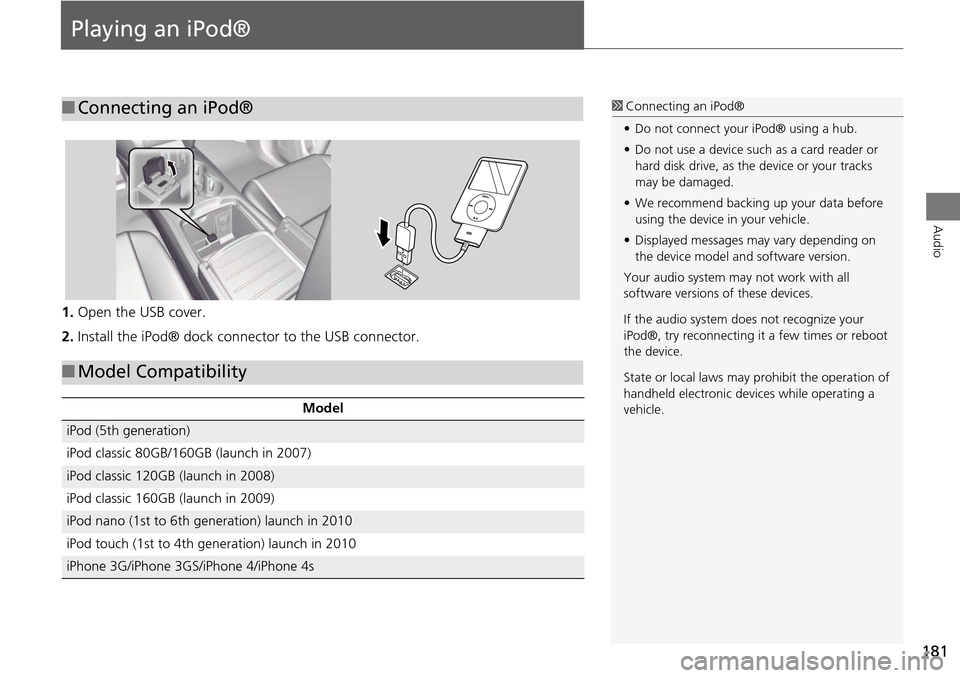
1.Open the USB cover.
2. Install the iPod® dock connector to the USB connector.
■Connecting an iPod®1 Connecting an iPod®
• Do not connect your iPod® using a hub.
• Do not use a device such as a card reader or
hard disk drive, as the device or your tracks
may be damaged.
• We recommend backing up your data before
using the device in your vehicle.
• Displayed messages ma y vary depending on
the device model a nd software version.
Your audio system ma y not work with all
software versions of these devices.
If the audio system does not recognize your
iPod®, try reconnecting it a few times or reboot
the device.
State or local laws may prohibit the operation of
handheld electronic devi ces while operating a
vehicle.
■ Model Compatibility
Model
iPod (5th generation)
iPod classic 80GB/160GB (launch in 2007)
iPod classic 120GB (launch in 2008)
iPod classic 160GB (launch in 2009)
iPod nano (1st to 6th generation) launch in 2010
iPod touch (1st to 4th generation) launch in 2010
iPhone 3G/iPhone 3GS/iPhone 4/iPhone 4s