Page 39 of 400

37
This allows manual adjustment of the
brightness of the instruments and controls
when driving at night.
Lighting dimmer
When the lighting is on:
F p ress this button to adjust the brightness of
the instruments and controls,
F
w
hen the level of brightness required is
reached, release this button.
The setting is memorised when switching off
the ignition.
Pressing this button does not have any
effect when the exterior lighting is off.
The total and trip distances are displayed for thirty seconds when the ignition is switched off, when
the driver's door is opened and when the vehicle is locked or unlocked.
distance recorders
Total distance recorder
It measures the total distance travelled by the
vehicle since its first registration.
When travelling abroad, you may
have to change the units of distance:
the display of road speed must be in
the official units (miles or km) for the
country. The change of units is done via
the screen configuration menu, with the
vehicle stationary.
Trip distance recorder
It measures the distance travelled since it was
reset to zero by the driver.
F
W
ith the ignition on, press the button until
zeros appear.
Monitoring
Page 40 of 400

This allows some of the instrument panel
displays, as well as the touch screen, to be
switched off when driving at night, so as to
reduce visual fatigue for the driver.
The essential driving information, such as
the vehicle speed, warning lamps, the gear
engaged for an automatic gearbox, cruise
control or speed limiter, remains displayed in
the instrument panel.
Black panel (comfortable
night display) with the
touch screen
Clock
The analogue clock does not have an
adjustment button.
To set the time, refer to the section relating to
the screen (audio system) configuration menu.
The clock is synchronised with the screen time;
once the the setting has been confirmed in the
screen, the hands will turn to synchronise with
the screen, as well as every time the ignition is
switched on.
F
W
ith the exterior lighting on,
press this button to activate the
function.
Touch screen
You can return to the current display
at any time by by pressing the blank
screen or one of the menu buttons.
In automatic illumination of headlamps
mode, the "Black panel" function is
automatically deactivated once the
ambient light reaches an adequate
level.
F
P
ress this button again or press the
instrument panel lighting dimmer button to
deactivate the function.
Page 42 of 400

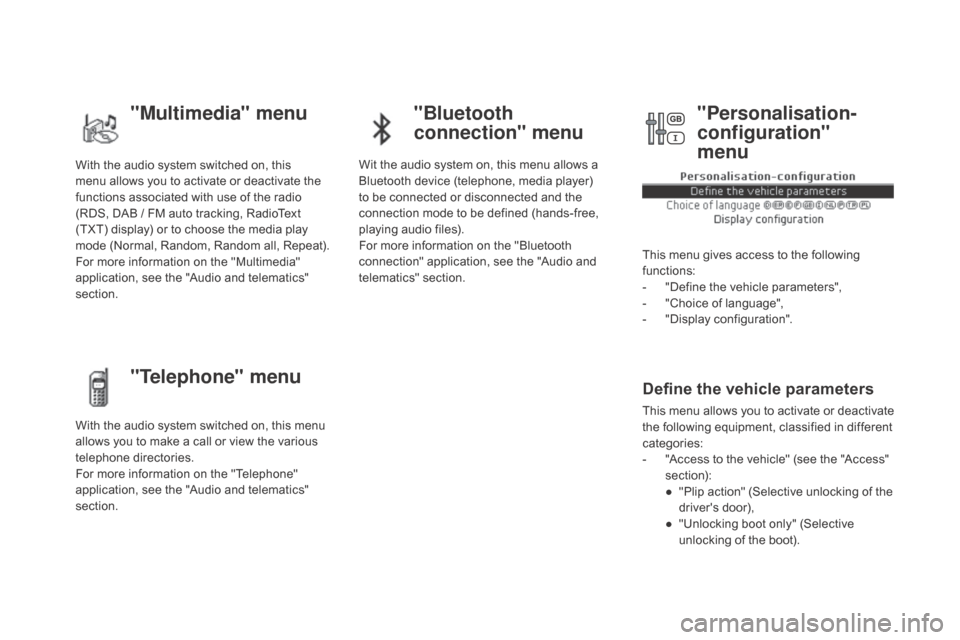
With the audio system switched on, this
menu allows you to activate or deactivate the
functions associated with use of the radio
(RDS, DAB / FM auto tracking, RadioText
(TXT) display) or to choose the media play
mode (Normal, Random, Random all, Repeat).
For more information on the "Multimedia"
application, see the "Audio and telematics"
section.
With the audio system switched on, this menu
allows you to make a call or view the various
telephone directories.
For more information on the "Telephone"
application, see the "Audio and telematics"
section. Wit the audio system on, this menu allows a
Bluetooth device (telephone, media player)
to be connected or disconnected and the
connection mode to be defined (hands-free,
playing audio files).
For more information on the "Bluetooth
connection" application, see the "Audio and
telematics" section.
This menu gives access to the following
functions:
-
"
Define the vehicle parameters",
-
"
Choice of language",
-
"
Display configuration".
Define the vehicle parameters
This menu allows you to activate or deactivate
the following equipment, classified in different
categories:
-
"
Access to the vehicle" (see the "Access"
section):
●
"
Plip action" (Selective unlocking of the
driver's door),
●
"
Unlocking boot only" (Selective
unlocking of the boot).
"Multimedia" menu "Bluetooth
connection" menu
"Telephone" menu "Personalisation-
configuration"
menu
Page 44 of 400

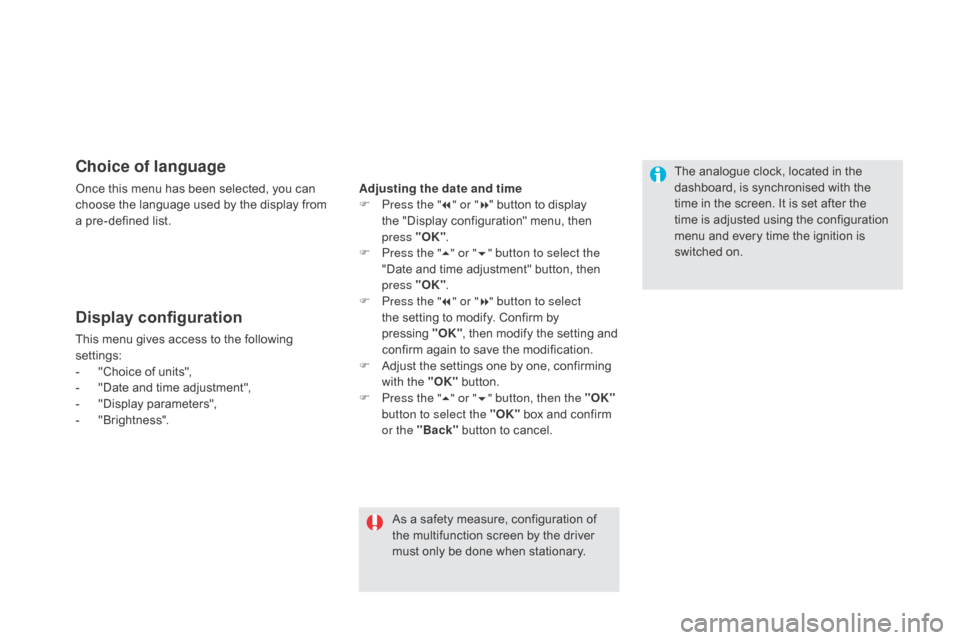
choice of language
Once this menu has been selected, you can
choose the language used by the display from
a pre-defined list.
Display configuration
This menu gives access to the following
settings:
-
"
Choice of units",
-
"
Date and time adjustment",
-
"
Display parameters",
-
"
Brightness".
As a safety measure, configuration of
the multifunction screen by the driver
must only be done when stationary.
Adjusting the date and time
F
P
ress the "
7" or " 8" button to display
the "Display configuration" menu, then
press "OK"
.
F
P
ress the "
5" or " 6" button to select the
"Date and time adjustment" button, then
press "OK" .
F
P
ress the "
7" or " 8" button to select
the setting to modify. Confirm by
pressing "O K"
, then modify the setting and
confirm again to save the modification.
F
A
djust the settings one by one, confirming
with the "OK" button.
F
P
ress the "5" or " 6" button, then the "OK"
button to select the "OK" box and confirm
or the "Back" button to cancel. The analogue clock, located in the
dashboard, is synchronised with the
time in the screen. It is set after the
time is adjusted using the configuration
menu and every time the ignition is
switched on.
Page 47 of 400

45
"driving" menu
The systems with settings that can be adjusted are detailed in the table below.Button
co
rresponding function
co
mments
Speed settings Memorisation of speeds for use with the speed limiter or cruise control.
Vehicle settings Access to other functions with settings that can be adjusted:
-
A
utomatic parking brake (Automatic electric parking brake; see the "Driving" section),
-
A
utomatic rear wiper in reverse (Activation of rear wiper coupled to reverse gear; see the
"Visibility" section).
-
G
uide-me-home lighting (Automatic guide me home lighting; see the " Visibility" section),
-
W
elcome lighting (Exterior welcome lighting; see the " Visibility" section),
-
M
ood lighting (Mood lighting; see the " Visibility" section),
-
A
daptive lighting (Main / additional directional lighting; see the " Visibility" section).
-
D
river plip action (Selective unlocking of the driver's door; see the "Access" section),
-
U
nlocking boot (Selective unlocking of the boot; see the "Access" section).
Stop & Star t Deactivation of the function.
Function deactivated = indicator lamp on (orange).
Monitoring
Page 54 of 400
Electronic key
remote control
Unlocking the vehicle
complete unlockingSelective unlocking
System which permits central unlocking or
locking of the vehicle using the lock or from a
distance. It is also used to locate and start the
vehicle, as well as providing protection against
theft. F
T
o unlock only the driver's door,
press the open padlock once.
Unlocking is confirmed by rapid flashing
of the direction indicators for around
two seconds.
At the same time, depending on
version, the door mirrors unfold. F
T
o unlock the other doors and
the boot, press the open padlock
again.
F
P
ress the open padlock to
completely unlock the vehicle.
This setting is done in the vehicle
configuration menu.
Complete unlocking is activated by
default.
Page 55 of 400

53
Selective boot unlocking Locking the vehicle
Locking is confirmed by fixed
illumination of the direction indicators
for approximately two seconds.
Depending on version, the door mirrors
fold at the same time.F
P
ress the closed padlock to fully
lock the vehicle.
F
H
old the button down until the
windows close completely.
F
P
ress this button until you hear
the boot unlock. The doors
remain locked.
Be particularly aware of children when
operating the windows. If one of the doors or the boot is not fully
closed, locking does not take place.
When the vehicle is locked, if it
is unlocked inadvertently, it will
automatically lock itself again after
about thirty seconds unless a door is
opened.
If the alarm was previously activated, it
will not be reactivated automatically.
If selective boot unlocking is
deactivated, pressing this button
unlocks the whole vehicle.
The selective boot unlocking function
is set in the vehicle configuration
menu.
By default, selective boot unlocking
is on.
Access
Page 56 of 400

Unlocking the vehicle
Keyless Entry and Starting
System that allows the unlocking, locking
and starting of the vehicle while keeping the
electronic key on your person.
complete unlocking
F With the electronic key on your person and in the recognition zone A , pass your hand
behind one of the door handles to unlock
the vehicle.
Your passengers can also open their doors, as
soon as the electronic key is in the recognition
zone.
Selective unlocking
F To unlock only the drivers door, with the electronic key on your person, pass your
hand behind the driver's door handle.
This setting is done via the vehicle
configuration menu.
By default, complete unlocking is
activated.
Unlocking is confirmed by rapid
flashing of the direction indicators for
approximately two seconds.
The door mirrors unfold at the same
time.
If the alarm is on, the audible warning
triggered when opening a door with the
key (integral with the remote control), will
stop when the ignition is switched
on.
It can also be used as a remote control.
For more information, refer to the
"Electronic key / remote control" section.
For reasons of safety and theft protection,
do not leave your electronic key in the
vehicle, even when you are close to it.
It is recommended that you keep it on
your person. F
T
o unlock the complete vehicle, pass your
hand behind one of the passenger door
handles on the same side of the vehicle as
the electronic key is located.