Page 10 of 211

Fig. 11 Instrument cluster in the dash panel: type 2
First read and observe the introductoryinformation and safety warnings⇒
Introduction
Depending on the equipment level, the scale divisions may look slightly different in type 2 ⇒ Fig. 11
.
Descriptions of the instruments ⇒ Fig. 10 or ⇒ Fig. 11:
Speedometer in km/h or in mph and km/h, depending on vehicle.
Displays⇒ Displays.
Reset button for the trip recorder display (tripyf�.
- Press the button briefly to switch between the trip recorder and the
odometer.
- Press the button for about 5 seconds to reset the trip recorder and any
other indicators in the multifunction display ⇒ Volkswagen information system.
Fuel gauge⇒ Filling the tank.
Rev counter (running engine speed in revolutions x 1,000 per minuteyf�.The start of the red
zone on the dial indicates the maximum engine speed that may be used in each gear when the
engine is warm and after it has been run in properly. It is advisable to change up a gear or lift
your foot off the accelerator before the needle reaches the red zone ⇒.
Setting button for the clock or for switching between outside temperature display and
clock.
- To set the clock, select the time display if not already selected. To do this, push the
rocker switch ⇒ Fig. 12② up or down, or press setting button ⇒ Fig. 11⑥.
- Press and hold the button to mark the hour display so that it flashes.
- Press the button to continue. Press and hold to scroll through quickly.
- Press the button again briefly to select the minute display so that it flashes.
- Press the button to continue. Press and hold to scroll through quickly.
- Press the button again to finish setting the clock.
Changing up a gear early will help to save fuel and minimise engine noise.
Other instruments, such as the outside temperature display, can be shown in the screen of
the portable navigation device (delivered by Volkswagenyf� ⇒ Accessories, modifications, repairs and
renewal of parts.
Displays
First read and observe the introductoryinformation and safety warnings⇒
Introduction
Depending on the vehicle equipment level, a variety of information can be displayed in the
instrument cluster ⇒ Fig. 10② or ⇒ Fig. 11②:
\f
Page 32 of 211

Leaves and other loose objects must be removed from the guide rails of the electric
panorama sliding/tilting glass roof at regular intervals, using a vacuum cleaner or by hand.
If there is a fault in the electric panorama sliding/tilting roof, the roll-back function will not
work properly. Go to a qualified workshop
Opening and closing the electric panorama sliding/tilting glass roof
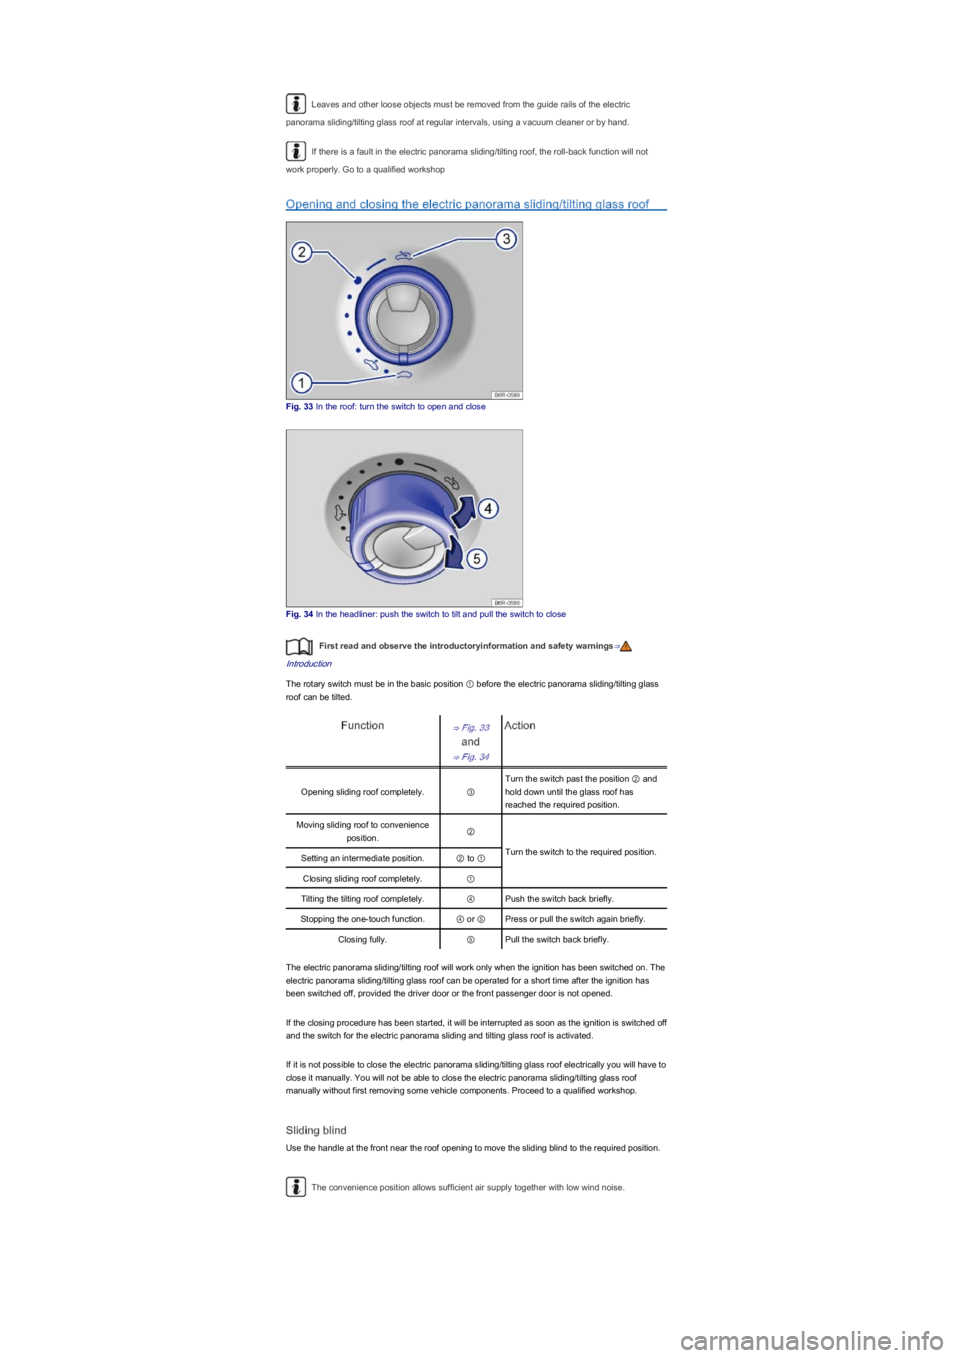
Fig. 33 In the roof: turn the switch to open and close
Fig. 34 In the headliner: push the switch to tilt and pull the switch to close
First read and observe the introductoryinformation and safety warnings⇒
Introduction
The rotary switch must be in the basic position ① before the electric panorama sliding/tilting glass
roof can be tilted.
Function⇒ Fig. 33
and
⇒ Fig. 34
Action
Opening sliding roof completely.③
Turn the switch past the position ② and
hold down until the glass roof has
reached the required position.
Moving sliding roof to convenience
position.②
Turn the switch to the required position.Setting an intermediate position.② to ①
Closing sliding roof completely.①
Tilting the tilting roof completely.④Push the switch back briefly.
Stopping the one-touch function.④ or ⑤Press or pull the switch again briefly.
Closing fully.⑤Pull the switch back briefly.
The electric panorama sliding/tilting roof will work only when the ignition has been switched on. The
electric panorama sliding/tilting glass roof can be operated for a short time after the ignition has
been switched off, provided the driver door or the front passenger door is not opened.
If the closing procedure has been started, it will be interrupted as soon as the ignition is switched off
and the switch for the electric panorama sliding and tilting glass roof is activated.
If it is not possible to close the electric panorama sliding/tilting glass roof electrically you will have to
close it manually. You will not be able to close the electric panorama sliding/tilting glass roof
manually without first removing some vehicle components. Proceed to a qualified workshop.
Sliding blind
Use the handle at the front near the roof opening to move the sliding blind to the required position.
The convenience position allows sufficient air supply together with low wind noise.
Page 104 of 211

The ESC or the TCS/TC can only function properly if all four wheels have the same tyres.
Any differences in the rolling radius of the tyres can cause the system to reduce engine power
unexpectedly.
If the ABS fails, the ESC, TCS, TC and EDL will also cease to function.
Control processes running in the systems described may cause operating noises.
Brake fluid
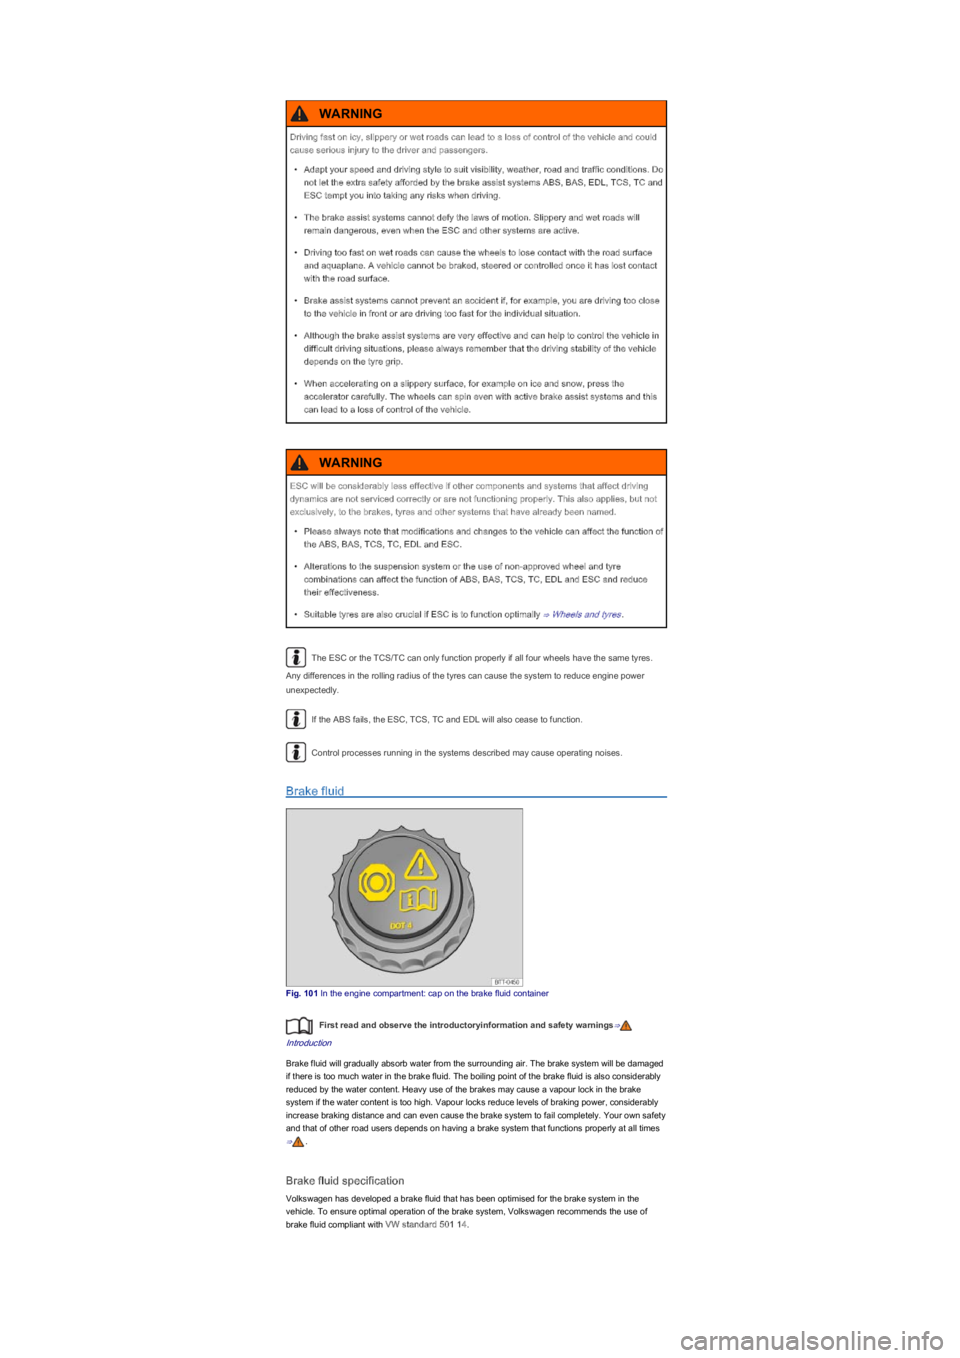
Fig. 101 In the engine compartment: cap on the brake fluid container
First read and observe the introductoryinformation and safety warnings⇒
Introduction
Brake fluid will gradually absorb water from the surrounding air. The brake system will be damaged
if there is too much water in the brake fluid. The boiling point of the brake fluid is also considerably
reduced by the water content. Heavy use of the brakes may cause a vapour lock in the brake
system if the water content is too high. Vapour locks reduce levels of braking power, considerably
increase braking distance and can even cause the brake system to fail completely. Your own safety
and that of other road users depends on having a brake system that functions properly at all times
⇒.
Brake fluid specification
Volkswagen has developed a brake fluid that has been optimised for the brake system in the
vehicle. To ensure optimal operation of the brake system, Volkswagen recommends the use of
brake fluid compliant with VW standard 501 14.
Driving fast on icy, slippery or wet roads can lead to a loss of control of the vehicle and could
cause serious injury to the driver and passengers.
\f