Page 292 of 380

Never use a power washer to clean the engine compartment, Cleaning the engine compartment.
WARNING
Improper use of power washers can cause serious invisible permanent damage leading to tire failure and loss of vehicle control. This can cause accidents and severe personal injury.
�x Keep sufficient distance between water jet and tires. Never wash tires with a nozzle that sprays the water out in a direct stream regardless of the distance to the tire and even for a very short time.
�x Never use “dirt blasters” to clean tires. Even spraying from a relatively long distance for a very short time can do visible or invisible damage to tires.
WARNING
After the vehicle has been washed, the wet brakes or, in winter, brake discs or pads coated with ice, react slower and need longer stopping distances.
�x Always dry the brakes and clean off any ice coatings with a few careful applications of the brake. Make sure not to endanger other motorists or cyclists or disobey legal requirements.
NOTICE
�x Water temperature should not be more than +140 °F (+60 °C).
�x To help prevent damage to the paint, do not wash the vehicle in direct sunlight.
�x In order for Park Distance Control to work correctly, the sensors in the rear bumper must be kept clean and clear of snow and ice.
�x When using a power washer or steam cleaner, only spray the sensors directly for a short period of time and always keep the nozzle at least 4 inches (10 cm) from the sensor.
�x Do not clean icy or snow-covered windows with a power washer.
�x When washing or rinsing the vehicle in cold weather, do not let water get into the lock cylinders or point the hose at gaps around the doors, hood, or rear hatch. The water could freeze on the locks and seals and make it difficult to open the vehicle!
Cleaning windows and outside mirrors
�
Page 293 of 380

Windshield wiper squeak and grab can be reduced by filling the windshield washer fluid tank with a wiper fluid containing wax-removing agents. Make sure to maintain the proper mixing ratio when
refilling the washer fluid tank. Grease-removing cleaning agents cannot remove wax residue ⇒ .
Windshield cleaners, special cleaners, and cleaning cloths are available from your authorized Volkswagen dealer and authorized Volkswagen Service Facility.
Removing snow
Remove snow from all windows and outside mirrors with an appropriate brush.
Removing ice
The best way to remove ice is with a deicer spray. When using an ice scraper always scrape in one direction, never back and forth. Dirt can scratch the glass when moving the scraper backward.
WARNING
Dirty or fogged up windows reduce visibility and increase the risk of accidents and severe injuries.
�x Don't drive until you have clear visibility through all windows.
�x Remove ice, snow and condensation from all inside and outside window surfaces.
NOTICE
�x Never mix recommended cleaning agents with other cleaning agents in the windshield washer reservoir. If you do, this could cause sediments or other by-products that can clog the windshield wiper nozzles.
�x Never use warm or hot water to remove snow and ice from windows and mirrors. This could cause the glass to crack!
�x The heating elements for the rear defroster are on the inside of the rear window. Do not put stickers over the heating elements on the inside of the rear window and never clean the inside of the windows with corrosive or acidic cleaning agents or other chemicals that could damage the heating elements.
�x Antennas installed on the insides of windows can be damaged by abrasive objects or by corrosive or acidic cleaning agents or other chemicals. Do not place any stickers on the windshield-integrated antenna and never clean the antenna with corrosive or acidic cleaning agents or other chemicals.
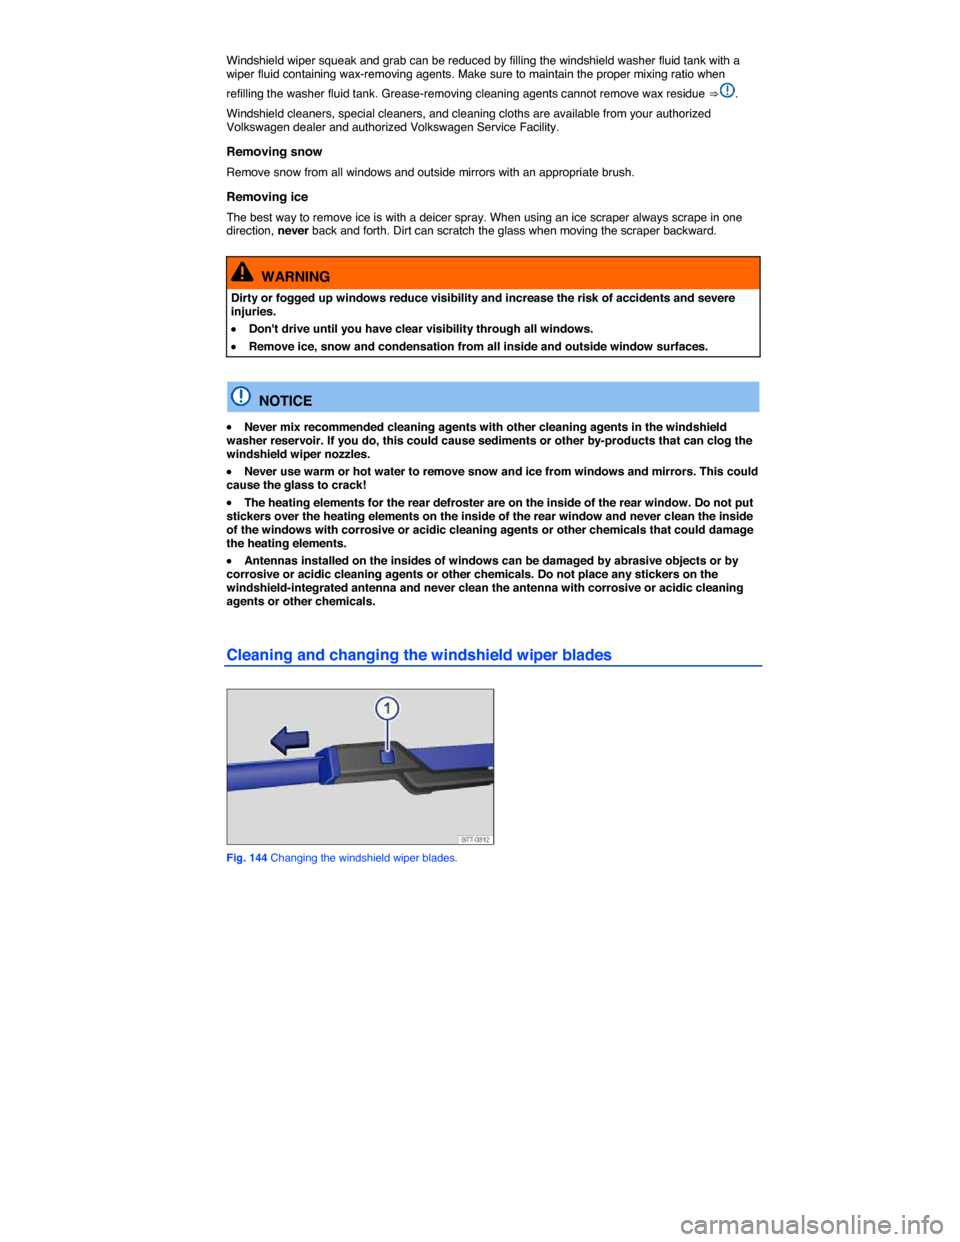
Cleaning and changing the windshield wiper blades
Fig. 144 Changing the windshield wiper blades.
Page 360 of 380
The illustrations show the left headlight. The right headlight is the mirror image.
Replacing light bulbs in the front bumper
Fig. 173 In front left bumper: Removing the light assembly.
Fig. 174 Replacing light bulbs in the front bumper.
�
Page 361 of 380

Please carry out each step only in the order specified:
Turn signal ⇒ fig. 174 (2) Front fog light / Cornering light (4)
6. Release the connector (1) and pull it off. Use the flat blade of the screwdriver from the vehicle tool kit, if necessary.
Release the connector (3) and pull it off.
7. Turn the bulb holder (2) as far as it goes to the left and pull it out together with the light bulb to the rear.
Turn the bulb holder (4) as far as it goes to the left and pull it out together with the light bulb to the rear.
8. Replace the burned out light bulb with a new bulb of the same type.
9. Insert the bulb holder in the headlight and turn it all the way to the right.
10. Attach the connector (1) to the bulb holder (2). The connector must latch with a “click.” Attach the connector (3) to the bulb holder (4). The connector must latch with a “click.”
11. Slide the two light assemblies together (if necessary) and slip the headlight into the mounts (small arrows) and fold rearward.
12. Tighten the fastening screw ⇒ fig. 173 (1) and (2) with the screwdriver.
13. Beginning at the outside, insert the cover into the bumper opposite the direction of the arrow .
The illustrations show the left headlight. The right headlight is the mirror image.
Different models may have different lights, and the location and design of covers, bulb holders, and bulbs may be in a different location than shown in the illustrations.
Replacing light bulbs in the front bumper (Beetle R-Line)
Fig. 175 In the left side of the front bumper: Removing the headlight.