2014 VAUXHALL MOVANO_B refuelling
[x] Cancel search: refuellingPage 83 of 201

Instruments and controls81Caution
Coolant temperature too high.
Check coolant level 3 135.
If there is sufficient coolant, consult a workshop.
Preheating
! illuminates yellow.
Preheating is activated.Only
activates when outside temperature is low.
Diesel particle filter
8
Not used.
Diesel particle filter 3 79, 3 112.
Engine oil pressure I illuminates red.
Illuminates briefly when the ignition is
switched on.
Illuminates when the engine is
runningCaution
Engine lubrication may be
interrupted. This may result in
damage to the engine and/or
locking of the drive wheels.
1. Depress clutch.
2. Select neutral gear, set selector lever to N.
3. Move out of the flow of traffic as quickly as possible without
impeding other vehicles.
4. Switch off ignition.
9 Warning
When the engine is off,
considerably more force is needed
to brake and steer.
Do not remove key until vehicle is stationary, otherwise the steeringwheel lock could engage
unexpectedly.
Check oil level before seeking
assistance of a workshop 3 134.
Low fuel
Y illuminates yellow.
Illuminates when the ignition is
switched on and extinguishes shortly
after the engine starts.
Illuminates when the engine isrunning
Fuel level in the tank is too low. Refuel immediately.
Never run the tank dry.
Refuelling 3 127.
Catalytic converter 3 112.
Bleeding the diesel fuel system
3 139.
Drain fuel filter
Q illuminates yellow.
Illuminates when the ignition is
switched on and extinguishes shortly after the engine starts.
Page 100 of 201

98Climate control
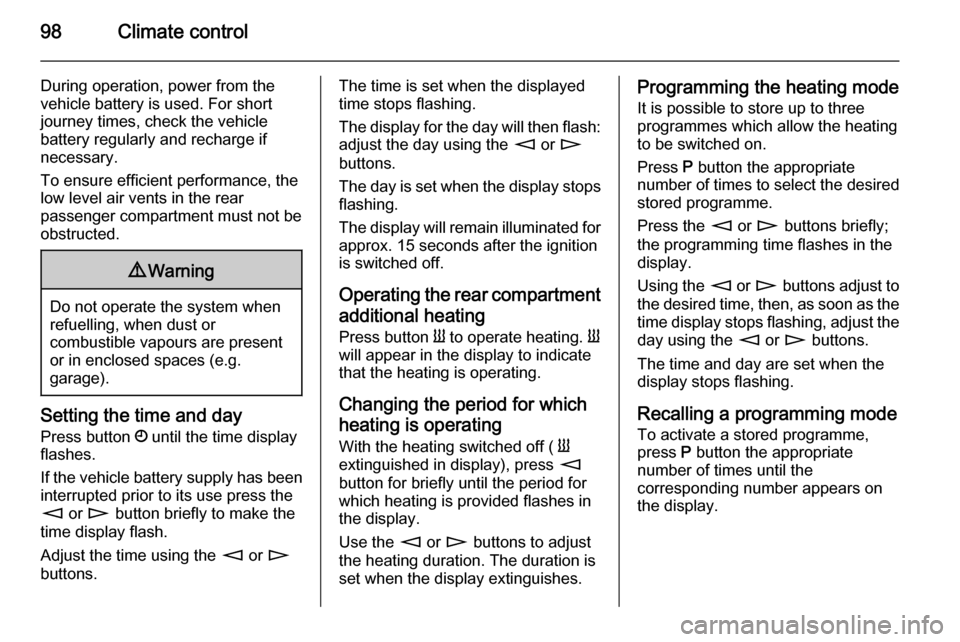
During operation, power from the
vehicle battery is used. For short
journey times, check the vehicle
battery regularly and recharge if
necessary.
To ensure efficient performance, the
low level air vents in the rear
passenger compartment must not be
obstructed.9 Warning
Do not operate the system when
refuelling, when dust or
combustible vapours are present
or in enclosed spaces (e.g.
garage).
Setting the time and day
Press button Ö until the time display
flashes.
If the vehicle battery supply has been
interrupted prior to its use press the
m or n button briefly to make the
time display flash.
Adjust the time using the m or n
buttons.
The time is set when the displayed
time stops flashing.
The display for the day will then flash: adjust the day using the m or n
buttons.
The day is set when the display stops
flashing.
The display will remain illuminated for approx. 15 seconds after the ignition
is switched off.
Operating the rear compartment
additional heating Press button Y to operate heating. Y
will appear in the display to indicate
that the heating is operating.
Changing the period for which
heating is operating With the heating switched off ( Y
extinguished in display), press m
button for briefly until the period for
which heating is provided flashes in
the display.
Use the m or n buttons to adjust
the heating duration. The duration is
set when the display extinguishes.Programming the heating mode
It is possible to store up to three
programmes which allow the heating
to be switched on.
Press P button the appropriate
number of times to select the desired
stored programme.
Press the m or n buttons briefly;
the programming time flashes in the
display.
Using the m or n buttons adjust to
the desired time, then, as soon as the
time display stops flashing, adjust the day using the m or n buttons.
The time and day are set when the
display stops flashing.
Recalling a programming mode To activate a stored programme,
press P button the appropriate
number of times until the
corresponding number appears on
the display.
Page 102 of 201

100Climate control
With the front passenger
compartment air conditioning system
switched on, adjust the air flow to
select the desired speed.
Ensure the air vents are open when in use, to prevent ice forming in the
system due to lack of air movement.
Auxiliary heater
Coolant heater The Eberspächer engine-
independent, fuel-powered coolant heater provides rapid heating of the
engine coolant to enable heating of
the vehicle interior without the engine
running.9 Warning
Do not operate the system when
refuelling, when dust or
combustible vapours are present
or in enclosed spaces (e.g.
garage).
Before starting or programming the
system to start, turn the vehicle's climate control system to heat and the
air distribution to V.
Switch off when not required. Heating stops automatically after the
programmed runtime. It will also
cease to operate if the vehicle fuel
level drops too low.
During operation, power from the
vehicle battery is used. The driving
time should therefore be at least as
long as the heating time. For short
journey times, check the vehicle
battery regularly and recharge if
necessary.
To ensure efficient performance,
briefly operate the auxiliary heater
once a month.
Control units
The timer or remote control unit turns the system on and off, and is used to
programme specific departure times.Timer1 X
Activation
button=Switches the control
unit on/off and
changes displayed
information2 q Back
button=Selects functions in
the menu bar and
adjusts values3 Menu bar=Displays the
selectable functions
Y , x , P , Ö and Y4 r Next
button=Selects functions in
the menu bar and
adjusts values5 OK button=Confirms selection
Page 103 of 201

Climate control101
Remote control
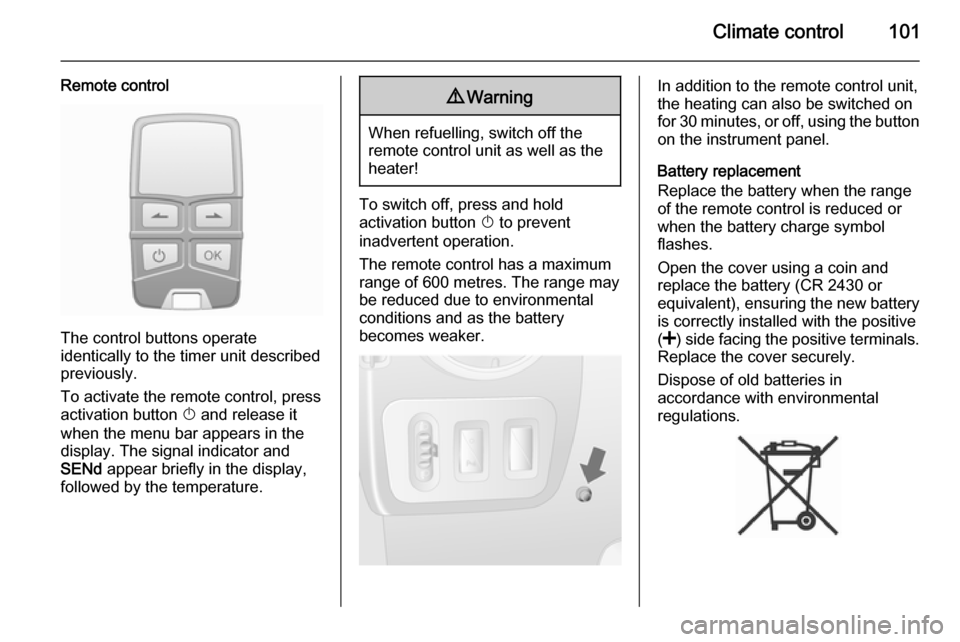
The control buttons operate
identically to the timer unit described
previously.
To activate the remote control, press activation button X and release it
when the menu bar appears in the display. The signal indicator and
SENd appear briefly in the display,
followed by the temperature.
9 Warning
When refuelling, switch off the
remote control unit as well as the
heater!
To switch off, press and hold
activation button X to prevent
inadvertent operation.
The remote control has a maximum
range of 600 metres. The range may
be reduced due to environmental
conditions and as the battery
becomes weaker.
In addition to the remote control unit,
the heating can also be switched on
for 30 minutes, or off, using the button
on the instrument panel.
Battery replacement
Replace the battery when the range
of the remote control is reduced or when the battery charge symbol
flashes.
Open the cover using a coin and
replace the battery (CR 2430 or equivalent), ensuring the new battery
is correctly installed with the positive
( < ) side facing the positive terminals.
Replace the cover securely.
Dispose of old batteries in
accordance with environmental
regulations.
Page 129 of 201

Driving and operating127Fuel
Fuel for diesel engines Only use diesel fuel that complies
with EN 590. The fuel must have low
sulphur content (max. 10 ppm).
Equivalent standardised fuels with a
biodiesel (= FAME according to
EN14214) content of max. 7% by
volume (like DIN 51628 or equivalent
standards) may be used.
In countries outside the European
Union use Euro-Diesel fuel with a
sulphur concentration below 50 ppm.Caution
Use of fuel that does not comply to EN 590 or similar can lead to
engine powerloss, increased wear
or engine damage and may affect
your warranty.
Do not use marine diesel oils, heating
oils or entirely plant-based diesel
fuels, such as rape seed oil or bio
diesel, Aquazole and similar diesel-
water emulsions. Diesel fuels must
not be diluted with fuels for petrol
engines.
The flow and filterability of diesel fuels are temperature-dependent. When
temperatures are low, refuel with
diesel fuel with guaranteed winter
properties.
Refuelling9 Danger
Before refuelling, switch off engine
and any external heaters with
combustion chambers. Switch off
any mobile phones.
Follow the operating and safety
instructions of the filling station
when refuelling.
9 Danger
Fuel is flammable and explosive.
No smoking. No naked flames or
sparks.
If you can smell fuel in your
vehicle, have the cause of this
remedied immediately by a
workshop.Caution
In case of misfuelling, do not
switch on ignition.
The fuel tank filler neck with bayonet
cap is located on the left front side of
the vehicle.
The fuel filler flap can only be opened
if the vehicle is unlocked and the door is opened. Open the fuel filler flap by
hand.
Page 130 of 201

128Driving and operating
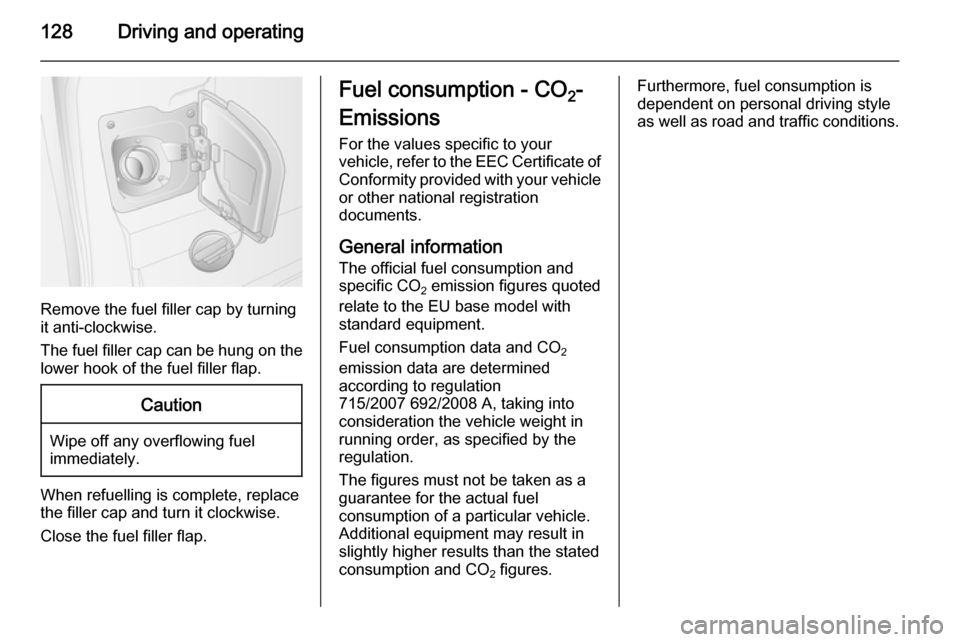
Remove the fuel filler cap by turning
it anti-clockwise.
The fuel filler cap can be hung on the lower hook of the fuel filler flap.
Caution
Wipe off any overflowing fuel
immediately.
When refuelling is complete, replace
the filler cap and turn it clockwise.
Close the fuel filler flap.
Fuel consumption - CO 2-
Emissions
For the values specific to your
vehicle, refer to the EEC Certificate of
Conformity provided with your vehicle or other national registration
documents.
General information The official fuel consumption and
specific CO 2 emission figures quoted
relate to the EU base model with
standard equipment.
Fuel consumption data and CO 2
emission data are determined
according to regulation
715/2007 692/2008 A, taking into
consideration the vehicle weight in
running order, as specified by the regulation.
The figures must not be taken as a
guarantee for the actual fuel
consumption of a particular vehicle.
Additional equipment may result in
slightly higher results than the stated
consumption and CO 2 figures.Furthermore, fuel consumption is
dependent on personal driving style
as well as road and traffic conditions.
Page 199 of 201

197
Pollen filter ................................. 104
Power door locks ..........................22
Power outlets ............................... 71
Power side step ............................ 24
Power sliding door ........................24
Power steering fluid ....................136
Power take-off ........................... 130
Power windows ............................ 32
Preheating ................................... 81
Puncture ............................. 154, 157
R Radio Frequency Identification (RFID) ..................................... 192
Radio remote control ...................18
Reading lights .............................. 91
Rear air conditioning system .......99
Rear doors ................................... 26
Rear fog light ............................... 82
Rear fog lights ............................. 90
Rear heating system .................... 97
Rear seats .................................... 41
Rear view camera ...................... 126
Rear windows .............................. 32
Recommended fluids and lubricants ........................ 168, 173
Refuelling ................................... 127 Remote control ............................. 18
Reversing lights ........................... 90
Ride control systems ..................119Roof.............................................. 34
Roof load ...................................... 66
Roof rack ..................................... 66
S Safety belts ................................... 43
Safety net .................................... 65
Seat adjustment ....................... 7, 37
Seat belt ........................................ 8
Seat belt reminder .......................78
Seat belts ..................................... 43
Seat heating ................................. 40
Seat position ................................ 36
Selector lever ............................. 114
Service ............................... 105, 167
Service display ............................ 75
Service information ....................167
Service vehicle soon .................... 79
Side airbag system ......................49
Sidelights ...................................... 87
Side turn signal lights ................145
Sliding door .................................. 24
Spare wheel ............................... 159
Speedometer ............................... 73
Speed regulator ............................ 73
Starting and operating ................106
Starting off ................................... 16
Starting the engine ............107, 114
Steering column controls ..............69
Steering wheel adjustment ......9, 68Steering wheel controls ...............68
Stop engine .................................. 79
Stop-start system.................. 82, 108
Storage ......................................... 60
Storage compartments .................60
Sunglasses storage .....................61
Sun visors .................................... 34
Suspension seat ........................... 37
Symbols ......................................... 4
T
Tachograph ............................ 82, 86
Tachometer ................................. 73
Tail lights ................................... 144
Technical data ............................ 174
Three-point seat belt .................... 44
Tools .......................................... 150
Top-tether fastening eyes ............59
Tow bar....................................... 129
Towing ........................................ 129
Towing another vehicle .............163
Towing a trailer ........................... 129
Towing equipment .....................130
Towing eye ................................. 162
Towing the vehicle .....................162
Traction Control system ............. 119
Trailer coupling ........................... 129
Trailer towing ............................. 129
Transmission ............................... 15
Transmission display ...........75, 114