Page 87 of 217

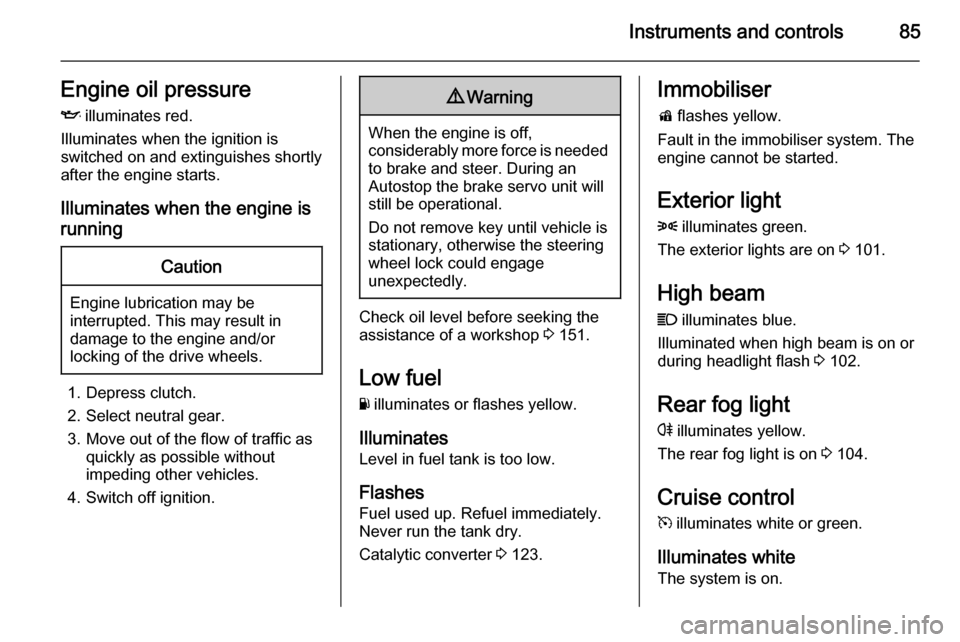
Instruments and controls85Engine oil pressureI illuminates red.
Illuminates when the ignition is
switched on and extinguishes shortly after the engine starts.
Illuminates when the engine is runningCaution
Engine lubrication may be
interrupted. This may result in
damage to the engine and/or
locking of the drive wheels.
1. Depress clutch.
2. Select neutral gear.
3. Move out of the flow of traffic as quickly as possible without
impeding other vehicles.
4. Switch off ignition.
9 Warning
When the engine is off,
considerably more force is needed
to brake and steer. During an
Autostop the brake servo unit will still be operational.
Do not remove key until vehicle is stationary, otherwise the steeringwheel lock could engage
unexpectedly.
Check oil level before seeking the
assistance of a workshop 3 151.
Low fuel
Y illuminates or flashes yellow.
Illuminates
Level in fuel tank is too low.
Flashes Fuel used up. Refuel immediately.
Never run the tank dry.
Catalytic converter 3 123.
Immobiliser
d flashes yellow.
Fault in the immobiliser system. The
engine cannot be started.
Exterior light8 illuminates green.
The exterior lights are on 3 101.
High beam
C illuminates blue.
Illuminated when high beam is on or
during headlight flash 3 102.
Rear fog light
r illuminates yellow.
The rear fog light is on 3 104.
Cruise control m illuminates white or green.
Illuminates white The system is on.
Page 89 of 217

Instruments and controls87
Some of the displayed functions differ
when the vehicle is being driven or at a standstill. Some functions are only
available when the vehicle is being
driven.
Vehicle personalisation 3 97.
Memorised settings 3 20.
Selecting menus and functions
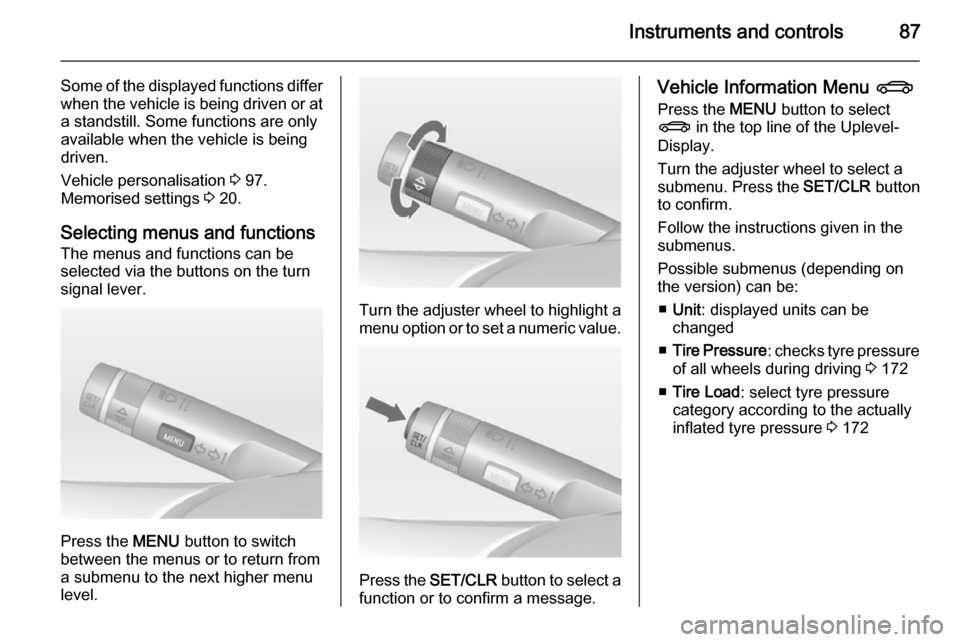
The menus and functions can be
selected via the buttons on the turn
signal lever.
Press the MENU button to switch
between the menus or to return from
a submenu to the next higher menu
level.
Turn the adjuster wheel to highlight a
menu option or to set a numeric value.
Press the SET/CLR button to select a
function or to confirm a message.
Vehicle Information Menu X
Press the MENU button to select
X in the top line of the Uplevel-
Display.
Turn the adjuster wheel to select a
submenu. Press the SET/CLR button
to confirm.
Follow the instructions given in the
submenus.
Possible submenus (depending on the version) can be:
■ Unit : displayed units can be
changed
■ Tire Pressure : checks tyre pressure
of all wheels during driving 3 172
■ Tire Load : select tyre pressure
category according to the actually
inflated tyre pressure 3 172
Page 90 of 217

88Instruments and controls
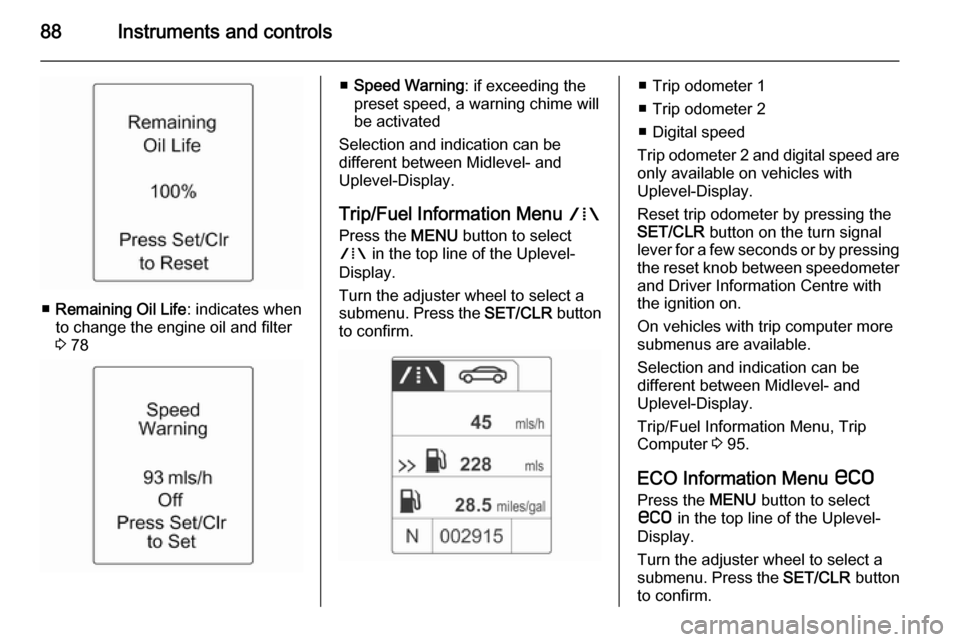
■Remaining Oil Life : indicates when
to change the engine oil and filter
3 78
■ Speed Warning : if exceeding the
preset speed, a warning chime will
be activated
Selection and indication can be
different between Midlevel- and
Uplevel-Display.
Trip/Fuel Information Menu W
Press the MENU button to select
W in the top line of the Uplevel-
Display.
Turn the adjuster wheel to select a
submenu. Press the SET/CLR button
to confirm.■ Trip odometer 1
■ Trip odometer 2
■ Digital speed
Trip odometer 2 and digital speed are
only available on vehicles with
Uplevel-Display.
Reset trip odometer by pressing the
SET/CLR button on the turn signal
lever for a few seconds or by pressing the reset knob between speedometer
and Driver Information Centre with
the ignition on.
On vehicles with trip computer more
submenus are available.
Selection and indication can be
different between Midlevel- and
Uplevel-Display.
Trip/Fuel Information Menu, Trip
Computer 3 95.
ECO Information Menu s
Press the MENU button to select
s in the top line of the Uplevel-
Display.
Turn the adjuster wheel to select a
submenu. Press the SET/CLR button
to confirm.
Page 94 of 217
92Instruments and controlsVehicle messagesMessages are indicated mainly in the
Driver Information Centre (DIC), in
some cases together with a warning
and signal buzzer.
Press the SET/CLR button, the
MENU button or turn the adjuster
wheel to confirm a message.
Vehicle messages on the
Midlevel-Display
The vehicle messages are displayed
as code numbers.
No.Vehicle message1Change engine oil2No radio remote control
detected, depress clutch pedal
for a restart3Engine coolant level low4Air conditioning offNo.Vehicle message5Steering wheel is locked7Turn steering wheel, switch
ignition off and then on9Turn steering wheel, start
engine again12Vehicle overloaded13Compressor overheated15Centre high-mounted brake
light failure16Brake light failure17Headlight levelling malfunction18Left low beam failure19Rear fog light failure20Right low beam failure21Left sidelight failure22Right sidelight failure23Reversing light failure24Number plate light failure
Page 95 of 217

Instruments and controls93
No.Vehicle message25Left front turn signal failure26Left rear turn signal failure27Right front turn signal failure28Right rear turn signal failure35Replace battery in radio remote
control48Clean side blind spot alert
system53Tighten gas cap56Tyre pressure imbalance on
front axle57Tyre pressure imbalance on
rear axle58Winter tyres detection59Open and then close driver
window60Open and then close front
passenger window66Service theft alarm systemNo.Vehicle message67Service steering wheel lock68Service power steering75Service air conditioning76Service side blind spot alert
system79Top up engine oil82Change engine oil soon84Engine power reduced89Service vehicle soon95Service airbag120Reduce speed for hill decent
control128Bonnet open134Park assist fault, clean bumper136Service parking assist174Low vehicle battery258Park assist offVehicle messages on the
Uplevel-Display
The vehicle messages are displayed
as text. Follow the instructions given
in the messages.
The system displays messages
regarding the following topics:
■ Fluid levels
■ Anti-theft alarm system
■ Brakes
■ Ride control systems
■ Cruise control, Speed limiter
■ Parking assist systems
Page 97 of 217
Instruments and controls95Trip computer
The menus and functions can be selected via the buttons on the turn
signal lever 3 86.
Press the MENU button to select
W on the Uplevel-Display.
Trip/Fuel Information Menu on
Uplevel-Display
Turn the adjuster wheel to select the
submenus:
■ Trip odometer 1
■ Average consumption 1
■ Average speed 1
■ Trip odometer 2
■ Average consumption 2
■ Average speed 2
Page 105 of 217

Lighting103Headlight range
adjustment
Manual headlight range
adjustment
To adapt headlight range to the
vehicle load to prevent dazzling: turn
thumb wheel ? to required position.
0=front seats occupied1=all seats occupied2=all seats occupied and load
compartment laden3=driver's seat occupied and load
compartment laden.Headlights when driving
abroad
The asymmetrical headlight beam
extends visibility at the edge of the
road at the passenger side.
However, when driving in countries
where traffic drives on the opposite
side of the road, adjust the headlights to prevent dazzling of oncoming
traffic.
Turn adjuster on both headlight
housings 1
/4 turn clockwise to set
tourist mode.
Daytime running lights
Daytime running light increases
visibility of the vehicle during daylight.
They are switched on automatically
when ignition is on.
Hazard warning flashers
Operated by pushing the ¨ button.
In the event of an accident with airbag
deployment the hazard warning
flashers are activated automatically.
Page 106 of 217
104LightingTurn and lane-change
signalslever up=right turn signallever down=left turn signal
If the lever is moved past the
resistance point, the turn signal is
switched on constantly. When the
steering wheel moves back, the turn
signal is automatically deactivated.
For three flashes, e.g. when changing lanes, press the lever until resistance
is felt and then release.
Move the lever to the resistance point
and hold for longer indication.
Switch the turn signal off manually by moving the lever to its original
position.
Rear fog lights
Operated by pushing the r button.
Light switch in position AUTO:
switching on rear fog light will switch
on headlights automatically.
Parking lights
When the vehicle is parked, the
parking lights on one side can be
activated:
1. Switch off ignition.
2. Move turn signal lever all the way up (right parking lights) or down
(left parking lights).
Confirmed by a signal and the
corresponding turn signal control
indicator.