Page 310 of 650

310 2-5. Driving information
When parking the vehicle
Always place wheel chocks under the wheels of both the vehicle
and trailer. Firmly set the parking brake and shift the shift lever to
“P” for Multidrive or automatic transmission, and “1” or “R” for man-
ual transmission.
CAUTION
Follow all the instructions described in this section.
Failure to do so could cause an accident resulting in death or serious injury.
Trailer towing precautions
When towing, make sure that none of the weight limits are exceeded.
(P. 303)
Before descending hills or long declines
Reduce speed and downshift. However, never downshift suddenly while
descending steep or long downhill grades.
Operation of the brake
Do not hold the brake pedal depressed often or for long periods.
Doing so may result in the brake overheating or reduce braking effects.
To avoid accident or injury
Do not exceed 100 km/h (62 mph) or the posted towing speed limit, which-
ever is lower.
Do not use cruise control when you are towing.
Vehicles with a compact spare tire: Do not tow a trailer when the compact
spare tire is installed on your vehicle.
Vehicles with an emergency tire puncture repair kit: Do not tow a trailer
when the tire installed is repaired with the emergency tire puncture repair
kit.
VERSO_WE.book Page 310 Thursday, June 19, 2014 11:31 AM
Page 375 of 650
375 3-4. Using the storage features
3
Interior features
Rear
Auxiliary boxes
Type A
Press the button to open the lid.
CAUTION
Items unsuitable for the bottle holder
Do not place anything other than a bottle in the bottle holders.
Other items may be thrown out of the holders in the event of an accident or
sudden braking, causing injury.
NOTICE
Items that should not be stowed in the bottle holders
Put the cap on before stowing a bottle. Do not place open bottles in the bot-
tle holders, or glasses and paper cups containing liquid. The contents may
spill and glasses may break.
Bottle holders and auxiliary boxes
VERSO_WE.book Page 375 Thursday, June 19, 2014 11:31 AM
Page 386 of 650
386
3-5. Other interior features
Front seatback tables
: If equipped
Stowing the front seatback table
Pull up the front seatback
table.
Push down the front seatback table.
VERSO_WE.book Page 386 Thursday, June 19, 2014 11:31 AM
Page 397 of 650
397 3-5. Other interior features
3
Interior features
Pattern C
Stowing the luggage cover
Type A
Lift the rear deck board.
Secure the rear deck board
using the hook.
Remove the side deck boards.
VERSO_WE.book Page 397 Thursday, June 19, 2014 11:31 AM
Page 400 of 650
400 3-5. Other interior features
Pull the deck board down to close.
CAUTION
When the cargo hooks are not in use
To avoid injury, always return the cargo hooks to their stowed positions.
Caution while driving
Keep the auxiliary box closed. In the event of sudden braking or sudden
swerving, an accident may occur due to an occupant being struck by an
open auxiliary box or the items stored inside.
Caution for the luggage cover
Do not allow children to climb on the luggage cover. Climbing on the luggage
cover could result in damage to the luggage cover, possibly causing death or
serious injury to the child.
VERSO_WE.book Page 400 Thursday, June 19, 2014 11:31 AM
Page 413 of 650
413 4-3. Do-it-yourself maintenance
4
Maintenance and care
ItemsParts and tools
Engine oil levelP. 424)
1ZR-FAE, 2ZR-FAE, 1AD-FTV
and 2AD-FHV engines
• “Toyota Genuine Motor Oil” or
equivalent
• Rag or paper towel, funnel
(used only for adding oil)
1WW-FHV engine
• “Toyota Genuine Motor Oil
5W-30 Premium Fuel Economy
for 1WW/2WW engines”
• Rag or paper towel, funnel
(used only for adding oil)
Fuses (P. 469)• Fuse with same amperage rating
as original
Radiator, condenser and inter-
cooler (P. 433)
Tire inflation pressure (P. 457)• Tire pressure gauge
• Compressed air source
Washer fluid (P. 438)• Water washer fluid containing
antifreeze (for winter use)
VERSO_WE.book Page 413 Thursday, June 19, 2014 11:31 AM
Page 425 of 650
425 4-3. Do-it-yourself maintenance
4
Maintenance and care
Diesel engine (1WW-FHV engine)
Wipe the dipstick clean.
Gasoline engine with flat dipstick and diesel engine: Reinsert
the dipstick fully.
Gasoline engine with non-flat
dipstick: Reinsert the non-flat
dipstick fully with its protruding
areas ( in the illustration)
pointing towards the engine.
Holding a rag under the end, pull the dipstick out and check
the oil level.
Flat dipstick
Low
Normal
Excessive
The shape of the dipstick may
differ depending on the type of
vehicle or engine.
VERSO_WE.book Page 425 Thursday, June 19, 2014 11:31 AM
Page 428 of 650

428 4-3. Do-it-yourself maintenance
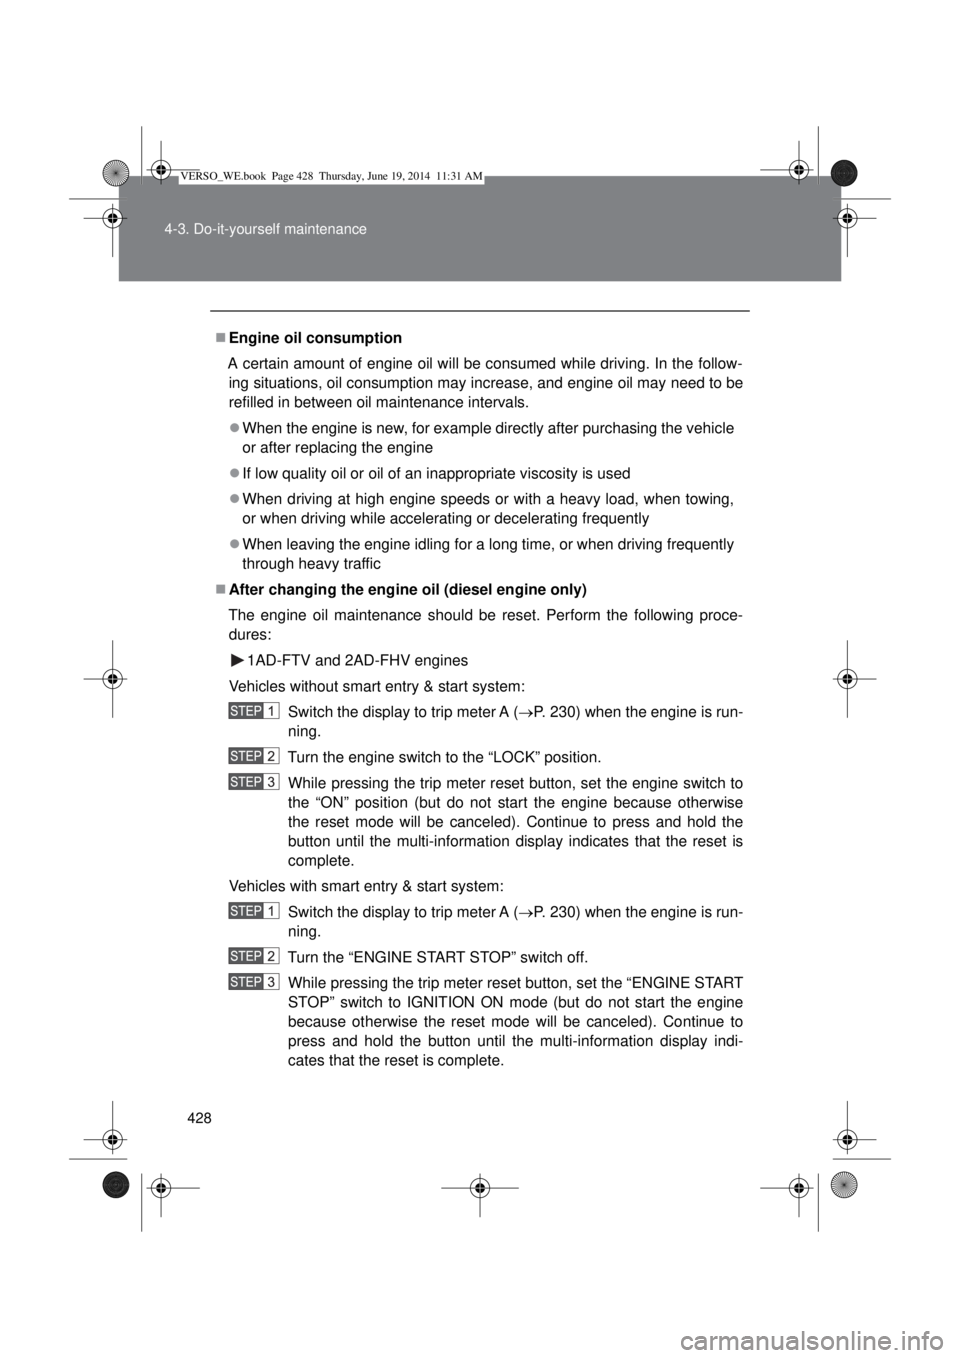
Engine oil consumption
A certain amount of engine oil will be consumed while driving. In the follow-
ing situations, oil consumption may increase, and engine oil may need to be
refilled in between oil maintenance intervals.
When the engine is new, for example directly after purchasing the vehicle
or after replacing the engine
If low quality oil or oil of an inappropriate viscosity is used
When driving at high engine speeds or with a heavy load, when towing,
or when driving while accelerating or decelerating frequently
When leaving the engine idling for a long time, or when driving frequently
through heavy traffic
After changing the engine oil (diesel engine only)
The engine oil maintenance should be reset. Perform the following proce-
dures:
1AD-FTV and 2AD-FHV engines
Vehicles without smart entry & start system:
Switch the display to trip meter A (P. 230) when the engine is run-
ning.
Turn the engine switch to the “LOCK” position.
While pressing the trip meter reset button, set the engine switch to
the “ON” position (but do not start the engine because otherwise
the reset mode will be canceled). Continue to press and hold the
button until the multi-information display indicates that the reset is
complete.
Vehicles with smart entry & start system:
Switch the display to trip meter A (P. 230) when the engine is run-
ning.
Turn the “ENGINE START STOP” switch off.
While pressing the trip meter reset button, set the “ENGINE START
STOP” switch to IGNITION ON mode (but do not start the engine
because otherwise the reset mode will be canceled). Continue to
press and hold the button until the multi-information display indi-
cates that the reset is complete.
VERSO_WE.book Page 428 Thursday, June 19, 2014 11:31 AM