2014 TOYOTA SIENNA change wheel
[x] Cancel search: change wheelPage 179 of 872

179
1-7. Safety information
1
Before driving
SIENNA_OM_OM45483U_(U)
CAUTION
■
SRS airbag precautions
Observe the following precautions regarding the SRS airbags.
Failure to do so may cause death or serious injury.
●The driver and all passengers in the vehicle must wear their seat belts
properly.
The SRS airbags are supplemental devices to be used with the seat belts.
● The SRS driver airbag deploys with considerable force, and can cause
death or serious injury especially if the driver is very close to the airbag.
The National Highway Traffic Safety Administration (NHTSA) advises:
Since the risk zone for the driver’s airbag is the first 2 - 3 in. (50 - 75 mm)
of inflation, placing yourself 10 in. (250 mm) from your driver airbag pro-
vides you with a clear margin of safety. This distance is measured from the
center of the steering wheel to your breastbone. If you sit less than 10 in.
(250 mm) away now, you can change your driving position in several
ways:
• Move your seat to the rear as far as you can while still reaching the pedals comfortably.
• Slightly recline the back of the seat. Although vehicle designs vary, many drivers can achieve the 10 in.
(250 mm) distance, even with the driver seat all the way forward, sim-
ply by reclining the back of the seat somewhat. If reclining the back of
your seat makes it hard to see the road, raise yourself by using a firm,
non-slippery cushion, or raise the seat if your vehicle has that feature\
.
• If your steering wheel is adjustable, tilt it downward. This points the air- bag toward your chest instead of your head and neck.
The seat should be adjusted as recommended by NHTSA above, while
still maintaining control of the foot pedals, steering wheel, and your view of
the instrument panel controls.
Page 482 of 872

482 3-2. Using the audio system
SIENNA_OM_OM45483U_(U)
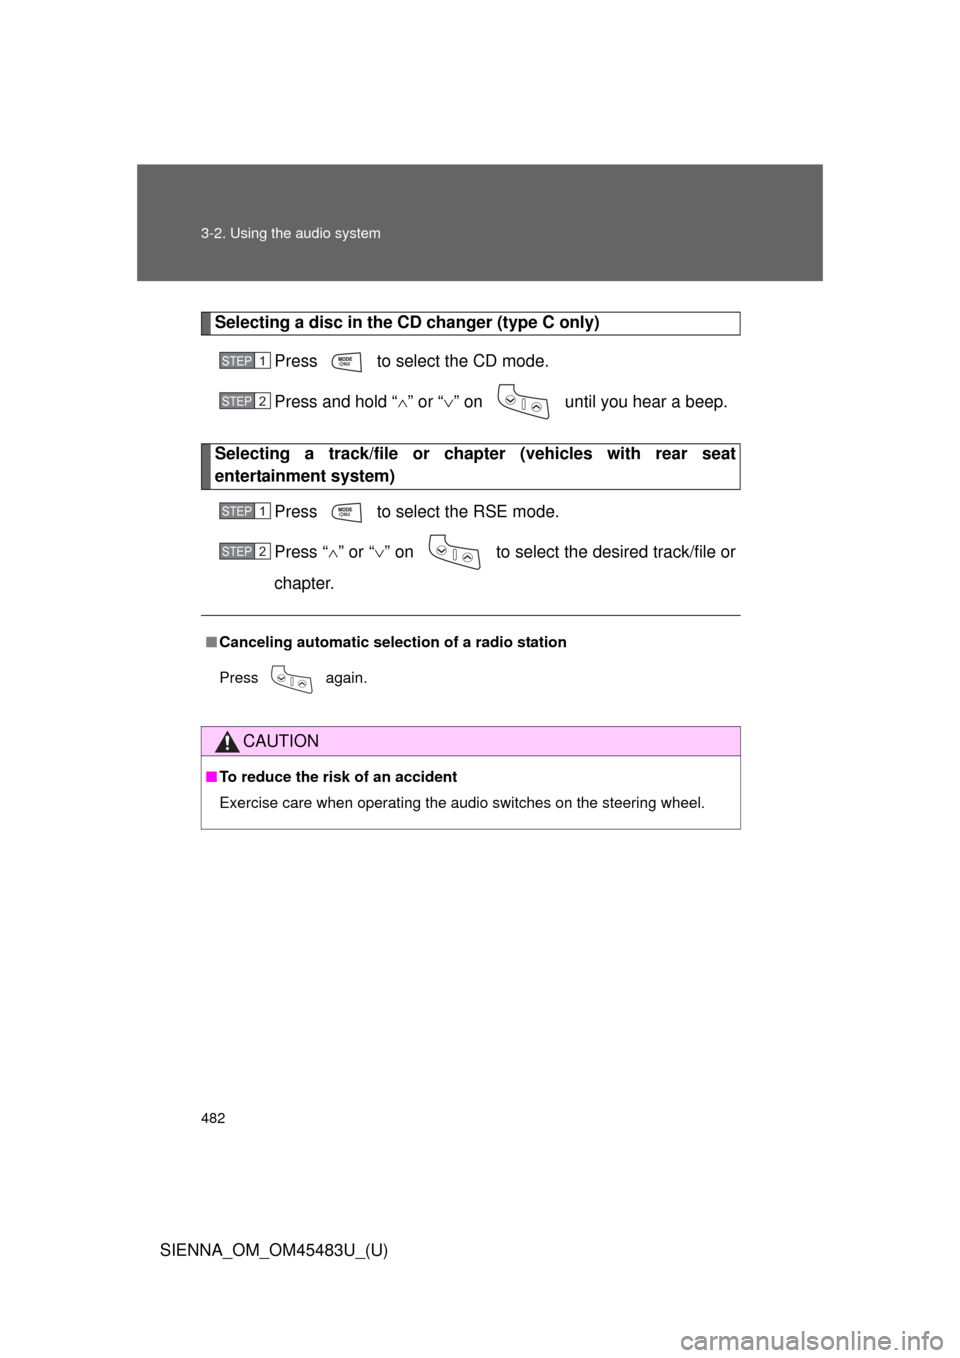
Selecting a disc in the CD changer (type C only)Press to select the CD mode.
Press and hold “ ” or “ ” on until you hear a beep.
Selecting a track/file or ch apter (vehicles with rear seat
entertainment system)
Press to select the RSE mode.
Press “” or “ ” on to select the desired track/file or
chapter.
■ Canceling automatic selection of a radio station
Press again.
CAUTION
■To reduce the risk of an accident
Exercise care when operating the audio switches on the steering wheel.
STEP1
STEP2
STEP1
STEP2
Page 494 of 872

494 3-3. Using the Bluetooth
® audio system
SIENNA_OM_OM45483U_(U)
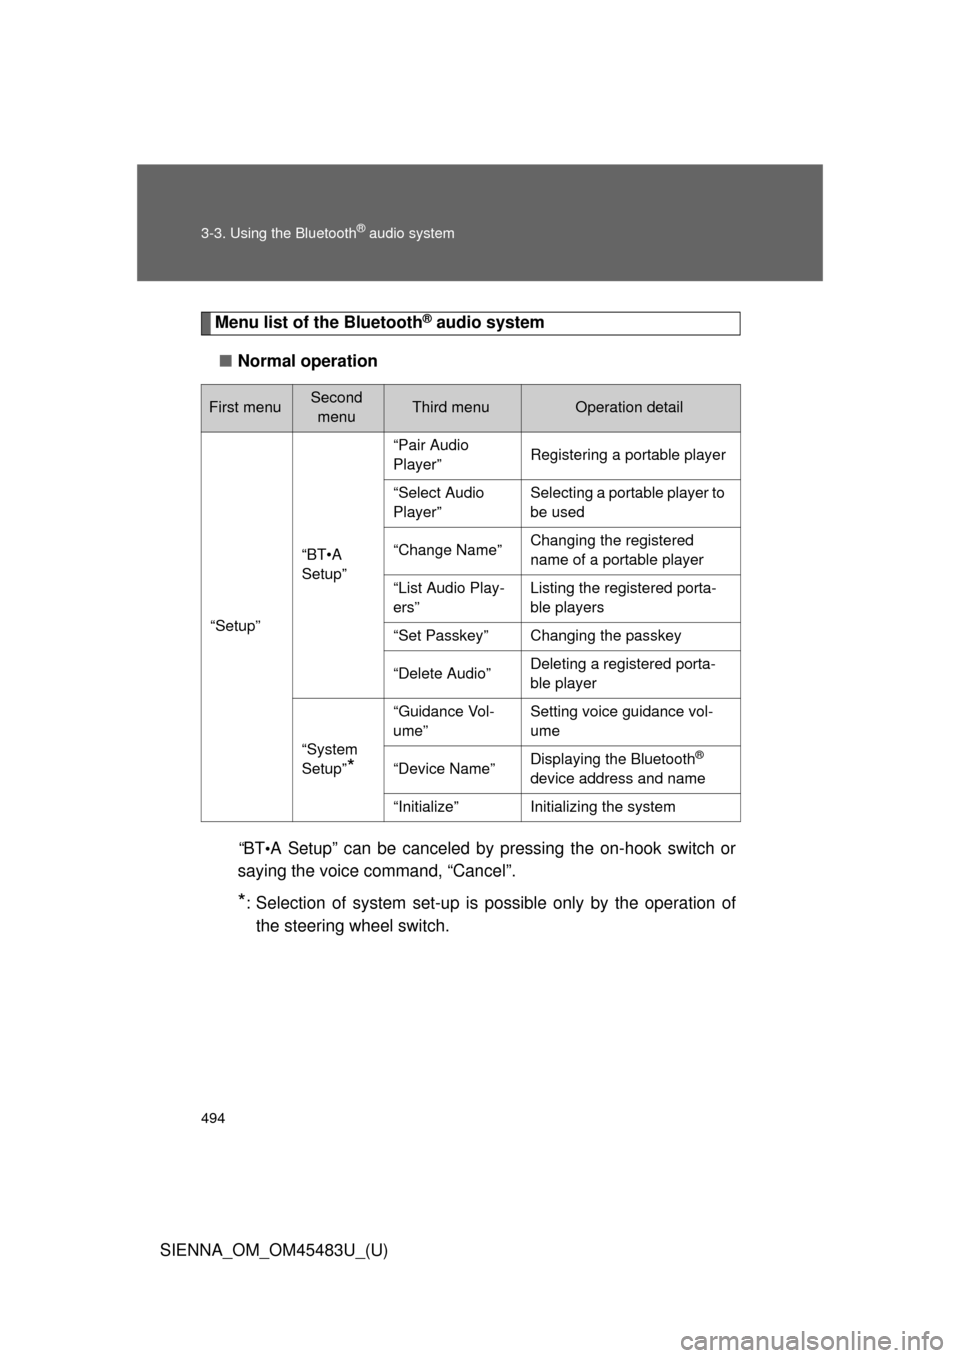
Menu list of the Bluetooth® audio system
■ Normal operation
“B T
•A Setup” can be canceled by pressing the on-hook switch or
saying the voice command, “Cancel”.
*: Selection of system set-up is possible only by the operation of
the steering wheel switch.
First menuSecond menuThird menuOperation detail
“Setup”
“BT•A
Setup”
“Pair Audio
Player”Registering a portable player
“Select Audio
Player”Selecting a portable player to
be used
“Change Name”Changing the registered
name of a portable player
“List Audio Play-
ers”Listing the registered porta-
ble players
“Set Passkey”Changing the passkey
“Delete Audio”Deleting a registered porta-
ble player
“System
Setup”
*
“Guidance Vol-
ume”Setting voice guidance vol-
ume
“Device Name”Displaying the Bluetooth®
device address and name
“Initialize”Initializing the system
Page 497 of 872

497
3-3. Using the Bluetooth
® audio system
3
Interior features
SIENNA_OM_OM45483U_(U)
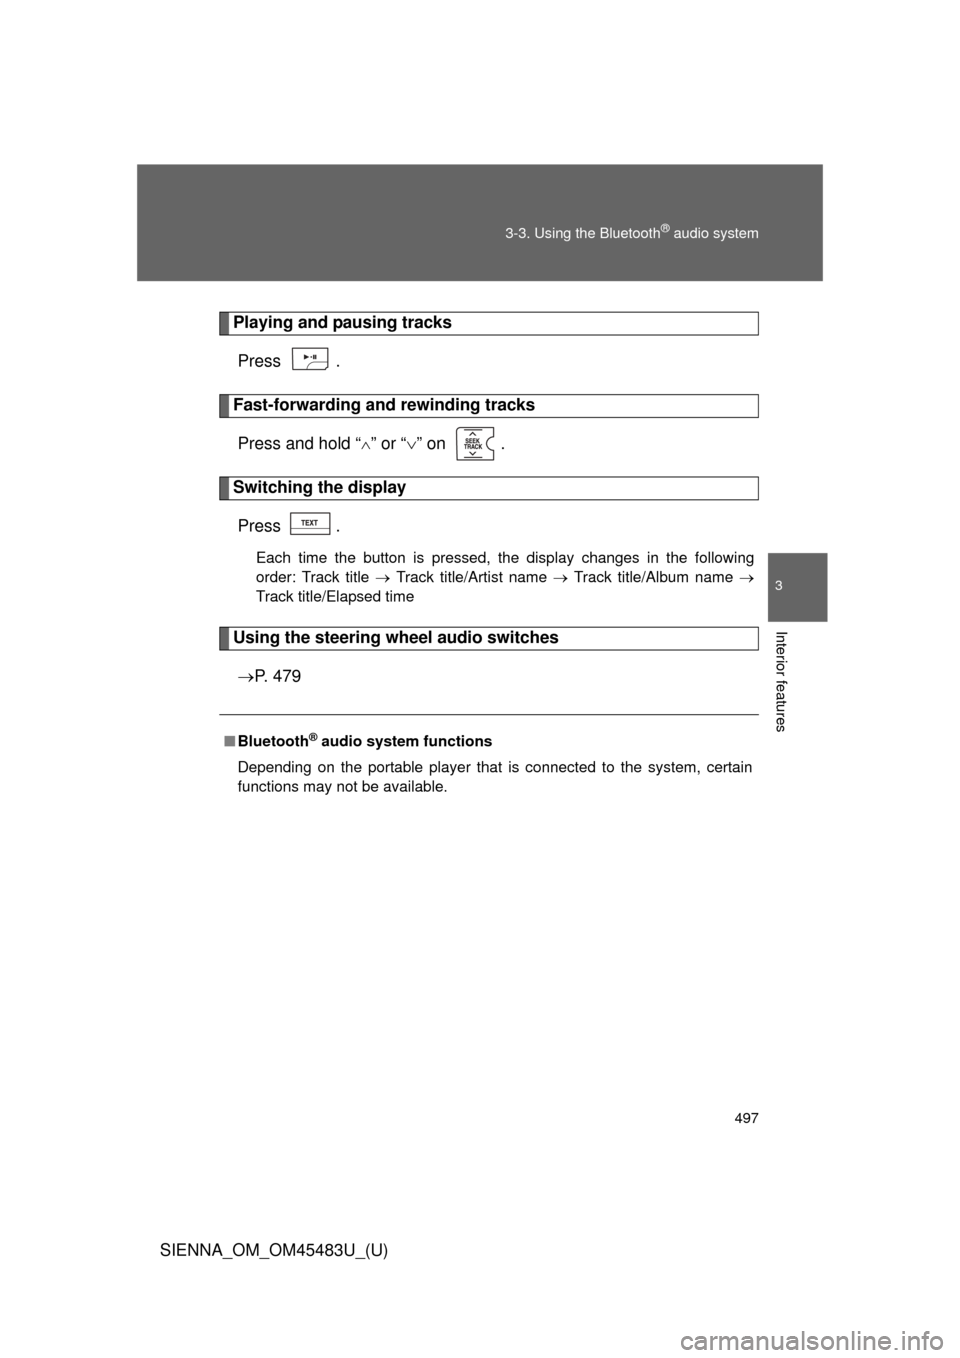
Playing and pausing tracks
Press .
Fast-forwarding and rewinding tracksPress and hold “
” or “ ” on .
Switching the display
Press .
Each time the button is pressed, the display changes in the following
order: Track title Track title/Artist name Track title/Album name
Track title/Elapsed time
Using the steering wheel audio switches
P. 4 7 9
■Bluetooth® audio system functions
Depending on the portable player that is connected to the system, certain
functions may not be available.
Page 690 of 872

690 4-3. Do-it-yourself maintenance
SIENNA_OM_OM45483U_(U)
Installing tire pressure warning valves and transmittersWhen replacing tires or wheels, tire pressure warning valves and
transmitters must also be installed.
When new tire pressure warning valves and transmitters are
installed, new ID codes must be regi stered in the tire pressure warn-
ing computer and the tire pressure warning system must be initial-
ized. Have tire pressure warning valve and transmitter ID codes
registered by your Toyota dealer. ( P. 692)
Initializing the tire pressure warning system
When the tire size is changed, the tire pressure warning system must
be initialized.
When the tire pressure warning syst em is initialized, the current tire
inflation pressure is set as the benchmark pressure.
■ How to initialize the tire pressure warning system
Park the vehicle in a safe pl ace and turn the engine switch
(vehicles without a smart key system) or the “ENGINE START
STOP” switch (vehicles with a smart key system) off.
Initialization cannot be performed while the vehicle is moving.
Adjust the tire inflation pressure to the specified cold tire infla-
tion pressure level. ( P. 807)
Make sure to adjust the tire pressure to the specified cold tire
inflation pressure level. The ti re pressure warning system will
operate based on this pressure level.
STEP1
STEP2
Page 755 of 872

5
When trouble arises
755
5-2. Steps to take in an emergency
SIENNA_OM_OM45483U_(U)
CAUTION
■When the electric power steering system warning light comes on
The steering wheel may become extremely heavy.
If the steering wheel becomes heavier than usual when operating, hold
firmly and operate using more force than usual.
■If the tire pressure warning light comes on
Be sure to observe the following precautions. Failure to do so could
cause loss of vehicle control and result in death or serious injury.
●Vehicles with standard tires:
• Stop your vehicle in a safe place as soon as possible. Adjust the
tire inflation pressure immediately.
• If the tire pressure warning light comes on even after tire inflation pressure adjustment, it is probable that you have a flat tire. Check
the tires. If a tire is flat, change it with the spare tire and have the
flat tire repaired by the nearest Toyota dealer.
• Avoid abrupt maneuvering and brak ing. If the vehicle tires deterio-
rate, you could lose control of th e steering wheel or the brakes.
●Vehicles with run-flat tires:
• Decelerate to the lowest appropr iate speed as soon as possible.
Do not drive over 50 mph (80 km/h).
• Check and adjust the tire inflation pressure immediately.
• If the tire pressure warning light comes on even after tire inflation pressure adjustment, it is probable that you have a flat tire. Have
the tire replaced by the nearest Toyota dealer.
• Avoid abrupt maneuvering and brak ing. If the vehicle tires deterio-
rate, you could lose control of th e steering wheel or the brakes.
Page 770 of 872

770 5-2. Steps to take in an emergency
SIENNA_OM_OM45483U_(U)
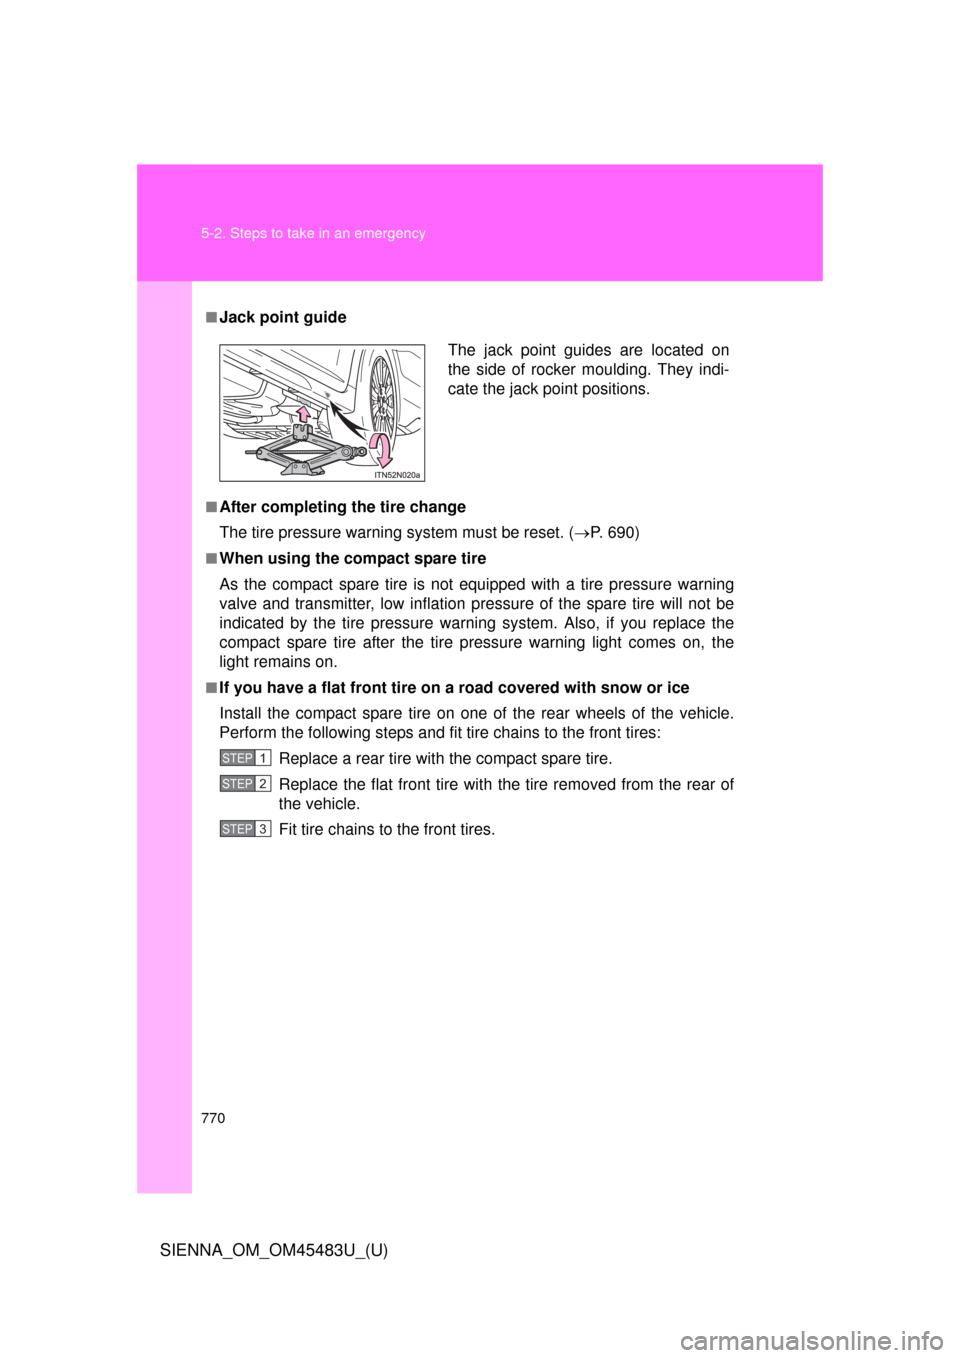
■Jack point guide
■After completing the tire change
The tire pressure warning system must be reset. ( P. 690)
■When using the compact spare tire
As the compact spare tire is not equipped with a tire pressure warning
valve and transmitter, low inflation pressure of the spare tire will not be
indicated by the tire pressure warn ing system. Also, if you replace the
compact spare tire after the tire pressure warning light comes on, the
light remains on.
■If you have a flat front tire on a road covered with snow or ice
Install the compact spare tire on one of the rear wheels of the vehicle.
Perform the following steps and fit tire chains to the front tires:
Replace a rear tire with the compact spare tire.
Replace the flat front tire with the tire removed from the rear of
the vehicle.
Fit tire chains to the front tires.
The jack point guides are located on
the side of rocker moulding. They indi-
cate the jack point positions.
STEP1
STEP2
STEP3
Page 856 of 872

856
SIENNA_OM_OM45483U_(U)
Alphabetical index
Alphabetical index
A/C ..................... 396, 404, 414, 417
ABS ........................................... 331
Active head restraint .................98
Active Torque Control 4WD system ........................... 332
Air conditioning filter............... 706
Air conditioning system Air conditioning filter .............. 706
Front automatic air
conditioning system ............ 404
Front manual air conditioning system ............ 396
Rear automatic air conditioning system ............ 417
Rear manual air
conditioning system ............ 414
Airbags Airbag operating
conditions............................ 175
Airbag precautions for your child ....................... 179
Airbag warning light............... 744
Curtain shield airbag operating conditions............ 175
Curtain shield airbag precautions ......................... 179
Front passenger occupant
classification system ........... 185
General airbag precautions ......................... 179
Locations of airbags .............. 170
Modification and disposal of airbags .............. 184
Proper driving posture ........................ 168, 179
Side and curtain shield
airbags operating
conditions............................ 175
Side and curtain shield
airbags precautions ............ 179
SRS airbags .......................... 170 Alarm......................................... 163
Antenna ............................ 434, 483
Anti-lock brake system ........... 331
Armrest ..................................... 616
Assist grips .............................. 618
Audio input ............................... 478
Audio system
A/V input port ........................ 532
Antenna................................. 434
Audio input ............................ 478
Audio visual input .................. 532
AUX port ............................... 478
CD player/changer ................ 438
DVD player.... 515, 525, 529, 530
iPod ....................................... 458
MP3/WMA disc ..................... 447
Optimal use ........................... 473
Portable music player ........... 478
Radio..................................... 428
Rear seat entertainment system ......... 504
Steering wheel audio switch.................................. 479
Type ...................................... 423
USB memory......................... 465
Audio visual input.................... 478
Automatic light control system .................................... 270
Automatic transaxle Automatic transaxle .............. 238
If the shift lever cannot be
shifted from P ..................... 778
S mode.................................. 240
Auxiliary box ........................... 601
AUX port ................................... 478
A/V input port ........................... 478A