Page 401 of 620
401
3-5. Other interior features
3
Interior features
Garage door opener
The garage door opener (HomeLink Universal Transceiver) is manufac-
tured under license from HomeLink.
Programming HomeLink (for U.S. owners)
The HomeLink
compatible transceiver in your vehicle has 3 buttons
which can be programmed to operate 3 different devices. Refer to the
programming method below appropriate for the device.
Buttons
Indicator
The garage door opener can be programmed to operate garage
doors, gates, entry doors, door locks, home lighting systems, secu-
rity systems, and other devices.
: If equipped
Page 404 of 620

404 3-5. Other interior features
Press and hold the vehicle’s programmed HomeLink button
for 2 seconds and then releas e it. Repeat this step once
again. The garage door may open.
If the garage door opens, the programming process is complete. If
the door does not open, press and release the button a third time.
This third press and release will complete the programming process
by opening the garage door.
The ceiling mounted garage door opener motor should now recog-
nize the HomeLink
signal and operate the garage door.
Repeat the steps above to prog ram another rolling code sys-
tem for any of the remaining HomeLink buttons.
■ Programming an entry gate (for U.S. owners)/Programming a
device in the Canadian market
Place the remote control transmitter 1 to 3 in. (25 to 75 mm)
away from the HomeLink
buttons.
Keep the HomeLink indicator light in view while programming.
Press and hold the selected HomeLink button.
Repeatedly press and release (cycle) the remote control
transmitter for 2 seconds each until step 4 is completed.
When the HomeLink
indicator light starts to flash rapidly,
release the buttons.
Test the HomeLink
operation by pressing the newly pro-
grammed button. Check to see if the gate/device operates
correctly.
Repeat the steps above to program another device for any of
the remaining HomeLink
buttons.
■ Programming other devices
To program other devices such as home security systems, home
door locks or lighting, contact y our Toyota dealer for assistance.
■ Reprogramming a button
The individual HomeLink
buttons cannot be erased but can be
reprogrammed. To reprogram a button, follow the “Reprogramming
a HomeLink
button” instructions.
STEP3
STEP4
STEP1
STEP2
STEP3
STEP4
STEP5
STEP6
Page 410 of 620

410 3-5. Other interior features
Referring to the map above, press “AUTO” to select the num-
ber of the zone you are in.
If the direction is displayed several seconds after adjustment, the
calibration is complete.
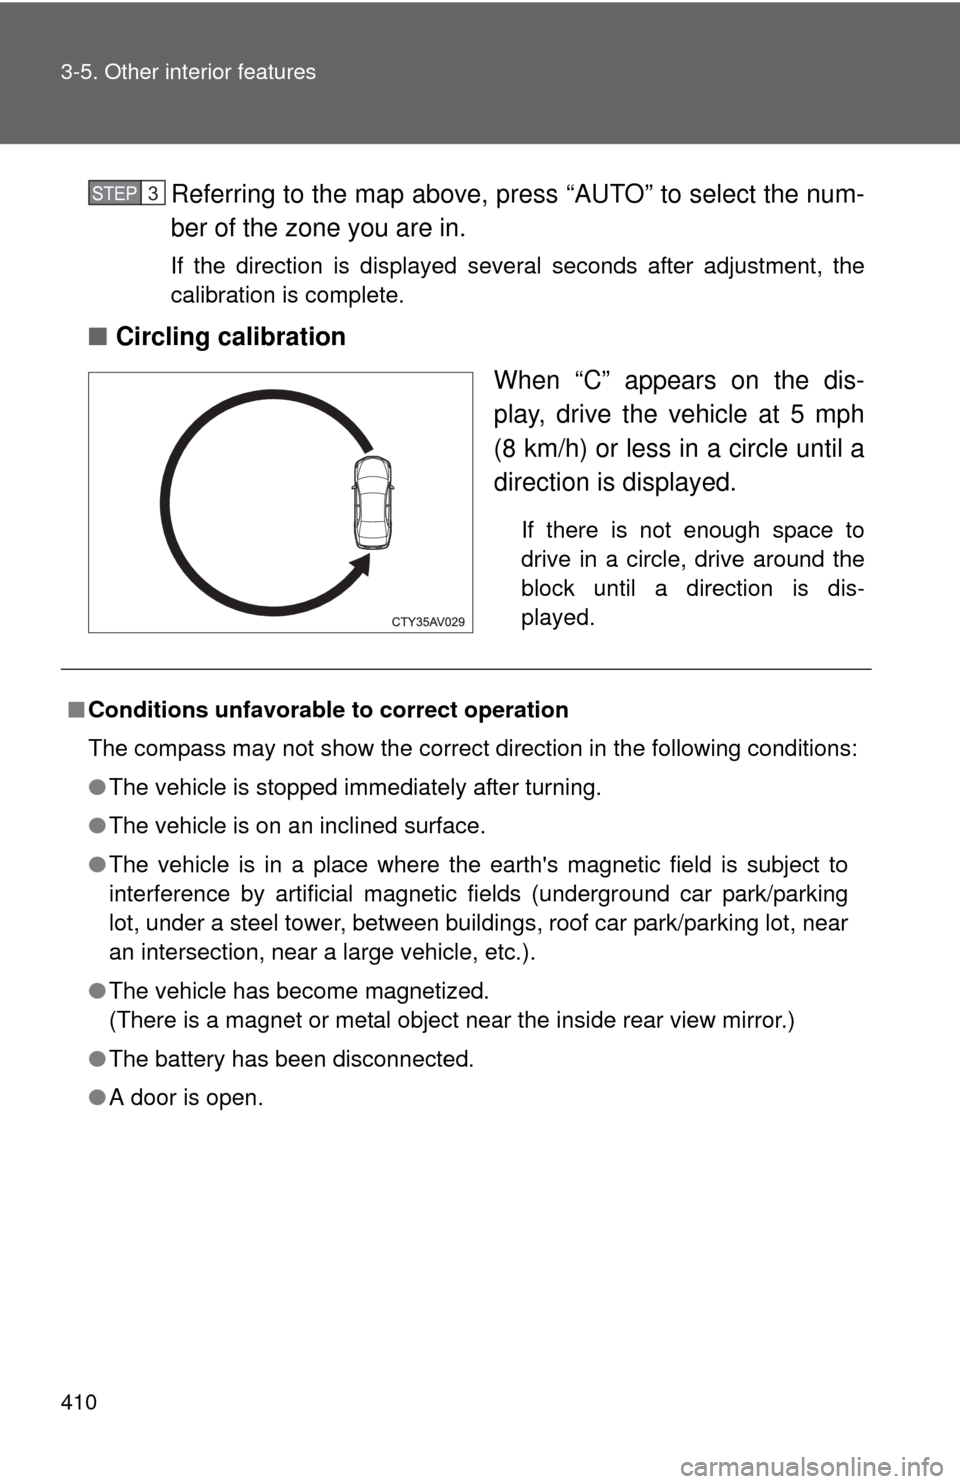
■Circling calibration
When “C” appears on the dis-
play, drive the vehicle at 5 mph
(8 km/h) or less in a circle until a
direction is displayed.
If there is not enough space to
drive in a circle, drive around the
block until a direction is dis-
played.
STEP3
■Conditions unfavorable to correct operation
The compass may not show the correct direction in the following conditions:
●The vehicle is stopped immediately after turning.
● The vehicle is on an inclined surface.
● The vehicle is in a place where the earth's magnetic field is subject to
interference by artificial magnetic fields (underground car park/parking
lot, under a steel tower, between buildings, roof car park/parking lot, near
an intersection, near a large vehicle, etc.).
● The vehicle has become magnetized.
(There is a magnet or metal object near the inside rear view mirror.)
● The battery has been disconnected.
● A door is open.
Page 421 of 620

421
4-1. Maintenance and care
4
Maintenance and care
■
When using a car wash (veh icles with a smart key system)
If the door handle becomes wet while the electronic key is within the effec-
tive range, the door may lock and unlock repeatedly. In that case, follow the
following correction procedures to wash the vehicle:
● Place the electronic key in a location 6 ft. (2 m) or more away from the
vehicle. (Take care to ensure that the key is not stolen.)
● Set the electronic key to battery-saving mode to disable the smart key
system. ( P. 41)
■ Aluminum wheels (if equipped)
●Remove any dirt immediately by using a neutral detergent. Do not use
hard brushes or abrasive cleaners. Do not use strong or harsh chemical
cleaners. Use the same mild detergent and wax as used on the paint.
● Do not use detergent on the wheels when they are hot, for example after
driving for long distance in the hot weather.
● Wash detergent from the wheels immediately after use.
■ Bumpers
Do not scrub with abrasive cleaners.
CAUTION
■When washing the vehicle
Do not apply water to the inside of the engine compartment. Doing so may
cause the electrical components etc. to catch fire.
■ Precautions regardin g the exhaust pipe
Exhaust gasses cause the exhaust pipe to become quite hot.
When washing the vehicle, be careful not to touch the pipe until it has cooled
sufficiently, as touching a hot exhaust pipe can cause burns.
■ Precaution regarding th e Blind Spot Monitor
If the paint of the rear bumper is chipped or scratched, the system may mal-
function. If this occurs, consult your Toyota dealer.
Page 430 of 620

430 4-2. Maintenance
Vehicle interior
ItemsCheck points
Accelerator pedal • The accelerator pedal should
move smoothly (without uneven
pedal effort or catching).
Automatic transmission “Park”
mechanism • When parked on a slope and the
shift lever is in P, is the vehicle
securely stopped?
Brake pedal • Does the brake pedal move
smoothly?
• Does the brake pedal have appro- priate clearance from the floor? (P. 560)
• Does the brake pedal have the correct amount of free play? (P. 560)
Brakes • The vehicle should not pull to one
side when the brakes are applied.
• The brakes should work effec- tively.
• The brake pedal should not feel spongy.
• The brake pedal should not get too close to the floor when the
brakes are applied.
Head restraints (front seat) • Do the head restraints move
smoothly and lock securely?
Indicators/buzzers • Do the indicators and buzzers
function properly?
Lights • Do all the lights come on?
Parking brake • Does the parking brake pedal
move smoothly?
• When parked on a slope and the parking brake is on, is the vehicle
securely stopped?
Page 432 of 620
432 4-2. Maintenance
Vehicle exterior
ItemsCheck points
Doors/trunk • Do the doors and trunk operate
smoothly?
Engine hood • Does the engine hood lock sys-
tem work properly?
Fluid leaks • There should not be any signs of
fluid leakage after the vehicle has
been parked.
Tires • Is the tire inflation pressure cor-
rect?
• The tires should not be dam- aged or excessively worn.
• Have the tires been rotated according to the maintenance
schedule?
• The wheel nuts should not be loose.
Windshield wipers • The wiper blades should not show
any signs of cracking, splitting,
wear, contamination or deforma-
tion.
• The wiper blades should clear the windshield without streaking or
skipping.
CAUTION
■ If the engine is running
Turn the engine off and ensure that there is adequate ventilation before per-
forming maintenance checks.
Page 437 of 620
437
4-3. Do-it-yourself maintenance
4
Maintenance and care
Hood
CAUTION
■Pre-driving check
Check that the hood is fully closed and locked.
If the hood is not locked properly, it may open while the vehicle is in motion
and cause an accident, which may result in death or serious injury.
Release the lock from the inside of the vehicle to open the hood.
Pull the hood release lever.
The hood will pop up slightly.
Pull up the auxiliary catch
lever and lift the hood.
STEP1
STEP2
Page 444 of 620
444 4-3. Do-it-yourself maintenance
■Adding engine oil
If the oil level is below or near
the low level mark, add engine
oil of the same type as that
already in the engine.
Make sure to check the oil type and prepare the items needed before
adding oil.
Remove the oil filler cap by turning it counterclockwise.
Add engine oil slowly, checking the dipstick.
Install the oil filler cap by turning it clockwise.
Engine oil selection P. 5 5 6
Oil quantity
(Low Full)1.6 qt. (1.5 L, 1.3 lmp. qt.)
Items
Clean funnel
STEP1
STEP2
STEP3