Page 470 of 632
4706-3. Do-it-yourself maintenance
Auris Touring Sports_EE (OM12G98E)
Front turn signal lights
Remove the securing clip.
Pull out the washer fluid filler
opening after turning it.
(When replacing right side
bulb only.)
Turn the bulb base counter-
clockwise.
Remove the light bulb.
When installing the light bulb, install by conducting and
with the directions reversed.
Install the washer fluid filler
opening by inserting and
turning it. Install the securing
clip. (When replacing right
side bulb only.)
1
2
3
432
5
Page 473 of 632
4736-3. Do-it-yourself maintenance
Auris Touring Sports_EE (OM12G98E)
6
Maintenance and care
Stop/tail lights and rear turn signal lights
Open the back door and
remove the 2 screws.
Remove the lamp assembly
by pulling it straight back.
Turn the bulb base counter-
clockwise.
Stop/tail lights
Rear turn signal lights
Remove the light bulb.
Stop/tail lights
Rear turn signal lights
When installing the light bulb, install by conducting and
with the directions reversed.
Install the lamp assembly
and then install the 2 screws.
Align the guide ( ) and pin
( ) on the lamp assembly with
the mounting when installing it.
1
2
1
2
3
1
2
432
5
1
2
Page 474 of 632
4746-3. Do-it-yourself maintenance
Auris Touring Sports_EE (OM12G98E)
Back-up light and rear fog light
Open the back door and
remove the cover.
Insert a flathead screwdriver or
similar into the hole at the top of
the cover and remove it as
shown in the illustration.
To prevent damaging the vehi-
cle, wrap the flathead screw-
driver with a tape.
Turn the bulb base counter-
clockwise and remove it.
Remove the light bulb.
When installing, reverse the steps listed.
1
2
3
4
Page 546 of 632
5467-2. Steps to take in an emergency
Auris Touring Sports_EE (OM12G98E)
Connect the hose to the valve.
Screw the end of the hose clock-
wise as far as possible.
Make sure that the compressor
switch is off.
Remove the power plug from
the compressor.
Connect the power plug to the
power outlet socket. (P. 382)
4
5
6
7
Page 553 of 632
5537-2. Steps to take in an emergency
Auris Touring Sports_EE (OM12G98E)
7
When trouble arises
Bottles with a nozzle cap:
Remove the cap from the noz-
zle.
Connect the nozzle to the
valve.
Screw the end of the nozzle clock-
wise as far as possible.
The bottle should hang vertically
without contacting the ground. If
the bottle does not hang vertically,
move the vehicle so that the tire
valve is located properly.
Remove the cap from the bot-
tle.
Pull the hose out from the com-
pressor.
4
5
6
7
Page 554 of 632
5547-2. Steps to take in an emergency
Auris Touring Sports_EE (OM12G98E)
Connect the bottle to the com-
pressor.
Screw the end of the nozzle clock-
wise as far as possible.
Make sure that the compressor
switch is off.
Remove the power plug from
the compressor.
Connect the power plug to the
power outlet socket. (P. 382)
8
9
10
11
Page 621 of 632

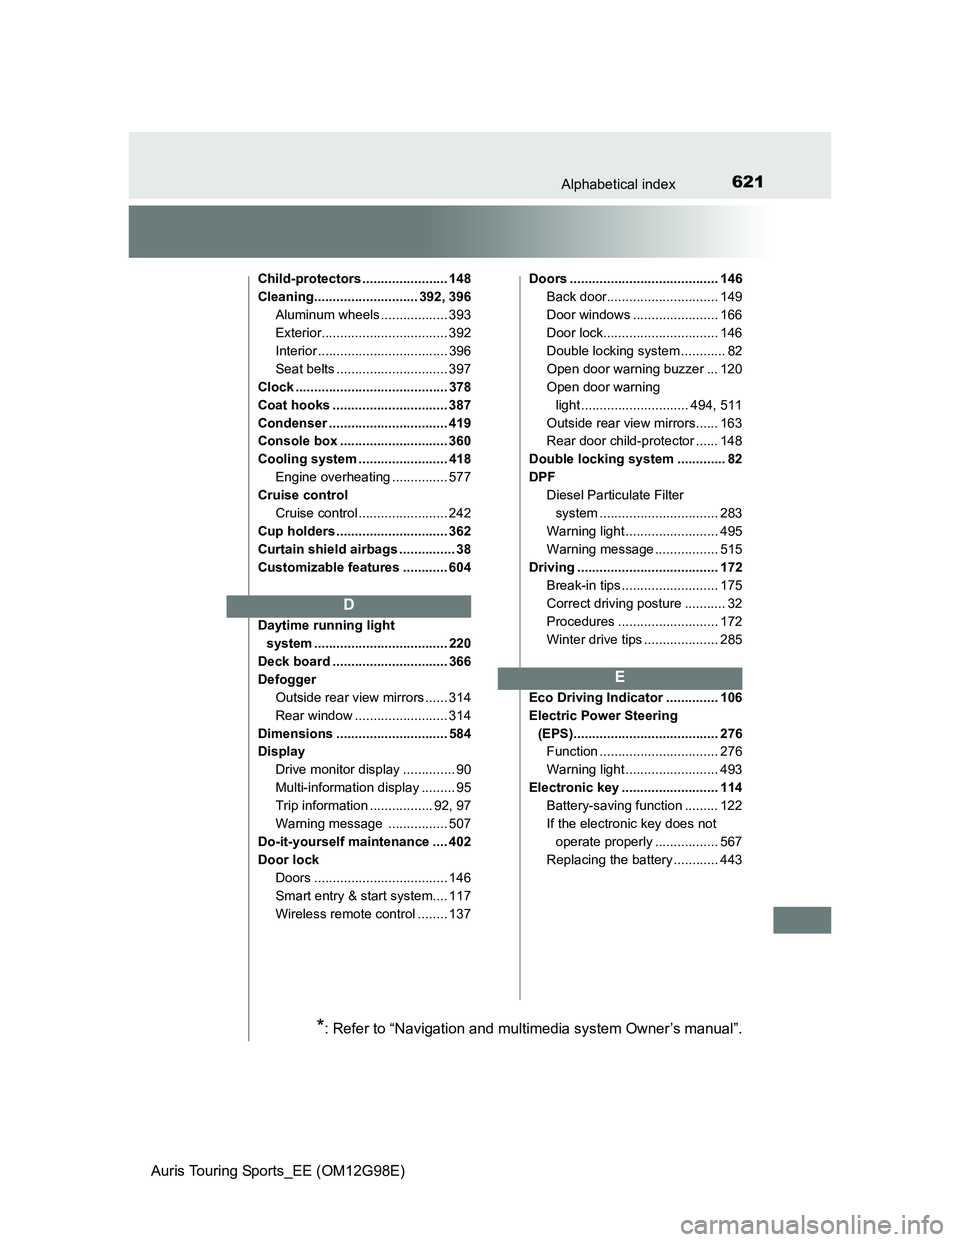
621Alphabetical index
Auris Touring Sports_EE (OM12G98E)
Child-protectors ....................... 148
Cleaning............................ 392, 396
Aluminum wheels .................. 393
Exterior.................................. 392
Interior ................................... 396
Seat belts .............................. 397
Clock ......................................... 378
Coat hooks ............................... 387
Condenser ................................ 419
Console box ............................. 360
Cooling system ........................ 418
Engine overheating ............... 577
Cruise control
Cruise control ........................ 242
Cup holders .............................. 362
Curtain shield airbags ............... 38
Customizable features ............ 604
Daytime running light
system .................................... 220
Deck board ............................... 366
Defogger
Outside rear view mirrors ...... 314
Rear window ......................... 314
Dimensions .............................. 584
Display
Drive monitor display .............. 90
Multi-information display ......... 95
Trip information ................. 92, 97
Warning message ................ 507
Do-it-yourself maintenance .... 402
Door lock
Doors .................................... 146
Smart entry & start system.... 117
Wireless remote control ........ 137Doors ........................................ 146
Back door.............................. 149
Door windows ....................... 166
Door lock............................... 146
Double locking system ............ 82
Open door warning buzzer ... 120
Open door warning
light ............................. 494, 511
Outside rear view mirrors...... 163
Rear door child-protector ...... 148
Double locking system ............. 82
DPF
Diesel Particulate Filter
system ................................ 283
Warning light ......................... 495
Warning message ................. 515
Driving ...................................... 172
Break-in tips .......................... 175
Correct driving posture ........... 32
Procedures ........................... 172
Winter drive tips .................... 285
Eco Driving Indicator .............. 106
Electric Power Steering
(EPS)....................................... 276
Function ................................ 276
Warning light ......................... 493
Electronic key .......................... 114
Battery-saving function ......... 122
If the electronic key does not
operate properly ................. 567
Replacing the battery ............ 443
D
E
*: Refer to “Navigation and multimedia system Owner’s manual”.
Page:
< prev 1-8 9-16 17-24