Page 679 of 788
6797-2. Steps to take in an emergency
UK_AURIS/AURIS_HV_EE (OM12G88E)
7
When trouble arises
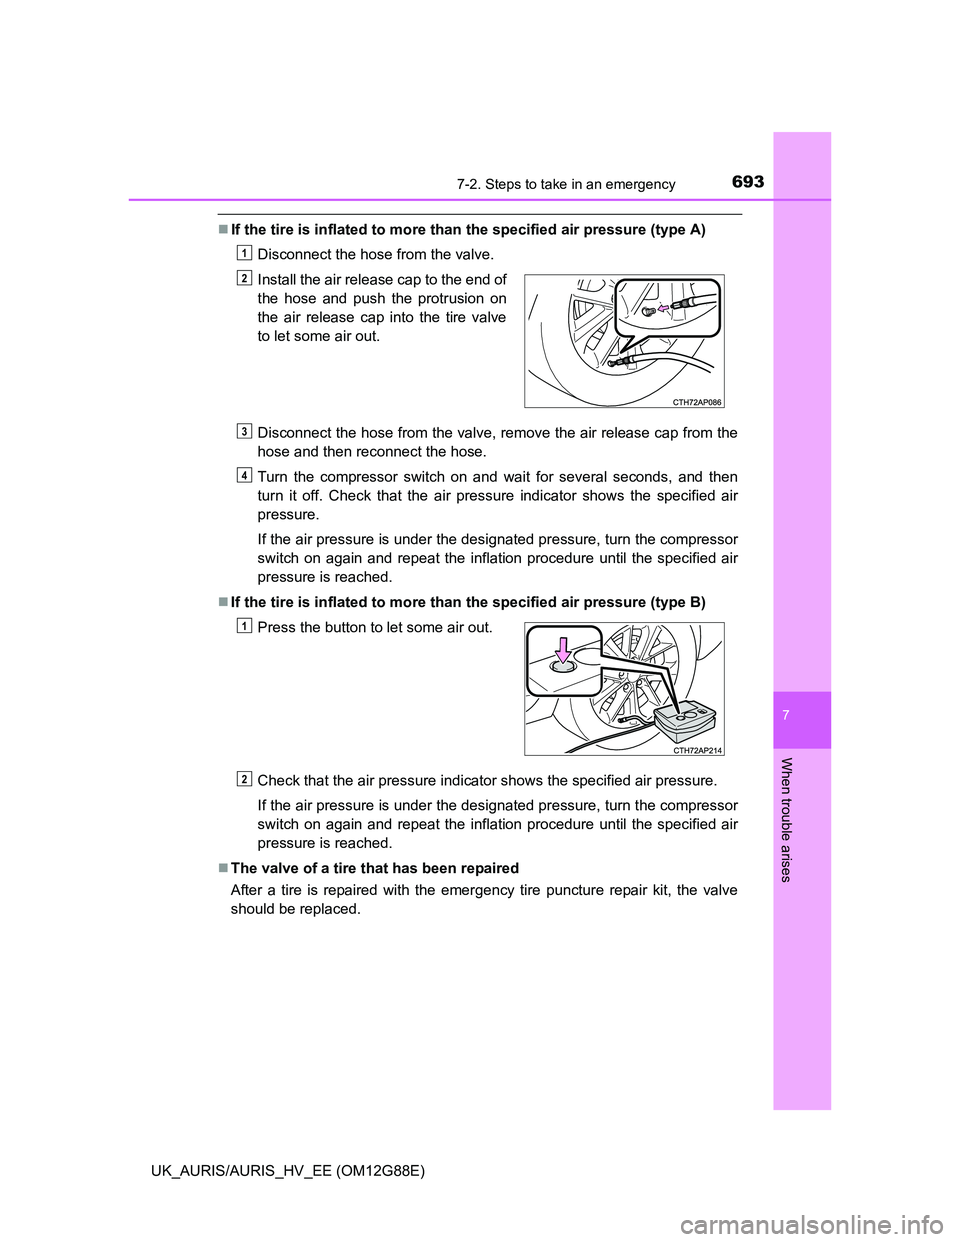
Remove the deck mat. (P. 470)
Take out the emergency tire puncture repair kit. (P. 674)
Take out the repair kit.
Remove the valve cap from the
valve of the punctured tire.
Remove the protective film from
the bottle and extend the hose.
Remove the air release cap
from the hose.
Attach the stickers enclosed with
the bottle on the specified loca-
tions. (See step 9.)
You will use the air release cap
again. Therefore keep it in a safe
place.
Connect the hose to the valve.
Screw the end of the hose clock-
wise as far as possible.
Taking out the emergency tire puncture repair kit
Emergency repair method (type A)
1
2
1
2
3
4
Page 686 of 788
6867-2. Steps to take in an emergency
UK_AURIS/AURIS_HV_EE (OM12G88E)
Taking precautions to avoid sudden braking, sudden acceleration
and sharp turns, drive carefully at under 80 km/h (50 mph) to the
nearest authorized Toyota dealer or repairer, or another duly quali-
fied and equipped professional for tire repair or replacement.
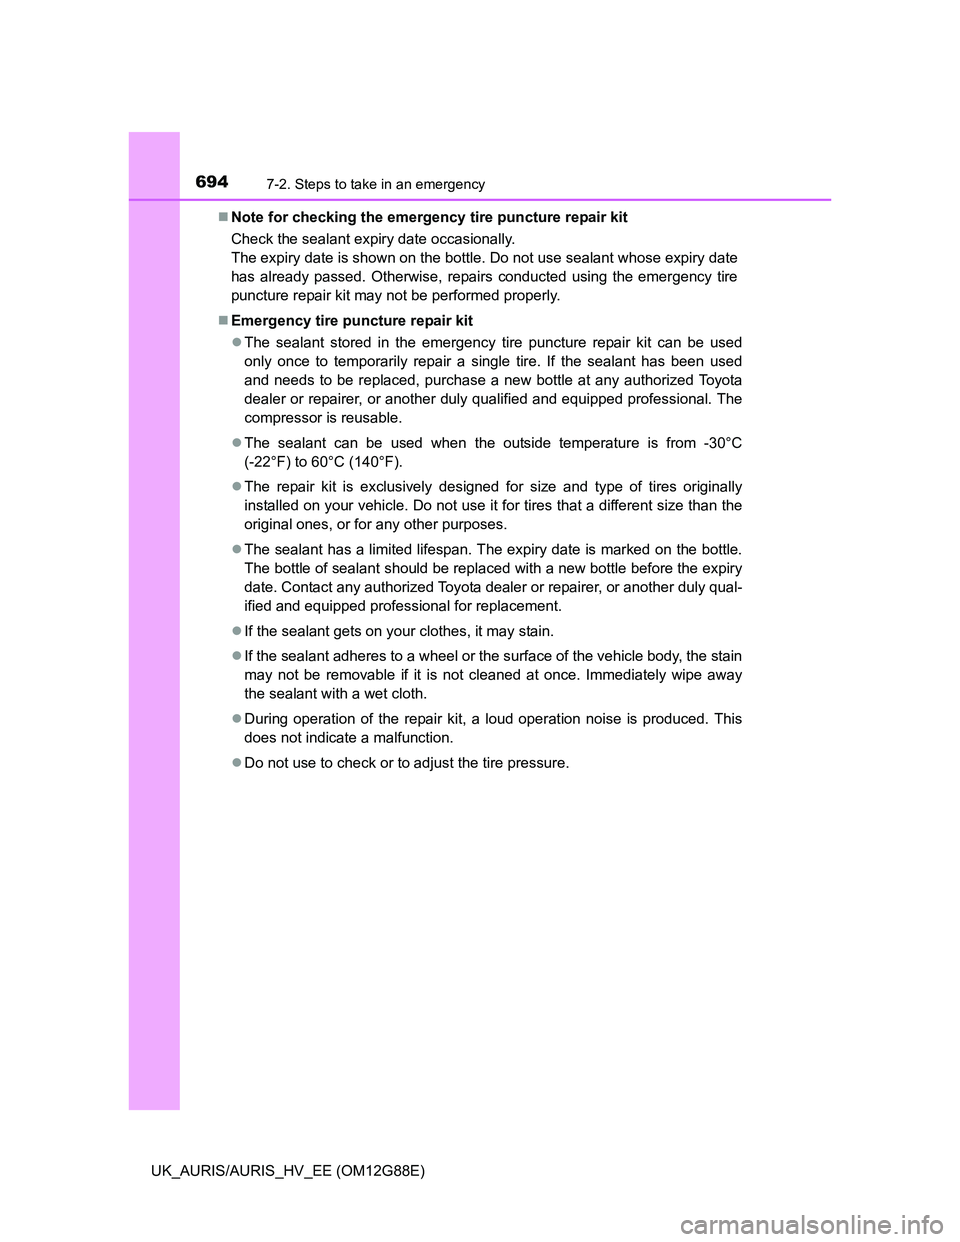
Take out the repair kit.
When taking out the bottle from the original bag, do not tear or discard the
bag.
Attach the 2 stickers as shown.
Remove any dirt and moisture from
the wheel before attaching the
label. If it is impossible to attach
the label, make sure to tell any
authorized Toyota dealer or
repairer, or other duly qualified and
equipped professional when you
have them repair and replace the
tire that sealant is injected.
Remove the valve cap from the
valve of the punctured tire.
Emergency repair method (type B)
25
1
2
3
Page 693 of 788

6937-2. Steps to take in an emergency
UK_AURIS/AURIS_HV_EE (OM12G88E)
7
When trouble arises
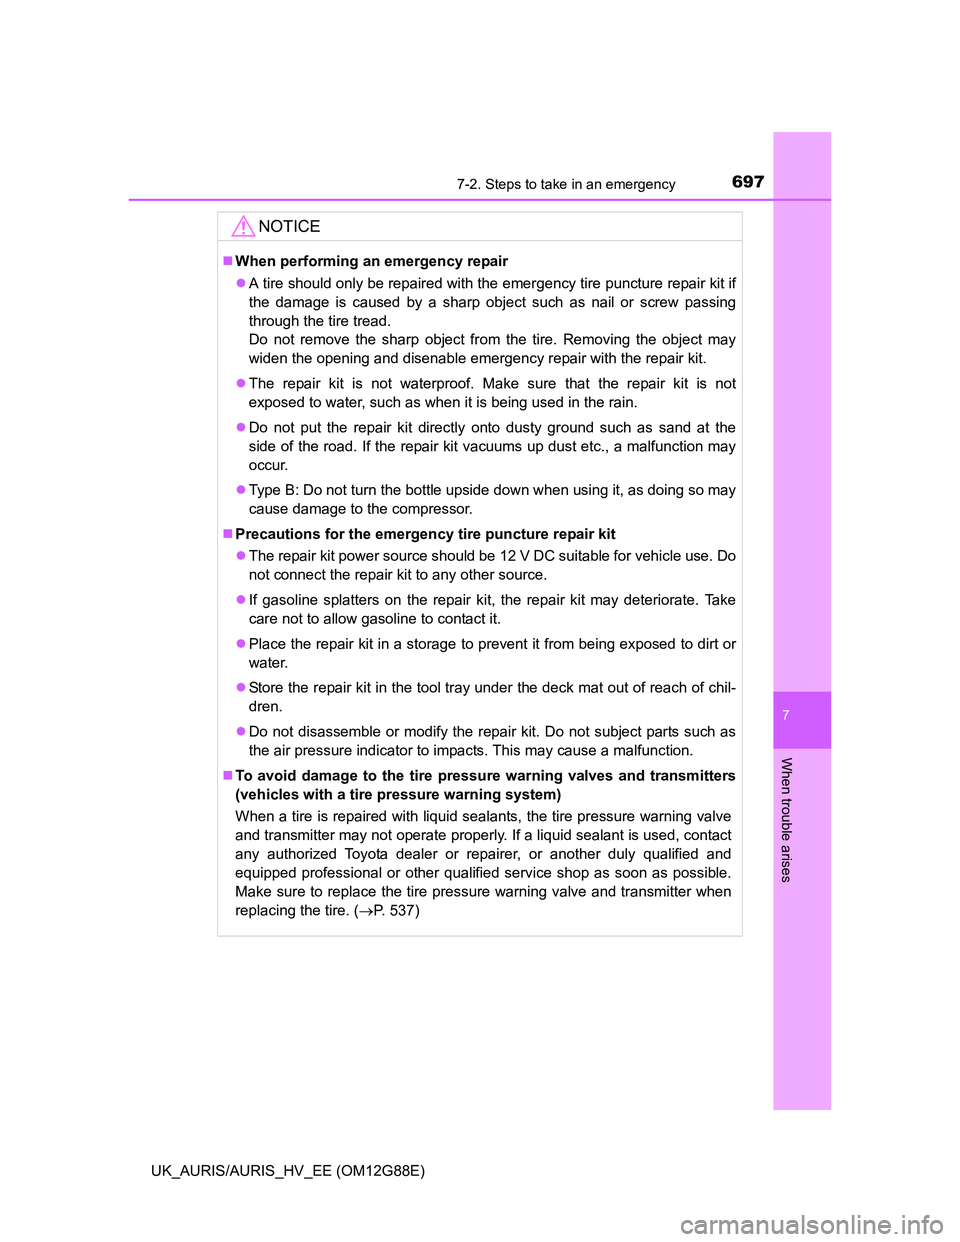
If the tire is inflated to more than the specified air pressure (type A)
Disconnect the hose from the valve.
Disconnect the hose from the valve, remove the air release cap from the
hose and then reconnect the hose.
Turn the compressor switch on and wait for several seconds, and then
turn it off. Check that the air pressure indicator shows the specified air
pressure.
If the air pressure is under the designated pressure, turn the compressor
switch on again and repeat the inflation procedure until the specified air
pressure is reached.
If the tire is inflated to more than the specified air pressure (type B)
Check that the air pressure indicator shows the specified air pressure.
If the air pressure is under the designated pressure, turn the compressor
switch on again and repeat the inflation procedure until the specified air
pressure is reached.
The valve of a tire that has been repaired
After a tire is repaired with the emergency tire puncture repair kit, the valve
should be replaced.Install the air release cap to the end of
the hose and push the protrusion on
the air release cap into the tire valve
to let some air out.
Press the button to let some air out.
1
2
3
4
1
2
Page 694 of 788

6947-2. Steps to take in an emergency
UK_AURIS/AURIS_HV_EE (OM12G88E)Note for checking the emergency tire puncture repair kit
Check the sealant expiry date occasionally.
The expiry date is shown on the bottle. Do not use sealant whose expiry date
has already passed. Otherwise, repairs conducted using the emergency tire
puncture repair kit may not be performed properly.
Emergency tire puncture repair kit
The sealant stored in the emergency tire puncture repair kit can be used
only once to temporarily repair a single tire. If the sealant has been used
and needs to be replaced, purchase a new bottle at any authorized Toyota
dealer or repairer, or another duly qualified and equipped professional. The
compressor is reusable.
The sealant can be used when the outside temperature is from -30°C
(-22°F) to 60°C (140°F).
The repair kit is exclusively designed for size and type of tires originally
installed on your vehicle. Do not use it for tires that a different size than the
original ones, or for any other purposes.
The sealant has a limited lifespan. The expiry date is marked on the bottle.
The bottle of sealant should be replaced with a new bottle before the expiry
date. Contact any authorized Toyota dealer or repairer, or another duly qual-
ified and equipped professional for replacement.
If the sealant gets on your clothes, it may stain.
If the sealant adheres to a wheel or the surface of the vehicle body, the stain
may not be removable if it is not cleaned at once. Immediately wipe away
the sealant with a wet cloth.
During operation of the repair kit, a loud operation noise is produced. This
does not indicate a malfunction.
Do not use to check or to adjust the tire pressure.
Page 697 of 788

6977-2. Steps to take in an emergency
UK_AURIS/AURIS_HV_EE (OM12G88E)
7
When trouble arises
NOTICE
When performing an emergency repair
A tire should only be repaired with the emergency tire puncture repair kit if
the damage is caused by a sharp object such as nail or screw passing
through the tire tread.
Do not remove the sharp object from the tire. Removing the object may
widen the opening and disenable emergency repair with the repair kit.
The repair kit is not waterproof. Make sure that the repair kit is not
exposed to water, such as when it is being used in the rain.
Do not put the repair kit directly onto dusty ground such as sand at the
side of the road. If the repair kit vacuums up dust etc., a malfunction may
occur.
Type B: Do not turn the bottle upside down when using it, as doing so may
cause damage to the compressor.
Precautions for the emergency tire puncture repair kit
The repair kit power source should be 12 V DC suitable for vehicle use. Do
not connect the repair kit to any other source.
If gasoline splatters on the repair kit, the repair kit may deteriorate. Take
care not to allow gasoline to contact it.
Place the repair kit in a storage to prevent it from being exposed to dirt or
water.
Store the repair kit in the tool tray under the deck mat out of reach of chil-
dren.
Do not disassemble or modify the repair kit. Do not subject parts such as
the air pressure indicator to impacts. This may cause a malfunction.
To avoid damage to the tire pressure warning valves and transmitters
(vehicles with a tire pressure warning system)
When a tire is repaired with liquid sealants, the tire pressure warning valve
and transmitter may not operate properly. If a liquid sealant is used, contact
any authorized Toyota dealer or repairer, or another duly qualified and
equipped professional or other qualified service shop as soon as possible.
Make sure to replace the tire pressure warning valve and transmitter when
replacing the tire. (P. 537)
Page 781 of 788

781Alphabetical index
UK_AURIS/AURIS_HV_EE (OM12G88E)
Radiator .................................... 523
Radio ......................................... 420
Rear fog light............................ 326
Replacing light bulb............... 582
Switch ................................... 326
Wattage................................. 754
Rear personal lights ................ 459
Rear seat
Folding down......................... 213
Rear turn signal lights ............. 311
Replacing light bulbs ............. 582
Turn signal lever ................... 311
Wattage................................. 754
Rear view mirror
Inside rear view mirror .......... 219
Outside rear view mirrors ...... 221
Rear view monitor system*
Rear window defogger ............ 416
Rear window wiper .................. 332
Refueling .................................. 334
Capacity ................................ 739
Fuel types ............................. 739
Opening the fuel tank cap ..... 336
Replacing
Electronic key battery............ 555
Fuses .................................... 558
Light bulbs............................. 582
Tires ...................................... 659
Wireless remote control
battery................................. 555
Reset the maintenance data ... 528
Road accident cautions ............ 88Seat belt reminder light........... 618
Seat belts.................................... 42
Adjusting the seat belt ............ 43
Child restraint system
installation ............................ 69
Cleaning and maintaining
the seat belt ........................ 495
Emergency Locking Retractor
(ELR) .................................... 43
How to wear your seat belt ..... 40
How your child should wear
the seat belt .......................... 43
Pregnant women, proper
seat belt use ......................... 44
Reminder light and buzzer .... 618
Seat belt pretensioners ........... 43
SRS warning light ................. 616
Seat heaters ............................. 481
Seats ......................................... 211
Adjustment ............................ 211
Adjustment precautions ........ 212
Child seats/child restraint
system installation ................ 68
Cleaning................................ 494
Head restraints ..................... 216
Properly sitting in the seat ...... 40
Seat heaters ......................... 481
RS
*: Refer to “Navigation and multimedia system Owner’s manual”.
Page 788 of 788
788
UK_AURIS/AURIS_HV_EE (OM12G88E)
GAS STATION INFORMATION
Auxiliary catch leverFuel filler door
P. 504 P. 336
Hood lock release
leverFuel filler
door openerTire inflation pressure
P. 504 P. 336 P. 750
Fuel tank capacity
(Reference)
Except hybrid model
50 L (13.2 gal., 11.0 Imp. gal.)
Hybrid model
45 L (11.9 gal., 9.9 Imp. gal.)
Fuel type P. 739
Cold tire inflation
pressureP. 750
Engine oil capacity
(Drain and refill —
reference)P. 741
Engine oil type“Toyota Genuine Motor Oil” or equivalent
P. 741