Page 72 of 298
72
1. BASIC OPERATION
2. SOME BASICS
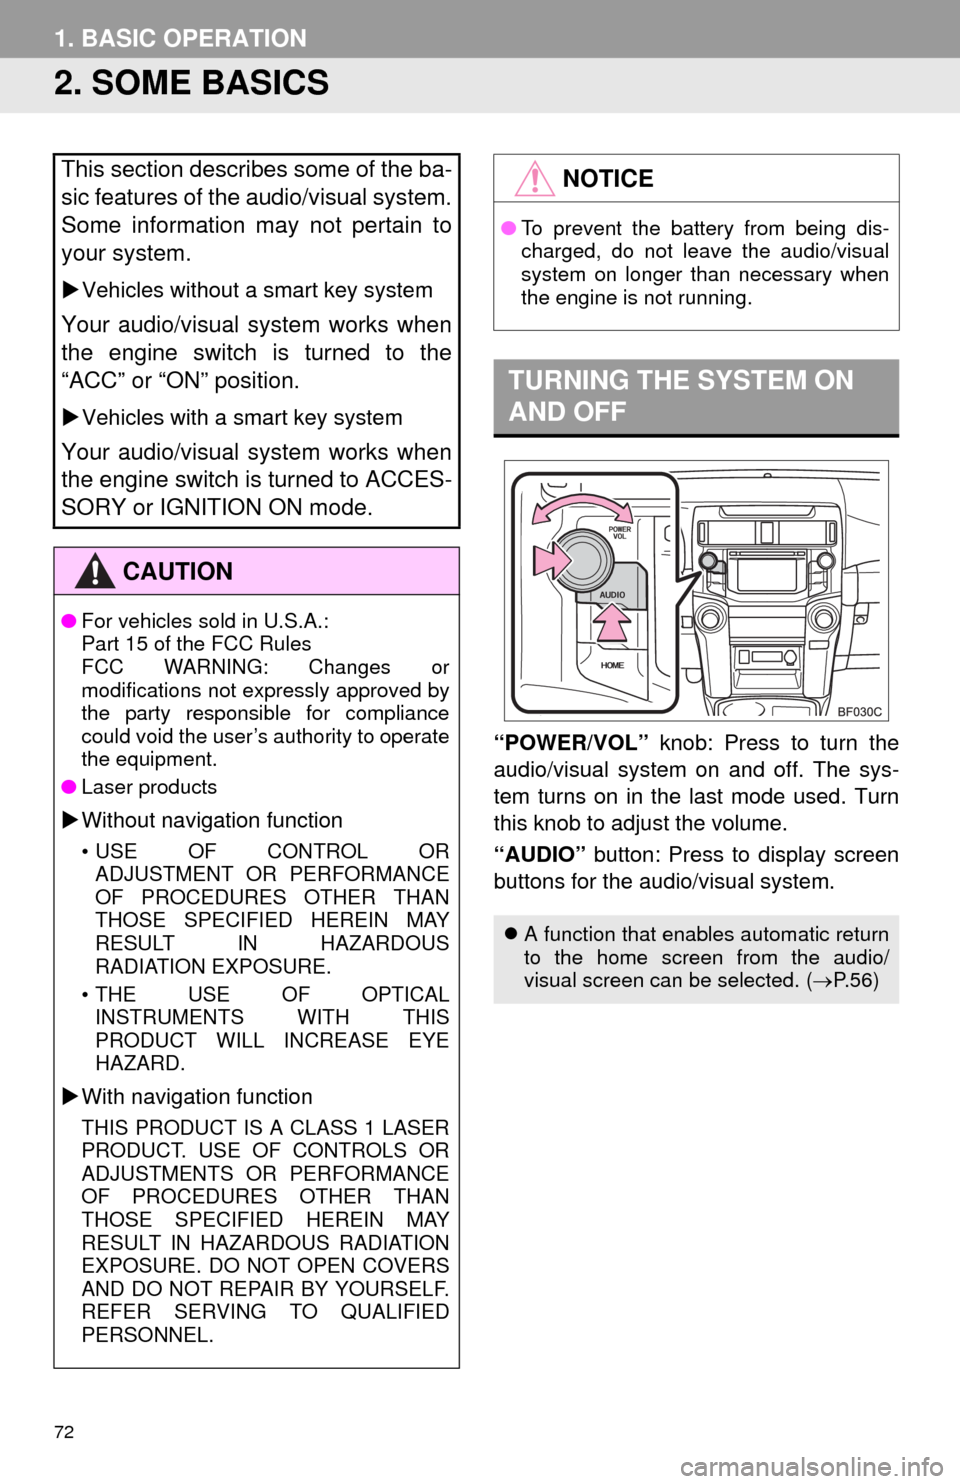
“POWER/VOL” knob: Press to turn the
audio/visual system on and off. The sys-
tem turns on in the last mode used. Turn
this knob to adjust the volume.
“AUDIO” button: Press to display screen
buttons for the audio/visual system.
This section describes some of the ba-
sic features of the audio/visual system.
Some information may not pertain to
your system.
Vehicles without a smart key system
Your audio/visual system works when
the engine switch is turned to the
“ACC” or “ON” position.
Vehicles with a smart key system
Your audio/visual system works when
the engine switch is turned to ACCES-
SORY or IGNITION ON mode.
CAUTION
●For vehicles sold in U.S.A.:
Part 15 of the FCC Rules
FCC WARNING: Changes or
modifications not expressly approved by
the party responsible for compliance
could void the user’s authority to operate
the equipment.
●Laser products
Without navigation function
• USE OF CONTROL OR
ADJUSTMENT OR PERFORMANCE
OF PROCEDURES OTHER THAN
THOSE SPECIFIED HEREIN MAY
RESULT IN HAZARDOUS
RADIATION EXPOSURE.
• THE USE OF OPTICAL
INSTRUMENTS WITH THIS
PRODUCT WILL INCREASE EYE
HAZARD.
With navigation function
THIS PRODUCT IS A CLASS 1 LASER
PRODUCT. USE OF CONTROLS OR
ADJUSTMENTS OR PERFORMANCE
OF PROCEDURES OTHER THAN
THOSE SPECIFIED HEREIN MAY
RESULT IN HAZARDOUS RADIATION
EXPOSURE. DO NOT OPEN COVERS
AND DO NOT REPAIR BY YOURSELF.
REFER SERVING TO QUALIFIED
PERSONNEL.
NOTICE
●To prevent the battery from being dis-
charged, do not leave the audio/visual
system on longer than necessary when
the engine is not running.
TURNING THE SYSTEM ON
AND OFF
A function that enables automatic return
to the home screen from the audio/
visual screen can be selected. (P.56)
Page 73 of 298
73
1. BASIC OPERATION
3
AUDIO/VISUAL SYSTEM
1Press the “AUDIO” button.
2Select “Source” on the audio screen
or press “AUDIO” button again.
3Select the desired source.
1Display the “Select Audio Source”
screen. (P.73)
2Select “Reorder”.
3Select the desired audio source then
or to reorder.
4Select “OK”.
SELECTING AN AUDIO
SOURCE
INFORMATION
●Dimmed screen buttons cannot be oper-
ated.
●When there are two pages, select
or to change the page.
REORDERING THE AUDIO
SOURCE
Page 81 of 298
81
2. RADIO OPERATION
3
AUDIO/VISUAL SYSTEM
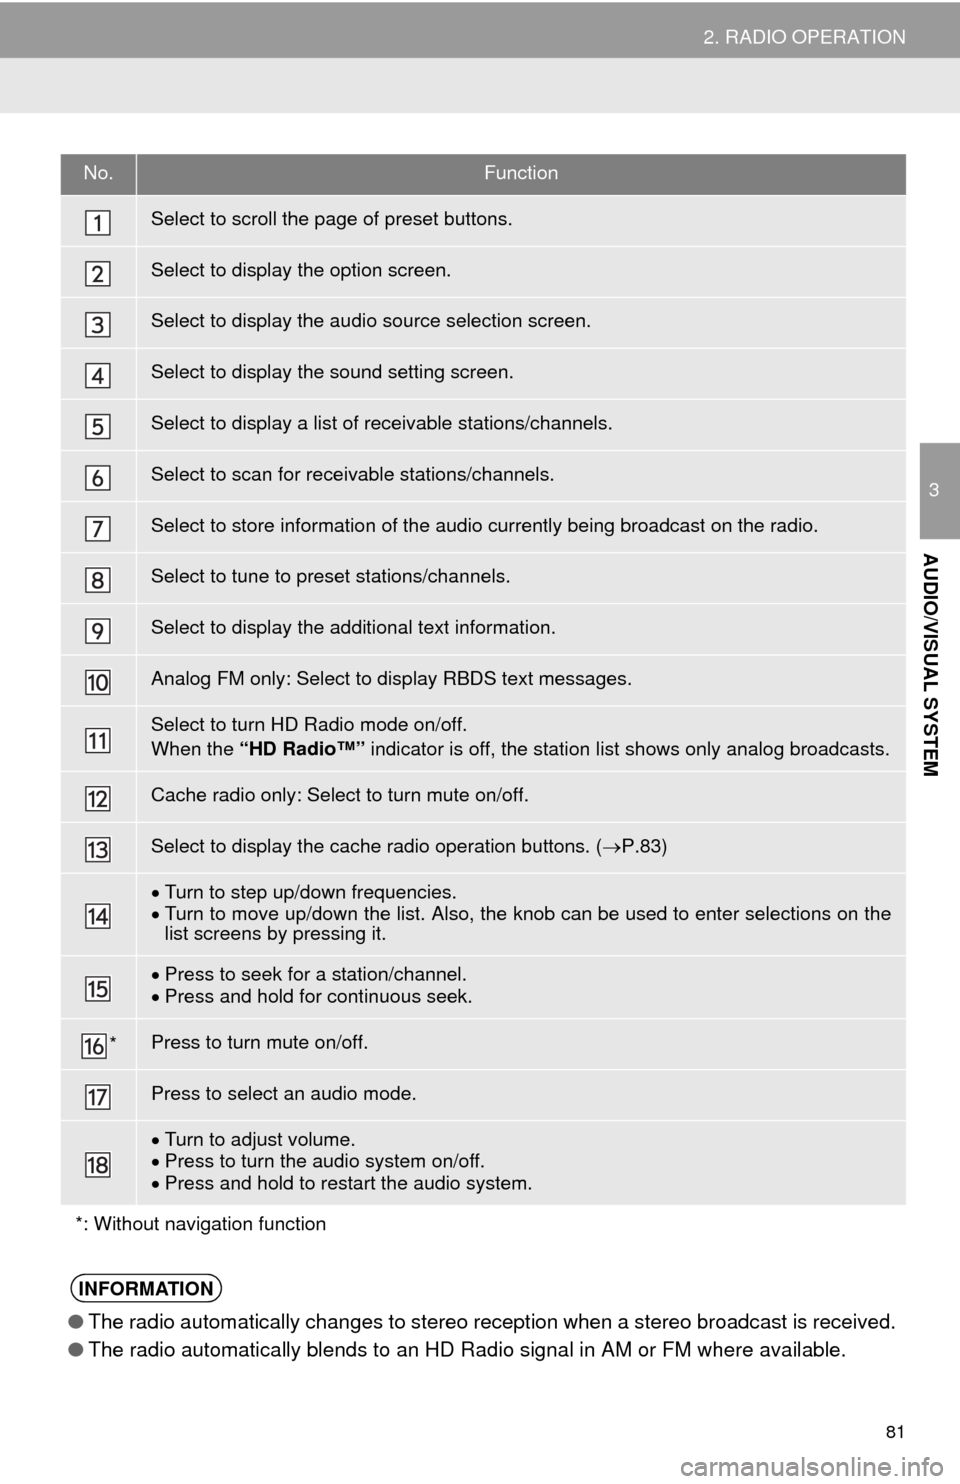
No.Function
Select to scroll the page of preset buttons.
Select to display the option screen.
Select to display the audio source selection screen.
Select to display the sound setting screen.
Select to display a list of receivable stations/channels.
Select to scan for receivable stations/channels.
Select to store information of the audio currently being broadcast on the radio.
Select to tune to preset stations/channels.
Select to display the additional text information.
Analog FM only: Select to display RBDS text messages.
Select to turn HD Radio mode on/off.
When the “HD Radio™” indicator is off, the station list shows only analog broadcasts.
Cache radio only: Select to turn mute on/off.
Select to display the cache radio operation buttons. (P.83)
Turn to step up/down frequencies.
Turn to move up/down the list. Also, the knob can be used to enter selections on the
list screens by pressing it.
Press to seek for a station/channel.
Press and hold for continuous seek.
*Press to turn mute on/off.
Press to select an audio mode.
Turn to adjust volume.
Press to turn the audio system on/off.
Press and hold to restart the audio system.
*: Without navigation function
INFORMATION
●The radio automatically changes to stereo reception when a stereo broadcast is received.
●The radio automatically blends to an HD Radio signal in AM or FM where available.
Page 83 of 298
83
2. RADIO OPERATION
3
AUDIO/VISUAL SYSTEM
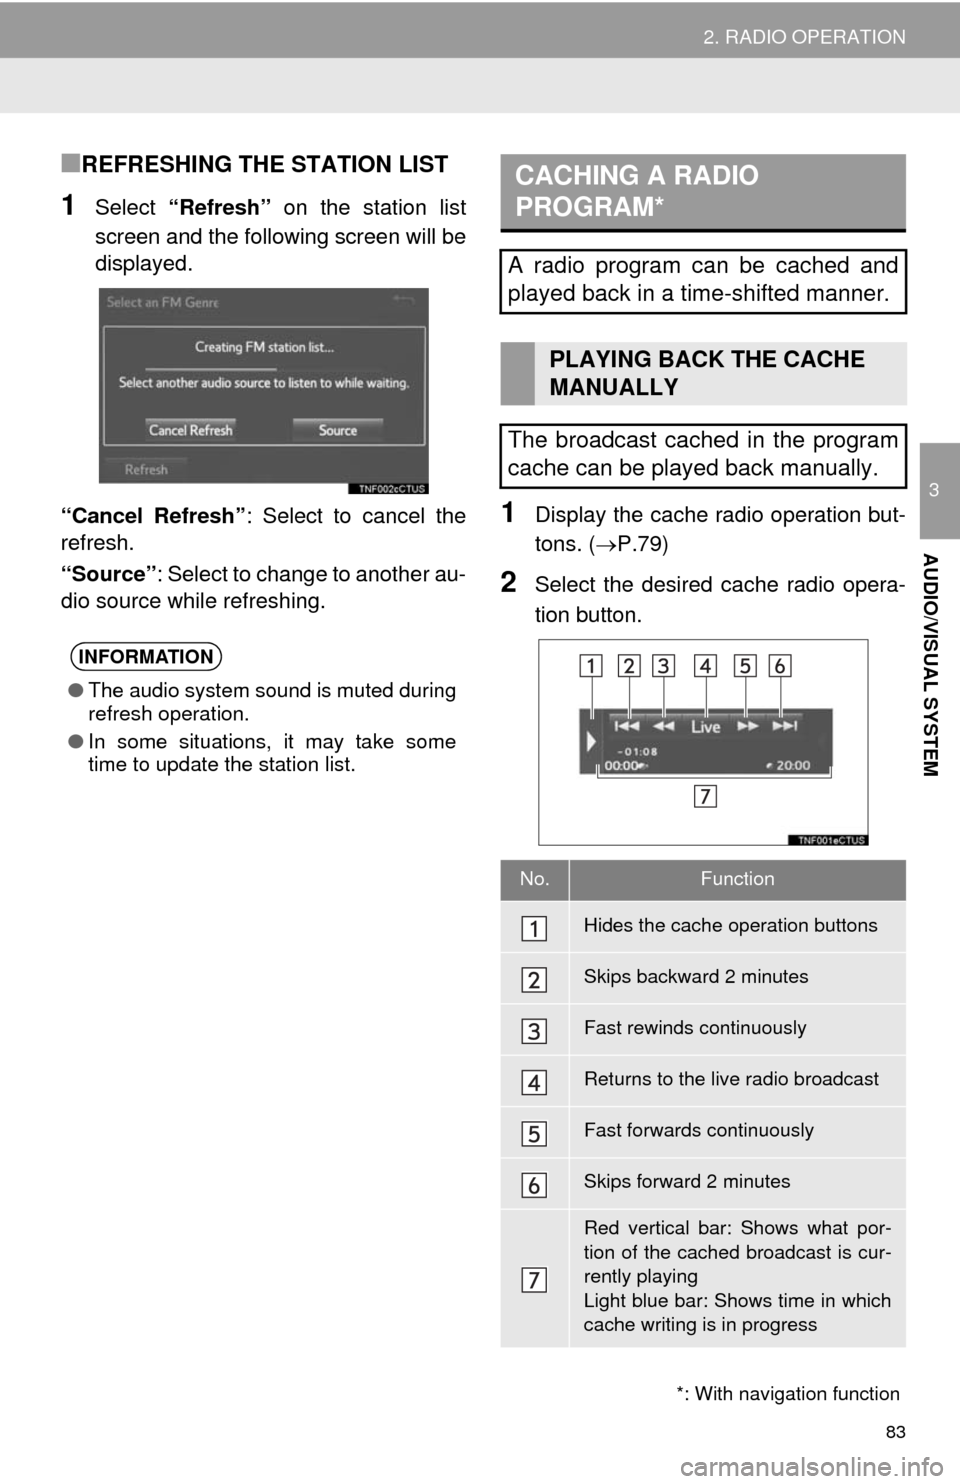
■REFRESHING THE STATION LIST
1Select “Refresh” on the station list
screen and the following screen will be
displayed.
“Cancel Refresh”: Select to cancel the
refresh.
“Source”: Select to change to another au-
dio source while refreshing.
1Display the cache radio operation but-
tons. (P.79)
2Select the desired cache radio opera-
tion button.
INFORMATION
●The audio system sound is muted during
refresh operation.
●In some situations, it may take some
time to update the station list.
*: With navigation function
CACHING A RADIO
PROGRAM*
A radio program can be cached and
played back in a time-shifted manner.
PLAYING BACK THE CACHE
MANUALLY
The broadcast cached in the program
cache can be played back manually.
No.Function
Hides the cache operation buttons
Skips backward 2 minutes
Fast rewinds continuously
Returns to the live radio broadcast
Fast forwards continuously
Skips forward 2 minutes
Red vertical bar: Shows what por-
tion of the cached broadcast is cur-
rently playing
Light blue bar: Shows time in which
cache writing is in progress
Page 90 of 298
90
2. RADIO OPERATION
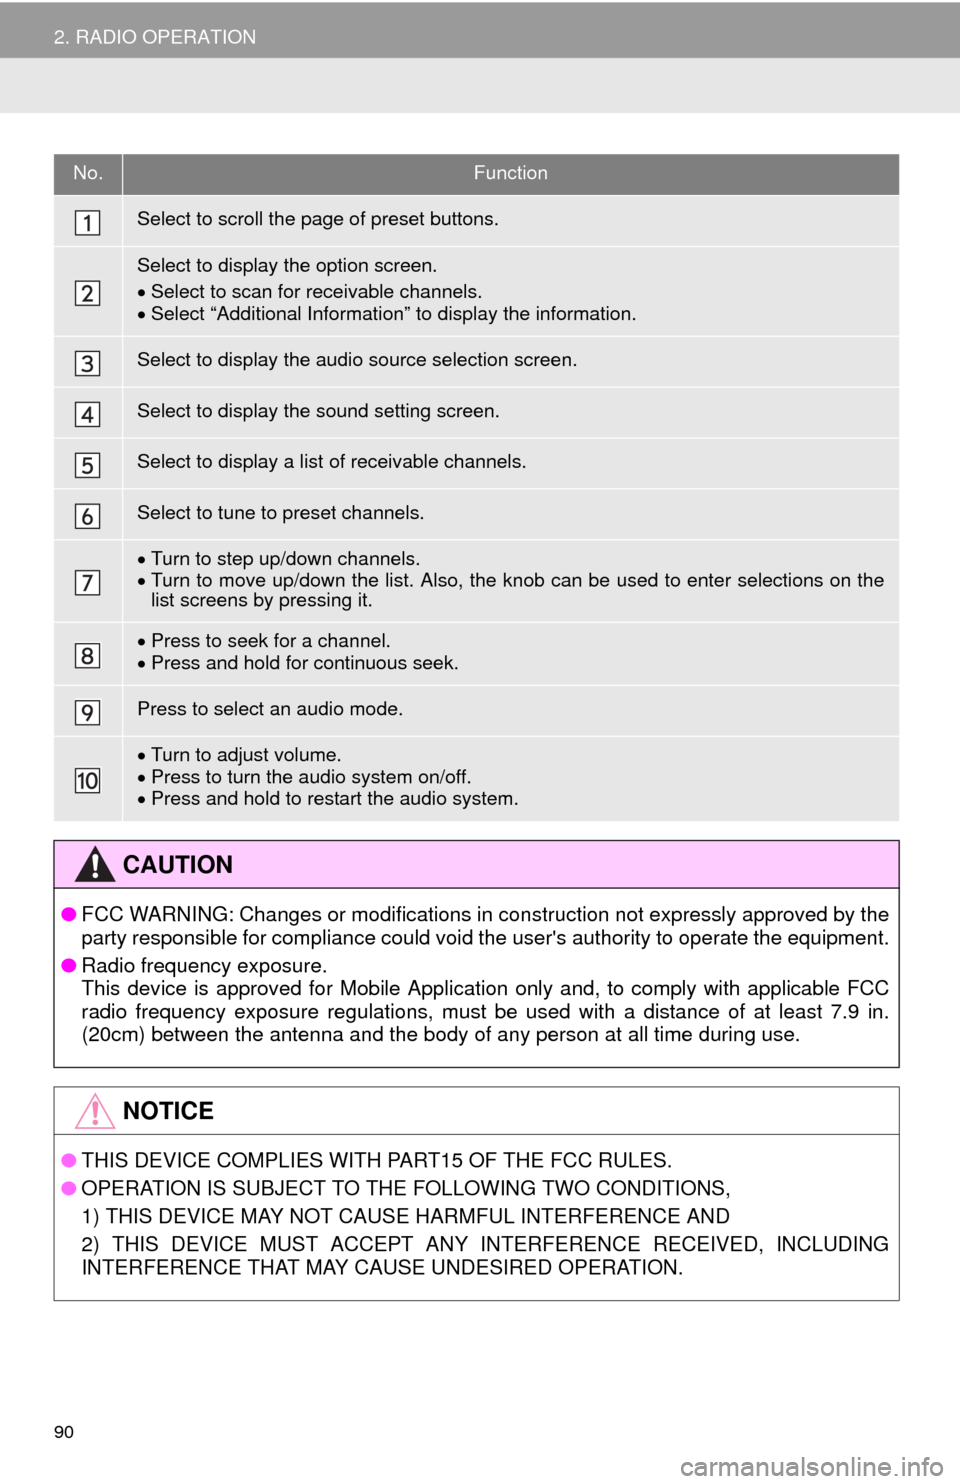
No.Function
Select to scroll the page of preset buttons.
Select to display the option screen.
Select to scan for receivable channels.
Select “Additional Information” to display the information.
Select to display the audio source selection screen.
Select to display the sound setting screen.
Select to display a list of receivable channels.
Select to tune to preset channels.
Turn to step up/down channels.
Turn to move up/down the list. Also, the knob can be used to enter selections on the
list screens by pressing it.
Press to seek for a channel.
Press and hold for continuous seek.
Press to select an audio mode.
Turn to adjust volume.
Press to turn the audio system on/off.
Press and hold to restart the audio system.
CAUTION
●FCC WARNING: Changes or modifications in construction not expressly approved by the
party responsible for compliance could void the user's authority to operate the equipment.
●Radio frequency exposure.
This device is approved for Mobile Application only and, to comply with applicable FCC
radio frequency exposure regulations, must be used with a distance of at least 7.9 in.
(20cm) between the antenna and the body of any person at all time during use.
NOTICE
●THIS DEVICE COMPLIES WITH PART15 OF THE FCC RULES.
●OPERATION IS SUBJECT TO THE FOLLOWING TWO CONDITIONS,
1) THIS DEVICE MAY NOT CAUSE HARMFUL INTERFERENCE AND
2) THIS DEVICE MUST ACCEPT ANY INTERFERENCE RECEIVED, INCLUDING
INTERFERENCE THAT MAY CAUSE UNDESIRED OPERATION.
Page 198 of 298
198
1. BASIC OPERATION
1. QUICK REFERENCE
MAP SCREEN
To display this screen, press the “APPS” button, then select “Navigation” on the
“Apps” screen.
No.NameFunctionPage
2D North-up, 2D
heading-up or 3D
heading-up sym-
bolIndicates whether the map orientation is set to
north-up or heading-up. The letter(s) beside this
symbol indicate the vehicle’s heading direction
(e.g. N for north). In 3D map, only a heading-up
view is available.
202
Options buttonSelect to display the “Navigation Options” screen.200
“GPS” mark
(Global Position-
ing System)Shows that the vehicle is receiving signals from
the GPS.260
Traffic indicator
Shows that traffic information is received. Select
to start voice guidance for traffic information.
When traffic information is received via HD, HD
mark is displayed on the right.
211
Scale indicatorThis figure indicates the map scale.201
Page 199 of 298
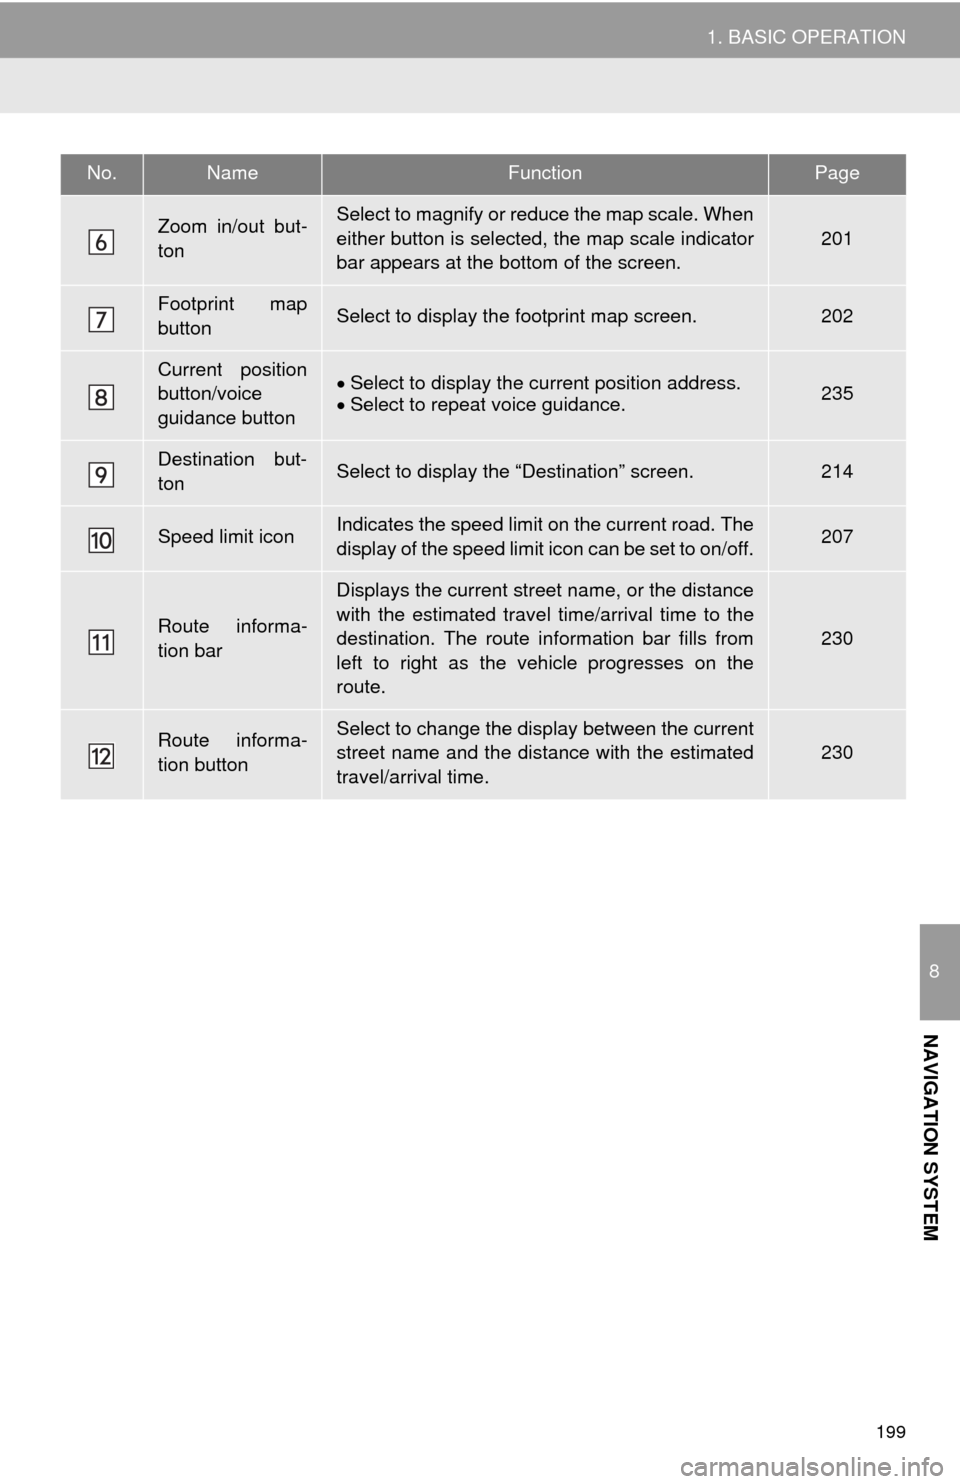
199
1. BASIC OPERATION
8
NAVIGATION SYSTEM
Zoom in/out but-
tonSelect to magnify or reduce the map scale. When
either button is selected, the map scale indicator
bar appears at the bottom of the screen.
201
Footprint map
buttonSelect to display the footprint map screen.202
Current position
button/voice
guidance buttonSelect to display the current position address.
Select to repeat voice guidance.235
Destination but-
tonSelect to display the “Destination” screen.214
Speed limit iconIndicates the speed limit on the current road. The
display of the speed limit icon can be set to on/off.207
Route informa-
tion bar
Displays the current street name, or the distance
with the estimated travel time/arrival time to the
destination. The route information bar fills from
left to right as the vehicle progresses on the
route.
230
Route informa-
tion buttonSelect to change the display between the current
street name and the distance with the estimated
travel/arrival time.230
No.NameFunctionPage
Page 203 of 298
203
1. BASIC OPERATION
8
NAVIGATION SYSTEM
3D screen
: North-up symbol
Regardless of the direction of vehicle trav-
el, north is always up.
: Heading-up symbol
The direction of vehicle travel is always up.
: 3D Heading-up symbol
The direction of vehicle travel is always up.
The letter(s) beside this symbol indicate
the vehicle’s heading direction (e.g. N for
north).
1Select “Options” on the map screen.
2Select “Map Mode”.
3Select the desired configuration but-
ton.
Depending on the conditions, certain
screen configuration buttons cannot be
selected.
SWITCHING THE MAP MODE
No.FunctionPage
Select to display the single
map screen. 204
Select to display the dual
map screen.204
Select to display the com-
pass mode screen.205
Select to display the turn list
screen.234
Select to display the free-
way exit list screen.232
Select to display the inter-
section guidance screen or
the guidance screen on the
freeway.
233
Select to display the turn-
by-turn arrow screen.234