Page 22 of 139

2376G-74E
BEFORE DRIVING
3-10
The adjustment lever for each front seat is
located under the front of the seat. To
adjust the seat position, pull up on the
adjustment lever and slide the seat forward
or rearward. After adjustment, try to move
the seat forward and rearward to ensure
that it is securely latched.
ww ww
w WARNING
To avoid excessive seat belt slack,
which reduces the effectiveness of the
seat belts as a safety device, make
sure that the seats are adjusted
before the seat belts are fastened.
Seatbacks should always be in an
upright position when driving, or seat
belt effectiveness may be reduced.
Seat belts are designed to offer
maximum protection when seatbacks
are in the fully upright position.
Front Seats
The seatbacks can be adjusted to different
angles. To adjust the seatback angle, pull
up the lever on the outboard side of the
seat, move the seatback to the desired
position, and release the lever to lock the
seatback in place.
ww ww
w WARNING
76G-03-022
76G-03-023
TYPE-1 (ALTO)
TYPE-2 (ALTO K10)ADJUSTING SEATBACKS
Page 27 of 139
28
76G-74E
BEFORE DRIVING3-15
To lengthen, release the tounge from the
buckle unit, pull the tounge (adjuster) in
the direction of the arrow, at right angles
to the belt. The tounge should then be
refitted into the buckle unit and the belt
tightened as previously described.
76G-03-038
NOTE:To identify the center seat belt buckle catchand tongue in the rear seat, "CENTER" is
moulded on the buckle catch and tongue ofthe center lap belt. The buckle catches aredesigned so a buckle tongue can not be
inserted into the wrong buckle catch.
76G-03-039
On this belt the adjuster is incorporated in
the tounge unit.
To tighten the belt, pull the free end of
the belt across alongside the lap strap
until it is adjusted to a snug comfortable
position.LAP BELT (if equipped)
76G-03-037
Page 120 of 139
12176G-74E
EMERGENCY SERVICE
10
EMERGENCY SERVICE
Jacking Instructions
........................................................................\
................ 10-1
Jump Starting Instructions ........................................................................\
.... 10-2
Towing ........................................................................\
........................................ 10-4
Towing Hook (if equipped) ........................................................................\
.... 10-4
Emergency Remedies ........................................................................\
.............. 10-4
Warning Triangle .. ........................................................................\
.................... 10-5
Page 125 of 139

126
76G-74E
engine until these problems have been
corrected.
3) If you do not find a leak, carefully add coolant to the reservoir and then the
radiator, if necessary. (Refer to “ENGINE
COOLANT” in the “INSPECTION AND
MAINTENANCE” section.)
It is dangerous to remove the radiator
cap when the water temperature is
high, because scalding fluid and
steam may be blown out under
pressure. The cap should only be
taken off when the coolant
temperature has lowered.
To help prevent personal injury, keep
hands, tools and clothing away from
the engine cooling fan and air-
conditioner fan (if equipped). These
electric fans can automatically turn on
without warning.
EMERGENCY SERVICE10-5
ww ww
w WARNINGww
ww
w WARNING
1) Turn off the air conditioner, if equipped.
2) Take the vehicle to a safe place and
park.
3) Let the engine run at normal idle speed for a few minutes until engine coolant
temperature warning light goes off.
If you see or hear escaping steam,
stop the vehicle in a safe place and
immediately turn off the engine to let
it cool. Do not open the bonnet when
steam is present. When the steam can
no longer be seen or heard, open the
hood to see if the coolant is still
boiling. If it is, you must wait until it
stops boiling before you proceed.
If the engine coolant temperature warning
light does not goes off:
1) Turn off the engine and check that the water pump belt and pulleys are not
damaged or slipping. If any abnormality
is found, correct it.
2) Check the coolant level in the reservoir. If it is found to be lower than the “LOW”
line, look for leaks at the radiator, water
pump, and radiator and heater hoses. If
you locate any leaks that may have
caused the overheating, do not run the
ww ww
w WARNING
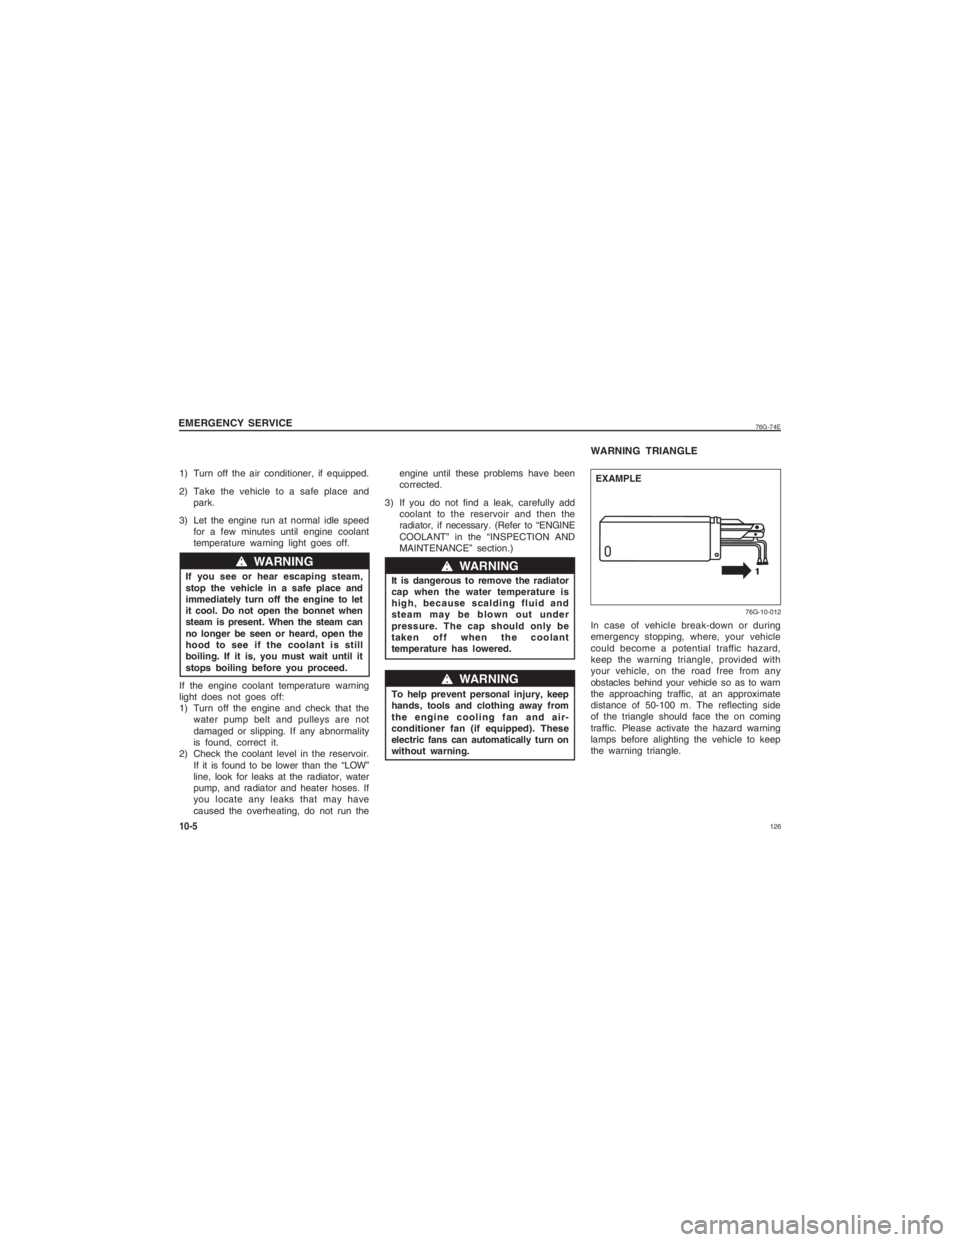
WARNING TRIANGLEIn case of vehicle break-down or during
emergency stopping, where, your vehicle
could become a potential traffic hazard,
keep the warning triangle, provided with
your vehicle, on the road free from any
obstacles behind your vehicle so as to warn
the approaching traffic, at an approximate
distance of 50-100 m. The reflecting side
of the triangle should face the on coming
traffic. Please activate the hazard warning
lamps before alighting the vehicle to keep
the warning triangle.
176G-10-012
EXAMPLE
Page 126 of 139
12776G-74ERemove the warning triangle carefully
from the cover as shown by arrow 1.
Open both the reflector arms as shown
by arrow and lock the arms with each
other with the clip provided in the right
arm. Open the bottom stand in counter
clock-wise direction as shown by arrow 3.
Position the warning triangle behind the
vehicle on a plain surface.
Reverse the removal procedure for
keeping inside the cover.
EMERGENCY SERVICE
10-6
76G-10-013 76G-10-014