2014 SKODA FABIA warning
[x] Cancel search: warningPage 2 of 60
Structure of this Owner's Manual (explanations)
This Owner's Manual has been systematically designed to make it easy for you
to search for and obtain the information you require.
Chapters, table of contents and subject index
The text of the Owner's Manual is divided into relatively short sections which
are combined into easy-to-read chapters. The chapter you are reading at any
particular moment is always specified on the bottom right of the page.
The Table of contents arranged according to chapter and the detailed Subject
index at the end of the Owner's Manual help you to rapidly find the information
you are looking for.
Direction indications
All direction indications such as “left”, “right”, “front”, “rear” relate to the direction of travel of the vehicle.
Units of measurement
All values are expressed in metric units.
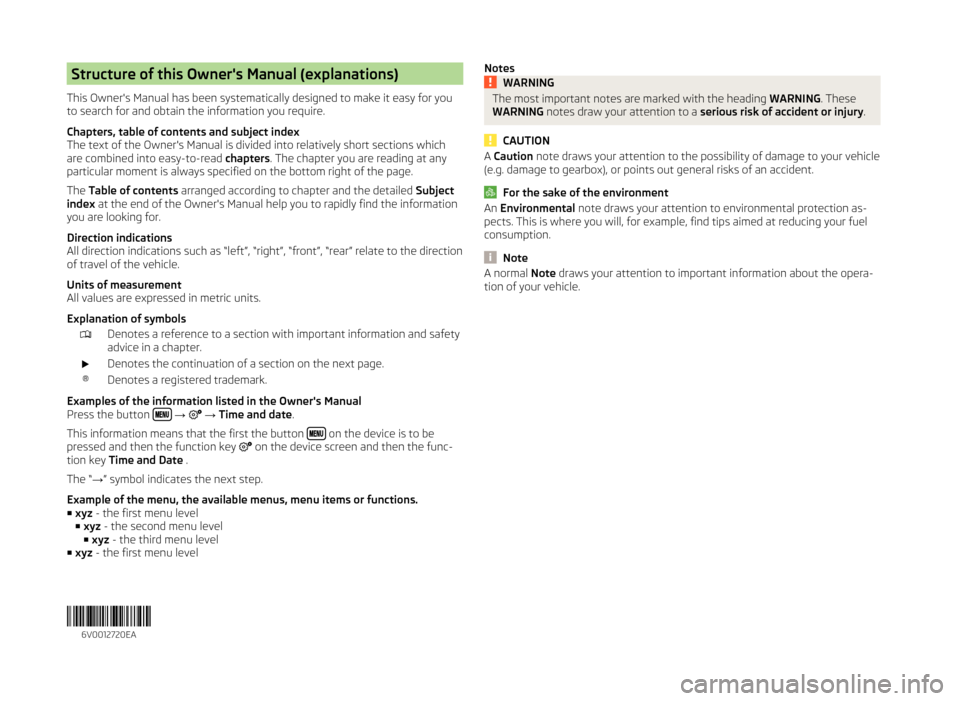
Explanation of symbolsDenotes a reference to a section with important information and safety
advice in a chapter.Denotes the continuation of a section on the next page.®Denotes a registered trademark.
Examples of the information listed in the Owner's Manual
Press the button
→ → Time and date .
This information means that the first the button
on the device is to be
pressed and then the function key on the device screen and then the func-
tion key Time and Date .
The “ →” symbol indicates the next step.
Example of the menu, the available menus, menu items or functions. ■ xyz - the first menu level
■ xyz - the second menu level
■ xyz - the third menu level
■ xyz - the first menu level
NotesWARNINGThe most important notes are marked with the heading WARNING. These
WARNING notes draw your attention to a serious risk of accident or injury .
CAUTION
A Caution note draws your attention to the possibility of damage to your vehicle
(e.g. damage to gearbox), or points out general risks of an accident.
For the sake of the environment
An Environmental note draws your attention to environmental protection as-
pects. This is where you will, for example, find tips aimed at reducing your fuel
consumption.
Note
A normal Note draws your attention to important information about the opera-
tion of your vehicle. 6V0012720EA
Page 6 of 60
Introductory information
Important notes
Introduction
This chapter contains information on the following subjects:
Declaration of Conformity
4
Component protection
4
Consequently, this vehicle does not need to contain all of the equipment com-
ponents described in these operating instructions.
The level of equipment of your vehicle refers to your purchase contract of the
vehicle. For more information, please contact your local ŠKODA retailer.
The illustrations in this Owner's Manual may have differences from your vehi-
cle; they are only intended for general information.
WARNING■ Concentrate fully at all times on your driving! As the driver you are fully
responsible for the operation of your vehicle.■
Only use the device in a way that ensures that you are in full control of
your vehicle in every traffic situation - there is a risk of accident!
■
Adjust the volume to ensure that acoustic signals from outside the vehi-
cle, e.g. sirens from emerging vehicles instructing you to give way to, such
as the police, ambulance and fire brigade, can be heard at all times.
■
High volumes can cause hearing damage.
Declaration of Conformity
Read and observe
on page 4 first.
ŠKODA AUTO a.s. hereby declares that the ŠKODA Infotainment systems meet
the basic requirements and additional provisions of Directive 1999/5/EC with
reference to radio equipment and telecommunications devices.
ŠKODA AUTO a.s. hereby declares that the “connection and the use of this
communication device is granted by the Nigerian Communications Commis-
sion.”
Component protection
Read and observe
on page 4 first.
Some electronic control units are factory-equipped with component protec-
tion.
Component protection serves as a protection mechanism for the following:
› for the impairment of factory- or garage-fitted control units after installation
in another vehicle (for example, after a theft);
› for the impairment of components operated outside of the vehicle.
› for the possibility of a legitimate installation or change of control units for re-
pairs at a ŠKODA 1)
specialist garage.
When component protection is enabled, the following message appears on the
unit display Component theft protection: the infotainment system is not fully
available at present. Please switch on the ignition.
If the component protection does not activate by switching on the ignition,
please contact a ŠKODA specialist garage.
Equipment overview
Introduction
This chapter contains information on the following subjects:
Description of the device
5
Touch screen
5
Switching the unit on/off
5
Unit menus
6
Adjust the volume and switch on
6
This chapter covers the device, switching it on and off, and the volume control.
1)
Terms used » manual , chapter explanations .
4Introductory information
Page 8 of 60
The device can be turned off automatically under certain circumstances due to
the protection against the vehicle battery discharged or the device protection.
The device informs of this via a text message on the device display.
› Warning: 12V battery low. Please start the engine or turn off the Infotain-
ment system. - The vehicle battery is low, start the engine or turn the unit
off.
› 12V battery almost empty. Infotainment system is being switched off.
- The
vehicle battery is discharged, the device switches itself off.
› Operating temperature not maintained. Infotainment system is being
switched off. - The device temperature is too low or too high, the device
switches itself off.
Note
When the device is switched on, the operating mode that were active before
switching off will be restored.
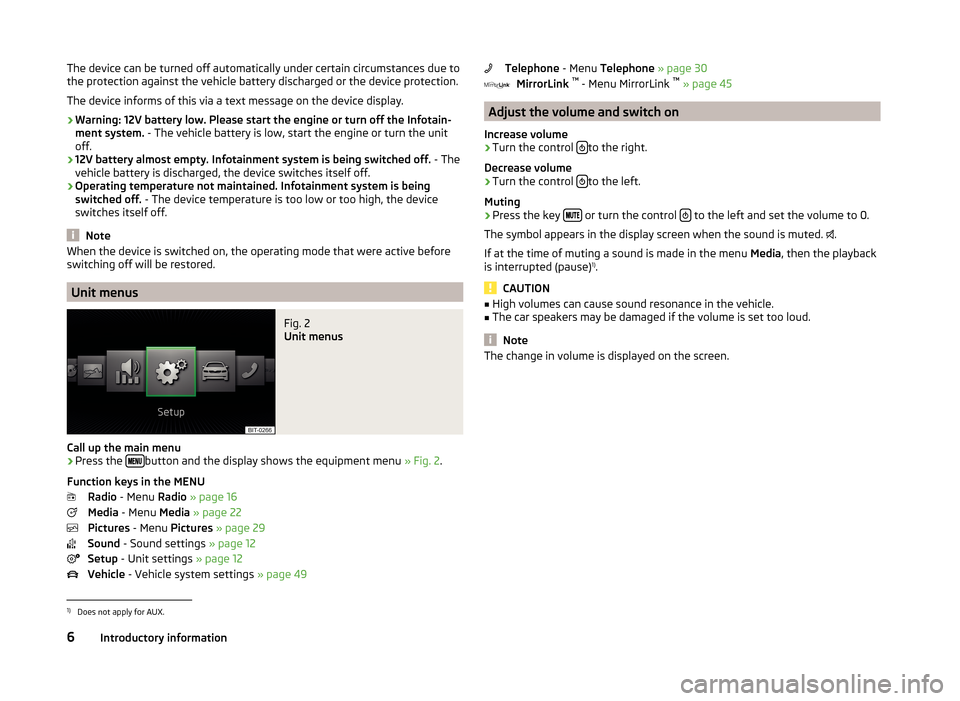
Unit menus
Fig. 2
Unit menus
Call up the main menu
›
Press the button and the display shows the equipment menu
» Fig. 2.
Function keys in the MENU Radio - Menu Radio » page 16
Media - Menu Media » page 22
Pictures - Menu Pictures » page 29
Sound - Sound settings » page 12
Setup - Unit settings » page 12
Vehicle - Vehicle system settings » page 49
Telephone - Menu Telephone » page 30
MirrorLink ™
- Menu MirrorLink ™
» page 45
Adjust the volume and switch on
Increase volume
›
Turn the control to the right.
Decrease volume
›
Turn the control to the left.
Muting
›
Press the key or turn the control to the left and set the volume to 0.
The symbol appears in the display screen when the sound is muted. .
If at the time of muting a sound is made in the menu Media, then the playback
is interrupted (pause) 1)
.
CAUTION
■ High volumes can cause sound resonance in the vehicle.■The car speakers may be damaged if the volume is set too loud.
Note
The change in volume is displayed on the screen.1)
Does not apply for AUX.
6Introductory information
Page 19 of 60
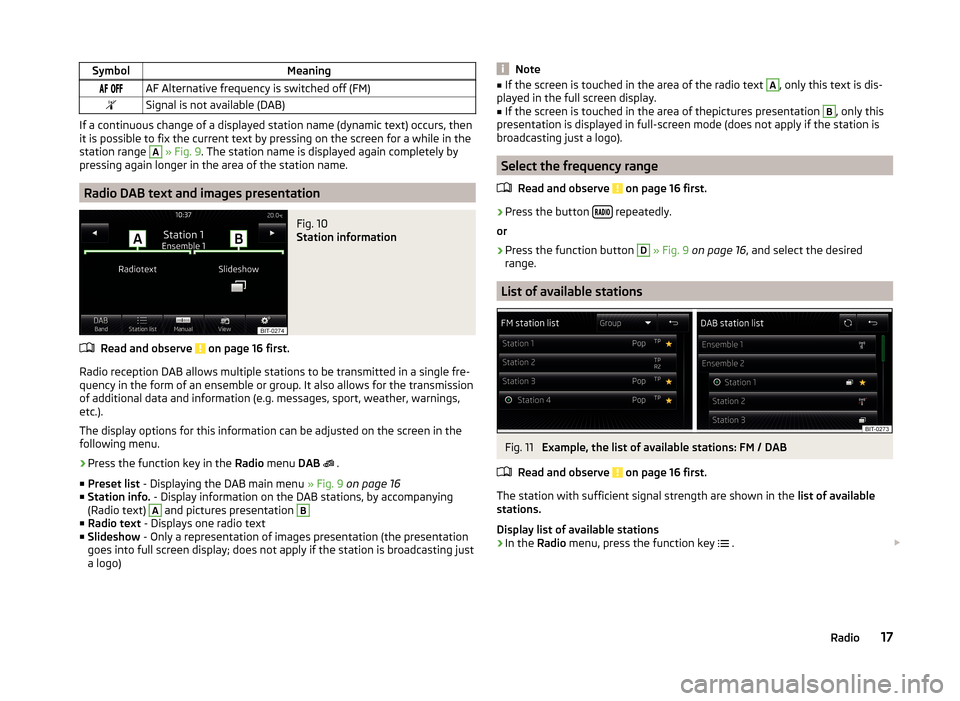
SymbolMeaning AF Alternative frequency is switched off (FM)Signal is not available (DAB)
If a continuous change of a displayed station name (dynamic text) occurs, then
it is possible to fix the current text by pressing on the screen for a while in the
station range
A
» Fig. 9 . The station name is displayed again completely by
pressing again longer in the area of the station name.
Radio DAB text and images presentation
Fig. 10
Station information
Read and observe on page 16 first.
Radio reception DAB allows multiple stations to be transmitted in a single fre- quency in the form of an ensemble or group. It also allows for the transmission
of additional data and information (e.g. messages, sport, weather, warnings,
etc.).
The display options for this information can be adjusted on the screen in the
following menu.
›
Press the function key in the Radio menu DAB
.
■ Preset list - Displaying the DAB main menu » Fig. 9 on page 16
■ Station info. - Display information on the DAB stations, by accompanying
(Radio text)
A
and pictures presentation
B
■ Radio text - Displays one radio text
■ Slideshow - Only a representation of images presentation (the presentation
goes into full screen display; does not apply if the station is broadcasting just
a logo)
Note■ If the screen is touched in the area of the radio text A, only this text is dis-
played in the full screen display.■
If the screen is touched in the area of thepictures presentation
B
, only this
presentation is displayed in full-screen mode (does not apply if the station is
broadcasting just a logo).
Select the frequency range
Read and observe
on page 16 first.
›
Press the button repeatedly.
or
›
Press the function button
D
» Fig. 9 on page 16 , and select the desired
range.
List of available stations
Fig. 11
Example, the list of available stations: FM / DAB
Read and observe
on page 16 first.
The station with sufficient signal strength are shown in the list of available
stations.
Display list of available stations
›
In the Radio menu, press the function key
.
17Radio
Page 22 of 60
Settings
Introduction
This chapter contains information on the following subjects:
Settings
20
Advanced Settings (FM)
20
Advanced setup (DAB)
20
First and foremost, pay attention to the safety instructions » page 4 , Impor-
tant notes .
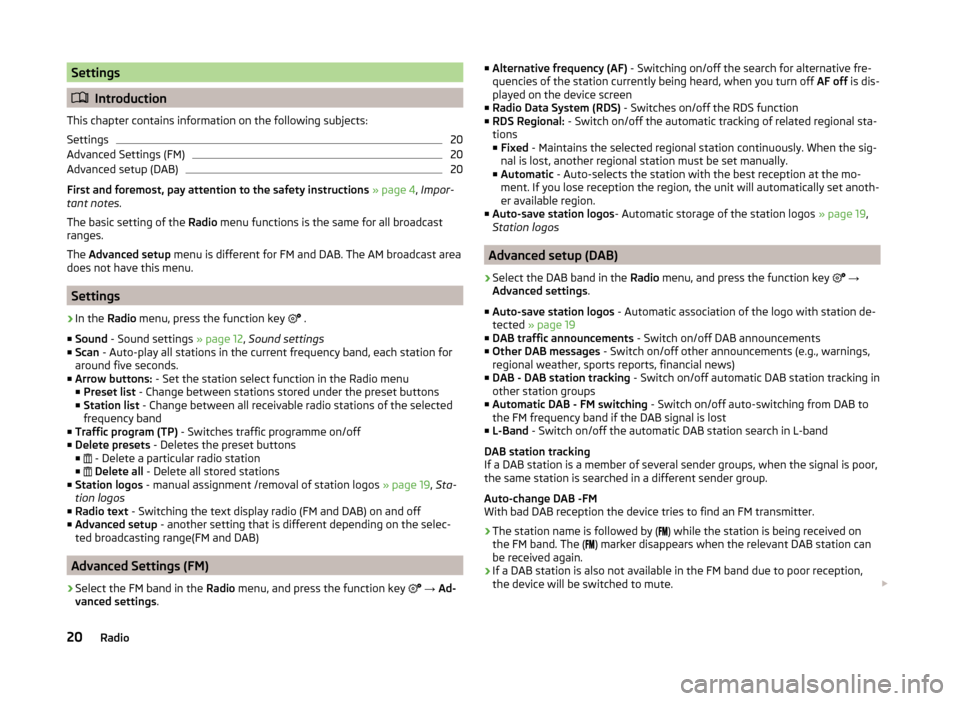
The basic setting of the Radio menu functions is the same for all broadcast
ranges.
The Advanced setup menu is different for FM and DAB. The AM broadcast area
does not have this menu.
Settings
›
In the Radio menu, press the function key
.
■ Sound - Sound settings » page 12, Sound settings
■ Scan - Auto-play all stations in the current frequency band, each station for
around five seconds.
■ Arrow buttons: - Set the station select function in the Radio menu
■ Preset list - Change between stations stored under the preset buttons
■ Station list - Change between all receivable radio stations of the selected
frequency band
■ Traffic program (TP) - Switches traffic programme on/off
■ Delete presets - Deletes the preset buttons
■ - Delete a particular radio station
■
Delete all - Delete all stored stations
■ Station logos - manual assignment /removal of station logos » page 19, Sta-
tion logos
■ Radio text - Switching the text display radio (FM and DAB) on and off
■ Advanced setup - another setting that is different depending on the selec-
ted broadcasting range(FM and DAB)
Advanced Settings (FM)
›
Select the FM band in the Radio menu, and press the function key
→ Ad-
vanced settings .
■
Alternative frequency (AF) - Switching on/off the search for alternative fre-
quencies of the station currently being heard, when you turn off AF off is dis-
played on the device screen
■ Radio Data System (RDS) - Switches on/off the RDS function
■ RDS Regional: - Switch on/off the automatic tracking of related regional sta-
tions ■ Fixed - Maintains the selected regional station continuously. When the sig-
nal is lost, another regional station must be set manually.
■ Automatic - Auto-selects the station with the best reception at the mo-
ment. If you lose reception the region, the unit will automatically set anoth-
er available region.
■ Auto-save station logos - Automatic storage of the station logos » page 19,
Station logos
Advanced setup (DAB)
›
Select the DAB band in the Radio menu, and press the function key
→
Advanced settings .
■ Auto-save station logos - Automatic association of the logo with station de-
tected » page 19
■ DAB traffic announcements - Switch on/off DAB announcements
■ Other DAB messages - Switch on/off other announcements (e.g., warnings,
regional weather, sports reports, financial news)
■ DAB - DAB station tracking - Switch on/off automatic DAB station tracking in
other station groups
■ Automatic DAB - FM switching - Switch on/off auto-switching from DAB to
the FM frequency band if the DAB signal is lost
■ L-Band - Switch on/off the automatic DAB station search in L-band
DAB station tracking
If a DAB station is a member of several sender groups, when the signal is poor,
the same station is searched in a different sender group.
Auto-change DAB -FM
With bad DAB reception the device tries to find an FM transmitter.
› The station name is followed by (
) while the station is being received on
the FM band. The ( ) marker disappears when the relevant DAB station can
be received again.
› If a DAB station is also not available in the FM band due to poor reception,
the device will be switched to mute.
20Radio
Page 26 of 60
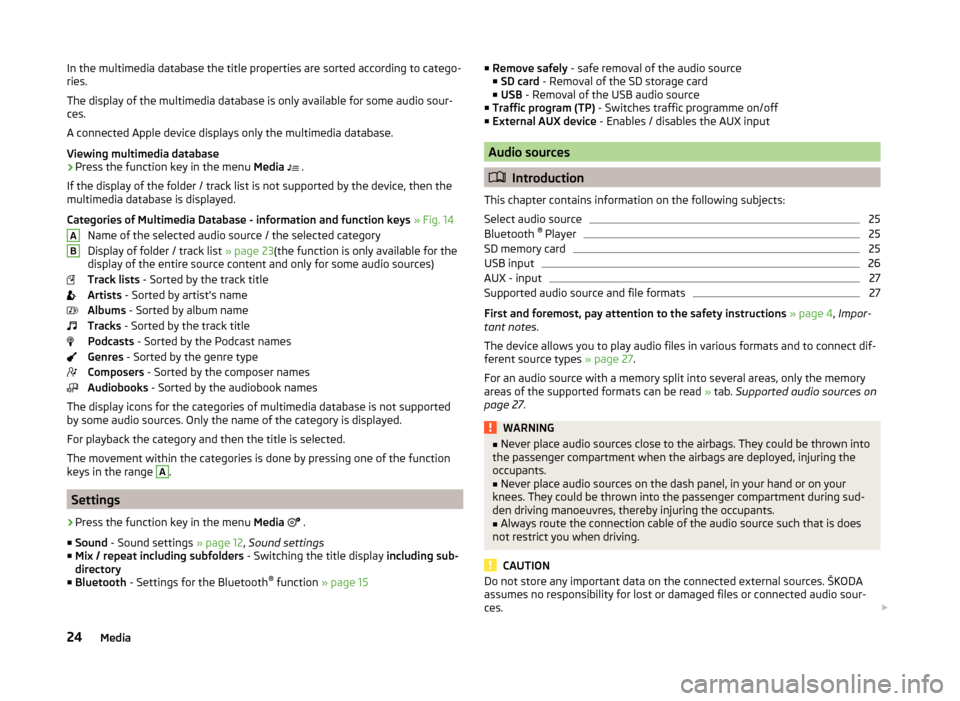
In the multimedia database the title properties are sorted according to catego-
ries.
The display of the multimedia database is only available for some audio sour-
ces.
A connected Apple device displays only the multimedia database.
Viewing multimedia database›
Press the function key in the menu Media
.
If the display of the folder / track list is not supported by the device, then the
multimedia database is displayed.
Categories of Multimedia Database - information and function keys » Fig. 14
Name of the selected audio source / the selected category
Display of folder / track list » page 23(the function is only available for the
display of the entire source content and only for some audio sources)
Track lists - Sorted by the track title
Artists - Sorted by artist's name
Albums - Sorted by album name
Tracks - Sorted by the track title
Podcasts - Sorted by the Podcast names
Genres - Sorted by the genre type
Composers - Sorted by the composer names
Audiobooks - Sorted by the audiobook names
The display icons for the categories of multimedia database is not supported
by some audio sources. Only the name of the category is displayed.
For playback the category and then the title is selected.
The movement within the categories is done by pressing one of the function
keys in the range
A
.
Settings
›
Press the function key in the menu Media
.
■ Sound - Sound settings » page 12, Sound settings
■ Mix / repeat including subfolders - Switching the title display including sub-
directory
■ Bluetooth - Settings for the Bluetooth ®
function » page 15
AB■
Remove safely - safe removal of the audio source
■ SD card - Removal of the SD storage card
■ USB - Removal of the USB audio source
■ Traffic program (TP) - Switches traffic programme on/off
■ External AUX device - Enables / disables the AUX input
Audio sources
Introduction
This chapter contains information on the following subjects:
Select audio source
25
Bluetooth ®
Player
25
SD memory card
25
USB input
26
AUX - input
27
Supported audio source and file formats
27
First and foremost, pay attention to the safety instructions » page 4 , Impor-
tant notes .
The device allows you to play audio files in various formats and to connect dif-
ferent source types » page 27.
For an audio source with a memory split into several areas, only the memory
areas of the supported formats can be read » tab. Supported audio sources on
page 27 .
WARNING■
Never place audio sources close to the airbags. They could be thrown into
the passenger compartment when the airbags are deployed, injuring the
occupants.■
Never place audio sources on the dash panel, in your hand or on your
knees. They could be thrown into the passenger compartment during sud-
den driving manoeuvres, thereby injuring the occupants.
■
Always route the connection cable of the audio source such that is does
not restrict you when driving.
CAUTION
Do not store any important data on the connected external sources. ŠKODA
assumes no responsibility for lost or damaged files or connected audio sour-
ces. 24Media
Page 27 of 60
NoteSee the owner's manual of the specific manufacturer for operating the exter-
nal audio source.
Select audio source
Fig. 15
Select audio source
Read and observe
and on page 24 first.
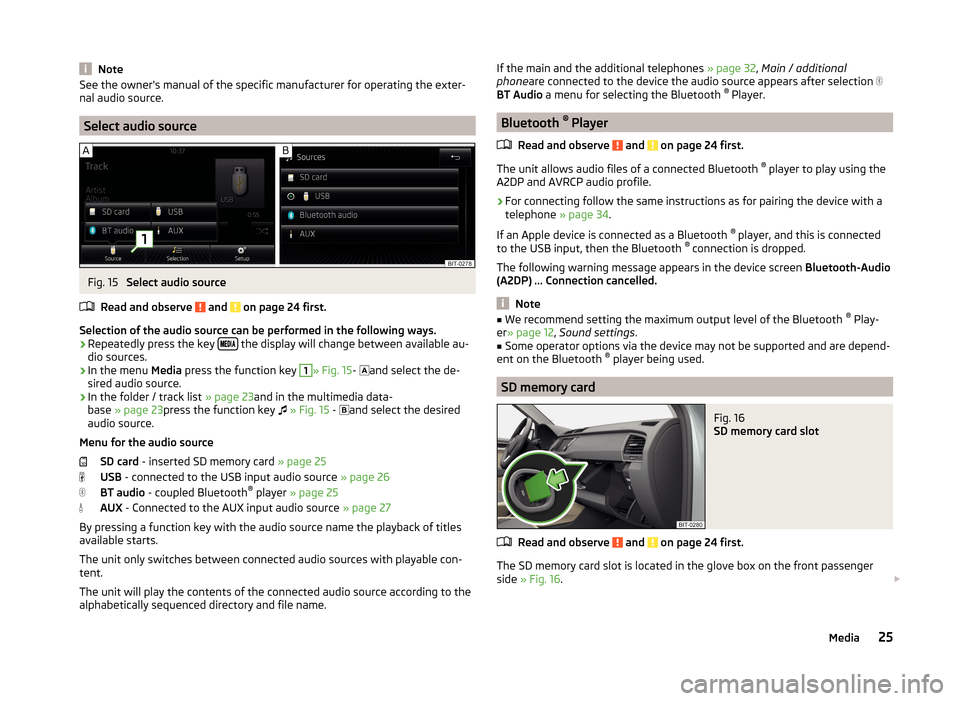
Selection of the audio source can be performed in the following ways.
› Repeatedly press the key
the display will change between available au-
dio sources.
› In the menu
Media press the function key
1
» Fig. 15 -
and select the de-
sired audio source.
› In the folder / track list
» page 23and in the multimedia data-
base » page 23 press the function key
» Fig. 15 -
and select the desired
audio source.
Menu for the audio source SD card - inserted SD memory card » page 25
USB - connected to the USB input audio source » page 26
BT audio - coupled Bluetooth ®
player » page 25
AUX - Connected to the AUX input audio source » page 27
By pressing a function key with the audio source name the playback of titles
available starts.
The unit only switches between connected audio sources with playable con-
tent.
The unit will play the contents of the connected audio source according to the
alphabetically sequenced directory and file name.
If the main and the additional telephones » page 32, Main / additional
phone are connected to the device the audio source appears after selection
BT Audio a menu for selecting the Bluetooth ®
Player.
Bluetooth ®
Player
Read and observe
and on page 24 first.
The unit allows audio files of a connected Bluetooth ®
player to play using the
A2DP and AVRCP audio profile.
›
For connecting follow the same instructions as for pairing the device with a
telephone » page 34.
If an Apple device is connected as a Bluetooth ®
player, and this is connected
to the USB input, then the Bluetooth ®
connection is dropped.
The following warning message appears in the device screen Bluetooth-Audio
(A2DP) ... Connection cancelled.
Note
■
We recommend setting the maximum output level of the Bluetooth ®
Play-
er » page 12 , Sound settings .■
Some operator options via the device may not be supported and are depend-
ent on the Bluetooth ®
player being used.
SD memory card
Fig. 16
SD memory card slot
Read and observe and on page 24 first.
The SD memory card slot is located in the glove box on the front passenger
side » Fig. 16 .
25Media
Page 28 of 60

Inserting an SD memory card›Push the SD memory card into the available slot with the cut edge down-
wards until it “locks into place”.
The play function will start automatically. The playlists are not played auto-
matically and must be manually started from the folders and title lists.
Removing an SD memory card›
Press the button
→ Remove safely SD card .
›
Press the inserted SD memory card. The SD memory card “jumps” into the
eject position.
After popping out the SD memory card, playback will start from the last played
audio source. If this source is not available, the device switches to the Radio
menu.
Unreadable SD memory card
If there are no readable files on the SD memory card nothing will play.
Due to differing quality requirements from different card manufacturers, it is
not always possible to guarantee the playback from SD memory cards.
It may not be possible to play some or all files on the SD memory card, or pos-
sibly their playback may be limited.
CAUTION
Use only SD memory cards with a standard size. When using smaller SD cards
with the adapter the SD memory card can fall out of the adapter while driving
due to vehicle vibrations.
USB input
Fig. 17
USB and AUX inputs
Read and observe and on page 24 first.
The USB input is above the storage compartment in the front center console and is identified with the symbol
» Fig. 17 .
The USB input audio source can be connected directly or via a connecting ca-
ble.
Some audio sources connected to the USB input can be operated from this de-
vice 1)
.
Connect the USB audio source
›
Plug the USB audio source into the corresponding well.
The play function will start automatically. The playlists are not played auto-
matically and must be manually started from the folders and title lists.
If an Apple device is connected as a Bluetooth ®
player, and this is connected
to the USB input, then the Bluetooth ®
connection is dropped.
The following warning message appears in the device screen Bluetooth-Audio
(A2DP) ... Connection cancelled.
Separate USB audio source
›
Press the button
→ Remove safely → USB .
›
Disconnect the USB audio source.
After disconnecting the USB audio source, playback will start from the last
played audio source. If this source is not available, the device switches to the
Radio menu.
Charge USB audio source
With the ignition on after connecting the USB audio source, the charging proc-
ess is automatically started (applies for audio sources where charging via the
USB connector is possible).
The charging efficiency can be different compared to the charging from the
usual mains power supply. Connected audio sources can be supplied / loaded
with a current of max. 1.5 A.
Some connected audio sources may not be recognised and cannot be charged.
The charging of the connected audio source is automatically stopped after
switching off the ignition.
1)
Some operating options from an audio source may not be supported.
26Media