2014 Ram 1500 suspension
[x] Cancel search: suspensionPage 119 of 252

PROGRAMMABLE FEATURES
Programmable Features
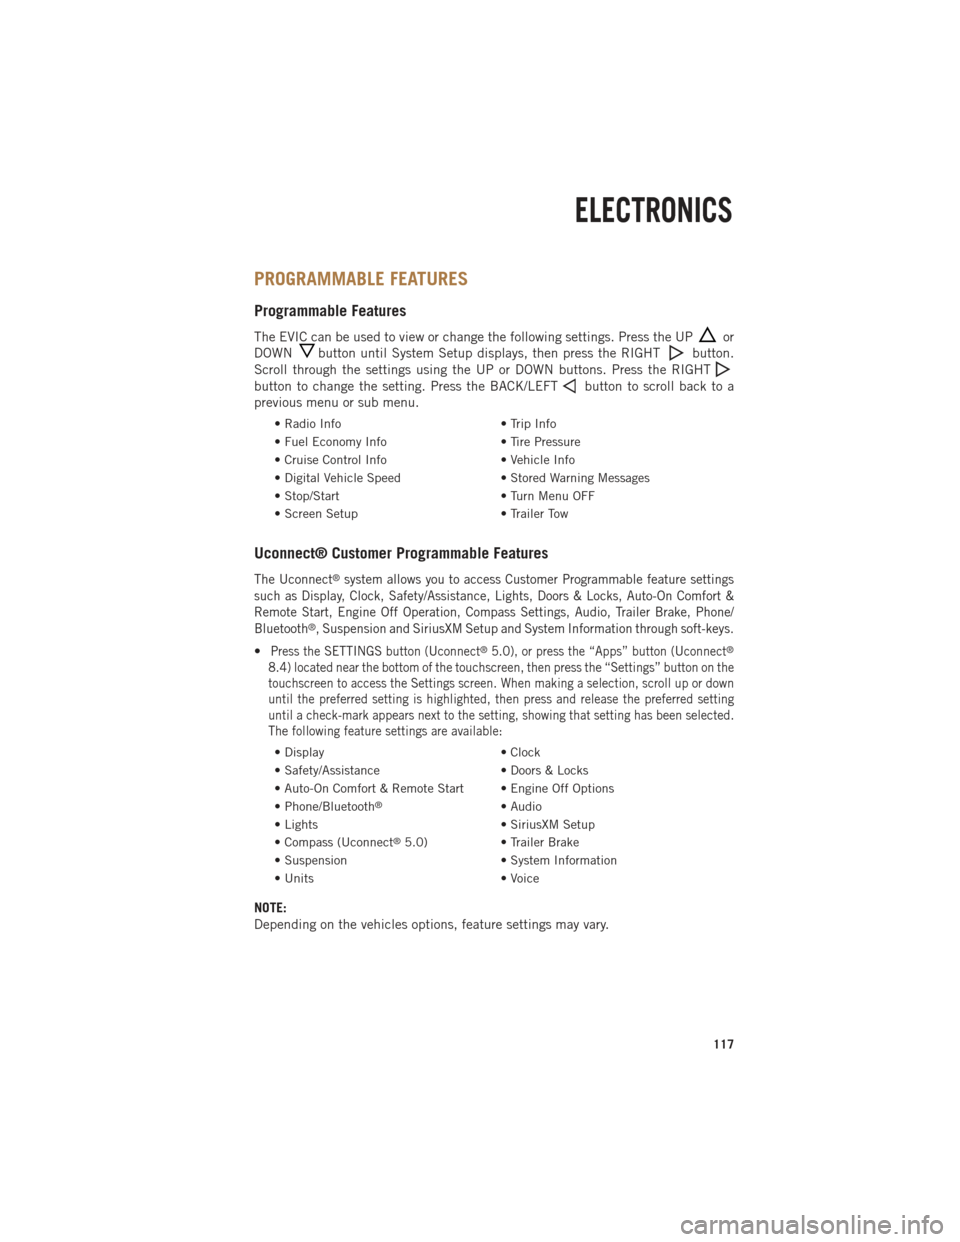
The EVIC can be used to view or change the following settings. Press the UPor
DOWN
button until System Setup displays, then press the RIGHTbutton.
Scroll through the settings using the UP or DOWN buttons. Press the RIGHT
button to change the setting. Press the BACK/LEFTbutton to scroll back to a
previous menu or sub menu.
• Radio Info • Trip Info
• Fuel Economy Info • Tire Pressure
• Cruise Control Info • Vehicle Info
• Digital Vehicle Speed • Stored Warning Messages
• Stop/Start • Turn Menu OFF
• Screen Setup • Trailer Tow
Uconnect® Customer Programmable Features
The Uconnect®system allows you to access Customer Programmable feature settings
such as Display, Clock, Safety/Assistance, Lights, Doors & Locks, Auto-On Comfort &
Remote Start, Engine Off Operation, Compass Settings, Audio, Trailer Brake, Phone/
Bluetooth
®, Suspension and SiriusXM Setup and System Information through soft-keys.
•Press the SETTINGS button (Uconnect®5.0), or press the “Apps” button (Uconnect®
8.4) located near the bottom of the touchscreen, then press the “Settings” button on the
touchscreen to access the Settings screen. When making a selection, scroll up or down
until the preferred setting is highlighted, then press and release the preferred setting
until a check-mark appears next to the setting, showing that setting has been selected.
The following feature settings are available:
• Display • Clock
• Safety/Assistance • Doors & Locks
• Auto-On Comfort & Remote Start • Engine Off Options
• Phone/Bluetooth
®• Audio
• Lights • SiriusXM Setup
• Compass (Uconnect
®5.0) • Trailer Brake
• Suspension • System Information
• Units • Voice
NOTE:
Depending on the vehicles options, feature settings may vary.
ELECTRONICS
117
Page 120 of 252

EVIC Reconfigurable Screen Setup
The following settings allow you to change what information is displayed in the
instrument cluster as well as the location that information is displayed.
Digital Speedometer
• Press and release the UP or DOWN arrow button until the Digital display icon ishighlighted in the EVIC. Press and release the RIGHT arrow button to change the
display between km/h and mph.
Vehicle Info (Customer Information Features)
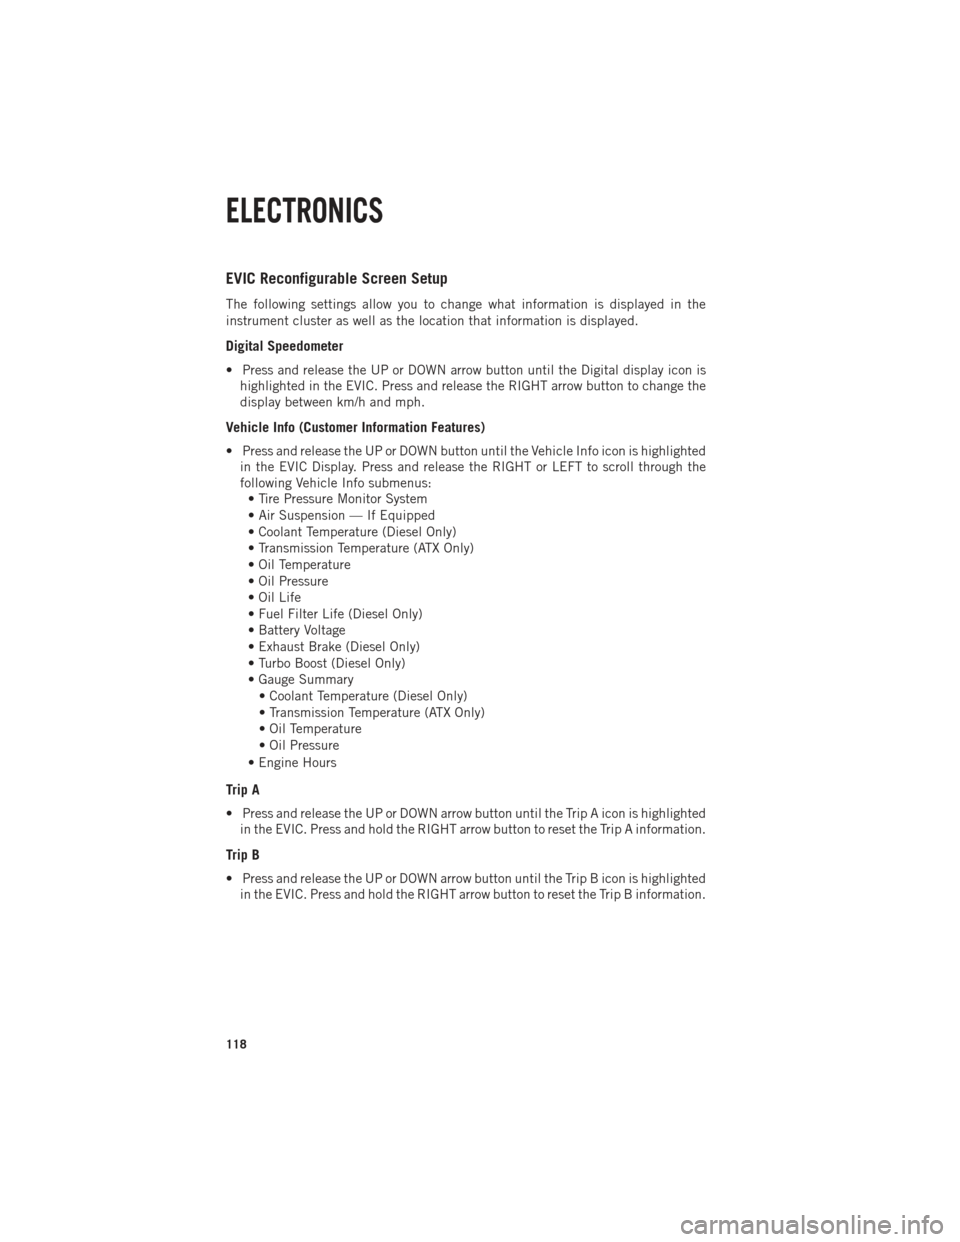
• Press and release the UP or DOWN button until the Vehicle Info icon is highlightedin the EVIC Display. Press and release the RIGHT or LEFT to scroll through the
following Vehicle Info submenus:• Tire Pressure Monitor System
• Air Suspension — If Equipped
• Coolant Temperature (Diesel Only)
• Transmission Temperature (ATX Only)
• Oil Temperature
• Oil Pressure
• Oil Life
• Fuel Filter Life (Diesel Only)
• Battery Voltage
• Exhaust Brake (Diesel Only)
• Turbo Boost (Diesel Only)
• Gauge Summary
• Coolant Temperature (Diesel Only)
• Transmission Temperature (ATX Only)
• Oil Temperature
• Oil Pressure
• Engine Hours
Trip A
• Press and release the UP or DOWN arrow button until the Trip A icon is highlighted in the EVIC. Press and hold the RIGHT arrow button to reset the Trip A information.
Trip B
• Press and release the UP or DOWN arrow button until the Trip B icon is highlightedin the EVIC. Press and hold the RIGHT arrow button to reset the Trip B information.
ELECTRONICS
118
Page 218 of 252

Maintenance Chart — Gasoline Engine
Mileage or time passed (whichever comes first)
20,000
30,000
40,000
50,000
60,000
70,000
80,000
90,000
100,000
110,000
120,000
130,000
140,000
150,000
Or Years: 2 3 4 5 6 7 8 9 10 11 12 13 14 15
Or Kilometers:
32,000
48,000
64,000
80,000
96,000
112,000
128,000
144,000
160,000
176,000
192,000
208,000
224,000
240,000
Additional Inspections
Inspect the CV/Universal joints. X X X X X
Inspect front suspension, tie rod ends, and
replace if necessary. XXXXXXXInspect the front and rear axle surfaces. If gear
oil leakage is suspected, check the fluid level.
If using your vehicle for police, taxi, fleet, off-
road or frequent trailer towing, change axle fluid.
XXXXXXX
Inspect the brake linings, replace as necessary. X XXXXX X
Adjust parking brake as necessary. XX XXXX X
Inspect transfer case fluid. XXX
Additional Maintenance
Replace engine air filter. XX XX X
Replace spark plugs (3.6L engine).** X
Replace spark plugs (5.7L engine).** X
Replace spark plugs (6.4L engine).** X
Flush and replace the engine coolant at
10 years or 150,000 miles (240,000 km)
whichever comes first. XX
Change automatic transmission fluid and filter(s)
(six-speed automatic only), if using your vehicle
for police, taxi, fleet, or frequent trailer towing.
X
MAINTAINING YOUR VEHICLE
216
Page 222 of 252

Maintenance Chart — Diesel Fuel Up To B5 Biodiesel (1500 Diesel)
Mileage or time passed (whichever comes first)
10,000
20,000
30,000
40,000
50,000
60,000
70,000
80,000
90,000
100,000
110,000
120,000
130,000
140,000
150,000
Or Years: 1 2 3 4 5 6 7 8 9 10 11 12 13 14 15
Or Kilometers:
16,000
32,000
48,000
64,000
80,000
96,000
112,000
128,000
144,000
160,000
176,000
192,000
208,000
224,000
240,000
Additional Inspections
Completely fill the Diesel Exhaust Fluid tank. X X X X X X X X X X X X X X X
Inspect the CV joints. X X X X X
Inspect front suspension, tie rod ends, and replace
if necessary. XXX X X X X
Inspect the front and rear axle fluid. If gear oil leakage is
suspected, check the fluid level. If using your vehicle for
police, taxi, fleet, off-road or frequent trailer towing change
the axle fluid. XXX X X X X
Inspect the brake linings, parking brake function. X X XXX XX
Inspect transfer case fluid. XX X X
Additional Maintenance
Replace fuel filter and drain water from the fuel filter
assembly. XX X X X
Replace engine air filter. XX X X X
Replace the air conditioning filter. X X XXX XX
Flush and replace the engine coolant at 10 years or
150,000 miles (240,000 km) whichever comes first. XX
MAINTAINING YOUR VEHICLE
220
Page 229 of 252

Maintenance Chart – Cummins® Diesel Engine
Miles:
7,500
15,000
22,500
30,000
37,500
45,000
52,500
60,000
67,500
75,000
82,500
90,000
97,500
Or Months: 6 12 18 24 30 36 42 48 54 60 66 72 78
Or Kilometers:
12,000
24,000
36,000
48,000
60,000
72,000
84,000
96,000
108,000
120,000
132,000
144,000
156,000
Rotate the tires. XXXXXXXXXXXXX
Lubricate front drive shaft fitting (4x4). XXXXXXXXXXXXX
Lubricate outer tie rod ends. XXXXXXXXXXXXX
Replace engine fuel filter element. XXXXXX
Replace chassis mounted fuel filter element. XXXXXX
Inspect the brake linings. X X X X
Inspect and adjust parking brake. X X X X
Inspect the front and rear axle surfaces. If gear oil leakage
is suspected, check the fluid level. If using your vehicle
for police, taxi, fleet, off-road or frequent trailer towing
change the axle fluid. XXXXXX
Inspect drive belt; replace as required. XXXX
Check the transfer case fluid (4x4). XX
Change the transfer case fluid (4x4). X
Inspect the front suspension, tie rod ends and boot
seals for cracks or leaks and all parts for damage, wear,
improper looseness or end play; replace if necessary. XXXXXX
Inspect wheel bearings. XXX
Change automatic transmission fluid
(AS69RC transmission only). XXX
MAINTAINING YOUR VEHICLE
227
Page 232 of 252

FUSES
POWER DISTRIBUTION CENTER (FUSES)
The Power Distribution Center is located in
the engine compartment near the battery.
This center contains cartridge fuses and
mini fuses. A description of each fuse and
component may be stamped on the inside
cover, otherwise the cavity number of each
fuse is stamped on the inside cover that
corresponds to the following chart.
Cavity Cartridge Fuse Micro FuseDescription
F01 80 Amp Red Rad Fan Control Module –
If Equipped
F03 60 Amp Yellow Rad Fan – If Equipped
F05 40 Amp Green Compressor for Air Suspension –
If Equipped
F06 40 Amp Green Antilock Brakes/Electronic
Stability Control Pump
F07 40 Amp Green Starter Solenoid
F08 20 Amp Yellow Emissions Diesel – If Equipped
F09 40 Amp Green (Cummins Diesel)30 Amp Pink
(1500 LD Diesel) Diesel Fuel Heater – If Equipped
F10 40 Amp Green Body Controller/Exterior
Lighting #2
F10 50 Amp Red
Body Controller/Exterior
Lighting #2 – If Equipped with Stop/Start
F11 30 Amp Pink Integrated Trailer Brake
Module – If Equipped
F12 40 Amp Green Body Controller #3/Interior Lights
F13 40 Amp Green Blower Motor
F14 40 Amp Green Body Controller #4/Power Locks
F15 30 Amp Pink Electric Park Brake Right Side –
If Equipped
F19 30 Amp Pink SCR – If Equipped
F20 30 Amp Pink Passenger Door Module
F21 30 Amp Pink Drive Train Control Module
F22 20 Amp Yellow Engine Control Module
MAINTAINING YOUR VEHICLE
230
Page 233 of 252

Cavity Cartridge Fuse Micro FuseDescription
F23 30 Amp Pink Body Controller #1
F24 30 Amp Pink Driver Door Module
F25 30 Amp Pink Front Wiper Low Speed
F25 30 Amp Pink Front Wiper High Speed
F26 30 Amp Pink Antilock Brakes/Stability
Control Module/Valves
F28 20 Amp Yellow Trailer Tow Backup Lights –
If Equipped
F29 20 Amp Yellow Trailer Tow Parking Lights –
If Equipped
F30 30 Amp Pink Trailer Tow Receptacle
F32 30 Amp Pink Drive Train Control Module –
If Equipped
F33 20 Amp Yellow Cummins Diesel Fuel Heater #1 –
If Equipped/Rear Blower – If Equipped
F34 30 Amp Pink Vehicle System Interface
Module #2 – If Equipped
F35 30 Amp Pink Sunroof – If Equipped
F36 30 Amp Pink Rear Defroster – If Equipped
F37 30 Amp Pink Cummins Diesel Fuel Heater #2 –
If Equipped
F38 30 Amp Pink Power Inverter 115V AC –
If Equipped
F39 30 Amp Pink Vehicle System Interface
Module #1 – If Equipped
F41 10 Amp RedActive Grill Shutter
F42 20 Amp Yellow Horn
F43 10 Amp Red Snow Plow (Left) – If Equipped
F44 10 Amp RedDiagnostic Port
F46 10 Amp Red Tire Pressure Monitor
F47 10 Amp Red Snow Plow (Right) – If Equipped
F49 10 Amp Red Instrument Panel Cluster
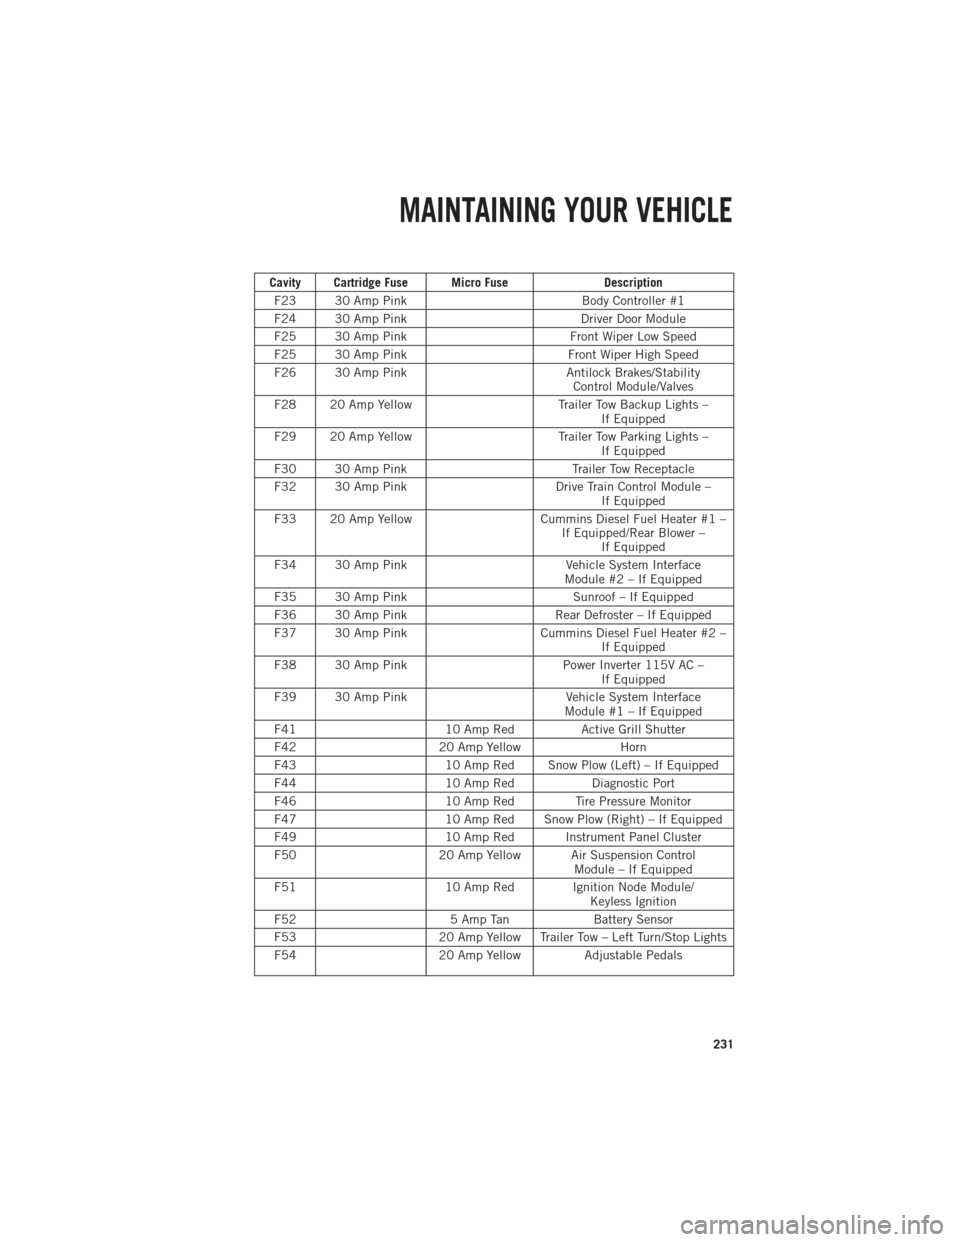
F50 20 Amp Yellow Air Suspension Control
Module – If Equipped
F51 10 Amp Red Ignition Node Module/
Keyless Ignition
F52 5 Amp TanBattery Sensor
F53 20 Amp Yellow Trailer Tow – Left Turn/Stop Lights
F54 20 Amp YellowAdjustable Pedals
MAINTAINING YOUR VEHICLE
231
Page 235 of 252

Cavity Cartridge Fuse Micro FuseDescription
F81 20 Amp Yellow Trailer Tow Right Turn/Stop Lights
F82 10 Amp Red Steering Column Control
Module/Cruise Control
F84 15 Amp Blue Switch Bank/Instrument Cluster
F85 10 Amp RedAirbag Module
F86 10 Amp RedAirbag Module
F87 10 Amp Red Air Suspension/Trailer Tow/
Steering Column Control Module
F88 15 Amp Blue Instrument Panel Cluster
F90/F91 20 Amp Yellow Power Outlet (Rear seats)
Customer Selectable
F93 20 Amp YellowCigar Lighter
F94 10 Amp Red Shifter/Transfer Case Module
F95 10 Amp Red Rear Camera/Park Assist
F96 10 Amp Red Rear Seat Heater Switch
F97 25 Amp Natural Rear Heated Seats & Heated
Steering Wheel – If Equipped
F98 25 Amp Natural Front Heated Seats – If Equipped
F99 10 Amp RedClimate Control
F101 15 Amp Blue Electrochromatic Mirror/Smart
High Beams – If Equipped
F104 20 Amp Yellow Power Outlets (Instrument
Panel/Center Console)
CAUTION!
•When installing the power distribution center cover, it is important to ensure the
cover is properly positioned and fully latched. Failure to do so may allow water to
get into the power distribution center and possibly result in an electrical system
failure.
•When replacing a blown fuse, it is important to use only a fuse having the correct
amperage rating. The use of a fuse with a rating other than indicated may result
in a dangerous electrical system overload. If a properly rated fuse continues to
blow, it indicates a problem in the circuit that must be corrected.
MAINTAINING YOUR VEHICLE
233