Page 2 of 268
On-line handbook
You can find your handbook on the PEUGEOT website, under "Personal space". Referring to the handbook on-line also gives you access to the latest information available, easily identified by the bookmark, associated with this symbol:
If the "Personal space" function is not available on the PEUGEOT public website for your country, you can find your handbook at the following address: http://public.servicebox.peugeot.com
The Vehicle documentation link in the home page (no registration is needed), the language, the vehicle, its body style, the print edition of your handbook appropriate for the date of registration of your vehicle.
Select:
You have access to your handbook on line, together with the latest information, identified by the symbol:
Page 5 of 268

3
Contents
CONTENTS
corresponds to
a left hand drive
vehicle. corresponds to
a right hand drive
vehicle.
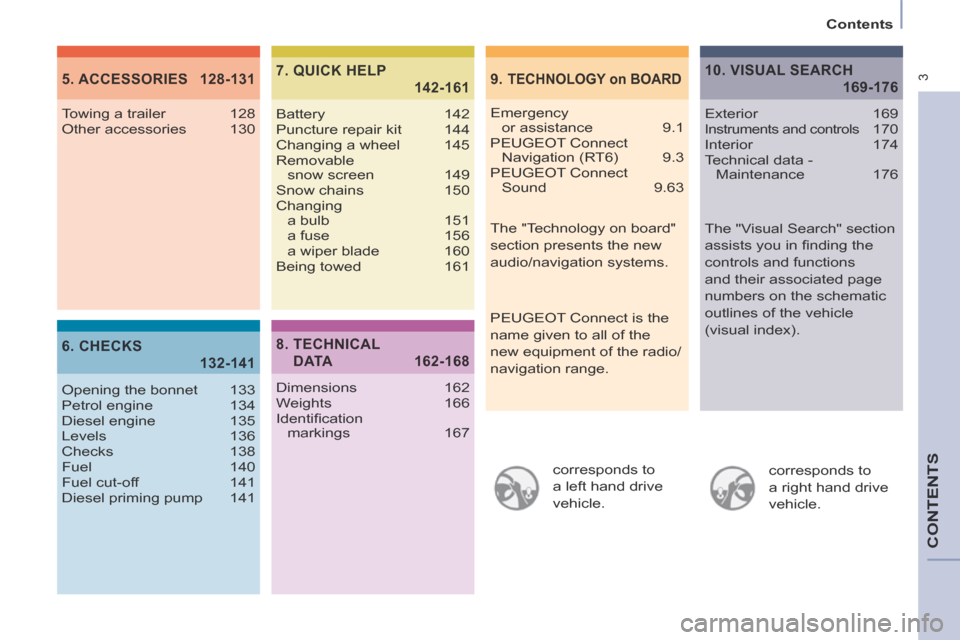
9. TECHNOLOGY on BOARD5. ACCESSORIES 128-131
6. CHECKS
132-141
7. QUICK HELP
142-161
Emergency
or assistance 9.1
PEUGEOT Connect Navigation (RT6) 9.3
PEUGEOT Connect Sound 9.63
Towing a trailer 128
Other accessories 130
Opening the bonnet 133
Petrol engine 134
Diesel engine 135
Levels 136
Checks 138
Fuel 140
Fuel cut-off
141
Diesel priming pump 141 Battery 142
Puncture repair kit 144
Changing a wheel 145
Removable
snow screen 149
Snow chains 150
Changing a bulb 151
a fuse 156
a wiper blade 160
Being towed 161
8. TECHNICAL
DATA 162-168
Dimensions 162
Weights 166
Identifi cation
markings 167
10. VISUAL SEARCH
169-176
Exterior 169Instruments and controls 170
Interior 174
Technical data - Maintenance 176
The "Visual Search" section
assists you in fi nding the
controls and functions
and their associated page
numbers on the schematic
outlines of the vehicle
(visual index).
The "Technology on board"
section presents the new
audio/navigation systems.
PEUGEOT Connect is the
name given to all of the
new equipment of the radio/
navigation range.
Page 7 of 268
2c
2e
2b7a4
6a
7b
2a6b
4
2d
17
2322
104
108
151 140
133
21
25
144,
1455
1
FAMILIARISATION
Exterior
Key : chapter identifi cation
: page identifi cation Grip control
Changing bulbs Fuel fi ller fl ap
Parking sensors
Opening the bonnet
Key - Remote control
Side-hinged rear doors Sliding side door Tailgate and rear screen
Spare wheel and temporary
puncture repair kit
Rear roof fl ap
Page 72 of 268
Seats
70
Removing the bench seat
- If necessary, move the front seats
forward.
- Place the bench seat (1/3 section and/or 2/3 section) in the fully folded position.
Refitting the bench seat
- Offer up the bench seat (1/3 section and/or 2/3 section) vertically.
- Place the hooks between the two bars.
- Fold the bench seat rearwards.
Refer to the "fully folded position"
described on the previous page. To return the bench seat
(1/3 section and/or 2/3 section)
to the "passenger transportation"
position, refer to the "fully folded
position" described on the previous
page.
- Tilt the entire seat rearwards by approximately 45°.
- Lift the bench seat vertically to the
limit of the anchorages.
- Straighten bench seat by tilting it forwards then lift it.
Page 75 of 268

Seats
73
EASE OF U
SE and
COMFORT
3
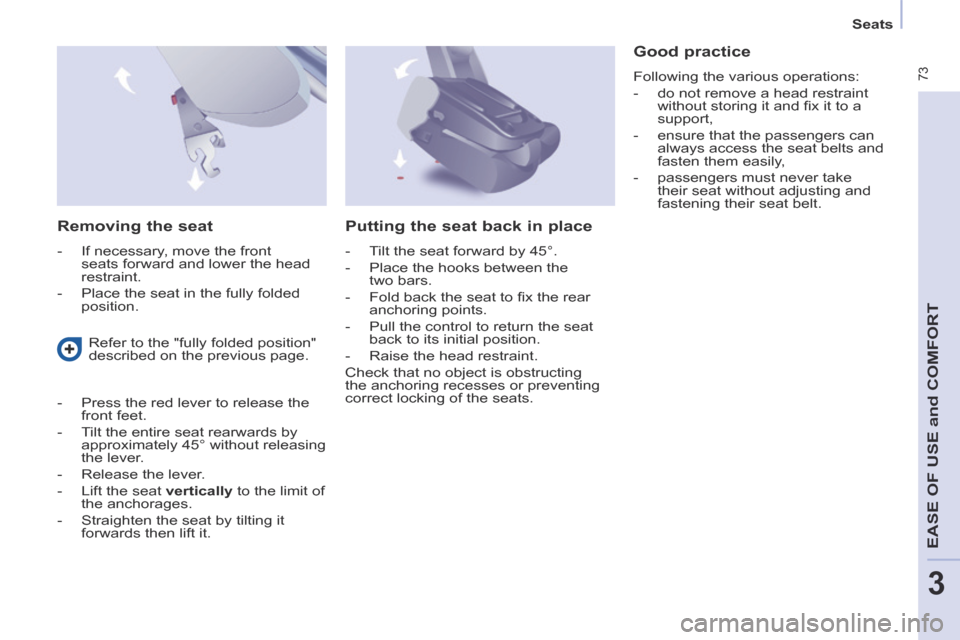
Removing the seat
- If necessary, move the front seats forward and lower the head
restraint.
- Place the seat in the fully folded position.
Good practice
Following the various operations:
- do not remove a head restraint without storing it and fi x it to a
support,
- ensure that the passengers can always access the seat belts and
fasten them easily,
- passengers must never take their seat without adjusting and
fastening their seat belt.
Refer to the "fully folded position"
described on the previous page.
- Press the red lever to release the front feet.
- Tilt the entire seat rearwards by approximately 45° without releasing
the lever.
- Release the lever.
- Lift the seat vertically to the limit of the anchorages.
- Straighten the seat by tilting it forwards then lift it.
Putting the seat back in place
- Tilt the seat forward by 45°.
- Place the hooks between the two bars.
- Fold back the seat to fi x the rear anchoring points.
- Pull the control to return the seat back to its initial position.
- Raise the head restraint.
Check that no object is obstructing
the anchoring recesses or preventing
correct locking of the seats.
Page 141 of 268

Checks
139
CHECKS
6
To check the main levels
and certain components,
in accordance with the
manufacturer's servicing schedule,
refer to the pages of the warranty and
maintenance record which correspond
to your vehicle's engine.
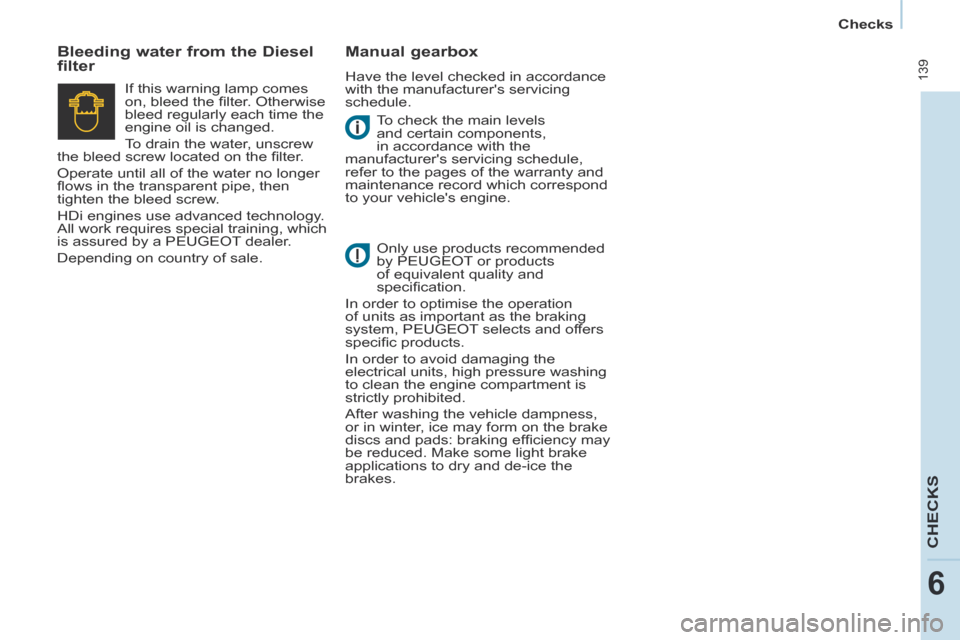
Bleeding water from the Diesel
filter Manual gearbox
Have the level checked in accordance
with the manufacturer's servicing
schedule.
Only use products recommended
by PEUGEOT or products
of equivalent quality and
specifi cation.
In order to optimise the operation
of units as important as the braking
system, PEUGEOT selects and offers
specifi c products.
In order to avoid damaging the
electrical units, high pressure washing
to clean the engine compartment is
strictly prohibited.
After washing the vehicle dampness,
or in winter, ice may form on the brake
discs and pads: braking effi ciency may
be reduced. Make some light brake
applications to dry and de-ice the
brakes.
If this warning lamp comes
on, bleed the fi lter. Otherwise
bleed regularly each time the
engine oil is changed.
To drain the water, unscrew
the bleed screw located on the fi lter.
Operate until all of the water no longer
fl ows in the transparent pipe, then
tighten the bleed screw.
HDi engines use advanced technology.
All work requires special training, which
is assured by a PEUGEOT dealer.
Depending on country of sale.
Page 184 of 268
9.14
05
TOWARDS POINTS OF INTEREST (POI)
NAVIGATION - GUIDANCE
The points of interest (POI) indicate all of the service locations in \
the vicinity (hotels, various businesses, airports...).
Select the " Enter an address " function and confi rm, then select " Select destination " and confi rm.
To select a POI close to your current location, select " POI " and confi rm, then select " Around the current place " and confi rm.
To select a POI as a stage on the route, select " POI " and confi rm, then select " On the route " and confi rm.
To select a POI as a destination, fi rst enter the country and town (see "Towards a new destination"), select " POI " and confi rm, fi nally select " Near " and confi rm. Near " and confi rm. Near
Search for POIs in the categories suggested in the following pages.
Select " Search by Name " to search for POIs by name and not by proximity.
Select the POI and confi rm " OK " to start the guidance.
Press N AV to display the " Navigation - guidance " menu.
Page 245 of 268

9.75
06
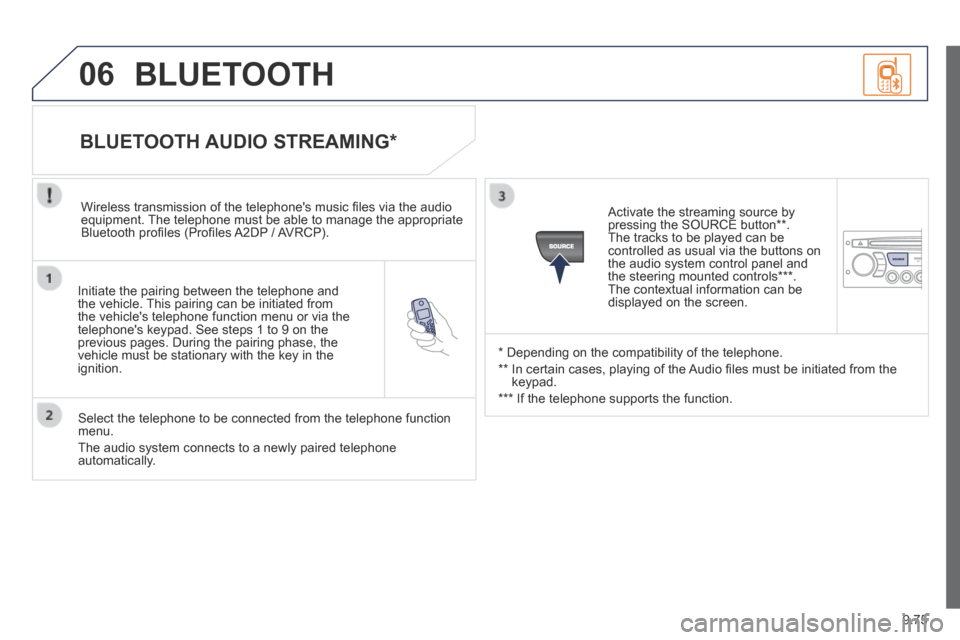
Initiate the pairing between the telephone and the vehicle. This pairing can be initiated from the vehicle's telephone function menu or via the telephone's keypad. See steps 1 to 9 on the previous pages. During the pairing phase, the vehicle must be stationary with the key in the ignition.
Select the telephone to be connected from the telephone function menu.
The audio system connects to a newly paired telephone automatically.
BLUETOOTH AUDIO STREAMING *
Wireless transmission of the telephone's music fi les via the audio equipment. The telephone must be able to manage the appropriate Bluetooth profi les (Profi les A2DP / AVRCP).
* Depending on the compatibility of the telephone.
** In certain cases, playing of the Audio fi les must be initiated from the keypad.
*** If the telephone supports the function.
Activate the streaming source by pressing the SOURCE button ** . The tracks to be played can be controlled as usual via the buttons on the audio system control panel and the steering mounted controls *** . The contextual information can be displayed on the screen.
BLUETOOTH