Page 93 of 400
91
3
Comfort
308_EN_CHAP03_CONFORT_ED02-2013
Boot fi ttings (SW)
1. Boot lamp2. Rear Rear Rearseat folding controls3. 12 V accessor y socket (120 W max)4. Removable storage boxes Pull on the separations to unclip them. 5. Storage wells where are stowed: - the towing eye, - the temporary puncture repair kit, - the spare wheel, depending on trim level, an option or standard. 6. Load space cover Load space cover Load space cover (see corresponding section)
7. Towing eyes Extract the eyes one at a time then slide them into the oblong housing. While pressing the button, move the eye to the desired position. Observe the direction of fitting (rings to the
outside of the vehicle).
Page 94 of 400
92
Comfort
308_EN_CHAP03_CONFORT_ED02-2013
Luggage cover, roller blind (SW)
To reel in To remove Storage
Remove the roller guide from the rails in the boot pillars. Release the roller blind, it reels in automatically.
Place a hand on the left under the luggage under the luggage undercover. Turn the end of the reel towards the front (clockwise) to release it. Repeat the operation on the right (anti-clockwise).
A cut-out in the floor well, under the boot carpet, allows the luggage cover to be stowed diagonally.
Page 96 of 400
94
Comfort
308_EN_CHAP03_CONFORT_ED02-2013
Warning triangle (stowing)
Before getting out of your vehicle to assemble the triangle and place it on the road, put on your high visibility vest.
The maximum dimensions of the triangle (once folded) or its storage box must be: - A : length = 44 cm, - B : height = 4 cm, - C : width = 6.5 cm.
The location for a folded triangle is under the boot floor. Placing the triangle in the
road
Distance from your vehicle (in metres)
Road
Motor way
DayNight
50 m 80 m 150 m
These are the internationally recognised values. Use the triangle in line with local driving regulations.
The triangle is available as an accessory, contact a PEUGEOT dealer or a qualified workshop.
Place the triangle at a distance behind the vehicle, as shown in the table below, according to the type of road and the level of ambient light.
Refer to the manufacturer's instructions for use of the triangle.
Page 98 of 400

96
Comfort
308_EN_CHAP03_CONFORT_ED02-2013
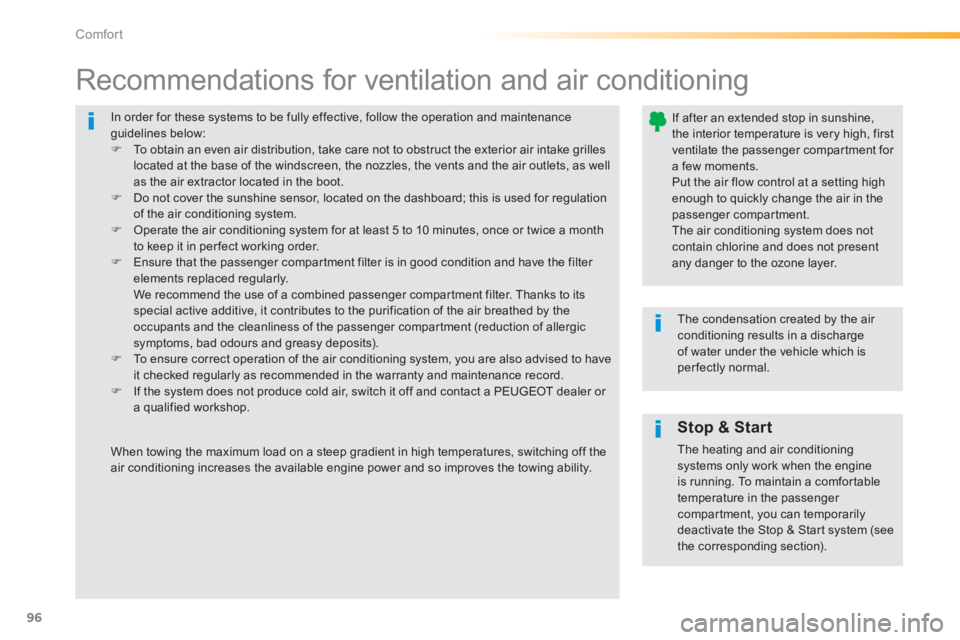
In order for these systems to be fully effective, follow the operation and maintenance guidelines below: To obtain an even air distribution, take care not to obstruct the exterior air intake grilles located at the base of the windscreen, the nozzles, the vents and the air outlets, as well as the air extractor located in the boot. Do not cover the sunshine sensor, located on the dashboard; this is used for regulation of the air conditioning system. Operate the air conditioning system for at least 5 to 10 minutes, once or twice a month to keep it in per fect working order. Ensure that the passenger compartment filter is in good condition and have the filter elements replaced regularly. We recommend the use of a combined passenger compartment filter. Thanks to its special active additive, it contributes to the purification of the air breathed by the occupants and the cleanliness of the passenger compartment (reduction of allergic symptoms, bad odours and greasy deposits). To ensure correct operation of the air conditioning system, you are also advised to have it checked regularly as recommended in the warranty and maintenance record. If the system does not produce cold air, switch it off and contact a PEUGEOT dealer or a qualified workshop.
Recommendations for ventilation and air conditioning
If after an extended stop in sunshine, the interior temperature is very high, first ventilate the passenger compartment for a few moments. Put the air flow control at a setting high enough to quickly change the air in the passenger compartment.
The air conditioning system does not contain chlorine and does not present any danger to the ozone layer.
The condensation created by the air conditioning results in a discharge of water under the vehicle which is per fectly normal.
When towing the maximum load on a steep gradient in high temperatures, switching off the air conditioning increases the available engine power and so improves the towing ability.
Stop & Start
The heating and air conditioning systems only work when the engine
is running. To maintain a comfortable temperature in the passenger compartment, you can temporarily deactivate the Stop & Start system (see the corresponding section).
Page 182 of 400

180
Visibility
308_EN_CHAP05_VISIBILITE_ED02-2013
Halogen headlamps "Full LED"
headlamps
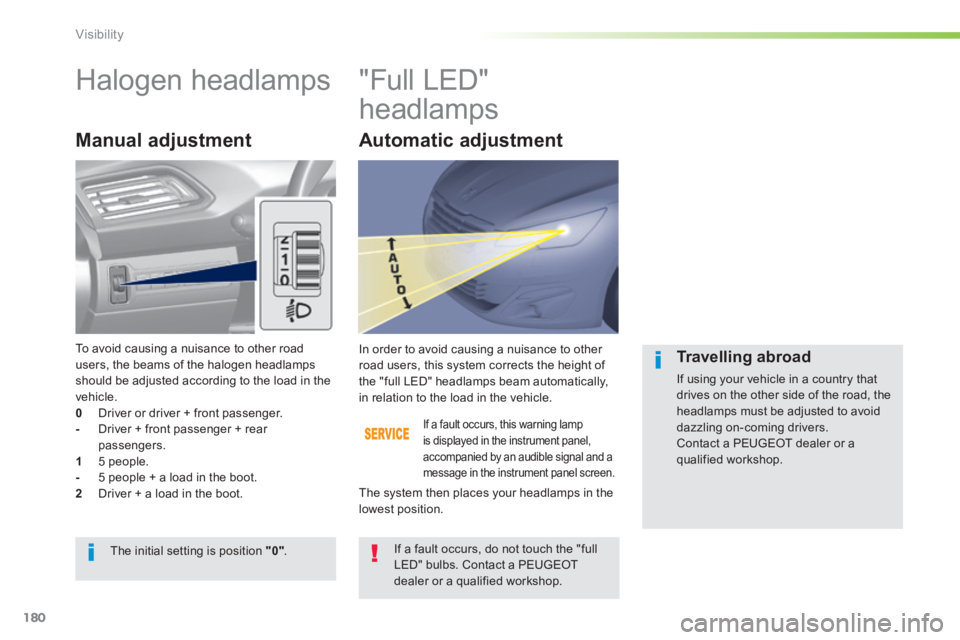
Manual adjustment
If a fault occurs, this warning lamp is displayed in the instrument panel, accompanied by an audible signal and a message in the instrument panel screen.
In order to avoid causing a nuisance to other road users, this system corrects the height of the "full LED" headlamps beam automatically, in relation to the load in the vehicle.
If a fault occurs, do not touch the "full LED" bulbs. Contact a PEUGEOT dealer or a qualified workshop.
The initial setting is position "0" .
The system then places your headlamps in the lowest position.
Travelling abroad
If using your vehicle in a country that drives on the other side of the road, the headlamps must be adjusted to avoid dazzling on-coming drivers. Contact a PEUGEOT dealer or a qualified workshop.
To avoid causing a nuisance to other road users, the beams of the halogen headlamps should be adjusted according to the load in the vehicle. 0 Driver or driver + front passenger. - Driver + front passenger + rear passengers. 1 5 people. - 5 people + a load in the boot. 2 Driver + a load in the boot.
Automatic adjustment
Page 184 of 400

182
Visibility
308_EN_CHAP05_VISIBILITE_ED02-2013
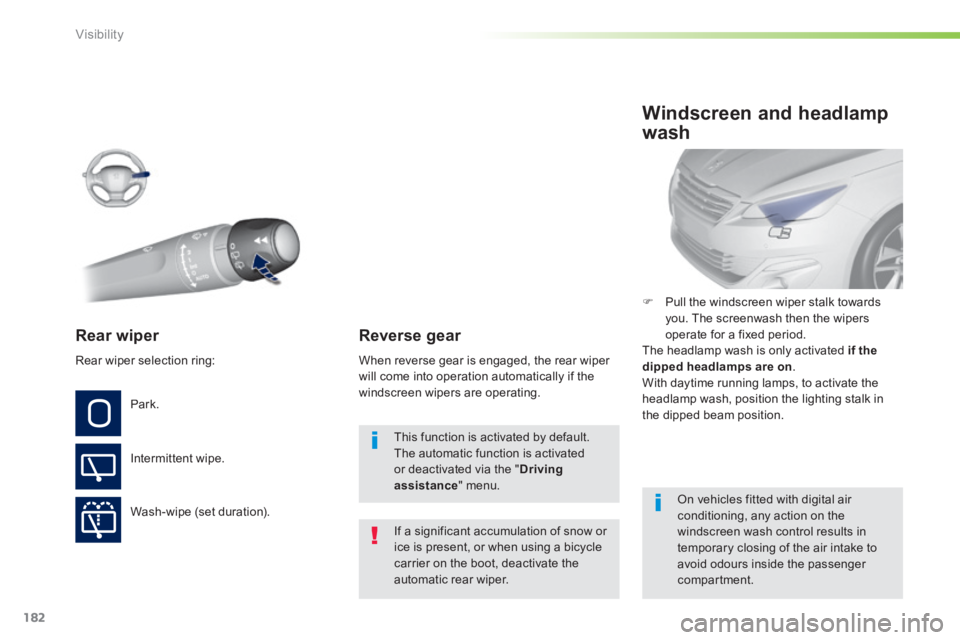
Rear wiper
If a significant accumulation of snow or ice is present, or when using a bicycle carrier on the boot, deactivate the automatic rear wiper.
Park.
Intermittent wipe.
Wash-wipe (set duration).
Reverse gear
Pull the windscreen wiper stalk towards you. The screenwash then the wipers operate for a fixed period. The headlamp wash is only activated if the dipped headlamps are on . With daytime running lamps, to activate the headlamp wash, position the lighting stalk in the dipped beam position.
Windscreen and headlamp
wash
On vehicles fitted with digital air conditioning, any action on the windscreen wash control results in temporary closing of the air intake to avoid odours inside the passenger compartment.
Rear wiper selection ring: When reverse gear is engaged, the rear wiper will come into operation automatically if the windscreen wipers are operating.
This function is activated by default. The automatic function is activated or deactivated via the " Driving assistance " menu.
Page 215 of 400
213
6
Safety
308_EN_CHAP06_SECURITE_ED02-2013
Your vehicle has been approved in accordance with the latest ISOFIX regulations . The seats shown below are fitted with regulation ISOFIX mountings.
"ISOFIX" mountings
There are three rings for each seat. - Two rings A , located between the vehicle seat back and cushion, indicated by an ISOFIX marking.
- A ring B located in the boot (indicated by a marking), referred to as the TOP TETHERfor fixing the upper strap. The TOP TETHER is used to secure the upper strap of child seats that have them. This limits the for ward tipping of the child seat in the event of a frontal impact. The TOP TETHER is located on the boot floor behind the seat backrest.
Do not use the luggage net rings (saloon) or lashing rings (SW), located at the edges of the boot floor.
These rings are located behind covers. For access to them: Pull for wards to unclip the cover and pivot it upwards.
Saloon
SW
Page 216 of 400

214
Safety
308_EN_CHAP06_SECURITE_ED02-2013
The incorrect installation of a child seat in a vehicle compromises the child's
protection in the event of an accident.
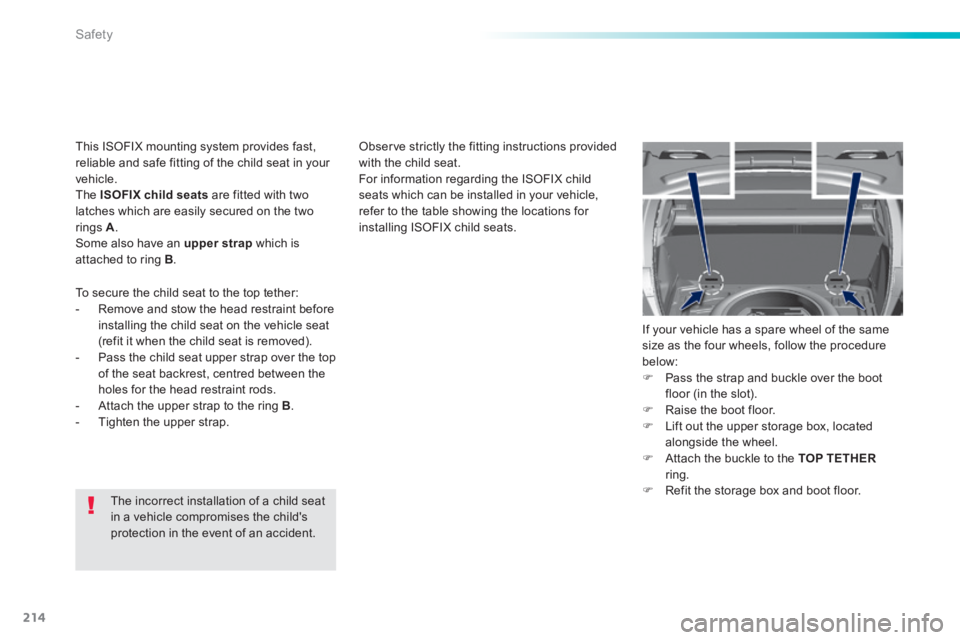
Observe strictly the fitting instructions provided with the child seat. For information regarding the ISOFIX child seats which can be installed in your vehicle, refer to the table showing the locations for
installing ISOFIX child seats.
To secure the child seat to the top tether: - Remove and stow the head restraint before installing the child seat on the vehicle seat (refit it when the child seat is removed). - Pass the child seat upper strap over the top of the seat backrest, centred between the holes for the head restraint rods. - Attach the upper strap to the ring B . - Tighten the upper strap.
If your vehicle has a spare wheel of the same size as the four wheels, follow the procedure below: Pass the strap and buckle over the boot floor (in the slot). Raise the boot floor. Lift out the upper storage box, located alongside the wheel. Attach the buckle to the TOP TETHERring. Refit the storage box and boot floor.
This ISOFIX mounting system provides fast, reliable and safe fitting of the child seat in your vehicle. The ISOFIX child seats are fitted with two latches which are easily secured on the two
rings A . Some also have an upper strap which is attached to ring B .