Page 69 of 400

67
2
Access
308_EN_CHAP02_OUVERTURES_ED02-2013
Protection - exterior
perimeter monitoring only
Volumetric monitoring
Deactivation The tilt alarm is deactivated as well, if your vehicle has it.
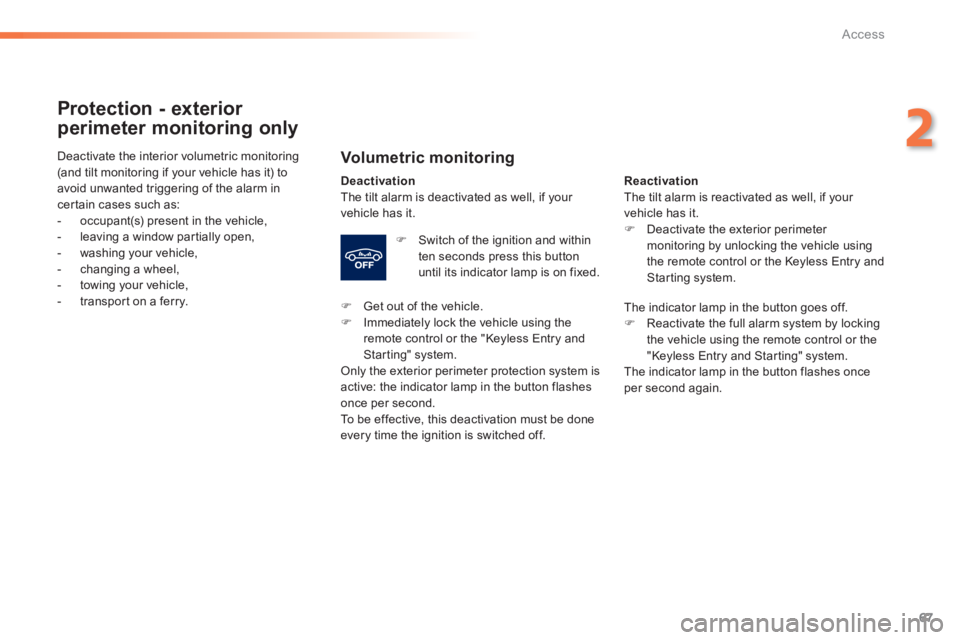
Switch of the ignition and within ten seconds press this button until its indicator lamp is on fixed.
Get out of the vehicle. Immediately lock the vehicle using the remote control or the "Keyless Entry and Starting" system. Only the exterior perimeter protection system is active: the indicator lamp in the button flashes once per second. To be effective, this deactivation must be done every time the ignition is switched off.
Deactivate the interior volumetric monitoring (and tilt monitoring if your vehicle has it) to avoid unwanted triggering of the alarm in certain cases such as: - occupant(s) present in the vehicle,
- leaving a window partially open, - washing your vehicle, - changing a wheel, - towing your vehicle, - transport on a ferry.
Reactivation The tilt alarm is reactivated as well, if your vehicle has it. Deactivate the exterior perimeter monitoring by unlocking the vehicle using the remote control or the Keyless Entry and Starting system.
The indicator lamp in the button goes off. Reactivate the full alarm system by locking the vehicle using the remote control or the "Keyless Entry and Starting" system. The indicator lamp in the button flashes once per second again.
Page 77 of 400

75
3
Comfort
308_EN_CHAP03_CONFORT_ED02-2013
Steering wheel adjustment
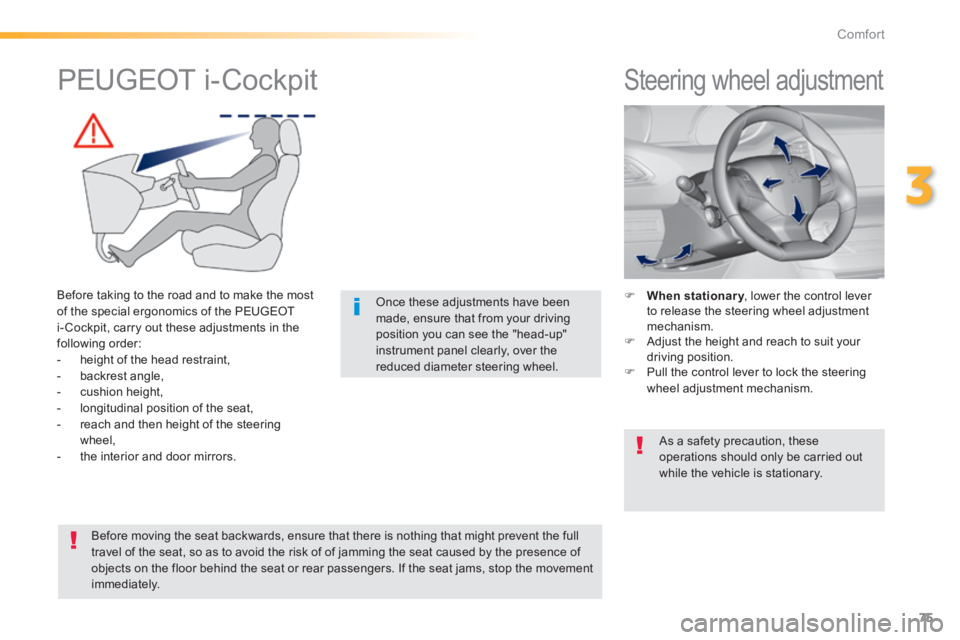
When stationary , lower the control lever hen stationary , lower the control lever hen stationaryto release the steering wheel adjustment mechanism. Adjust the height and reach to suit your driving position. Pull the control lever to lock the steering wheel adjustment mechanism.
As a safety precaution, these operations should only be carried out while the vehicle is stationary.
PEUGEOT i-Cockpit
Before taking to the road and to make the most of the special ergonomics of the PEUGEOT i- Cockpit, carry out these adjustments in the following order: - height of the head restraint, - backrest angle, - cushion height, - longitudinal position of the seat, - reach and then height of the steering wheel, - the interior and door mirrors.
Once these adjustments have been made, ensure that from your driving position you can see the "head-up" instrument panel clearly, over the reduced diameter steering wheel.
Before moving the seat backwards, ensure that there is nothing that might prevent the full travel of the seat, so as to avoid the risk of of jamming the seat caused by the presence of objects on the floor behind the seat or rear passengers. If the seat jams, stop the movement immediately.
Page 81 of 400
79
3
Comfort
308_EN_CHAP03_CONFORT_ED02-2013
Heated seats control
0: Of f.
1: Low. 2: Medium. 3: High.
Use the adjustment wheel to switch on and select the level of heating required:
With the engine running, the front seats can be heated separately.
To raise the head restraint, pull it upwards. To remove the head restraint, press the lug A and pull the head restraint upwards. To put the head restraint back in place, engage the head restraint stems in the openings keeping them in line with the seat back. To lower the head restraint, press the lug Aand the head restraint at the same time.
The head restraint is fitted with a frame with notches which prevents it from lowering; this is a safety device in case of impact. The adjustment is correct when the
upper edge of the head restraint is level with the top of the head. Never drive with the head restraints removed; they must be in place and adjusted correctly.
Head restraint height
Additional adjustments
Page 92 of 400
90
Comfort
308_EN_CHAP03_CONFORT_ED02-2013
Boot fi ttings (saloon)
1. Rear parcel shelf2. Boot floor Boot floor Boot floor Raise the floor for access to the storage. 3. Storage wells in which are stowed: - the towing eye, - the temporary puncture repair kit, - the spare wheel, depending on trim level, an option or standard. 4. Stowing rings
Page 93 of 400
91
3
Comfort
308_EN_CHAP03_CONFORT_ED02-2013
Boot fi ttings (SW)
1. Boot lamp2. Rear Rear Rearseat folding controls3. 12 V accessor y socket (120 W max)4. Removable storage boxes Pull on the separations to unclip them. 5. Storage wells where are stowed: - the towing eye, - the temporary puncture repair kit, - the spare wheel, depending on trim level, an option or standard. 6. Load space cover Load space cover Load space cover (see corresponding section)
7. Towing eyes Extract the eyes one at a time then slide them into the oblong housing. While pressing the button, move the eye to the desired position. Observe the direction of fitting (rings to the
outside of the vehicle).
Page 111 of 400

109
4
Driving
308_EN_CHAP04_CONDUITE_ED02-2013
For Diesel vehicles , in sub-zero temperatures the engine will not start until the pre-heater warning lamp has gone off.
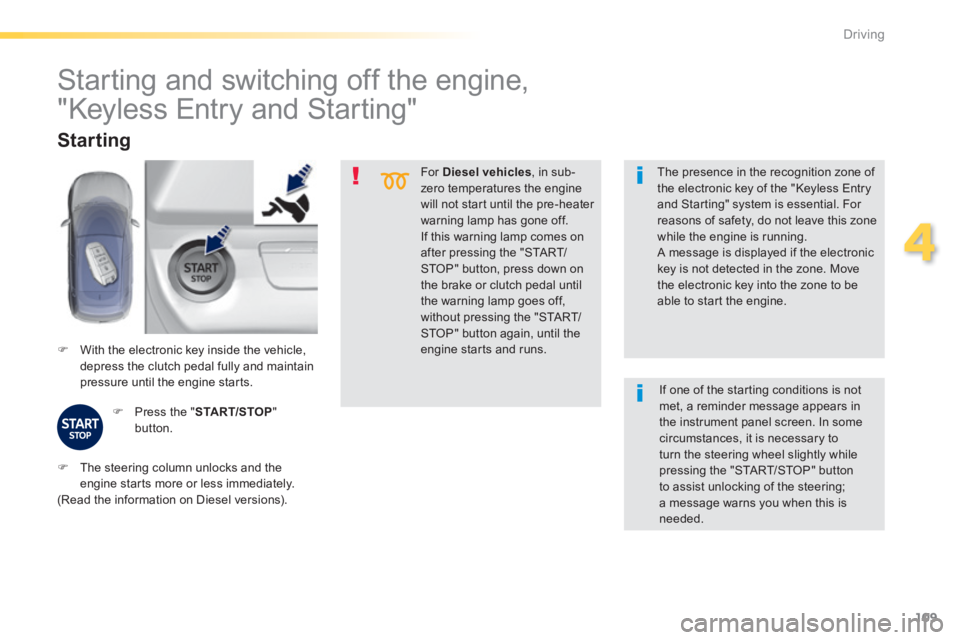
If this warning lamp comes on after pressing the "START/STOP" button, press down on the brake or clutch pedal until the warning lamp goes off, without pressing the "START/STOP" button again, until the engine starts and runs. With the electronic key inside the vehicle, depress the clutch pedal fully and maintain pressure until the engine starts.
Starting
Press the " START/STOP " button.
The presence in the recognition zone of the electronic key of the "Keyless Entry and Starting" system is essential. For reasons of safety, do not leave this zone
while the engine is running. A message is displayed if the electronic key is not detected in the zone. Move the electronic key into the zone to be able to start the engine.
Starting and switching off the engine,
"Keyless Entry and Starting"
The steering column unlocks and the engine starts more or less immediately. (Read the information on Diesel versions).
If one of the starting conditions is not met, a reminder message appears in the instrument panel screen. In some circumstances, it is necessary to turn the steering wheel slightly while pressing the "START/STOP" button to assist unlocking of the steering; a message warns you when this is needed.
Page 115 of 400
113
4
Driving
308_EN_CHAP04_CONDUITE_ED02-2013
Manual parking brake
With your foot on the brake pedal, pull the parking brake lever up to immobilise your vehicle.
With your foot on the brake pedal, pull the parking brake lever up gently, press the release button then lower the lever fully.
When parking on a slope, direct your wheels against the kerb, apply the parking brake, engage a gear and switch off the ignition.
When the vehicle is being driven, this warning lamp coming on, accompanied by an audible signal and a message, indicates that the parking brake is still on or has not been fully released.
Pressing the brake pedal facilitates the application and release of the manual parking brake.
Release Application
Page 116 of 400

114
Driving
308_EN_CHAP04_CONDUITE_ED02-2013
Electric parking brake
Never leave a child alone inside the vehicle with the ignition on, as they could release the parking brake. Indicator lamp
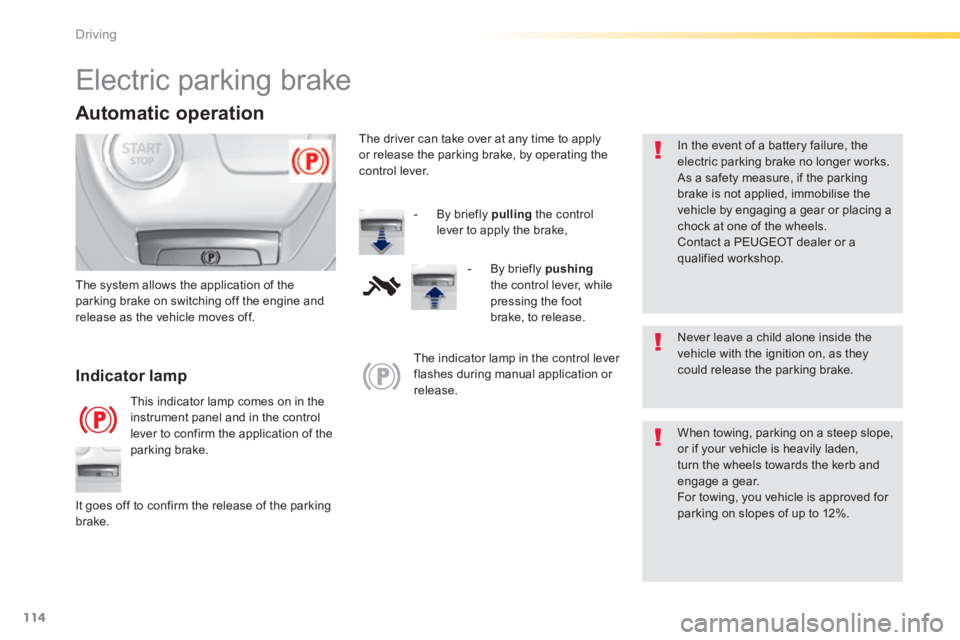
This indicator lamp comes on in the instrument panel and in the control lever to confirm the application of the parking brake.
The system allows the application of the parking brake on switching off the engine and release as the vehicle moves off.
When towing, parking on a steep slope, or if your vehicle is heavily laden, turn the wheels towards the kerb and engage a gear. For towing, you vehicle is approved for parking on slopes of up to 12%. It goes off to confirm the release of the parking brake.
The indicator lamp in the control lever flashes during manual application or release.
In the event of a battery failure, the electric parking brake no longer works. As a safety measure, if the parking brake is not applied, immobilise the vehicle by engaging a gear or placing a chock at one of the wheels. Contact a PEUGEOT dealer or a qualified workshop.
Automatic operation
The driver can take over at any time to apply or release the parking brake, by operating the control lever.
- By briefly pulling the control
lever to apply the brake,
- By briefly pushingthe control lever, while pressing the foot brake, to release.