Page 5 of 400

Contents
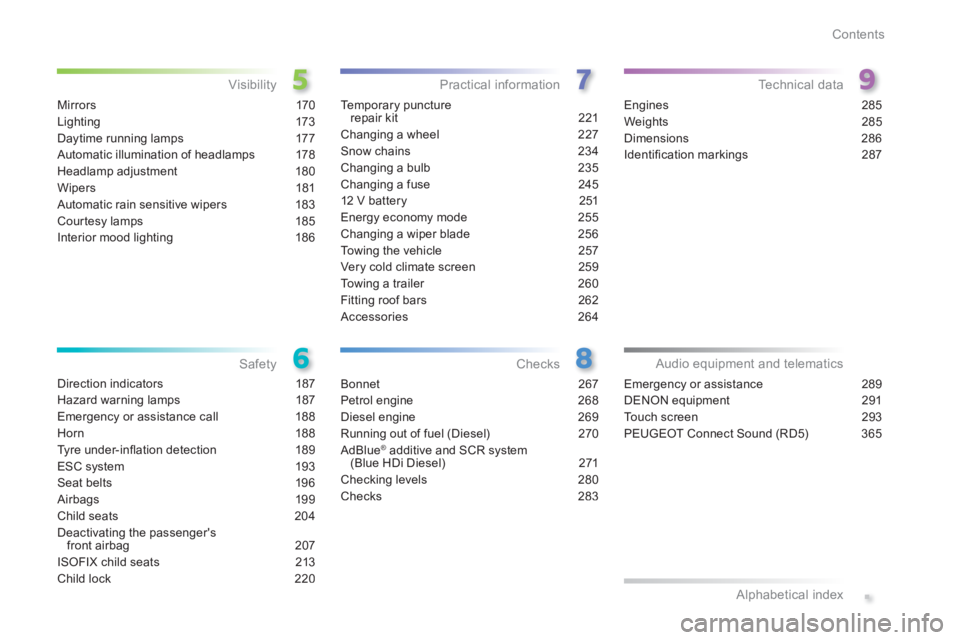
M i r r o r s 170
Lighting 173
Daytime running lamps 177
Automatic illumination of headlamps 178
Headlamp adjustment 180
Wipers 181
Automatic rain sensitive wipers 183
Courtesy lamps 185
Interior mood lighting 186
Temporary puncture repair kit 221
Changing a wheel 227
Snow chains 234
Changing a bulb 235
Changing a fuse 245
12 V battery 251
Energy economy mode 255
Changing a wiper blade 256
Towing the vehicle 257
Very cold climate screen 259
Towing a trailer 260
Fitting roof bars 262
Accessories 264
Bonnet 267
Petrol engine 268
Diesel engine 269
Running out of fuel (Diesel) 270
AdBlue® additive and SCR system ® additive and SCR system ®
(Blue HDi Diesel) 271
Checking levels 280
Checks 283
Engines 285
Weights 285
Dimensions 286
Identifi cation markings 287
Direction indicators 187
Hazard warning lamps 187
Emergency or assistance call 188
Horn 188
Tyre under-infl ation detection 189
ESC system 193
Seat belts 196
Airbags 199
Child seats 204
Deactivating the passenger's front airbag 207
ISOFIX child seats 213
Child lock 220
Visibility
Safety Practical information
Checks Technical data
Emergency or assistance
289
DENON equipment 291
Touch screen 293
PEUGEOT Connect Sound (RD5) 365
Audio equipment and telematics
Alphabetical index
.
Page 6 of 400

4
Visual search
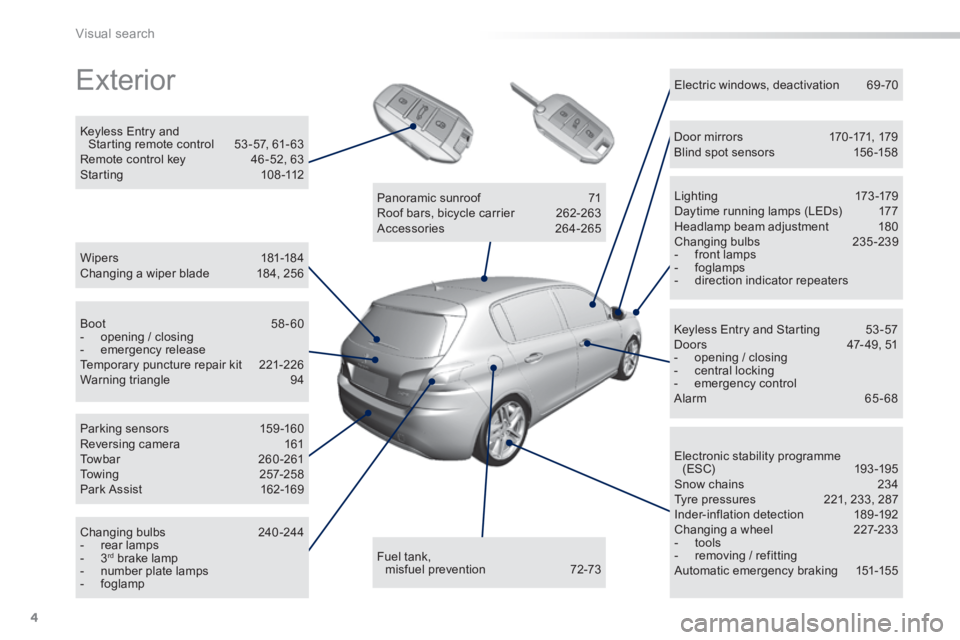
Exterior
Wipers 181-18 4 Changing a wiper blade 184, 256
Keyless Entry and Starting remote control 53 -57, 61- 63 Remote control key 46 -52, 63 Starting 108 -112
Electronic stability programme (ESC) 193 -195 Snow chains 234 Tyre pressures 221, 233, 287 Inder-inflation detection 189-192 Changing a wheel 227-233 - tools - removing / refitting Automatic emergency braking 151-155
L i g ht i n g 173 -179 Daytime running lamps (LEDs) 177 Headlamp beam adjustment 180 Changing bulbs 235-239 - front lamps - foglamps - direction indicator repeaters
Electric windows, deactivation 69 -70
Keyless Entry and Starting 53 -57 Doors 47- 49, 51 - opening / closing - central locking - emergency control Alarm 65 - 68
Fuel tank, misfuel prevention 72-73
Panoramic sunroof 71 Roof bars, bicycle carrier 262-263 Accessories 264-265
Boot 58 - 60 - opening / closing - emergency release Temporary puncture repair kit 221-226 Warning triangle 94
Parking sensors 159 -160 Reversing camera 161 Towbar 260 -261 Towing 257-258 Park Assist 162-169
Changing bulbs 240-244 - rear lamps - 3 rd brake lamp - number plate lamps - foglamp
Door mirrors 170 -171, 179 Blind spot sensors 156 -158
Page 120 of 400

118
Driving
Emergency braking
In the event of a failure of the main service brake or in an exceptional situation (e.g. driver taken ill, under instruction, etc) a continuous pull on the control lever will brake the vehicle. Braking takes place while the control lever is being pulled. It is interrupted if the control lever is released. The ABS and DSC systems provide stability of the vehicle during emergency braking. If the emergency braking malfunctions, the message "Parking brake control faulty" will be displayed.
The emergency braking should only be used in an exceptional situation.
Repeat this procedure to reactivate automatic operation. Reactivation of automatic operation is confirmed by the indicator lamp in the instrument panel going off.
Deactivating automatic operation
In some situations, such as very cold weather or towing (caravan, recovery), it may be necessary to deactivate automatic operation of the system. Start the engine. Apply the parking brake with the control
lever, if it is released. Take your foot off the brake pedal. Push and hold the control lever in the release direction for at least 10 seconds and no more than 15 seconds. Release the control lever. Press and hold the brake pedal. Pull the control lever in the apply direction for 2 seconds.
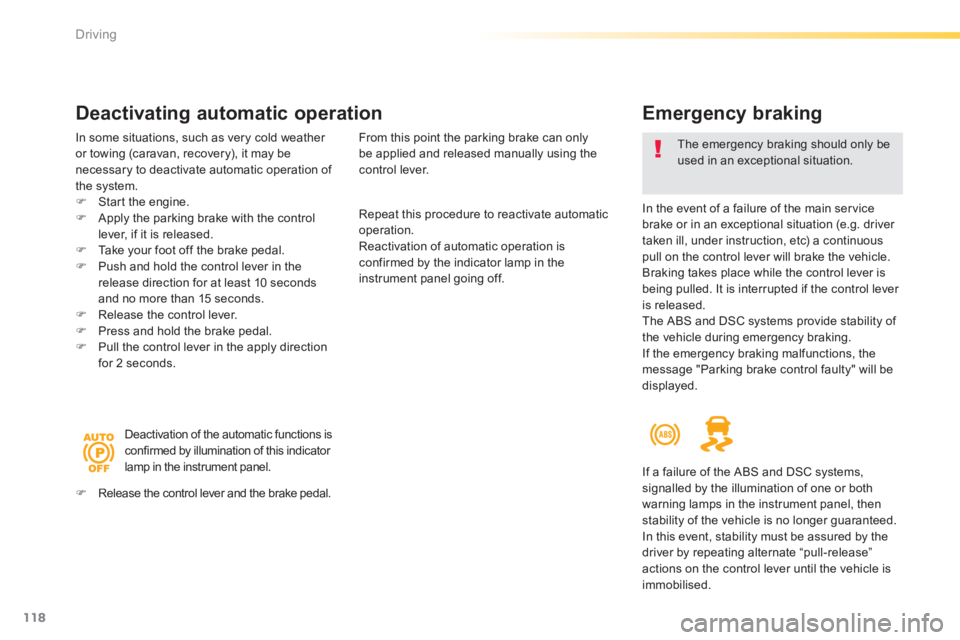
Deactivation of the automatic functions is confirmed by illumination of this indicator lamp in the instrument panel.
Release the control lever and the brake pedal.
From this point the parking brake can only be applied and released manually using the control lever.
If a failure of the ABS and DSC systems, signalled by the illumination of one or both warning lamps in the instrument panel, then stability of the vehicle is no longer guaranteed. In this event, stability must be assured by the driver by repeating alternate “pull-release” actions on the control lever until the vehicle is
immobilised.
Page 189 of 400
187
6
Safety
Automatic operation of
hazard warning lamps
Direction indicators
Left: lower the lighting stalk passing the point of resistance. Right: raise the lighting stalk passing the point of resistance.
Three fl ashes of the direction indicators
Hazard warning lamps
A visual warning by means of the direction indicators to alert other road users to a vehicle breakdown, towing or accident. Press this button, the direction indicators flash. They can operate with the ignition off.
Press briefly upwards or downwards, without going beyond the point of resistance; the direction indicators will flash 3 times.
When braking in an emergency, depending on the rate of deceleration, as well as when the ABS regulation is invoked or in the event of an impact, the hazard warning lamps come on automatically. They switch off automatically the first time you accelerate. You can also switch them off by pressing the button.