2014 PEUGEOT 3008 instrument panel
[x] Cancel search: instrument panelPage 181 of 389
9
179
Driving
"Porsche Tiptronic System" automatic gearbox
Gear lever
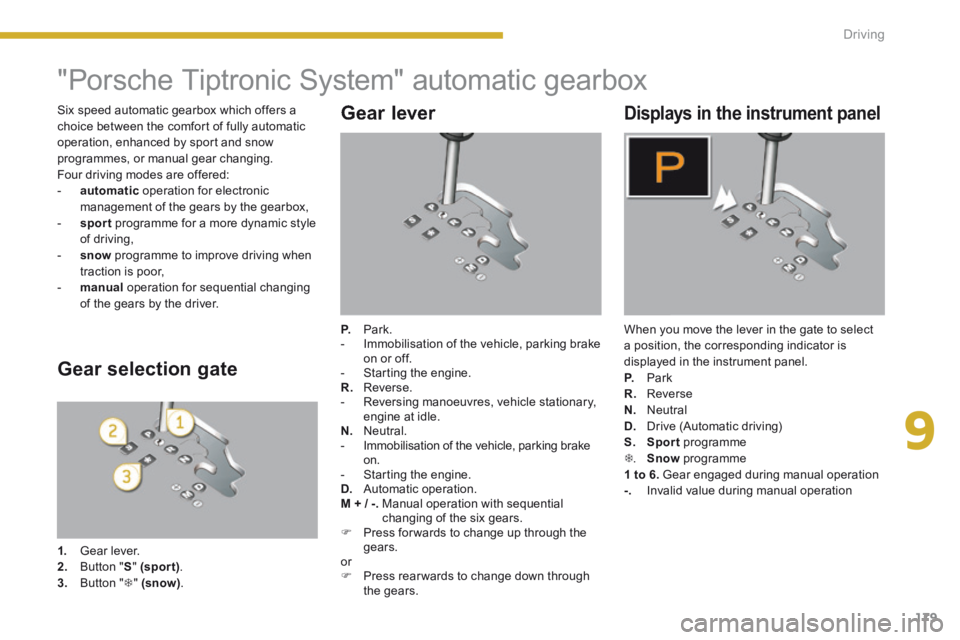
P. Park. - Immobilisation of the vehicle, parking brake on or off. - Starting the engine. R. Reverse. - Reversing manoeuvres, vehicle stationary, engine at idle. N. Neutral. - Immobilisation of the vehicle, parking brake on. - Starting the engine. D. Automatic operation. M + / -. Manual operation with sequential changing of the six gears. Press for wards to change up through the gears. or Press rear wards to change down through the gears.
Displays in the instrument panel
When you move the lever in the gate to select a position, the corresponding indicator is displayed in the instrument panel. P. Park R. Reverse N. Neutral D. Drive (Automatic driving)
S. Sport programme . Snow programme 1 to 6. Gear engaged during manual operation -. Invalid value during manual operation
Gear selection gate
1. Gear lever. 2. Button "S" (spor t) . 3. Button " " (snow) .
Six speed automatic gearbox which offers a choice between the comfort of fully automatic operation, enhanced by sport and snow programmes, or manual gear changing. Four driving modes are offered: - automatic operation for electronic management of the gears by the gearbox, - sport programme for a more dynamic style of driving, - snow programme to improve driving when traction is poor, - manual operation for sequential changing of the gears by the driver.
Page 183 of 389
9
181
Driving
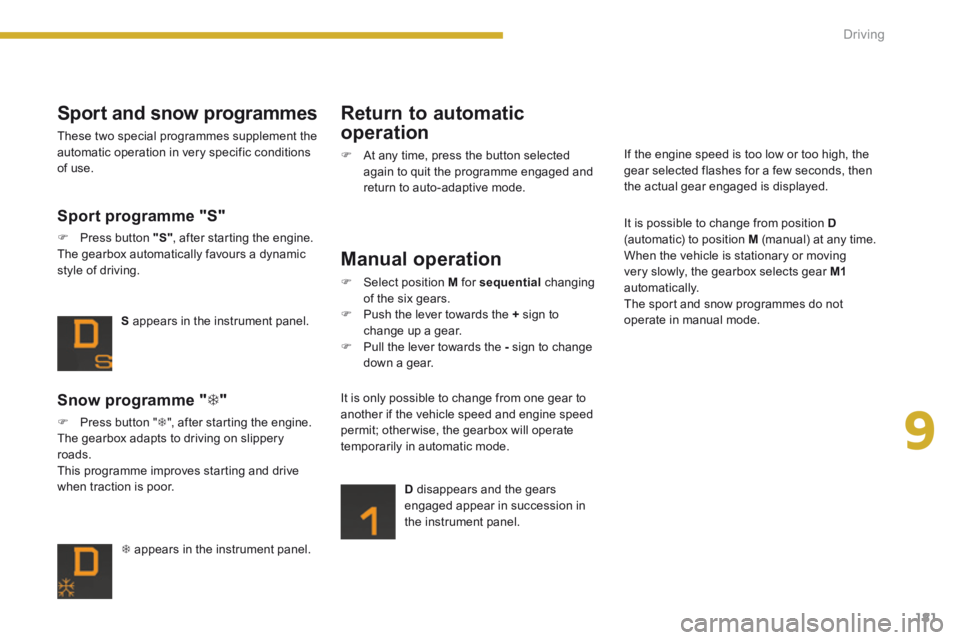
appears in the instrument panel.
Snow programme " "
Press button " ", after starting the engine. The gearbox adapts to driving on slippery roads. This programme improves starting and drive when traction is poor.
S appears in the instrument panel.
Sport programme "S"
Press button "S" , after starting the engine. The gearbox automatically favours a dynamic style of driving.
Sport and snow programmes
These two special programmes supplement the automatic operation in very specific conditions of use.
Return to automatic
operation
At any time, press the button selected again to quit the programme engaged and return to auto-adaptive mode.
Manual operation
Select position M for sequential changing of the six gears. Push the lever towards the + sign to change up a gear. Pull the lever towards the - sign to change down a gear.
D disappears and the gears engaged appear in succession in the instrument panel.
It is only possible to change from one gear to another if the vehicle speed and engine speed
permit; otherwise, the gearbox will operate temporarily in automatic mode.
It is possible to change from position D(automatic) to position M (manual) at any time. When the vehicle is stationary or moving very slowly, the gearbox selects gear M1automatically. The sport and snow programmes do not operate in manual mode.
If the engine speed is too low or too high, the gear selected flashes for a few seconds, then the actual gear engaged is displayed.
Page 185 of 389
9
183
Driving
The Stop & Start system puts the engine temporarily into standby - STOP mode - during stops in the traffic (red lights, traffic jams, or other...). The engine restarts automatically - START mode - as soon as you want to move off. The restart takes place instantly, quickly and silently. Per fect for urban use, the Stop & Start system reduces fuel consumption and exhaust emissions as well as the noise level when stationary.
Operation
Going into engine STOP mode
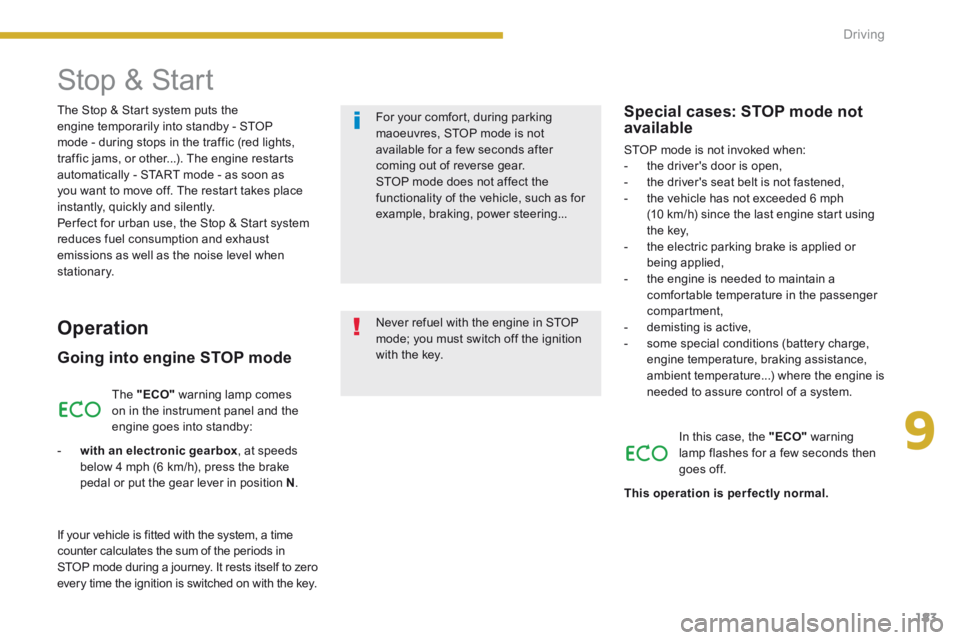
The "ECO" warning lamp comes on in the instrument panel and the engine goes into standby:
- with an electronic gearbox , at speeds below 4 mph (6 km/h), press the brake pedal or put the gear lever in position N .
If your vehicle is fitted with the system, a time counter calculates the sum of the periods in STOP mode during a journey. It rests itself to zero every time the ignition is switched on with the key.
Special cases: STOP mode not available
STOP mode is not invoked when: - the driver's door is open, - the driver's seat belt is not fastened, - the vehicle has not exceeded 6 mph (10 km/h) since the last engine start using
the key, - the electric parking brake is applied or being applied, - the engine is needed to maintain a comfortable temperature in the passenger compartment, - demisting is active, - some special conditions (battery charge, engine temperature, braking assistance, ambient temperature...) where the engine is needed to assure control of a system.
In this case, the "ECO" warning lamp flashes for a few seconds then goes off.
This operation is perfectly normal.
Never refuel with the engine in STOP mode; you must switch off the ignition with the key.
For your comfort, during parking maoeuvres, STOP mode is not available for a few seconds after coming out of reverse gear. STOP mode does not affect the functionality of the vehicle, such as for example, braking, power steering...
Stop & Start
Page 187 of 389

9
185
Driving
Reactivation
Press the "ECO OFF" switch again. The system is active again; this is confirmed by the switch warning lamp going off and a message in the screen.
Operating fault
In the event of a fault with the system, the "ECO OFF" switch warning lamp flashes then comes on continuously. Have it checked by a PEUGEOT dealer or a qualified workshop. In the event of a fault in STOP mode, the vehicle may stall: all the instrument panel warning lamps come on. It is then necessary to switch off the ignition and start the engine again using the key.
Maintenance
This system requires a 12 V battery with a special specification and technology (reference numbers available from PEUGEOT dealers). Fitting a battery not listed by PEUGEOT introduces the risk of malfunction of the system. To charge the battery, use a 12 V charger and observe the polarity.
The system is reactivated automatically at every new start using the key.
The Stop & Start system makes use of advanced technology. For any work on the system go to a qualified workshop with the skills and equipment required, which a PEUGEOT dealer is able to provide.
Before doing anything under the bonnet, deactivate the Stop & Start system to avoid any risk of injury resulting from automatic operation of START mode.
Page 189 of 389
9
187
Driving
The parking sensors are switched off : switched off : switched off - when you exit reverse gear, - when the speed is higher than 6 mph (10 km/h) in for ward gear, - when the vehicle has been stationary for more than three seconds in for ward gear.
Deactivation Operating fault
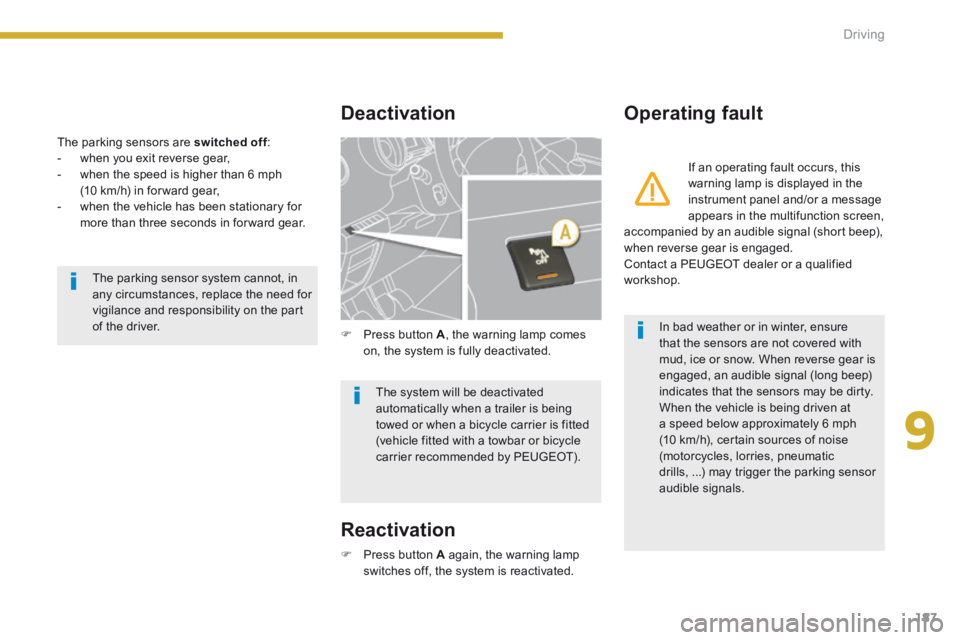
Press button A again, the warning lamp switches off, the system is reactivated.
Press button A , the warning lamp comes on, the system is fully deactivated.
If an operating fault occurs, this warning lamp is displayed in the instrument panel and/or a message appears in the multifunction screen, accompanied by an audible signal (short beep), when reverse gear is engaged. Contact a PEUGEOT dealer or a qualified workshop. The parking sensor system cannot, in any circumstances, replace the need for vigilance and responsibility on the part of the driver.
The system will be deactivated automatically when a trailer is being towed or when a bicycle carrier is fitted (vehicle fitted with a towbar or bicycle carrier recommended by PEUGEOT).
In bad weather or in winter, ensure that the sensors are not covered with mud, ice or snow. When reverse gear is engaged, an audible signal (long beep) indicates that the sensors may be dirty. When the vehicle is being driven at a speed below approximately 6 mph (10 km/h), certain sources of noise (motorcycles, lorries, pneumatic drills, ...) may trigger the parking sensor audible signals.
Reactivation
Page 191 of 389
9
189
Driving
Parking space sensors
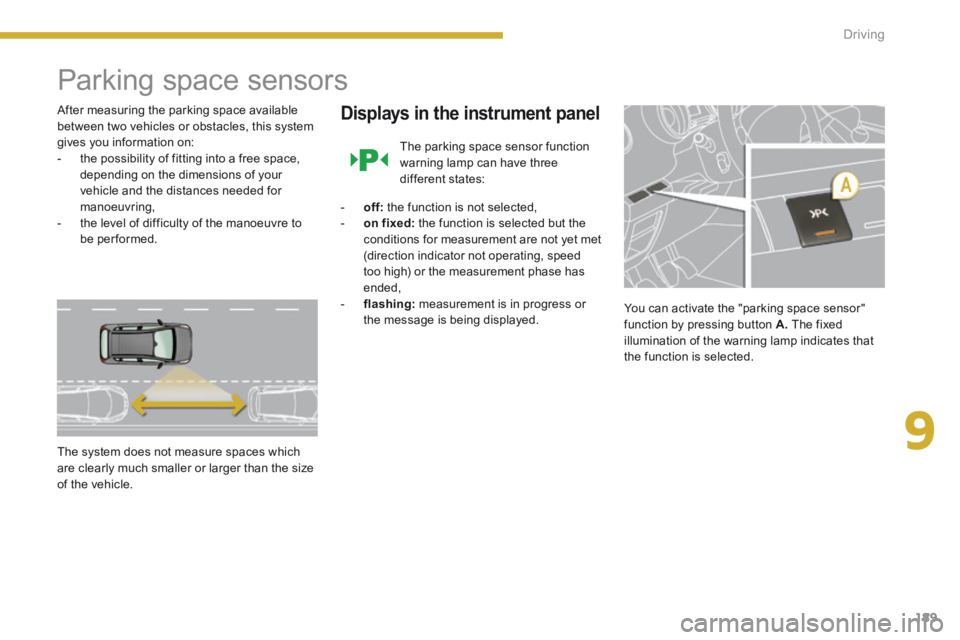
After measuring the parking space available between two vehicles or obstacles, this system gives you information on: - the possibility of fitting into a free space, depending on the dimensions of your vehicle and the distances needed for manoeuvring, - the level of difficulty of the manoeuvre to be performed.
The system does not measure spaces which are clearly much smaller or larger than the size of the vehicle.
Displays in the instrument panel
The parking space sensor function warning lamp can have three different states:
- off: the function is not selected, - on fixed: the function is selected but the
conditions for measurement are not yet met (direction indicator not operating, speed too high) or the measurement phase has ended, - flashing: measurement is in progress or the message is being displayed. You can activate the "parking space sensor" function by pressing button A. The fixed illumination of the warning lamp indicates that the function is selected.
Page 198 of 389
Checks
196
Checking levels
Engine oil level
The check is carried out either when the ignition is switched on using the oil level indicator in the instrument panel for vehicles with and electric oil level gauge, or using the dipstick.
Check all of these levels regularly, in line with the warranty and maintenance record. Top them up if necessary, unless other wise indicated. If a level drops significantly, have the corresponding system checked by a PEUGEOT dealer or a qualified workshop.
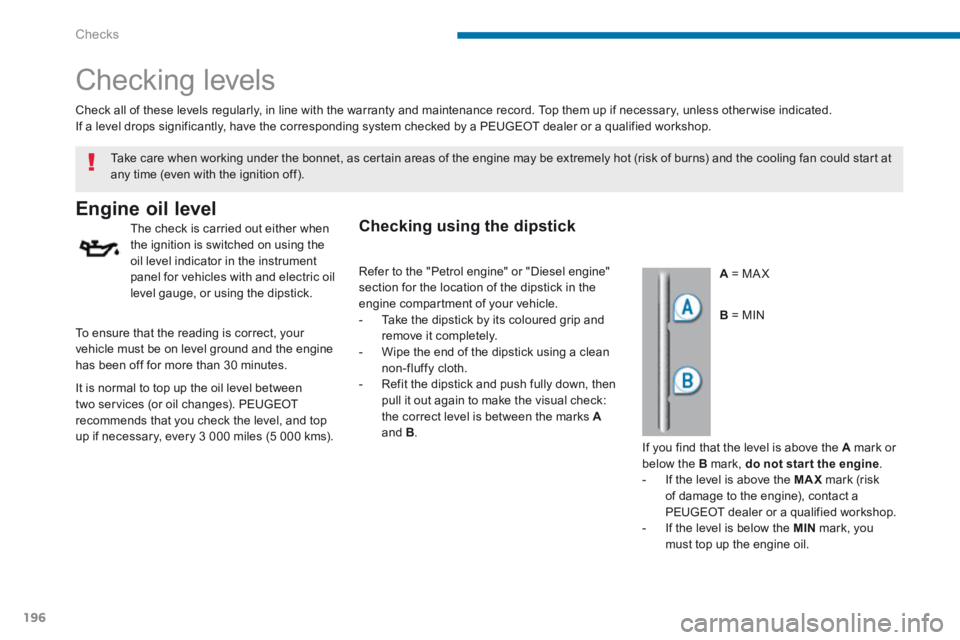
A = MA X
Take care when working under the bonnet, as certain areas of the engine may be extremely hot (risk of burns) and the cooling fan could start at any time (even with the ignition off).
To ensure that the reading is correct, your vehicle must be on level ground and the engine has been off for more than 30 minutes.
B = MIN
It is normal to top up the oil level between two services (or oil changes). PEUGEOT recommends that you check the level, and top
up if necessary, every 3 000 miles (5 000 kms).
Checking using the dipstick
If you find that the level is above the A mark or below the B mark, do not star t the engine . - If the level is above the MAX mark (risk of damage to the engine), contact a PEUGEOT dealer or a qualified workshop. - If the level is below the MIN mark, you must top up the engine oil.
Refer to the "Petrol engine" or "Diesel engine" section for the location of the dipstick in the engine compartment of your vehicle. - Take the dipstick by its coloured grip and remove it completely. - Wipe the end of the dipstick using a clean non-fluffy cloth. - Refit the dipstick and push fully down, then pull it out again to make the visual check: the correct level is between the marks A
and B .
Page 199 of 389

10
Checks197
Power steering fluid level
The power steering fluid level should be close to the "MA X" mark. With the engine cold, unscrew the cap to check the level.
Fluid specifi cation
The brake fluid must conform to the manufacturer's recommendations.
Changing the fl uid
Refer to the warranty and maintenance record for details of the interval for this operation.
The brake fluid level should be close to the "MA X" mark. If it is not, check the brake pad wear.
Brake fluid level
After topping up the oil, the check when
switching on the ignition with the oil level indicator in the instrument panel is not valid during the 30 minutes after topping up.
Topping up the engine oil level
Refer to the "Petrol engine" or "Diesel engine" section for the location of the oil filler cap in the engine compartment of your vehicle. - Unscrew the oil filler cap to reveal the filler aperture. - Add oil in small quantities, avoiding any spills on engine components (risk of fire). - Wait a few minutes before checking the level again using the dipstick. - Add more oil if necessary. - After checking the level, carefully refit the oil filler cap and the dipstick in its tube.
Oil grade The oil must be the correct grade for your engine and conform to the manufacturer's recommendations.
Engine oil change
Refer to the warranty and maintenance record for details of the interval for this operation. In order to maintain the reliability of the engine and emission control system, the use of additives in the engine oil is prohibited.