Page 168 of 378

166Driving
Automatic application,
hybrid system off
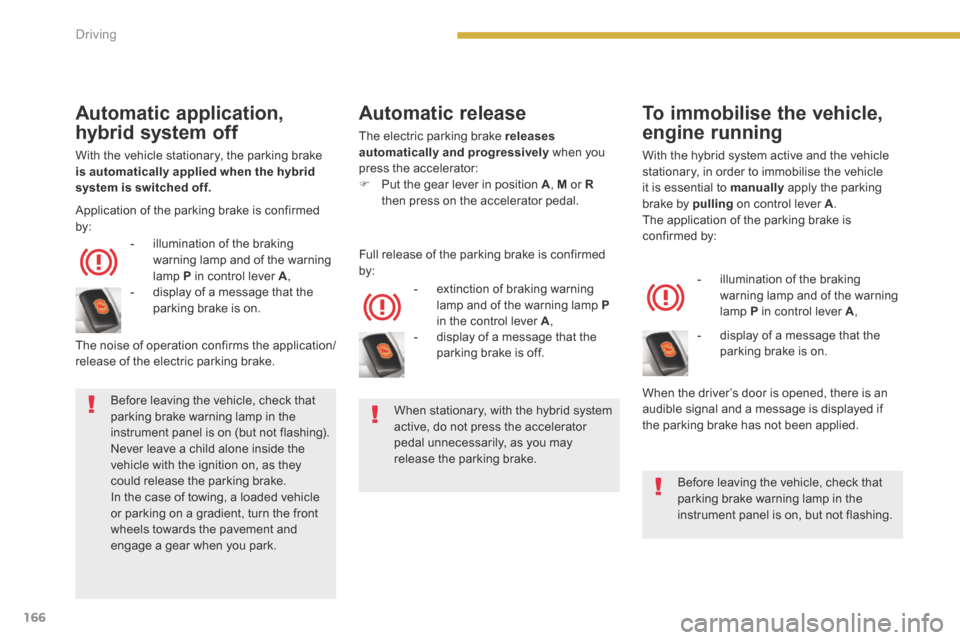
With the vehicle stationary, the parking brake is automatically applied when the hybrid system is switched off.
- illumination of the braking warning lamp and of the warning lamp P in control lever A ,
Automatic release
The electric parking brake releases automatically and progressively when you press the accelerator: Put the gear lever in position A , M or Rthen press on the accelerator pedal.
- extinction of braking warning lamp and of the warning lamp Pin the control lever A ,
The noise of operation confirms the application/ release of the electric parking brake.
Full release of the parking brake is confirmed by:
To immobilise the vehicle,
engine running
With the hybrid system active and the vehicle stationary, in order to immobilise the vehicle it is essential to manually apply the parking brake by pulling on control lever A . The application of the parking brake is confirmed by:
- illumination of the braking warning lamp and of the warning lamp P in control lever A ,
When the driver’s door is opened, there is an audible signal and a message is displayed if the parking brake has not been applied.
Application of the parking brake is confirmed
by:
- display of a message that the parking brake is on.
- display of a message that the parking brake is off.
- display of a message that the parking brake is on.
Before leaving the vehicle, check that parking brake warning lamp in the instrument panel is on (but not flashing). Never leave a child alone inside the vehicle with the ignition on, as they could release the parking brake. In the case of towing, a loaded vehicle or parking on a gradient, turn the front wheels towards the pavement and engage a gear when you park.
When stationary, with the hybrid system active, do not press the accelerator pedal unnecessarily, as you may release the parking brake.
Before leaving the vehicle, check that parking brake warning lamp in the instrument panel is on, but not flashing.
Page 199 of 378
11
Practical information197
List of tools
All of these tools are specific to your vehicle. Do not use them for other purposes. 1. 12 V compressor. Contains a sealant cartridge for the temporary repair of a tyre and can be used to adjust the tyre pressures. 2. Two chocks to chock the vehicle. 3. Socket for security bolts (located in the glove box) * . For adapting the wheelbrace to the special security bolts.
Other accessory
4. Removable towing eye.
Temporary puncture repair kit
Access to the kit
This kit is installed in the storage box, under the boot floor.
Complete system consisting of a compressor and a sealant cartridge which permits temporary repair of a tyre so that you can temporary repair of a tyre so that you can temporary repairdrive to the nearest garage. It is designed to repair most punctures which could affect the tyre, located on the tyre tread or shoulder.
Refer to the "Towing the vehicle" section.
* Depending on destination country.
Page 206 of 378
Practical information
204
Other accessories
7. Removable towing eye.
* According to country of sale.
See "Towing the vehicle".
List of tools
All of these tools are specific to your vehicle. Do not use them for other purposes. 1. Wheelbrace. * For removing the wheel fixing bolts. 2. Jack with integral handle. * For raising the vehicle.
3a. Wheel trim removal tool (depending on equipment) * . For removing the central wheel trim on alloy wheels. 3b. Wheel bolt finisher removal tool (depending on equipment) * . For removing the bolt head finishers on alloy wheels. 4. Centre guide * . For refitting an alloy wheel to the hub. 5. Socket for the security bolts (located in the glove box) * . For adapting the wheelbrace to the special "security" bolts. 6. Chocks to immobilise the vehicle (depending on equipment).
Page 229 of 378
11
Practical information227
From the front Access to the tools
The towing eye is installed in the boot under the floor. To gain access to it: open the boot,
raise the floor, remove the towing eye from the holder.
From the rear
Recovering the vehicle on a fl at-bed
Procedure for having your vehicle recovered on a flat bed lorry or trailer.
On the front bumper, unclip the cover by pressing at the bottom. Screw the towing eye in fully.
On the rear bumper, unclip the cover by pressing at the bottom. Screw the towing eye in fully. Switch on the hazard warning lamps on the recovered vehicle.
Always recover the vehicle on a flat bed lorr y or trailer. Never tow the vehicle with the four wheels on the ground (or the front or rear wheels only), you risk damaging the transmission. Place the gear selector in position N and switch off the engine ( Ready lamp off).
Page 230 of 378
Practical information
228
Vehicle recover y
Before doing any work, with the ignition on, press the brake pedal and put the gear selector to position N , then switch off the hybrid system. If necessary because access to the vehicle is difficult, it can be moved a few dozen metres at a speed not exceeding 6 mph (10 km/h).
The front or rear wheels must not be on the ground, use a flat-bed lorry or trailer to recover the vehicle.
Use the towing eyes only to pull a vehicle out or to pull it onto a flat-bed.
Page 231 of 378

11
Practical information229
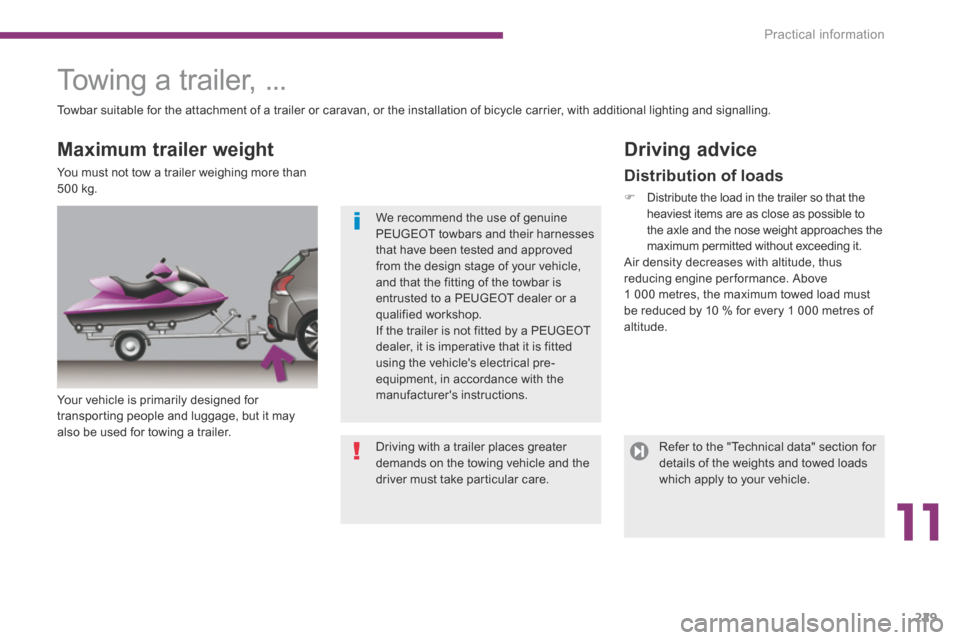
Towing a trailer, ...
Your vehicle is primarily designed for transporting people and luggage, but it may also be used for towing a trailer.
Driving advice Maximum trailer weight
You must not tow a trailer weighing more than 500 kg. Distribution of loads
Distribute the load in the trailer so that the heaviest items are as close as possible to the axle and the nose weight approaches the maximum permitted without exceeding it. Air density decreases with altitude, thus reducing engine performance. Above 1 000 metres, the maximum towed load must be reduced by 10 % for every 1 000 metres of altitude.
Towbar suitable for the attachment of a trailer or caravan, or the installation of bicycle carrier, with additional lighting and signalling.
Driving with a trailer places greater demands on the towing vehicle and the driver must take particular care.
We recommend the use of genuine
PEUGEOT towbars and their harnesses that have been tested and approved from the design stage of your vehicle, and that the fitting of the towbar is entrusted to a PEUGEOT dealer or a qualified workshop. If the trailer is not fitted by a PEUGEOT dealer, it is imperative that it is fitted using the vehicle's electrical pre-equipment, in accordance with the manufacturer's instructions.
Refer to the "Technical data" section for details of the weights and towed loads which apply to your vehicle.
Page 232 of 378
Practical information
230
Cooling
Towing a trailer on a slope increases the temperature of the coolant. As the fan is electrically controlled, its cooling capacity is not dependent on the engine speed. To lower the engine speed, reduce your speed. The maximum towed load on a long incline depends on the gradient and the ambient temperature. In all cases, keep a check on the coolant temperature.
Side wind
Take into account the increased sensitivity to side wind.
Ty r e s
Check the tyre pressures of the towing vehicle and of the trailer, observing the recommended pressures.
Braking
Towing a trailer increases the braking distance.
If the warning lamp and the STOP warning lamp come on, stop the vehicle and switch off the engine as soon as possible.
Lighting
Check the electrical lighting and signalling on the trailer.
The rear parking sensors will be deactivated automatically if a genuine PEUGEOT towbar is used.
Page 234 of 378
Practical information
232
Very cold climate screen
Removable protective screen which prevents the accumulation of snow at the radiator cooling fan. Before fitting or removing the screen, ensure that the engine is off and the cooling fan has stopped. It is recommended that the screen be fitted and removed by a PEUGEOT dealer or a qualified workshop.
Fitting
Offer up the screen, placing the lower clips in contact with lower section of the lower
grille, using the centre guide as an aid. Clip first the lower part, then the upper part, from the middle out towards the edges.
Removal
Unclip the upper part of the screen, starting at the edges.
Take the screen by the lower edges and detach it by pulling it towards you.
Do not forget to remove the very cold climate screen: - when the ambient temperature exceeds 10° C, - when towing, - at speeds above 75 mph (120 km/h).