Page 114 of 321

112Instruments and controls
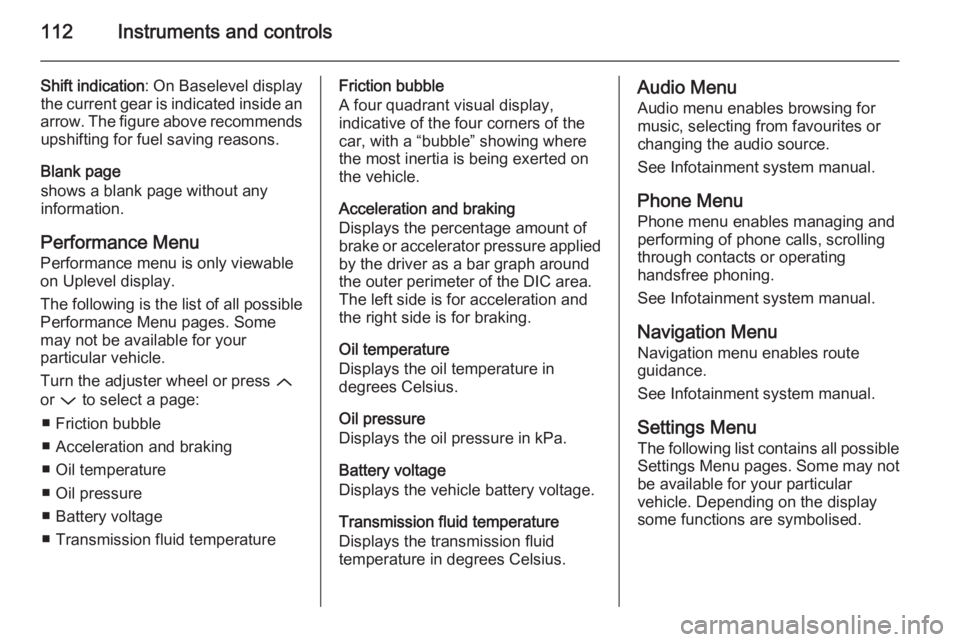
Shift indication: On Baselevel display
the current gear is indicated inside an
arrow. The figure above recommends upshifting for fuel saving reasons.
Blank page
shows a blank page without any
information.
Performance Menu Performance menu is only viewable
on Uplevel display.
The following is the list of all possible
Performance Menu pages. Some
may not be available for your
particular vehicle.
Turn the adjuster wheel or press Q
or P to select a page:
■ Friction bubble
■ Acceleration and braking
■ Oil temperature
■ Oil pressure
■ Battery voltage
■ Transmission fluid temperatureFriction bubble
A four quadrant visual display,
indicative of the four corners of the
car, with a “bubble” showing where
the most inertia is being exerted on
the vehicle.
Acceleration and braking
Displays the percentage amount of
brake or accelerator pressure applied
by the driver as a bar graph around
the outer perimeter of the DIC area.
The left side is for acceleration and
the right side is for braking.
Oil temperature
Displays the oil temperature in
degrees Celsius.
Oil pressure
Displays the oil pressure in kPa.
Battery voltage
Displays the vehicle battery voltage.
Transmission fluid temperature
Displays the transmission fluid
temperature in degrees Celsius.Audio Menu
Audio menu enables browsing for
music, selecting from favourites or
changing the audio source.
See Infotainment system manual.
Phone Menu
Phone menu enables managing and
performing of phone calls, scrolling
through contacts or operating
handsfree phoning.
See Infotainment system manual.
Navigation Menu Navigation menu enables route
guidance.
See Infotainment system manual.
Settings Menu The following list contains all possible
Settings Menu pages. Some may not
be available for your particular
vehicle. Depending on the display
some functions are symbolised.
Page 243 of 321

Vehicle care241
Incorrect tyre pressures will impair
safety, vehicle handling, comfort and
fuel economy and will increase tyre
wear.
Tyre pressures differ depending on
various options. For the correct tyre
pressure value, follow the procedure
below:
1. Identify drive axle and body style.
2. Identify the engine identifier code.
Engine data 3 269.
3. Identify the respective tyre.
The tyre pressure tables show all
possible tyre combinations 3 289.
For the tyres approved for your
vehicle, refer to the EEC Certificate of Conformity provided with your vehicle
or other national registration
documents.
The driver is responsible for correct
adjustment of tyre pressure.9 Warning
If the pressure is too low, this can
result in considerable tyre warm-
up and internal damage, leading to tread separation and even to tyre
blow-out at high speeds.
If the tyre pressure shall be reduced
or increased on a vehicle with tyre
pressure monitoring system, switch
off ignition. After adjusting tyre
pressure switch on ignition and select the according setting on the page
Tyre load in the Driver Information
Centre, 3 107.
Tyre pressure monitoring
system
The tyre pressure monitoring system
checks the pressure of all four wheels once a minute when vehicle speed
exceeds a certain limit.
Caution
Tyre pressure monitoring system
warns just about low tyre pressure condition and does not replace
regular tyre maintenance by the
driver.
All wheels must be equipped with
pressure sensors and the tyres must
have the prescribed pressure.
Select the Tyre pressure monitoring
page under the Info Menu in the
Driver Information Centre 3 107
Page 257 of 321

Vehicle care255
OPC: insert screwdriver in the slot at
the upper bend of the cap. Release
the cap by carefully moving the
screwdriver downwards. To prevent
damage it is recommended to place a cloth between the screwdriver and
the frame.
The towing eye is stowed with the
vehicle tools 3 239.Screw in the towing eye as far as it will
go until it stops in a horizontal
position.
Attach a tow rope – or better still a tow
rod – to the towing eye.
The towing eye must only be used for towing and not for recovering the
vehicle.
Switch on ignition to release steering wheel lock and to permit operation of
brake lights, horn and windscreen
wiper.
Transmission in neutral.
Caution
Drive slowly. Do not drive jerkily.
Excessive tractive force can
damage the vehicle.
When the engine is not running,
considerably more force is needed to
brake and steer.
To prevent the entry of exhaust gases from the towing vehicle, switch on the
air recirculation and close the
windows.
Vehicles with manual transmission
and All-wheel drive: If the vehicle is
towed with all four wheels on the
ground then there are no technical
limitations for speed and distance. If
only one axle has been raised, the
maximum speed is 50 km/h. There is
no distance limitation.
Vehicles with automatic transmission and Front-wheel drive: The vehicle
must be towed facing forwards, not
faster than 80 km/h nor further than
100 km. In all other cases and when
the transmission is defective, the front axle must be raised off the ground.
Page 258 of 321

256Vehicle care
Vehicles with automatic transmissionand All-wheel drive: The vehicle must
be towed facing forwards. If the
vehicle is towed with all four wheels
on the ground, the maximum speed is 50 km/h and for a maximum of
50 km. If the front axle has been
raised, the maximum speed is
50 km/h. There is no distance
limitation.
Seek the assistance of a workshop. After towing, unscrew the towing eye.5-door Hatchback, 4-door Saloon,
Sports Tourer: insert cap at the
bottom, turn slightly clockwise and
close cap.
Country Tourer: insert cap with the
upper flange into the recess and fix
cap by pushing.
OPC: insert cap with the lower flange
into the recess. Push the cap into the bumper.
Towing another vehicle
5-door Hatchback, 4-door Saloon,
Sports Tourer, OPC: disengage cap
at bottom and remove downwards.
Country Tourer: insert a screwdriver
in the slot at the lower edge of the cap. Release the cap by carefully moving
the screwdriver downwards. To
prevent damage it is recommended to place a cloth between the screwdriver
and the frame.
The towing eye is stowed with the
vehicle tools 3 239.