Page 115 of 384
 system” in the “Starting and
driving” section.
WARNING
●Never rely solely on t")
Push the VDC OFF switch again or restart the
engine to turn on the system. See “Vehicle Dy-
namic Control (VDC) system” in the “Starting and
driving” section.
WARNING
●Never rely solely on the hill descent
control system to control vehicle speed
when driving on steep downhill grades.
Always drive carefully when using the
hill descent control system and deceler-
ate the vehicle speed by depressing the
brake pedal if necessary. Be especially
careful when driving on frozen, muddy
or extremely steep downhill roads. Fail-
ure to control vehicle speed may result
in a loss of control of the vehicle and
possible serious injury or death. ●
The hill descent control may not control
the vehicle speed on a hill under all load
or road conditions. Always be prepared
to depress the brake pedal to control
vehicle speed. Failure to do so may re-
sult in a collision or serious personal
injury.
CAUTION
When the hill descent control system op-
erates continuously for a long time, the
temperature of the brake pads may in-
crease and the hill descent control system
may be temporarily disabled (the indicator
light will blink) . If the indicator light does
not come on continuously after blinking,
stop using the system.
The hill descent control system is designed to
reduce driver workload when going down steep
hills. The hill descent control system helps to
control vehicle speed so the driver can concen-
trate on steering the vehicle.
To activate the hill descent control system: ● the 4WD switch must be in the 4L position
and the vehicle speed must be under
15 MPH (25 km/h) or
LIC0743
HILL DESCENT CONTROL SWITCH (if
so equipped)
2-34Instruments and controls
Page 117 of 384

●Use the E-Lock system only when free-
ing a stuck vehicle. Try the 4LO position
before using the E-Lock system. Never
use the E-Lock system on a slippery
road surface such as snow or ice sur-
face. Using the E-Lock system when
driving in these road conditions may
cause unexpected movement of the ve-
hicle during engine braking, accelerat-
ing or turning, which may result in an
accident and serious personal injury.
CAUTION
● After using the E-Lock system, turn the
switch OFF to prevent possible damage
to driveline components from extended
use.
● Do not drive over 12 MPH (20 km/h)
when the system is engaged. Doing so
could result in possible damage to the
driveline.
● Do not turn on the E-lock system while
the tires are spinning. Doing so could
damage drivetrain components.
WARNING
Pay special attention to your surroundings
when using the clutch interlock switch.
The vehicle will move forward or backward
according to the gear selected.
The clutch interlock (clutch start) switch allows
for starting the engine without depressing the
clutch pedal. This feature helps you restart the
engine if it stops under difficult conditions. (For
example, the engine stops on a steep hill and a
slight movement forward or backward might be
dangerous.) To use the clutch interlock switch:
1. Set the parking brake.
2. Depress the brake pedal with your right foot.
3. Place your left foot on the brake pedal and release the parking brake.
4. Turn the ignition switch to the ON position.
5. Press and release the clutch interlock switch. The CANCEL light on the switch will
illuminate.
6. Turn the ignition to the START position to start the engine and, at the same time, de-
press the accelerator pedal with your right
foot. As the vehicle begins to move, take
your left foot off the brake. Once the engine
has started, the clutch interlock switch
CANCEL light shuts off. Do not use the
interlock switch to start the engine under
normal driving conditions.
WIC0817
CLUTCH INTERLOCK (clutch start)
SWITCH (if so equipped)
2-36Instruments and controls
Page 118 of 384
 maximum.
The power outlets are powered only when the
ignition switch is in")
The power outlets are for powering electrical
accessories such as cellular telephones. They
are rated at 12 volt, 120W (10A) maximum.
The power outlets are powered only when the
ignition switch is in the ACC or ON position.
Open the cap to use a power outlet.
CAUTION
●The outlet and plug may be hot during
or immediately after use. ●
Only certain power outlets are designed
for use with a cigarette lighter unit. Do
not use any other power outlet for an
accessory lighter. See your NISSAN
dealer for additional information.
● Do not use with accessories that exceed
a 12 volt, 120W (10A) power draw.
● Do not use double adapters or more
than one electrical accessory.
● Use power outlets with the engine run-
ning to avoid discharging the vehicle
battery. ●
Avoid using power outlets when the air
conditioner, headlights or rear window
defroster is on.
● Before inserting or disconnecting a
plug, be sure the electrical accessory
being used is turned OFF.
● Push the plug in as far as it will go. If
good contact is not made, the plug may
overheat or the internal temperature
fuse may open.
● When not in use, be sure to close the
cap. Do not allow water or any other
liquids to contact the outlet.
Front row
WIC1420
Center console
LIC0761
Luggage area
LIC0862
POWER OUTLET
Instruments and controls2-37
Page 131 of 384

The interior lights have a three-position switch and
operate regardless of ignition switch position.
When the switch is in the ON position�1, the
interior lights illuminate, regardless of door posi-
tion. The lights will go off after a period of time
unless the ignition switch is in the ON position.
When the switch is in the ON, DOOR or normal
position
�2, the interior lights will stay on for
about 30 seconds when:
● The doors are unlocked by the keyfob, a key,
or the power door lock switch while all doors
are closed and the ignition switch is in the
OFF position. ●
The driver’s door is opened and then closed
while the key is removed from the ignition
switch.
● The key is removed from the ignition switch
while all doors are closed.
The lights will turn off while the timer is activated
when: ● The driver’s door is locked by the keyfob, a
key, or the power door lock switch.
● The ignition switch is placed in the ON po-
sition. The lights will turn off automatically after a period
of time while doors are open to prevent the bat-
tery from becoming discharged.
When the switch is in the OFF position
�3, the
interior lights do not illuminate, regardless of door
position.
CAUTION
Do not use for extended periods of time
with the engine stopped. This could result
in a discharged battery.
Type A
LIC0792
Type B
WIC0879
INTERIOR LIGHTS
2-50Instruments and controls
Page 132 of 384
To turn the map lights on, press the switches. To
turn them off, press the switches again.
CAUTION
Do not use for extended periods of time
with the engine stopped. This could result
in a discharged battery.The cargo light on the overhead trim has a three-
position switch. To operate, push the switch to
the desired position.
ON: The light is illuminated.
Normal (center) position: The light illuminates
when the lift gate is opened. The light turns off
when the lift gate is closed.
OFF: The light does not illuminate regardless of
door position or lock status.
LIC0790LIC0590
MAP LIGHTS
CARGO LIGHT
Instruments and controls2-51
Page 142 of 384

�1Pull the hood lock release handle located
below the driver’s side instrument panel. The
hood will spring up slightly.
�2Push the lever at the front of the hood to the
side as illustrated with your fingertips and
raise the hood.
�3Insert the support rod into the slot on the
underside of the hood.
When closing the hood, return the hood rod to its
original position. Lower the hood approximately
12 in (30 cm) above the latch and release it. This
allows proper engagement of the hood latch.
WARNING
● Make sure the hood is completely
closed and latched before driving. Fail-
ure to do so could cause the hood to fly
open and result in an accident.
● If you see steam or smoke coming from
the engine compartment, to avoid injury
do not open the hood.
WARNING
● Always be sure the liftgate has been
closed securely to prevent it from open-
ing while driving.
● Do not drive with the liftgate open. This
could allow dangerous exhaust gases
to be drawn into the vehicle. See “Ex-
haust gas” in the “Starting and driving”
section of this manual.
● Make sure that all passengers have
their hands, etc., inside the vehicle be-
fore closing the liftgate.
LPD0302
HOOD LIFTGATE
Pre-driving checks and adjustments3-9
Page 143 of 384
KEY OPERATION
●Turn the key counterclockwise�1to lock all
doors.
● Turn the key clockwise
�2to unlock liftgate.
● Turn the key clockwise
�3again within
5 seconds to unlock all doors.
To open the liftgate, pull up on handle.
To close, lower and push the liftgate down se-
curely.
OPENING THE LIFTGATE
The power door lock system allows you to lock or
unlock all doors including the liftgate simultane-
ously.
To open the liftgate, pull up on the handle.
To close, lower and push the liftgate down se-
curely.
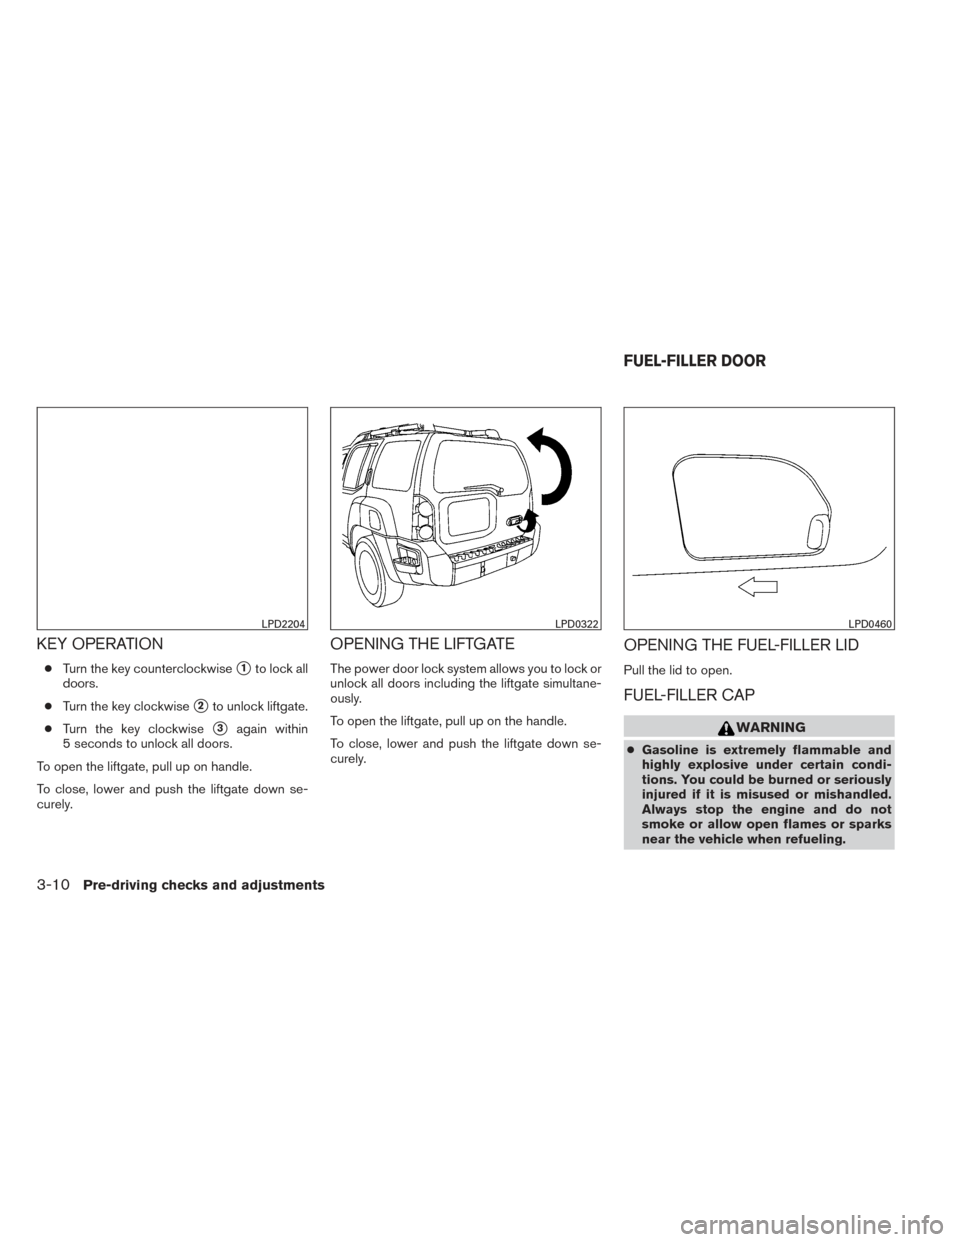
OPENING THE FUEL-FILLER LID
Pull the lid to open.
FUEL-FILLER CAP
WARNING
● Gasoline is extremely flammable and
highly explosive under certain condi-
tions. You could be burned or seriously
injured if it is misused or mishandled.
Always stop the engine and do not
smoke or allow open flames or sparks
near the vehicle when refueling.
LPD2204LPD0322LPD0460
FUEL-FILLER DOOR
3-10Pre-driving checks and adjustments
Page 154 of 384

* For information regarding the Navigation system
control buttons, refer to the separate Navigation
System Owner’s Manual.
** For information regarding the Bluetooth®
Hands-Free Phone System control button, see
“Bluetooth® Hands-Free Phone System with
navigation system” or “Bluetooth® Hands-Free
Phone System without navigation system” in this
section.
When you use this system, make sure the engine
is running.
If you use the system with the engine not
running (ignition ON or ACC) for a long
time, it will discharge the battery, and the
engine will not start.
Reference symbols:
“Example” — Words marked in quotes refer to a
key shown only on the display. These keys can be
selected by touching the screen.HOW TO USE THE TOUCH
SCREEN
CAUTION
●The glass display screen may break if it
is hit with a hard or sharp object. If the
glass screen breaks, do not touch it.
Doing so could result in an injury.
● To clean the display, never use a rough
cloth, alcohol, benzine, thinner or any
kind of solvent or paper towel with a
chemical cleaning agent. They will
scratch or deteriorate the panel.
● Do not splash any liquid such as water
or car fragrance on the display. Contact
with liquid will cause the system to
malfunction.
To help ensure safe driving, some functions can-
not be operated while driving.
The on-screen functions that are not available
while driving will be “grayed out” or muted.
Park the vehicle in a safe location and then oper-
ate the navigation system.
WARNING
● ALWAYS give your full attention to
driving.
● Avoid using vehicle features that could
distract you. If distracted, you could
lose control of your vehicle and cause
an accident.
Monitor, climate, audio, phone and voice recognition systems4-3