Page 233 of 455

Connecting iPod�
To connect an iPod� to the vehicle so that the
iPod� can be controlled with the audio system
controls and display sc")
iPod�* PLAYER OPERATION
WITHOUT NAVIGATION SYSTEM (if
so equipped)
Connecting iPod�
To connect an iPod� to the vehicle so that the
iPod� can be controlled with the audio system
controls and display screen, use the USB jack
located in the center console. Connect the
iPod�-specific end of the cable to the iPod� and
the USB end of the cable to the USB jack on the
vehicle. If your iPod� supports charging via a
USB connection, its battery will be charged while
connected to the vehicle with the ignition switch
in the ACC or ON position. While connected to the vehicle, the iPod�
can
only be operated by the vehicle audio controls.
To disconnect the iPod� from the vehicle, remove
the USB end of the cable from the USB jack on
the vehicle, then remove the cable from the
iPod�.
*iPod �is a trademark of Apple Inc., registered in
the U.S. and other countries.
Compatibility
The following models are compatible:
● iPod� 5th Generation (firmware version 1.3
or later)
● iPod� Classic (80GB) (firmware version
1.1.2PC or later)
● iPod� Classic (120GB) (firmware version
2.0.1PC or later)
● iPod� Nano - 1st generation (firmware ver-
sion 1.3.1 or later)
● iPod� Nano - 2nd generation (firmware ver-
sion 1.1.3 or later)
● iPod� Nano - 3rd generation (firmware ver-
sion 1.1.3PC or later)
● iPod� Nano - 4th generation (firmware ver-
sion 1.0PC or later) ●
iPod� Nano - 5th generation (8GB) (firm-
ware version 1.0.2PC or later)
● iPod� Nano - 5th generation (16GB) (firm-
ware version 1.0.1PC or later)
● iPod� Nano - 6th generation (8GB) (firm-
ware version 1.2PC or later)
● iPod� Nano - 6th generation (8GB) (firm-
ware version 1.1PC or later)
● iPod� Touch - 1st generation (firmware ver-
sion 2.2.1 or later)
● iPod� Touch - 2nd generation (firmware ver-
sion 2.2.1 or later)
● iPod� Touch - 3rd generation (firmware ver-
sion 3.1.3 or later)
● iPod� Touch - 4th generation (firmware ver-
sion 4.3.5 or later)
● iPhone� 3G (firmware version 4.1 or later)
● iPhone� 3GS (firmware version 4.3 or later)
● iPhone� 4 (firmware version 5.0 or later)
● iPhone� 4S (firmware version 5.1 or later)
● iPad� (firmware version 4.3.2 or later)
● iPad� 2 (firmware version 4.3.3 or later)
Make sure that your iPod �firmware
is updated to
the version indicated above.
LHA2455
4-62Monitor, climate, audio, phone and voice recognition systems
Page 235 of 455

Connecting iPod�
To connect an iPod� to the vehicle so that the
iPod� can be controlled with the audio system
controls and display scree")
iPod�* PLAYER OPERATION WITH
NAVIGATION SYSTEM (if so
equipped)
Connecting iPod�
To connect an iPod� to the vehicle so that the
iPod� can be controlled with the audio system
controls and display screen, use the USB jack
located in the center console. Connect the
iPod�-specific end of the cable to the iPod� and
the USB end of the cable to the USB jack on the
vehicle. If your iPod� supports charging via a
USB connection, its battery will be charged while
connected to the vehicle with the ignition switch
in the ACC or ON position. While connected to the vehicle, the iPod�
can
only be operated by the vehicle audio controls.
To disconnect the iPod� from the vehicle, remove
the USB end of the cable from the USB jack on
the vehicle, then remove the cable from the
iPod�.
*iPod �is a trademark of Apple Inc., registered in
the U.S. and other countries.
Compatibility
The following models are compatible:
● iPod� 5th Generation (firmware version
1.2.3 or later)
● iPod� Classic (firmware version 1.1.1 or
later)
● iPod� Touch (firmware version 2.0.0 or
later)*
● iPod� Nano - 1st generation (firmware ver-
sion 1.3.1 or later)
● iPod� Nano - 2nd generation (firmware ver-
sion 1.1.3 or later)
● iPod� Nano - 3rd generation (firmware ver-
sion 1.1.3 or later)
● iPod� Nano - 4th generation (firmware ver-
sion 1.0.4 or later) ●
iPod� Nano - 5th generation (firmware ver-
sion 1.0.1 or later)
* Some features of this iPod� may not be fully
functional.
Make sure that your iPod� firmware is updated to
the version indicated above.
LHA2455
4-64Monitor, climate, audio, phone and voice recognition systems
Page 237 of 455

Repeat:
Touch the “Repeat” key to apply a repeat play
pattern to the iPod�. When the repeat mode is
active, the
icon is displayed to the left of
the song title or album name to denote which
repeat pattern is applied. To cancel Repeat
mode, touch the “Repeat” key until no
icon
is displayed.
Seek buttons:
Press the seek button
orto skip
backward or forward one track.
Press and hold the seek button
orfor 1.5 seconds while a track is playing to reverse
or fast forward the track being played. The track
plays at an increased speed while reversing or
fast forwarding. When the button is released, the
track returns to normal play speed. Scrolling menus:
While navigating long lists of artists, albums or
songs in the music menu, it is possible to scroll
the list by the first character in the name. To
activate character indexing, touch and hold the
“A-Z” key in the upper right corner of the screen.
Turn the TUNE knob to choose the number or
letter to jump to in the list and then press the
ENTER button.
If no character is selected after two seconds, the
display returns to normal.
BLUETOOTH�
STREAMING AUDIO
WITHOUT NAVIGATION SYSTEM (if
so equipped)
If you have a compatible Bluetooth� audio device
that is capable of playing audio files, the device
can be connected to the vehicle’s audio system
so that the audio files on the device play through
the vehicle’s speakers.
LHA2279
4-66Monitor, climate, audio, phone and voice recognition systems
Page 239 of 455
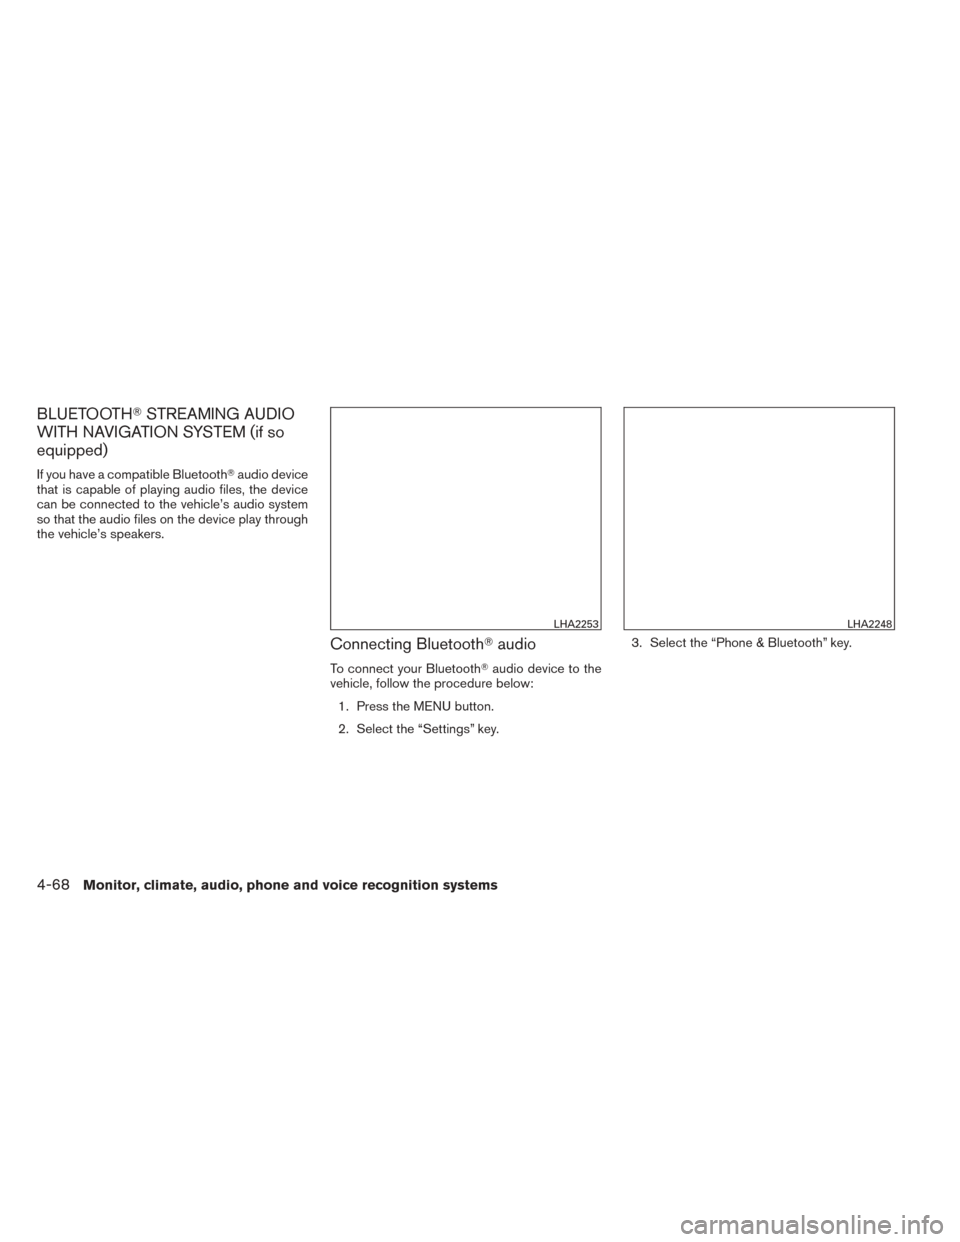
BLUETOOTH�STREAMING AUDIO
WITH NAVIGATION SYSTEM (if so
equipped)
If you have a compatible Bluetooth� audio device
that is capable of playing audio files, the device
can be connected to the vehicle’s audio system
so that the audio files on the device play through
the vehicle’s speakers.
Connecting Bluetooth� audio
To connect your Bluetooth� audio device to the
vehicle, follow the procedure below:
1. Press the MENU button.
2. Select the “Settings” key. 3. Select the “Phone & Bluetooth” key.
LHA2253LHA2248
4-68Monitor, climate, audio, phone and voice recognition systems
Page 240 of 455

4. Select the “Connect New Device” key.
5. The system acknowledges the commandand asks you to initiate connecting from the
phone handset. The connecting procedure
of the cellular phone varies according to
each cellular phone model. See the cellular
phone Owner’s Manual for details. You can
also visit www.nissanusa.com/bluetooth for
instructions on connecting NISSAN recom-
mended cellular phones.
Audio main operation
To switch to the Bluetooth� audio mode, press
the AUX button repeatedly until the Bluetooth�
audio mode is displayed on the screen. The controls for the Bluetooth�
audio are dis-
played on the screen.
PANDORA� AUDIO (United States
only) (if so equipped)
The vehicle’s audio system is capable of playing
audio streaming through a compatible, USB-
connected audio device using the Pandora� mu-
sic service.
Connecting a device for use with
Pandora� audio
Devices capable of streaming Pandora� audio
can be connected to the vehicle’s audio system
via the USB input jack. The USB input jack is
located on the center console beneath the heater
and air conditioner controls. Once connected,
the Pandora� controls will be displayed on the
control panel display screen.
Compatibility
The following iPhone� models are compatible
with the system:
● iPhone� 3GS
● iPhone� 4
● iPhone� 4S
The latest Pandora� application should be in-
stalled on the phone.
Audio main operation
Models without Navigation System:
To switch to the Pandora� audio mode, press the
CD-AUX button repeatedly until the Pandora�
audio mode is displayed on the screen.
The controls for the Pandora� audio are dis-
played on the screen. Press the audio preset 3
button to pause or play the music.
Press the audio preset 5 button to select “
”
(thumbs up) . Press the audio preset 4 button to
select “
” (thumbs down) .
LHA2265
Models without Navigation System
LHA2283
Monitor, climate, audio, phone and voice recognition systems4-69
Page 241 of 455
 is given
after the skip limit has been reached, the
current track will continue to play but the
feedback will be sa")
NOTE:
There is a limit of six skips per station per
hour. If a “
” (thumbs down) is given
after the skip limit has been reached, the
current track will continue to play but the
feedback will be saved.
Models with Navigation System:
To switch to the Pandora� audio mode, press the
AUX button repeatedly until the Pandora� audio
mode is displayed on the screen. The controls for the Pandora�
audio are dis-
played on the screen. Touch the keys on the
screen to play or pause the audio. Touch the key
to select “thumbs up” or the
key to select
“thumbs down”.
NOTE:
There is a limit of six skips per station per
hour. If a “
” (thumbs down) is given
after the skip limit has been reached, the
current track will continue to play but the
feedback will be saved.
Pandora� audio settings (models with
Navigation System only)
To adjust the Pandora� audio settings, select the
“Menu” key.
● Station List
Select to display a list of available Pandora�
stations.
● Bookmark
Select to bookmark the current station.
● Delete Station
Select to remove the current station.
Models with Navigation System:
LHA2269LHA2270
4-70Monitor, climate, audio, phone and voice recognition systems
Page 245 of 455
1. EJECT button
2. DVD slot
3. ENTER button
4. POWER on/off button
5. MODE button
6. Input jacks
7. STOP button
8. PLAY/PAUSE button
9. MENU button
10. DISPLAY button
11. NAVIGATION keysDIGITAL VIDEO DISC (DVD) PLAYER
CONTROLS
Refer to “Playing a digital video disc (DVD)” in
this section for the function of each button.
1. POWER button
2. STOP button
3. NEXT TRACK/CHAPTER and PREVI-OUS TRACK/CHAPTER button
4. TITLE button
5. ENTER button
LHA0316
LHA0317
4-74Monitor, climate, audio, phone and voice recognition systems
Page 246 of 455
6. DISPLAY button
7. MODE button
8. SUBTITLE button
9. AUDIO button
10. ANGLE button
11. CLEAR button
12. PAUSE button
13. PLAY button
14. FAST FORWARD/FAST RE VERSEbutton
15. MENU button
16. NAVIGATION keys
17. BACK button
18. Numeric keypad
REMOTE CONTROL
Refer to “Playing a digital video disc (DVD)” in
this section for the function of each button.
FLIP-DOWN SCREEN
The flip-down screen has a wireless remote con-
trol receiver
�1located at the bottom of the
screen.
CAUTION
● The glass screen on the liquid crystal
display may break if hit with a hard or
sharp object. If the glass screen breaks,
do not touch it. Doing so could result in
an injury.
● The screen rotates down to view and up
into the housing to store when not in
use. Ensure that the screen is latched
securely into the housing when stored.
LHA0315
Monitor, climate, audio, phone and voice recognition systems4-75