2014 NISSAN ROGUE manual transmission
[x] Cancel search: manual transmissionPage 4 of 442
WARNING
●Never rely solely on the hill descent
control system to control vehicle speed
when driving on steep downhill grades.
Always drive carefully when using the
hill descent control system and deceler-
ate the vehicle speed by depressing the
brake pedal if necessary. Be especially
careful when driving on frozen, muddy
or extremely steep downhill roads. Fail-
ure to control vehicle speed may result
in a loss of control of the vehicle and
possible serious injury or death.●
The hill descent control may not control
the vehicle speed on a hill under all load
or road conditions. Always be prepared
to depress the brake pedal to control
vehicle speed. Failure to do so may result
in a collision or serious personal injury.
CAUTION
When the hill descent control system op-
erates continuously for a long time, the
temperature of the brake pads may in-
crease and the hill descent control system
may be temporarily disabled (the indicator
light will blink) . If the indicator light does
not come on continuously after blinking,
stop using the system.
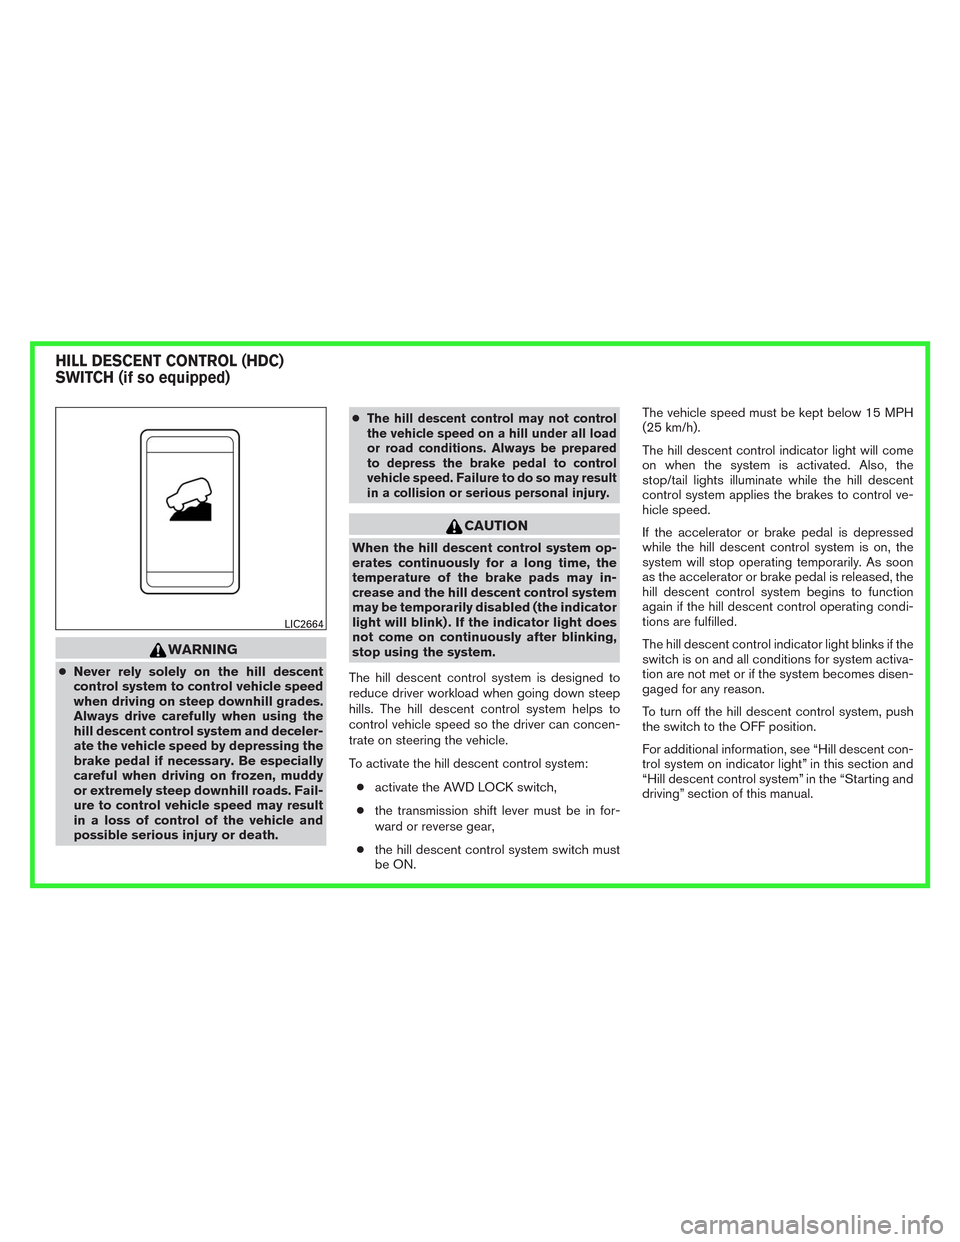
The hill descent control system is designed to
reduce driver workload when going down steep
hills. The hill descent control system helps to
control vehicle speed so the driver can concen-
trate on steering the vehicle.
To activate the hill descent control system:
●activate the AWD LOCK switch,
●the transmission shift lever must be in for-
ward or reverse gear,
●the hill descent control system switch must
be ON.The vehicle speed must be kept below 15 MPH
(25 km/h).
The hill descent control indicator light will come
on when the system is activated. Also, the
stop/tail lights illuminate while the hill descent
control system applies the brakes to control ve-
hicle speed.
If the accelerator or brake pedal is depressed
while the hill descent control system is on, the
system will stop operating temporarily. As soon
as the accelerator or brake pedal is released, the
hill descent control system begins to function
again if the hill descent control operating condi-
tions are fulfilled.
The hill descent control indicator light blinks if the
switch is on and all conditions for system activa-
tion are not met or if the system becomes disen-
gaged for any reason.
To turn off the hill descent control system, push
the switch to the OFF position.
For additional information, see “Hill descent con-
trol system on indicator light” in this section and
“Hill descent control system” in the “Starting and
driving” section of this manual.
LIC2664
HILL DESCENT CONTROL (HDC)
SWITCH (if so equipped)
Page 100 of 442
Malfunction Indicator Light(MIL)
If this indicator light comes on steady or blinks
while the engine is running, it may indicate a
potential emission control malfunction.
The Malfunction Indicator Light may also come
on steady if the fuel-filler cap is loose or missing,
or if the vehicle runs out of fuel. Check to make
sure the fuel-filler cap is installed and closed
tightly, and that the vehicle has at least 3 gallons
(11.4 liters) of fuel in the fuel tank.
After a few driving trips, the
light should
turn off if no other potential emission control
system malfunction exists.
If this indicator light comes on steady for 20 sec-
onds and then blinks for 10 seconds when the
engine is not running, it indicates that the vehicle
is not ready for an emission control system
inspection/maintenance test. See “Readiness for
inspection/maintenance (I/M) test” in the “Tech-
nical and consumer information” section of this
manual. Operation
The Malfunction Indicator Light will come on in
one of two ways:
● Malfunction Indicator Light on steady — An
emission control system malfunction has
been detected. Check the fuel-filler cap if
the LOOSE FUEL CAP warning appears in
the vehicle information display. If the fuel-
filler cap is loose or missing, tighten or install
the cap and continue to drive the vehicle.
The
light should turn off after a few
driving trips. If the
light does not turn
off after a few driving trips, have the vehicle
inspected by a NISSAN dealer. You do not
need to have your vehicle towed to the
dealer.
● Malfunction Indicator Light blinking — An
engine misfire has been detected which may
damage the emission control system. To re-
duce or avoid emission control system dam-
age:
– do not drive at speeds above 45 MPH (72 km/h).
– avoid hard acceleration or deceleration.
– avoid steep uphill grades.
– if possible, reduce the amount of cargo being hauled or towed. The Malfunction Indicator Light may stop blinking
and come on steady. Have the vehicle inspected
by a NISSAN dealer. You do not need to have
your vehicle towed to the dealer.
CAUTION
Continued vehicle operation without hav-
ing the emission control system checked
and repaired as necessary could lead to
poor driveability, reduced fuel economy,
and possible damage to the emission con-
trol system.
Overdrive OFF indicator light
The overdrive off indicator light illuminates when
the overdrive off mode is selected.
For additional information, see “Continuously
Variable Transmission (CVT)” in the “Starting and
driving” section of this manual.
Security indicator light
This light blinks when the ignition switch is
placed in the OFF, LOCK or ACC (if so
equipped) position.
The blinking security indicator light indicates that
the security systems equipped on the vehicle are
operational.
Instruments and controls2-15
Page 101 of 442
For additional information, see “Security sys-
tems” in this section.
Slip indicator light
This indicator will blink when the VDC system is
operating, thus alerting the driver to the fact that
the road surface is slippery and the vehicle is
nearing its traction limits.
You may feel or hear the system working; this is
normal.
The light will blink for a few seconds after the
VDC system stops limiting wheel spin.
The
indicator light also comes on when
you place the ignition switch in the ON position.
The light will turn off after approximately 2 sec-
onds if the system is operational. If the light does
not come on have the system checked by a
NISSAN dealer.
SPORT mode indicator light (if
so equipped)
This light illuminates and then turns off when the
ignition switch is placed into the ON position, and
when the overdrive off mode off is selected.
For additional information, see “Continuously
Variable Transmission (CVT)” in the “Starting and
driving” section of this manual.
Turn signal/hazard indicator
lights
The appropriate light flashes when the turn signal
switch is activated.
Both lights flash when the hazard switch is turned
on.
Vehicle Dynamic Control(VDC) off indicator light
This indicator light comes on when the Vehicle
Dynamic Control off switch is pushed to OFF.
This indicates the Vehicle Dynamic Control sys-
tem is not operating.
Push the Vehicle Dynamic Control off switch
again or restart the engine and the system will
operate normally. See “Vehicle Dynamic Control
(VDC) system” in the “Starting and driving” sec-
tion of this manual.
The Vehicle Dynamic Control light also comes on
when you place the ignition switch in the ON
position. The light will turn off after about 2 sec-
onds if the system is operational. If the light stays
on or comes on along with the
indicator
light while you are driving, have the Vehicle Dy-
namic Control system checked by a NISSAN
dealer. While the Vehicle Dynamic Control system is
operating, you might feel slight vibration or hear
the system working when starting the vehicle or
accelerating, but this is normal.
AUDIBLE REMINDERS
Brake pad wear warning
The disc brake pads have audible wear warnings.
When a disc brake pad requires replacement, it
makes a high pitched scraping sound when the
vehicle is in motion, whether or not the brake
pedal is depressed. Have the brakes checked as
soon as possible if the warning sound is heard.
Key reminder chime
A chime sounds if the driver’s door is opened
while the ignition switch is placed in the ACC (if
so equipped) or OFF position or placed in the
OFF or LOCK position with the Intelligent Key left
in the vehicle. Make sure the ignition switch is
placed in the LOCK position, and take the Intelli-
gent Key with you when leaving the vehicle.
Light reminder chime
With the ignition switch placed in the OFF posi-
tion, a chime sounds when the driver’s door is
opened if the headlights or parking lights are on.
Turn the headlight control switch off before leav-
ing the vehicle.
2-16Instruments and controls
Page 112 of 442
VEHICLE INFORMATION DISPLAY
WARNINGS AND INDICATORS
1. Engine start operation
2. No Key Detected
3. Shift to Park
4. Key battery low
5. Engine start operation for Intelligent Key sys-tem (if I-Key battery level is low)
6. Key ID Incorrect
7. Release parking brake
8. Low Fuel
9. Low Washer Fluid
10. Door/Liftgate Open
11. I-Key System Error: See Owner’s Manual
12. Loose Fuel Cap
13. Tire Pressure Low – Add Air
14. Flat Tire – Visit Dealer
15. Low Oil Pressure Stop Vehicle
16. AWD Error: See Owner’s Manual
17. AWD High Temp. Stop Vehicle 18. AWD Tire Size Incorrect See Owner’s
Manual
19. Battery Voltage Low Charge Battery
20. Shipping Mode On Push Storage Fuse
21. Power will turn off to save the battery
22. Power turned off to save the battery
23. Reminder: Turn OFF headlights
24. Timer Alert – Time for a driver break?
25. Low Outside Temperature
26. Chassis Control System Error: See Owner’s Manual
27. Cruise Control
28. Transmission Shift Position Indicator
29. CVT Error See Owner’s Manual
30. Malfunction See Owner’s Manual
Engine start operation
This indicator appears when the shift lever is in
the P (Park) position.
This indicator means that the engine will start by
pushing the ignition switch with the brake pedal
depressed. You can start the engine in any posi-
tion of the ignition switch. No Key Detected
This warning appears when the Intelligent Key is
left outside the vehicle with the ignition switch in
the ON position. Make sure the Intelligent Key is
inside the vehicle.
Shift to Park
This warning illuminates when the ignition switch
is in the ACC (if so equipped) or OFF position
and the shift lever is in any position other than P
(Park) position. Also, a chime sounds when the
ignition switch is in the OFF position.
If this warning illuminates, move the shift lever to
the P (Park) position or start the engine.
For additional information about Intelligent Key,
see “NISSAN Intelligent Key®” in the “Pre-
driving checks and adjustments” section.
Key Battery Low
This indicator illuminates when the Intelligent Key
battery is running out of power.
If this indicator illuminates, replace the battery
with a new one. See “Battery replacement” in the
“Maintenance and do-it-yourself” section.
Instruments and controls2-27
Page 114 of 442
the dipstick to check the oil level. See “Engine oil”
in the “Maintenance and do-it-yourself” section.
All-Wheel Drive (AWD) Error See Owner’s
Manual (if so equipped)
This warning appears when the all-wheel drive
system is not functioning properly while the en-
gine is running.
All-Wheel Drive (AWD) High Temp. Stop
Vehicle (if so equipped)
This warning may appear while trying to free a
stuck vehicle due to increased oil temperature.
The driving mode may change to Two-Wheel
Drive (2WD) . If this warning is displayed, stop the
vehicle with the engine idling, as soon as it is safe
to do so. Then if the warning turns off, you can
continue driving.
All-Wheel Drive (AWD) Tire Size Incorrect
See Owner’s Manual (if so equipped)
This warning may appear if there is a large differ-
ence between the diameters of the front and rear
wheels. Pull off the road in a safe area, with the
engine idling. Check that all the tire sizes are the
same, that the tire pressure is correct and that the
tires are not excessively worn.
Battery Voltage Low Charge Battery
This warning appears when the battery is low and
needs to be charged.Extended storage fuse
This warning may appear if the extended storage
fuse switch is not pushed in (switched on) . When
this warning appears, push in (switch on) the
extended storage fuse switch to turn off the
warning. Refer to “Fuses” in “Maintenance and
do-it-yourself” for more information.
Power will turn off to save the battery
This warning appears in message area of the
vehicle information display after a period of time if
the shift lever has not moved from the P (Park)
position.
Power turned off to save the battery
This warning appears after the ignition switch is
automatically turned off to save the battery.
Reminder: Turn OFF headlights
This warning appears when the headlights are
left in the ON position when exiting the vehicle.
Place the headlight switch in the OFF or AUTO
position. For additional information, see “Head-
light and turn signal switch” in this section.
Timer Alert – Time for a driver break?
This indicator appears when the set time is
reached. The time can be set up to 6 hours. For
setting the timer, see “Timer alert” in this section.
Low Outside Temperature
This warning appears if the outside temperature
is below 37°F (3°C) . The temperature can be
changed to display in Celsius or Fahrenheit. See
“Temperature” in this section.
Chassis control error
This warning appears if the chassis control mod-
ule detects an error in the chassis control system.
Have the system checked by a NISSAN dealer.
See “Chassis Control” in “Starting and Driving”
for more information.
Cruise indicators
This indicator shows the cruise control system
status.
When cruise control is activated, a green circle
will illuminate to indicate it is set. The vehicle
information display will also display the speed the
cruise control was set at. If you accelerate past
the set speed, the speed will blink until you either
cancel cruise control or go back to the set speed.
If cruise control is on and cancelled, the speed
will be displayed to show the speed the vehicle
will return to if the resume button his activated.
Transmission position indicator
This indicator shows the transmission shift posi-
tion.
Instruments and controls2-29
Page 126 of 442
WARNING
●Never rely solely on the hill descent
control system to control vehicle speed
when driving on steep downhill grades.
Always drive carefully when using the
hill descent control system and deceler-
ate the vehicle speed by depressing the
brake pedal if necessary. Be especially
careful when driving on frozen, muddy
or extremely steep downhill roads. Fail-
ure to control vehicle speed may result
in a loss of control of the vehicle and
possible serious injury or death. ●
The hill descent control may not control
the vehicle speed on a hill under all load
or road conditions. Always be prepared
to depress the brake pedal to control
vehicle speed. Failure to do so may re-
sult in a collision or serious personal
injury.
CAUTION
When the hill descent control system op-
erates continuously for a long time, the
temperature of the brake pads may in-
crease and the hill descent control system
may be temporarily disabled (the indicator
light will blink) . If the indicator light does
not come on continuously after blinking,
stop using the system.
The hill descent control system is designed to
reduce driver workload when going down steep
hills. The hill descent control system helps to
control vehicle speed so the driver can concen-
trate on steering the vehicle.
To activate the hill descent control system: ● activate the AWD LOCK switch,
● the transmission shift lever must be in for-
ward or reverse gear, ●
the hill descent control system switch must
be ON.
The vehicle speed must be kept below 15 MPH
(25 km/h).
The hill descent control indicator light will come
on when the system is activated. Also, the
stop/tail lights illuminate while the hill descent
control system applies the brakes to control ve-
hicle speed.
If the accelerator or brake pedal is depressed
while the hill descent control system is on, the
system will stop operating temporarily. As soon
as the accelerator or brake pedal is released, the
hill descent control system begins to function
again if the hill descent control operating condi-
tions are fulfilled.
The hill descent control indicator light blinks if the
switch is on and all conditions for system activa-
tion are not met or if the system becomes disen-
gaged for any reason.
To turn off the hill descent control system, push
the switch to the OFF position.
For additional information, see “Hill descent con-
trol system on indicator light” in this section and
“Hill descent control system” in the “Starting and
driving” section of this manual.
LIC2664
HILL DESCENT CONTROL (HDC)
SWITCH (if so equipped)
Instruments and controls2-41
Page 144 of 442
Do not stand on your vehicle to perform
the next steps.
4. At the receiver located on the garage door opener motor in the garage, locate the
“learn” or “smart” button (the name and color
of the button may vary by manufacturer but it
is usually located near where the hanging
antenna wire is attached to the unit) . If there
is difficulty locating the button, reference the
garage door opener’s manual.
5. Press and release the “learn” or “smart” but- ton.
6. Return to the vehicle and firmly press and hold the trained HomeLink® button for two
seconds and release. Repeat the
“press/hold/release” sequence up to 3
times to complete the training process.
HomeLink® should now activate your rolling
code equipped device.
7. If you have any questions or are having diffi- culty programming your HomeLink® but-
tons, refer to the HomeLink® web site at:
www.homelink.com or call 1-800-355-
3515.PROGRAMMING HOMELINK® FOR
CANADIAN CUSTOMERS AND
GATE OPENERS
Canadian radio-frequency laws require transmit-
ter signals to “time-out” (or quit) after several
seconds of transmission – which may not be long
enough for HomeLink® to pick up the signal
during training. Similar to this Canadian law,
some U.S. gate operators are designed to “tim-
eout” in the same manner.
If you live in Canada or you are having difficulties
training a gate operator orgarage door opener
by using the “Training” procedures, replace
“Programming HomeLink®” Step 2with the fol-
lowing:
NOTE:
When programming a garage door opener,
etc., unplug the device during the “cycling”
process to prevent possible damage to the
garage door opener components.
1. See “Programming HomeLink®” step 1 in this section.
2. Using both hands, simultaneously press and hold the desired HomeLink® button and the
hand-held transmitter button. During train-
ing, your hand-held transmitter may auto-
matically stop transmitting. Continue to press and hold the desired HomeLink® but-
ton while you press and re-press (“cycle”)
your hand-held transmitter every two sec-
onds until the frequency signal has been
learned. The HomeLink® indicator light will
flash slowly and then rapidly after several
seconds upon successful training. DO NOT
release until the HomeLink® indicator light
flashes slowly and then rapidly. When the
indicator light flashes rapidly, both buttons
may be released. The rapid flashing indi-
cates successful training.
Proceed with “Programming HomeLink®”
step 3 to complete.
If the device was unplugged during the pro-
gramming procedure, remember to plug it
back in when programming is completed.
OPERATING THE HOMELINK®
UNIVERSAL TRANSCEIVER
The HomeLink® Universal Transceiver, after it is
programmed, can be used to activate the pro-
grammed device. To operate, simply press and
release the appropriate programmed
HomeLink® Universal Transceiver button. The
amber indicator light will illuminate while the sig-
nal is being transmitted.
For convenience, the hand-held transmitter of the
device may also be used at any time.
Instruments and controls2-59
Page 294 of 442
●Unsecured cargo can be thrown around
when driving over rough terrain. Prop-
erly secure all cargo so it will not be
thrown forward and cause injury to you
or your passengers.
● To avoid raising the center of gravity
excessively, do not exceed the rated
capacity of the roof rack (if so equipped)
and evenly distribute the load.
● Secure heavy loads in the cargo area as
far forward and as low as possible. Do
not equip the vehicle with tires larger
than specified in this manual. This could
cause your vehicle to roll over.
● Do not grip the inside or spokes of the
steering wheel when driving off-road.
The steering wheel could move sud-
denly and injure your hands. Instead
drive with your fingers and thumbs on
the outside of the rim.
● Before operating the vehicle, ensure
that the driver and all passengers have
their seat belts fastened.
● Always drive with the floor mats in place
as the floor may become hot. ●
Lower your speed when encountering
strong crosswinds. With a higher center
of gravity, your NISSAN is more affected
by strong side winds. Slower speeds
ensure better vehicle control.
● Do not drive beyond the performance
capability of the tires, even with AWD
engaged.
● For AWD equipped vehicles, do not at-
tempt to raise two wheels off the
ground and shift the transmission to
any drive or reverse position with the
engine running. Doing so may result in
drivetrain damage or unexpected ve-
hicle movement which could result in
serious vehicle damage or personal
injury. ●
Do not attempt to test a AWD equipped
vehicle on a 2-wheel dynamometer
(such as the dynamometers used by
some states for emissions testing) , or
similar equipment even if the other two
wheels are raised off the ground. Make
sure you inform test facility personnel
that your vehicle is equipped with AWD
before it is placed on a dynamometer.
Using the wrong test equipment may
result in drivetrain damage or unex-
pected vehicle movement which could
result in serious vehicle damage or per-
sonal injury.
● When a wheel is off the ground due to
an unlevel surface, do not spin the
wheel excessively.
● Accelerating quickly, sharp steering
maneuvers or sudden braking may
cause loss of control.
● If at all possible, avoid sharp turning
maneuvers, particularly at high speeds.
Your NISSAN vehicle has a higher cen-
ter of gravity than a passenger car. The
vehicle is not designed for cornering at
the same speeds as passenger cars.
Starting and driving5-9