Floor mat positioning aid
This vehicle includes two driver’s side front floor
mat brackets and two passenger’s side front floor
mat brackets to help keep your floor mats in
place. Genuine NISSAN floor mats have been
specially designed for your vehicle model. The
driver’s and passenger’s side floor mats have two
grommet holes incorporated in them. Position
each mat by placing the floor mat bracket hook
through the floor mat grommet holes while cen-
tering the mat in the floorwell.
Periodically check to make certain the mats are
properly positioned.
SEAT BELTS
The seat belts can be cleaned by wiping them
with a sponge dampened in a mild soap solution.
Allow the belts to dry completely in the shade
before using them. For additional information,
refer to “Seat belt maintenance” in the “Safety –
Seats, seat belts and supplemental restraint sys-
tem” section of this manual.
WARNING
Do not allow wet seat belts to roll up in the
retractor. NEVER use bleach, dye or
chemical solvents to clean the seat belts,
since these materials may severely
weaken the seat belt webbing.
CLEANING THE SEAT TRACKS
CAUTION
Periodically clean the seat tracks to pre-
vent reduction of ability to move the seats.
Clean periodically with a high-powered vacuum
cleaner. Dirt and debris may reduce the ability to
adjust the seat. A wet cleansing agent may be
used if necessary.
MOST COMMON FACTORS
CONTRIBUTING TO VEHICLE
CORROSION
Most vehicle corrosion is caused by: ● the accumulation of moisture-retaining dirt
and debris in body panel sections, cavities,
and other areas
● damage to paint and other protective coat-
ings caused by gravel and stone chips or
minor traffic collisions
ENVIRONMENTAL FACTORS
INFLUENCE THE RATE OF
CORROSION
Moisture
Accumulation of sand, dirt and water on the ve-
hicle body underside can accelerate corrosion.
Wet floor coverings will not dry completely inside
the vehicle and should be removed for drying to
avoid floor panel corrosion.
Relative humidity
Corrosion will be accelerated in areas of high
relative humidity, especially those areas where
the temperatures stay above freezing and where
atmospheric pollution exists and road salt is
used.
LAI2007
CORROSION PROTECTION
Appearance and care7-5
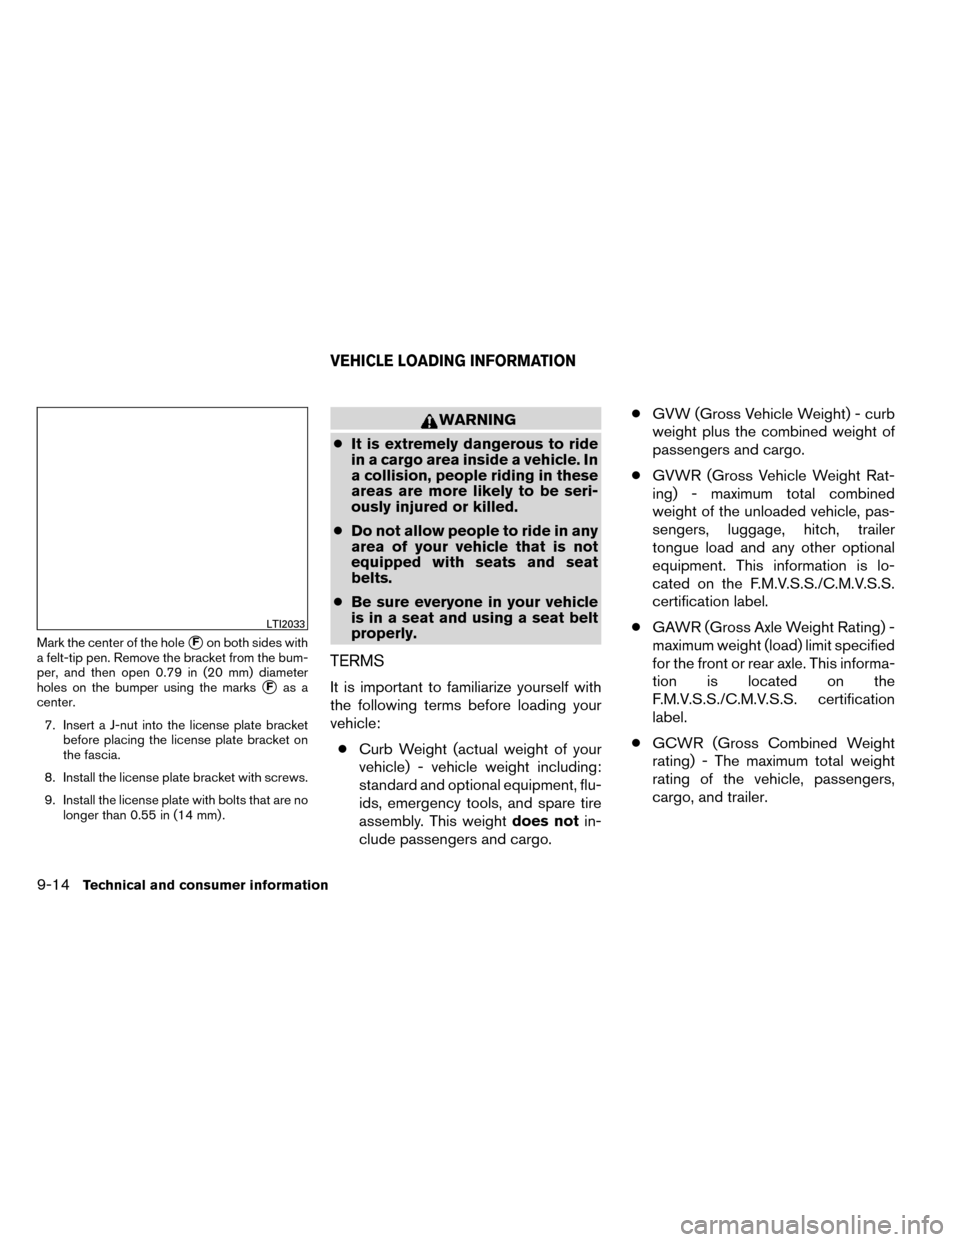
Mark the center of the hole�Fon both sides with
a felt-tip pen. Remove the bracket from the bum-
per, and then open 0.79 in (20 mm) diameter
holes on the bumper using the marks
�Fas a
center.
7. Insert a J-nut into the license plate bracket before placing the license plate bracket on
the fascia.
8. Install the license plate bracket with screws.
9. Install the license plate with bolts that are no longer than 0.55 in (14 mm) .
WARNING
● It is extremely dangerous to ride
in a cargo area inside a vehicle. In
a collision, people riding in these
areas are more likely to be seri-
ously injured or killed.
● Do not allow people to ride in any
area of your vehicle that is not
equipped with seats and seat
belts.
● Be sure everyone in your vehicle
is in a seat and using a seat belt
properly.
TERMS
It is important to familiarize yourself with
the following terms before loading your
vehicle:
● Curb Weight (actual weight of your
vehicle) - vehicle weight including:
standard and optional equipment, flu-
ids, emergency tools, and spare tire
assembly. This weight does notin-
clude passengers and cargo. ●
GVW (Gross Vehicle Weight) - curb
weight plus the combined weight of
passengers and cargo.
● GVWR (Gross Vehicle Weight Rat-
ing) - maximum total combined
weight of the unloaded vehicle, pas-
sengers, luggage, hitch, trailer
tongue load and any other optional
equipment. This information is lo-
cated on the F.M.V.S.S./C.M.V.S.S.
certification label.
● GAWR (Gross Axle Weight Rating) -
maximum weight (load) limit specified
for the front or rear axle. This informa-
tion is located on the
F.M.V.S.S./C.M.V.S.S. certification
label.
● GCWR (Gross Combined Weight
rating) - The maximum total weight
rating of the vehicle, passengers,
cargo, and trailer.
LTI2033
VEHICLE LOADING INFORMATION
9-14Technical and consumer information