2014 NISSAN QUEST stop start
[x] Cancel search: stop startPage 257 of 482
4-74Monitor, heater, air conditioner, audio, phone and voice recognition systems
from low to high frequencies and stop at each
broadcasting station/channel for 5 seconds.
Pushing the button again during this 5 seconds
period will stop SCAN tuning and the radio will
remain tuned to that station/channel.
If the Radio SCAN tuning button is not pushed
within 5 seconds, SCAN tuning moves to the
next station/channel.
*1to*6Station memory operations:
12 stations/channels can be set for the FM band
(6 each for FM1 and FM2) , 18 for SiriusXM
Satellite Radio (6 each for XM1, XM2 and XM3)
and 6 stations can be set for the AM band.
1. Choose the radio band using the radio band select button.
2. Tune to the desired station/channel using the SEEK·CAT, SCAN button or the radio
TUNE·SCROLL control knob.
3. Push and hold the desired station preset button
*1to*6until the radio mutes.
4. The station indicator will then come on and the sound will resume. Memorizing is now
complete.
5. Other buttons can be set in the same manner.
If the battery cable is disconnected, or if the fuse
opens, the radio memory will be erased. In that
case, reset the desired stations/channels.
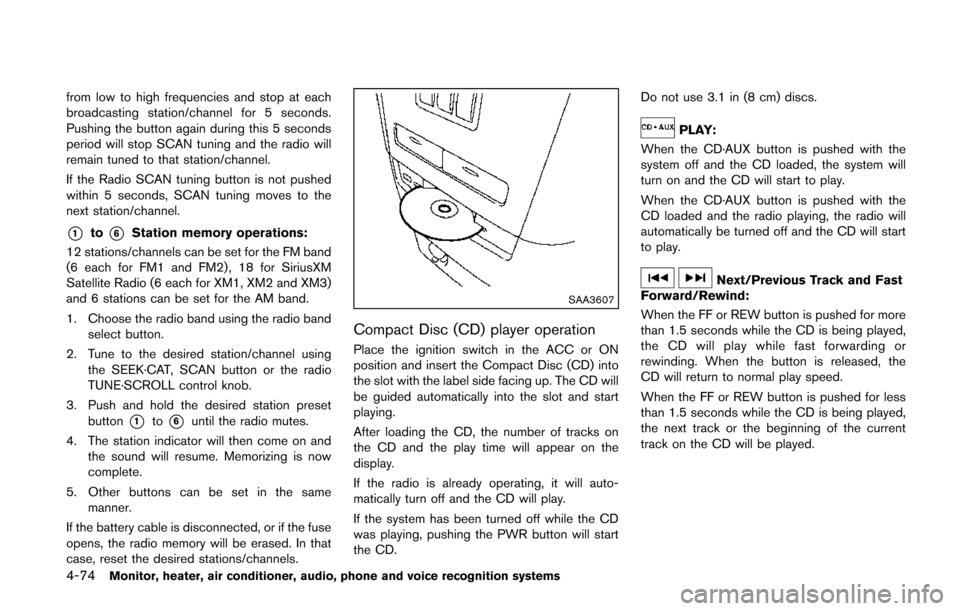
SAA3607
Compact Disc (CD) player operation
Place the ignition switch in the ACC or ON
position and insert the Compact Disc (CD) into
the slot with the label side facing up. The CD will
be guided automatically into the slot and start
playing.
After loading the CD, the number of tracks on
the CD and the play time will appear on the
display.
If the radio is already operating, it will auto-
matically turn off and the CD will play.
If the system has been turned off while the CD
was playing, pushing the PWR button will start
the CD. Do not use 3.1 in (8 cm) discs.
PLAY:
When the CD·AUX button is pushed with the
system off and the CD loaded, the system will
turn on and the CD will start to play.
When the CD·AUX button is pushed with the
CD loaded and the radio playing, the radio will
automatically be turned off and the CD will start
to play.
Next/Previous Track and Fast
Forward/Rewind:
When the FF or REW button is pushed for more
than 1.5 seconds while the CD is being played,
the CD will play while fast forwarding or
rewinding. When the button is released, the
CD will return to normal play speed.
When the FF or REW button is pushed for less
than 1.5 seconds while the CD is being played,
the next track or the beginning of the current
track on the CD will be played.
Page 266 of 482
When theorbutton is pushed for less
than 1.5 seconds while the CD is being played,
the next track or the beginning of the current
track on the CD will be played.
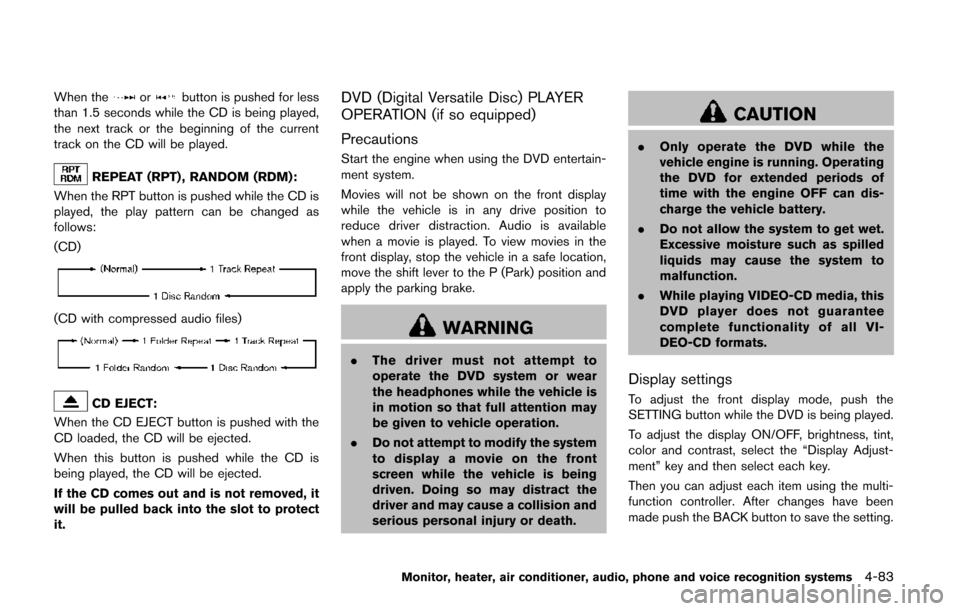
REPEAT (RPT) , RANDOM (RDM):
When the RPT button is pushed while the CD is
played, the play pattern can be changed as
follows:
(CD)
(CD with compressed audio files)
CD EJECT:
When the CD EJECT button is pushed with the
CD loaded, the CD will be ejected.
When this button is pushed while the CD is
being played, the CD will be ejected.
If the CD comes out and is not removed, it
will be pulled back into the slot to protect
it.
DVD (Digital Versatile Disc) PLAYER
OPERATION (if so equipped)
Precautions
Start the engine when using the DVD entertain-
ment system.
Movies will not be shown on the front display
while the vehicle is in any drive position to
reduce driver distraction. Audio is available
when a movie is played. To view movies in the
front display, stop the vehicle in a safe location,
move the shift lever to the P (Park) position and
apply the parking brake.
WARNING
. The driver must not attempt to
operate the DVD system or wear
the headphones while the vehicle is
in motion so that full attention may
be given to vehicle operation.
. Do not attempt to modify the system
to display a movie on the front
screen while the vehicle is being
driven. Doing so may distract the
driver and may cause a collision and
serious personal injury or death.
CAUTION
. Only operate the DVD while the
vehicle engine is running. Operating
the DVD for extended periods of
time with the engine OFF can dis-
charge the vehicle battery.
. Do not allow the system to get wet.
Excessive moisture such as spilled
liquids may cause the system to
malfunction.
. While playing VIDEO-CD media, this
DVD player does not guarantee
complete functionality of all VI-
DEO-CD formats.
Display settings
To adjust the front display mode, push the
SETTING button while the DVD is being played.
To adjust the display ON/OFF, brightness, tint,
color and contrast, select the “Display Adjust-
ment” key and then select each key.
Then you can adjust each item using the multi-
function controller. After changes have been
made push the BACK button to save the setting.
Monitor, heater, air conditioner, audio, phone and voice recognition systems4-83
Page 267 of 482
4-84Monitor, heater, air conditioner, audio, phone and voice recognition systems
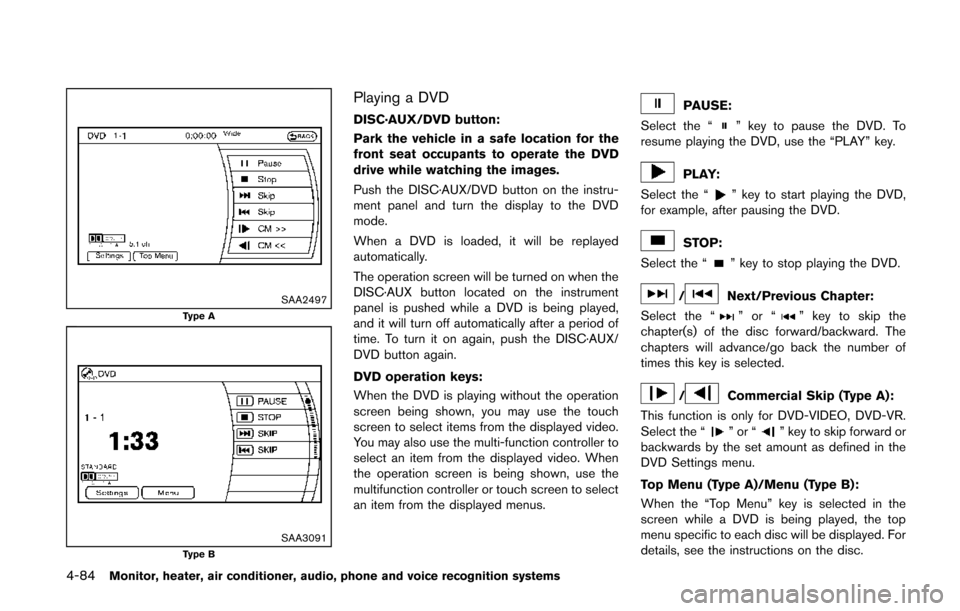
SAA2497Type A
SAA3091Type B
Playing a DVD
DISC·AUX/DVD button:
Park the vehicle in a safe location for the
front seat occupants to operate the DVD
drive while watching the images.
Push the DISC·AUX/DVD button on the instru-
ment panel and turn the display to the DVD
mode.
When a DVD is loaded, it will be replayed
automatically.
The operation screen will be turned on when the
DISC·AUX button located on the instrument
panel is pushed while a DVD is being played,
and it will turn off automatically after a period of
time. To turn it on again, push the DISC·AUX/
DVD button again.
DVD operation keys:
When the DVD is playing without the operation
screen being shown, you may use the touch
screen to select items from the displayed video.
You may also use the multi-function controller to
select an item from the displayed video. When
the operation screen is being shown, use the
multifunction controller or touch screen to select
an item from the displayed menus.PAUSE:
Select the “
” key to pause the DVD. To
resume playing the DVD, use the “PLAY” key.
PLAY:
Select the “
” key to start playing the DVD,
for example, after pausing the DVD.
STOP:
Select the “
” key to stop playing the DVD.
/Next/Previous Chapter:
Select the “
”or“” key to skip the
chapter(s) of the disc forward/backward. The
chapters will advance/go back the number of
times this key is selected.
/Commercial Skip (Type A):
This function is only for DVD-VIDEO, DVD-VR.
Select the “
”or“” key to skip forward or
backwards by the set amount as defined in the
DVD Settings menu.
Top Menu (Type A)/Menu (Type B):
When the “Top Menu” key is selected in the
screen while a DVD is being played, the top
menu specific to each disc will be displayed. For
details, see the instructions on the disc.
Page 273 of 482
4-90Monitor, heater, air conditioner, audio, phone and voice recognition systems
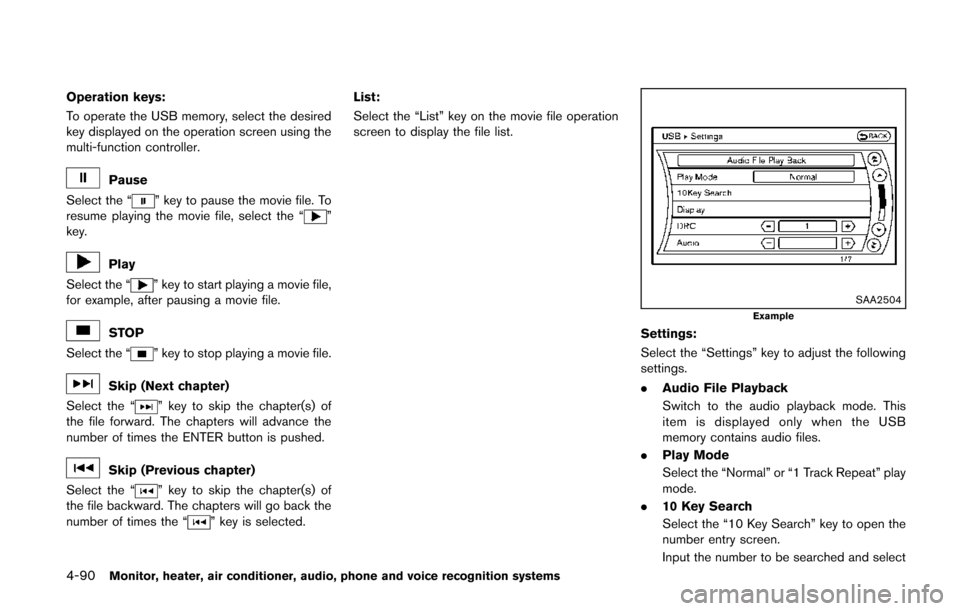
Operation keys:
To operate the USB memory, select the desired
key displayed on the operation screen using the
multi-function controller.
Pause
Select the “
” key to pause the movie file. To
resume playing the movie file, select the “”
key.
Play
Select the “
” key to start playing a movie file,
for example, after pausing a movie file.
STOP
Select the “
” key to stop playing a movie file.
Skip (Next chapter)
Select the “
” key to skip the chapter(s) of
the file forward. The chapters will advance the
number of times the ENTER button is pushed.
Skip (Previous chapter)
Select the “
” key to skip the chapter(s) of
the file backward. The chapters will go back the
number of times the “
” key is selected. List:
Select the “List” key on the movie file operation
screen to display the file list.
SAA2504Example
Settings:
Select the “Settings” key to adjust the following
settings.
.
Audio File Playback
Switch to the audio playback mode. This
item is displayed only when the USB
memory contains audio files.
. Play Mode
Select the “Normal” or “1 Track Repeat” play
mode.
. 10 Key Search
Select the “10 Key Search” key to open the
number entry screen.
Input the number to be searched and select
Page 285 of 482
4-102Monitor, heater, air conditioner, audio, phone and voice recognition systems
SAA3602
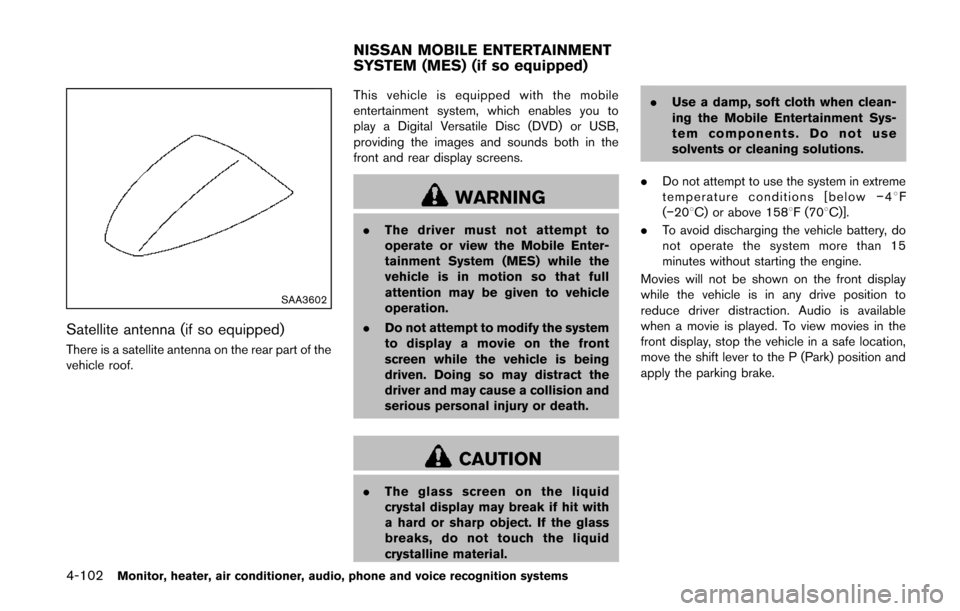
Satellite antenna (if so equipped)
There is a satellite antenna on the rear part of the
vehicle roof.This vehicle is equipped with the mobile
entertainment system, which enables you to
play a Digital Versatile Disc (DVD) or USB,
providing the images and sounds both in the
front and rear display screens.
WARNING
.
The driver must not attempt to
operate or view the Mobile Enter-
tainment System (MES) while the
vehicle is in motion so that full
attention may be given to vehicle
operation.
. Do not attempt to modify the system
to display a movie on the front
screen while the vehicle is being
driven. Doing so may distract the
driver and may cause a collision and
serious personal injury or death.
CAUTION
.The glass screen on the liquid
crystal display may break if hit with
a hard or sharp object. If the glass
breaks, do not touch the liquid
crystalline material. .
Use a damp, soft cloth when clean-
ing the Mobile Entertainment Sys-
tem components. Do not use
solvents or cleaning solutions.
. Do not attempt to use the system in extreme
temperature conditions [below −48F
(−208C) or above 1588F (708C)].
. To avoid discharging the vehicle battery, do
not operate the system more than 15
minutes without starting the engine.
Movies will not be shown on the front display
while the vehicle is in any drive position to
reduce driver distraction. Audio is available
when a movie is played. To view movies in the
front display, stop the vehicle in a safe location,
move the shift lever to the P (Park) position and
apply the parking brake.
NISSAN MOBILE ENTERTAINMENT
SYSTEM (MES) (if so equipped)
Page 292 of 482
PLAYING A DVD
DISC·AUX button
Park the vehicle in a safe location for the
front seat occupants to operate the DVD
drive while watching the images.
Insert a DVD into the CD/DVD slot with the
labeled side up. The DVD will be guided
automatically into the slot. When ejecting the
DVD, push the EJECT button.
Push the DISC·AUX button on the instrument
panel, turn the display to the DVD mode, and
begin playing DVD automatically.
When a DVD is loaded, it will be replayed
automatically.
The front screen will be turned on when the
DISC·AUX button is pushed while a DVD is
being played, and it will turn off automatically
after a period of time. To turn it on again, push
the DISC·AUX button again.
Adjust Front/Rear display
Front display:
To adjust the front display, push theSETTING
button while the DVD is being played, select the
“Others” key and then select the “Display” key.
To adjust the display ON/OFF, brightness, tint,
color and contrast, select the “Display Adjust-
ment” key and then select the preferred key for
setting.
You can then adjust each item using the multi-
function controller. After changes have been
made press the BACK button to save the
setting.
Rear display:
To adjust the rear display, push the “DISP”
(Display) button on the remote controller.
To adjust aspect, color system, 3D Y/C filter and
picture mode, select each key using the joystick
on the remote controller and tilt the joystick to
right or left.
Push the BACK button to apply the settings and
return to the previous display.
DVD operation keys
To operate the DVD drive, select the desired key
displayed on the operation screen using the
multi-function controller.
PAUSE:
Select the “
” key to pause the DVD. To
resume playing the DVD, use the “PLAY” key.
To pause the DVD, it is also possible to push the
“
” button on the keypad of the remote
controller.
PLAY:
Select the “
” key to start playing the DVD,
for example, after pausing the DVD.
To start playing the DVD, it is also possible to
push the “
” button on the keypad of the
remote controller.
STOP:
Select the “
” key to stop playing the DVD.
To stop playing the DVD, it is also possible to
push the “
” button on the keypad of the
remote controller.
SKIP (FORWARD):
Select the “
” key to skip the chapter(s) of
the disc forward. The chapters will advance the
Monitor, heater, air conditioner, audio, phone and voice recognition systems4-109
Page 297 of 482
4-114Monitor, heater, air conditioner, audio, phone and voice recognition systems
CAUTION
.Keep the antenna as far away as
possible from the electronic control
modules.
. Keep the antenna wire more than 8
in (20 cm) away from the electronic
control system harness. Do not
route the antenna wire next to any
harness.
. Adjust the antenna standing-wave
ratio as recommended by the man-
ufacturer.
. Connect the ground wire from the
CB radio chassis to the body.
. For details, consult a NISSAN deal-
er.
WARNING
.Use a phone after stopping your
vehicle in a safe location. If you
have to use a phone while driving,
exercise extreme caution at all
times so full attention may be given
to vehicle operation.
. If you find yourself unable to devote
full attention to vehicle operation
while talking on the phone, pull off
the road to a safe location and stop
your vehicle before doing so.
CAUTION
To avoid draining the vehicle battery,
use a phone after starting the engine.
Your NISSAN is equipped with Bluetooth
®
Hands-Free Phone System. If you are an owner
of a compatible Bluetooth®enabled cellular
phone, you can set up the wireless connection
between your cellular phone and the in-vehicle
phone module. With Bluetooth
®wireless tech-
nology, you can make or receive a telephone call
with your cellular phone in your pocket. Once a cellular phone is connected to the in-
vehicle phone module, no phone connecting
procedure is required anymore. Your phone is
automatically connected with the in-vehicle
phone module when the ignition switch is
pushed to the ON position with the registered
cellular phone turned on and carried in the
vehicle.
You can register up to 5 different Bluetooth
®
cellular phones in the in-vehicle phone module.
However, you can talk on only one cellular phone
at a time.
The NISSAN Voice Recognition system sup-
ports the phone commands, so dialing a phone
number using your voice is possible. For more
details, see “NISSAN voice recognition system
(models with navigation system)” (P.4-137).
Before using the Bluetooth
®Hands-Free Phone
System, refer to the following notes.
. Wireless LAN (Wi-Fi) and the Bluetooth
®
functions share the same frequency band
(2.4 GHz) . Using the Bluetooth®and the
wireless LAN functions at the same time may
slow down or disconnect the communica-
tion and cause undesired noise. It is
recommended that you turn off the wireless
LAN (Wi-Fi) when using the Bluetooth
®
functions.
Bluetooth®HANDS-FREE PHONE
SYSTEM (models with navigation
system)
Page 307 of 482
4-124Monitor, heater, air conditioner, audio, phone and voice recognition systems
WARNING
.Use a phone after stopping your
vehicle in a safe location. If you
have to use a phone while driving,
exercise extreme caution at all
times so full attention may be given
to vehicle operation.
. If you find yourself unable to devote
full attention to vehicle operation
while talking on the phone, pull off
the road to a safe location and stop
your vehicle before doing so.
CAUTION
To avoid draining the vehicle battery,
use a phone after starting the engine.
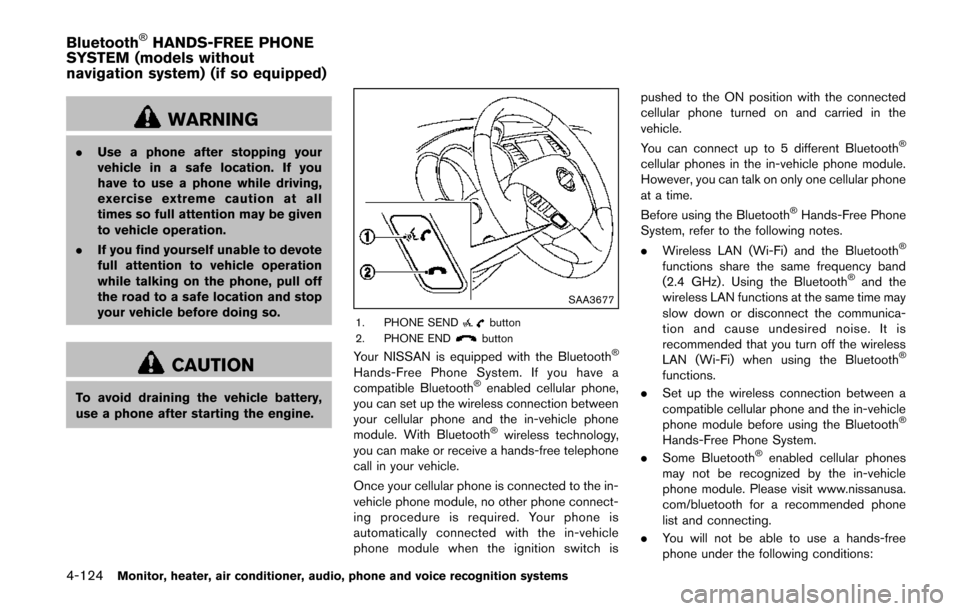
SAA3677
1. PHONE SENDbutton
2. PHONE ENDbutton
Your NISSAN is equipped with the Bluetooth®
Hands-Free Phone System. If you have a
compatible Bluetooth®enabled cellular phone,
you can set up the wireless connection between
your cellular phone and the in-vehicle phone
module. With Bluetooth
®wireless technology,
you can make or receive a hands-free telephone
call in your vehicle.
Once your cellular phone is connected to the in-
vehicle phone module, no other phone connect-
ing procedure is required. Your phone is
automatically connected with the in-vehicle
phone module when the ignition switch is pushed to the ON position with the connected
cellular phone turned on and carried in the
vehicle.
You can connect up to 5 different Bluetooth
®
cellular phones in the in-vehicle phone module.
However, you can talk on only one cellular phone
at a time.
Before using the Bluetooth
®Hands-Free Phone
System, refer to the following notes.
. Wireless LAN (Wi-Fi) and the Bluetooth
®
functions share the same frequency band
(2.4 GHz) . Using the Bluetooth®and the
wireless LAN functions at the same time may
slow down or disconnect the communica-
tion and cause undesired noise. It is
recommended that you turn off the wireless
LAN (Wi-Fi) when using the Bluetooth
®
functions.
. Set up the wireless connection between a
compatible cellular phone and the in-vehicle
phone module before using the Bluetooth
®
Hands-Free Phone System.
. Some Bluetooth®enabled cellular phones
may not be recognized by the in-vehicle
phone module. Please visit www.nissanusa.
com/bluetooth for a recommended phone
list and connecting.
. You will not be able to use a hands-free
phone under the following conditions:
Bluetooth®HANDS-FREE PHONE
SYSTEM (models without
navigation system) (if so equipped)