Page 295 of 492

CD:● Tilt up/down for less than 1.5 seconds to
increase or decrease the track number.
● Tilt up/down for more than 1.5 seconds to
increase or decrease the folder number (if
playing compressed audio files) .
● Press the ENTER button to show the CD
Menu.
DVD (if so equipped): ● Tilt up/down for less than 1.5 seconds to
increase or decrease the track number.
● Tilt up/down for more than 1.5 seconds to
increase or decrease the title number.
● Press the ENTER button to select an item
from the DVD display.
● When the transparent operation menu ap-
pears, the switch will control the menu.
USB (if so equipped): ● Tilt up/down for less than 1.5 seconds to
increase or decrease the track number.
● Tilt up/down for more than 1.5 seconds to
increase or decrease the folder number.
● Press the ENTER button to show the USB
Menu. Bluetooth® Audio (if so equipped):
● Tilt up/down for less than 1.5 seconds to
increase or decrease the track number.
AUX: ● Press the ENTER button to show the AUX
Menu.
BACK switch
Press theswitch to return to the previous
screen or cancel the current selection.
ANTENNA
The antenna cannot be shortened, but can be
removed. When you need to remove the antenna,
turn the antenna rod counterclockwise
�B.
To install the antenna rod, turn the antenna rod
clockwise
�Aand hand tighten.
CAUTION
Always properly tighten the antenna rod
during installation or the antenna rod may
break during vehicle operation.
WHA0790
4-104Monitor, climate, audio, phone and voice recognition systems
Page 392 of 492
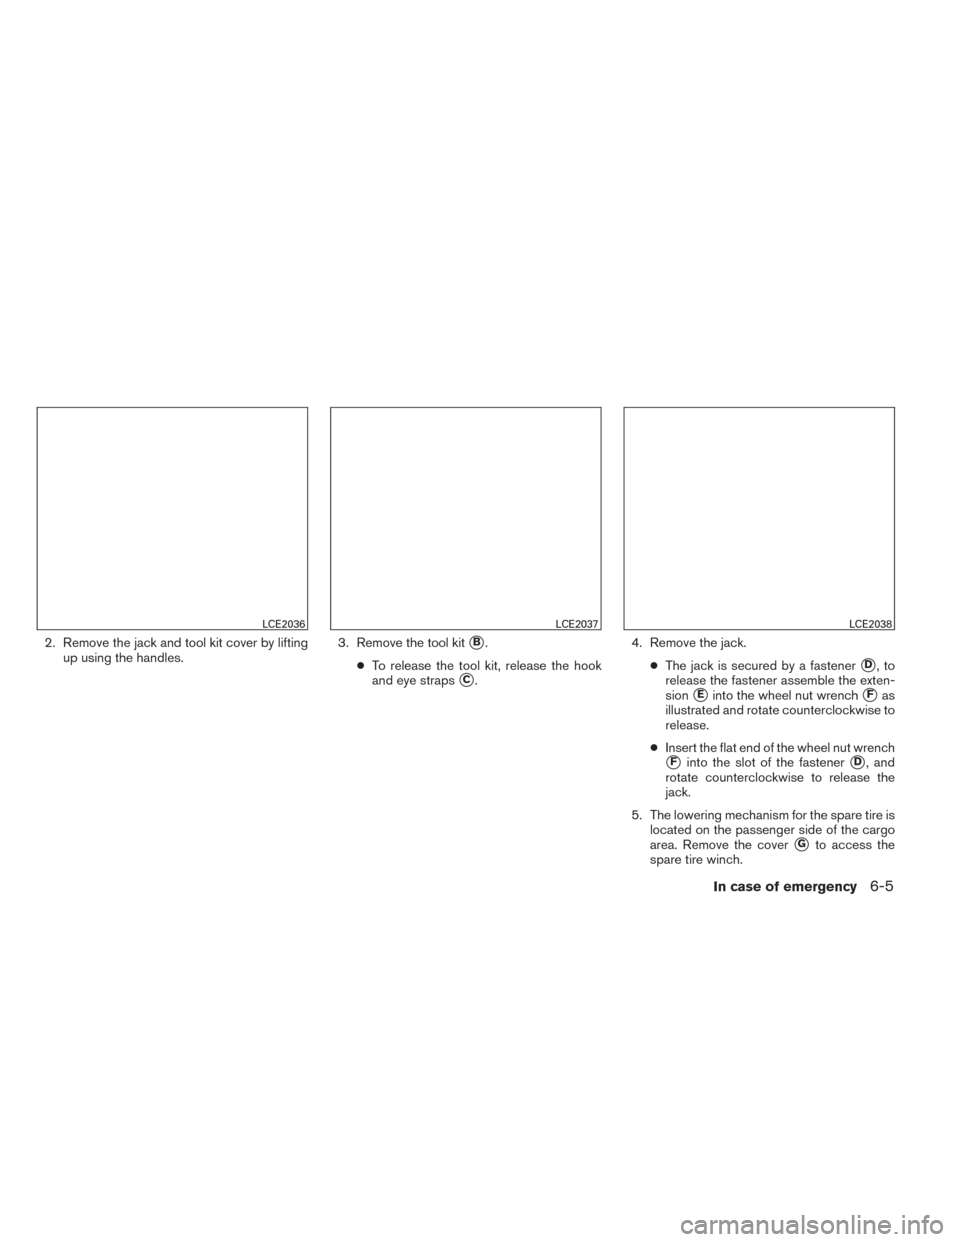
2. Remove the jack and tool kit cover by liftingup using the handles. 3. Remove the tool kit�B.
● To release the tool kit, release the hook
and eye straps
�C. 4. Remove the jack.
●The jack is secured by a fastener�D,to
release the fastener assemble the exten-
sion
�Einto the wheel nut wrench�Fas
illustrated and rotate counterclockwise to
release.
● Insert the flat end of the wheel nut wrench
�Finto the slot of the fastener�D, and
rotate counterclockwise to release the
jack.
5. The lowering mechanism for the spare tire is located on the passenger side of the cargo
area. Remove the cover
�Gto access the
spare tire winch.
LCE2036LCE2037LCE2038
In case of emergency6-5
Page 393 of 492

6. Insert the spare tire winch socket�Hto the
lowering mechanism nut.
7. To lower the spare tire, insert the wheel nut wrench
�Fto the extension�Eand insert
the T-shaped end to the winch socket
�H
and rotate counterclockwise.
8. After removing the spare tire from under the vehicle, be sure to crank the cable up to
stow it.
NOTE:
Fully lower the spare tire below the vehicle
before attempting to remove the winch
from the spare tire.
CAUTION
● Make sure safety cable is coiled above
spare tire when reinstalling spare
tire/wheel.
● When re-installing the spare tire under
the vehicle after use, be sure to secure
it with the tire stem facing down toward
the ground. If the spare tire is improp-
erly secured with the tire stem facing up
towards the bottom of the vehicle, there
is an increased risk of separating from
the vehicle in the event of crash which
may pose a hazard in traffic or risk of
injury to others.
Jacking up vehicle and removing the
damaged tire
WARNING
● Never get under the vehicle while it is
supported only by the jack. If it is nec-
essary to work under the vehicle, sup-
port it with safety stands.
● Use only the jack provided with your
vehicle to lift the vehicle. Do not use the
jack provided with your vehicle on other
vehicles. The jack is designed for lifting
only your vehicle during a tire change. ●
Use the correct jack-up points. Never
use any other part of the vehicle for jack
support.
● Never jack up the vehicle more than
necessary.
● Never use blocks on or under the jack.
● Do not start or run the engine while
vehicle is on the jack. It may cause the
vehicle to move. This is especially true
for vehicles with limited slip
differentials.
● Do not allow passengers to stay in the
vehicle while it is on the jack.
● Never run the engine with a wheel(s) off
the ground. It may cause the vehicle to
move.
Always refer to the illustration for the correct
placement and jack-up points for your specific
vehicle model and jack type.
Carefully read the caution label attached to
the jack body and the following instruc-
tions. 1. Loosen each wheel nut one or two turns by turning counterclockwise with the wheel nut
wrench. Do not remove the wheel nuts
until the tire is off the ground.
LCE2039
6-6In case of emergency
Page 421 of 492

CHANGING ENGINE OIL
1. Park the vehicle on a level surface and applythe parking brake.
2. Start the engine and let it idle until it reaches operating temperature, then turn it off.
3. Remove the oil filler cap
�Aby turning it
counterclockwise.
4. Place a large drain pan under the drain plug
�B.
5. Remove the drain plug
�Bwith a wrench by
turning it counterclockwise and completely
drain the oil. If the oil filter is to be changed, remove and
replace it at this time. See “Changing engine
oil filter” in this section.
● Waste oil must be disposed of prop-
erly.
● Check your local regulations.
WARNING
●Prolonged and repeated contact with
used engine oil may cause skin cancer.
● Try to avoid direct skin contact with
used oil. If skin contact is made, wash
thoroughly with soap or hand cleaner
as soon as possible.
● Keep used engine oil out of reach of
children.
CAUTION
Be careful not to burn yourself. The engine
oil may be hot.
6. Clean and reinstall the drain plug and a new washer. Securely tighten the drain plug with
a wrench. Do not use excessive force.
Drain plug tightening torque: 22 - 29 ft-lb (29 - 39 N·m) 7. Refill engine with recommended oil through
the oil filler opening, then install the oil filler
cap securely.
See “Capacities and recommended
fuel/lubricants” in the “Technical and con-
sumer information” section of this manual for
drain and refill capacity.
The drain and refill capacity depends on the
oil temperature and drain time. Use these
specifications for reference only. Always use
the dipstick to determine when the proper
amount of oil is in the engine.
8. Start the engine. Check for leakage around the drain plug and oil filter. Correct as re-
quired.
9. Turn the engine off and wait more than 10 minutes. Check the oil level with the
dipstick. Add engine oil if necessary.
LDI2145
8-10Maintenance and do-it-yourself
Page 422 of 492

CHANGING ENGINE OIL FILTER
1. Park the vehicle on a level surface and applythe parking brake.
2. Turn the engine off.
3. Place a large drain pan under the oil filter
�A.
4. Loosen the oil filter
�Awith an oil filter
wrench by turning it counterclockwise. Then
remove the oil filter by turning it by hand.
CAUTION
Be careful not to burn yourself. The engine
oil may be hot. 5. Wipe the engine oil filter sealing surface with
a clean rag.
CAUTION
●Be sure to remove any old gasket
material remaining on the sealing
surface of the engine. Failure to do
so could lead to an oil leak and en-
gine damage.
● The dipstick must be inserted in
place to prevent oil spillage from the
dipstick hole when filling the engine
with oil.
6. Coat the gasket on the new filter with clean engine oil.
7. Screw on the oil filter until a slight resistance is felt, then tighten an additional 2/3 turn.
8. Start the engine and check for leakage around the oil filter. Correct as required.
9. Turn the engine off and wait more than 10 minutes. Check the oil level. Add engine
oil if necessary.
CAUTION
●Use only Genuine NISSAN CVT Fluid
NS-3. Do not mix with other fluids.
● Using transmission fluid other than
Genuine NISSAN CVT Fluid NS-3 will
damage the CVT, which is not covered
by the warranty.
When checking or replacement of CVT fluid is
required, we recommend your NISSAN dealer for
servicing.
LDI2143
CONTINUOUSLY VARIABLE
TRANSMISSION (CVT) FLUID
Maintenance and do-it-yourself8-11