2014 NISSAN PATHFINDER HYBRID ESP
[x] Cancel search: ESPPage 9 of 32

7
NiSSAN iNTElliG ENT KEY® SYSTE M
(if so equipped)
The NISSAN Intelligent key® system allows you to lock or
unlock your vehicle, open your liftgate and remotely start
the engine. It is important to make sure the Intelligent
k
ey
is with you (that is, in your pocket or purse).
R
eM
OT
e
e
N
GIN
e
START* (if so equipped)
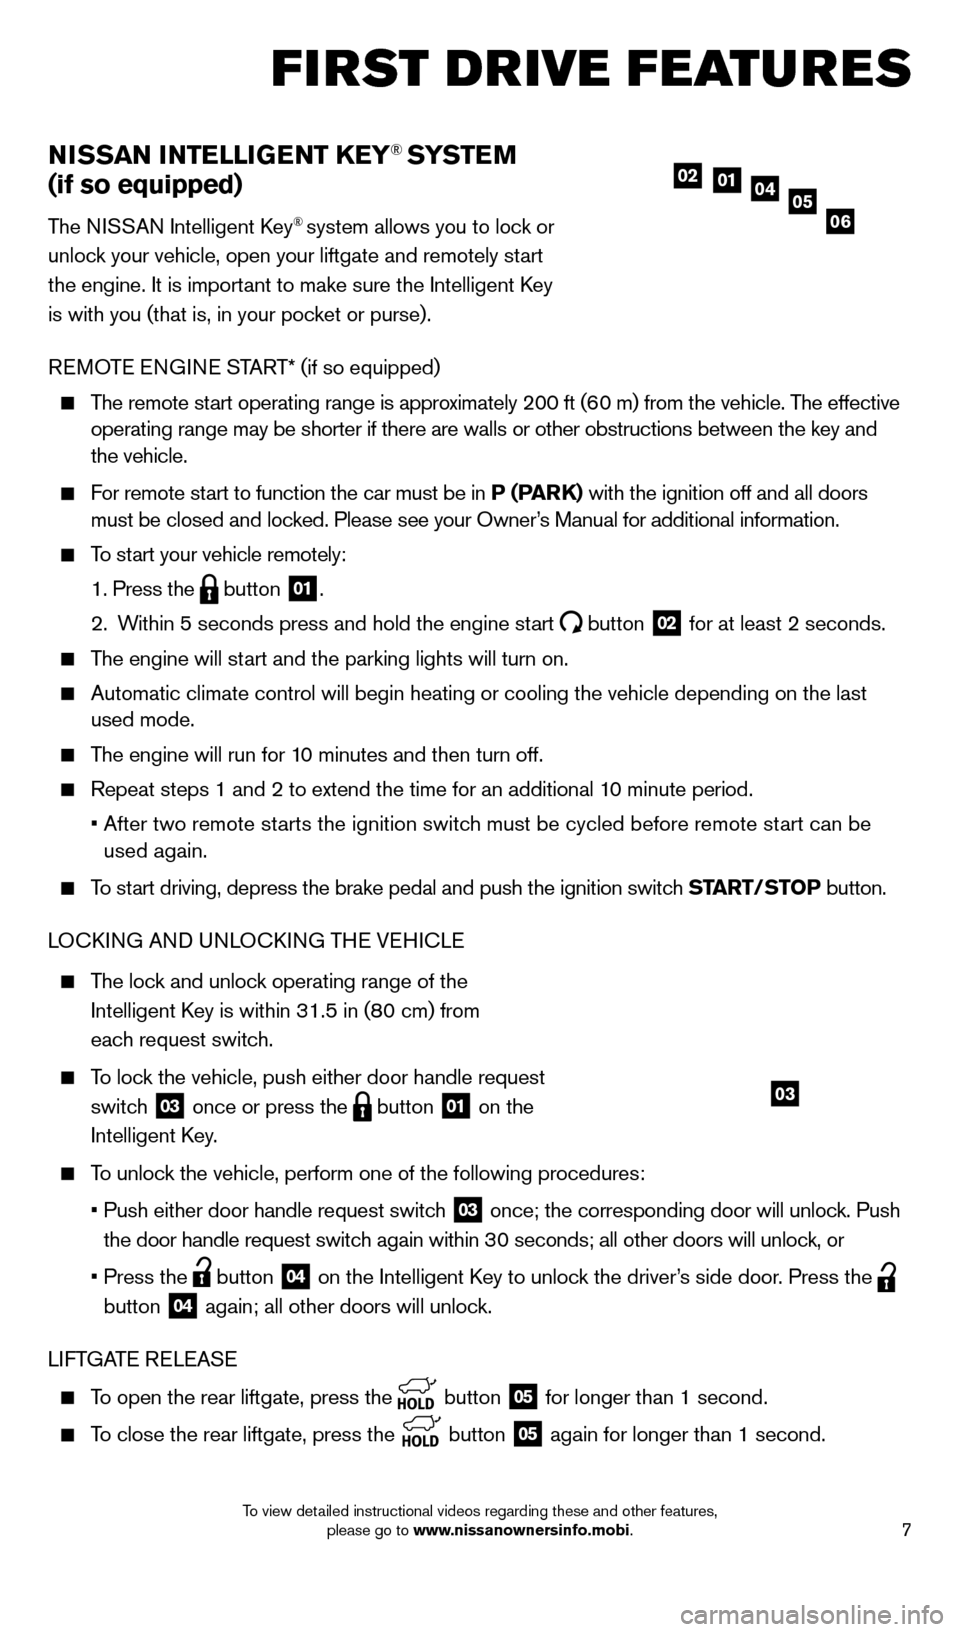
The remote start operating range is approximately 200 ft (60 m) from the vehicle. The effective operating range may be shorter if there are walls or other obstructions \
between the key and
the vehicle.
For remote start to function the car must be in P (PARK) with the ignition off and all doors must be closed and locked. Please see your Owner’s Manual for additional information.
To start your vehicle remotely:
1. Press the button 01.
2.
W
ithin 5 seconds press and hold the engine start
button 02 for at least 2 seconds.
The engine will start and the parking lights will turn on.
Automatic climate control will begin heating or cooling the vehicle depe\
nding on the last
used mode.
The engine will run for 10 minutes and then turn off.
Repeat steps 1 and 2 to extend the time for an additional 1 0 minute period.
•
After two remote st
arts the ignition switch must be cycled before remote start can be
used again.
To start driving, depress the brake pedal and push the ignition switch START/STo P button.
LO ck ING AND UNLO ck ING TH
e VeH
I c L
e
The lock and unlock operating range of the
Intelligent k
ey is within 31.5 in (8
0 cm) from
each request switch.
To lock the vehicle, push either door handle request switch
03 once or press the button 01 on the
Intelligent
k
ey
.
To unlock the vehicle, perform one of the following procedures:
•
Push either door handle request switc
h
03 once; the corresponding door will unlock. Push
the door handle request switch again within 30 seconds; all other doors will unlock, or
•
Press the button 04 on the Intelligent key to unloc k the driver’s side door. Press the
button
04 again; all other doors will unlock.
LIFTGAT
e
R
eL
e
AS
e
To open the rear liftgate, press the button 05 for longer than 1 second.
To close the rear liftgate, press the
button 05 again for longer than 1 second.
05010204
06
first drive features
03
1562941_14b_Pathfinder_HEV_QRG_091913.indd 79/19/13 11:11 AM
To view detailed instructional videos regarding these and other features, please go to www.nissanownersinfo.mobi.
Page 18 of 32

16
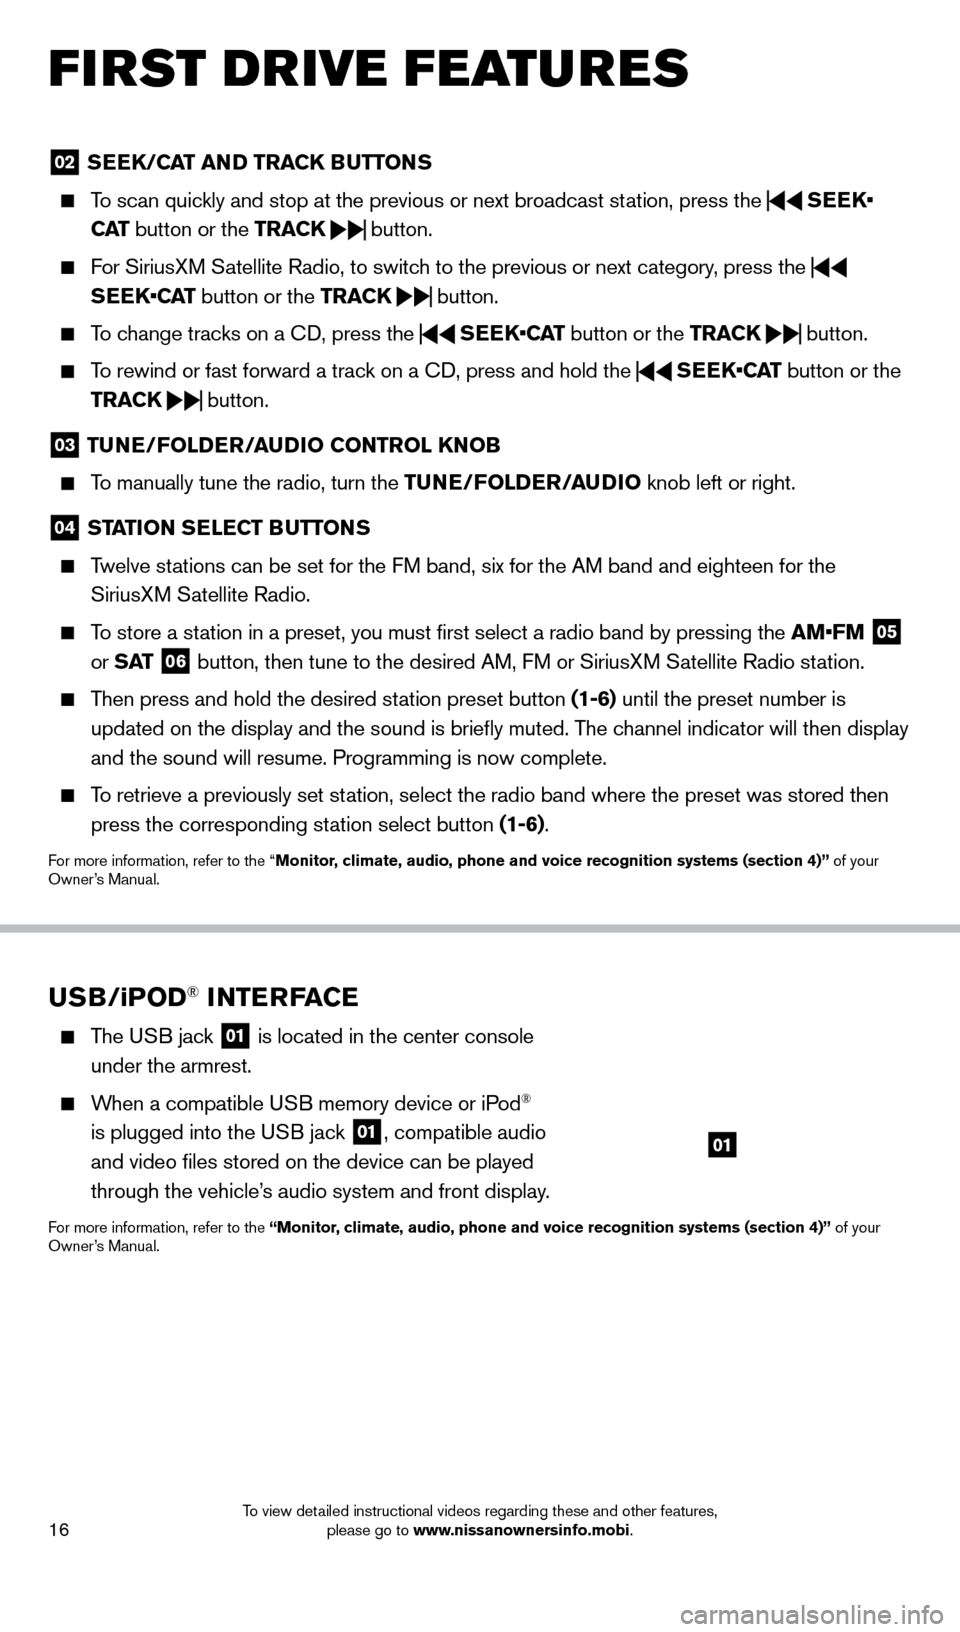
02 SEEK/CAT AND TRACK BUTTo NS
To scan quickly and stop at the previous or next broadcast station, press the
SEEK•
CAT button or the TRACK
button.
For SiriusXM Satellite Radio, to switch to the previous or next category, press the
SEEK•CAT button or the TRACK
button.
To change tracks on a
cD, press the
SEEK•CAT
button or the TRACK
button.
To rewind or fast forward a track on a
cD, press and hold the
SEEK•CAT
button or the
TRACK
button.
03
TUNE/Fol DER/AUDi o C o NTRol KNo B
To manually tune the radio, turn the TUNE/Fo lDER/ AUD io knob left or right.
04 STATioN SElECT BUTTo NS
Twelve stations can be set for the FM band, six for the AM band and eighteen for the
SiriusXM Satellite Radio.
To store a station in a preset, you must first select a radio band by pressing the \
AM•FM 05
or S AT 06 button, then tune to the desired AM, FM or SiriusXM Satellite Radio station.
Then press and hold the desired station preset button (1-6) until the preset number is
updated on the display and the sound is briefly muted. The channel indicator will then display
and the sound will resume. Programming is now complete.
To retrieve a previously set station, select the radio band where the preset was stored then press the corresponding station select button (1-6).
For more information, refer to the “Monitor, climate, audio, phone and voice recognition systems (section 4)” of your
Owner’s Manual.
USB/ iPo D® iNTERFACE
The USB jack 01 is located in the center console
under the armrest.
When a compatible USB memory device or iPod®
is plugged into the USB jack
01, compatible audio
and video files stored on the device can be played
through the vehicle’s audio system and front display.
For more information, refer to the “Monitor, climate, audio, phone and voice recognition systems (section 4)” of your
Owner’s Manual.
01
first drive features
1562941_14b_Pathfinder_HEV_QRG_091913.indd 169/19/13 11:12 AM
To view detailed instructional videos regarding these and other features, please go to www.nissanownersinfo.mobi.
Page 28 of 32

26
HoMEli NK® UNiv ERSA l TRANSCEiv ER (if so equipped)
The HomeLink system can learn and consolidate the
functions of up to 3 different hand-held transmitters,
operating items such as garage doors, property gates,
outdoor and indoor lights or alarm systems.
To program the HomeLink Universal Transceiver:
•
P
osition the handheld transceiver 1-3 in
(26-76 mm) away from the HomeLink surface,
keeping the HomeLink indicator light in view.
•
Press and hold the desired HomeLink button and the handheld tra
nsmitter button
simultaneously until the HomeLink indicator light flashes slowly and then ra\
pidly.
•
B
oth buttons may be released when the indicator light flashes rapidly.
To verify the programing is complete, press and hold the HomeLink and obs\
erve the
indicator light:
•
A solid continuous light indicates the programing is complete a
nd the HomeLink button
will activate your device.
•
A blinking light that turns to a solid continuous light after 2
seconds indicates additional
steps are required to complete the programing.
An additional person may make the remaining steps easier . To complete the
programing process:
•
At the receiver of the device that you are programing to the Ho
meLink, press and release
the “learn” or “smart” button (the name may vary by manufac\
turer but it is usually located
near where the hanging antenna wire is attached to the unit). You have approximately
30 seconds to initiate the following step.
•
Press and hold the programmed HomeLink button for 2 seconds and
release.
Repeat the previous 2 steps up to 3 times to complete the programming pr\
ocess. HomeLink
should now activate your device.
For more information, refer to the “Instruments and controls (section 2)” of your Owner’s Manual, the HomeLink website at
www.homelink.com or call 1-800-355-3515.
HoME li NK
05
For optimum performance, select the appropriate headphone channel
05 that corresponds to the headrest display being viewed directly in
front of you.
To watch or control videos on the front display make sure the vehicle is in the P (PARK) position and the parking brake is applied.
To reduce driver distraction, the wireless headphones will not operate while located in the front seats and movies will not be
shown on the front display while the vehicle is in any drive position.
To access standard DVD controls on the front display while playing a DVD on the rear display, press the DISC•AUX button on the audio control panel while the
vehicle is in the P (Park) position and the parking brake is applied.
For more information, refer to the “Monitor, climate, audio, phone and voice recognition systems (section 4)” of your
Owner’s Manual.
system guide
1562941_14b_Pathfinder_HEV_QRG_091913.indd 269/19/13 11:12 AM
To view detailed instructional videos regarding these and other features, please go to www.nissanownersinfo.mobi.