2014 NISSAN PATHFINDER HYBRID light
[x] Cancel search: lightPage 13 of 32
11
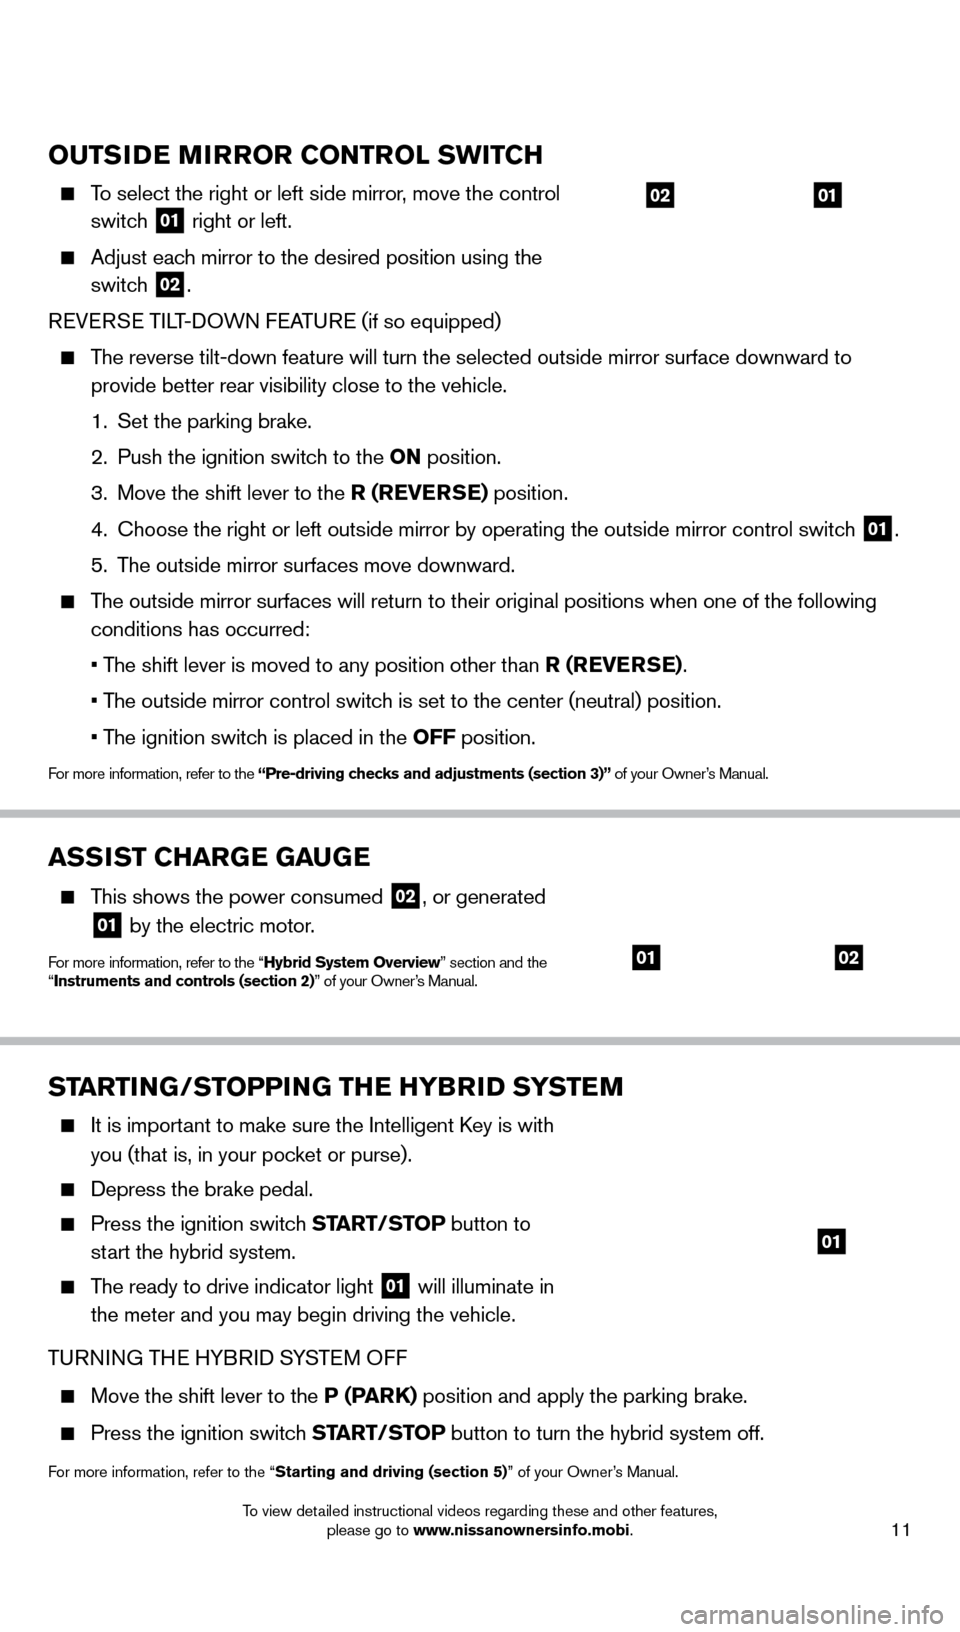
oUTSiDE MiRRo R C o NTRol SW i TCH
To select the right or left side mirror, move the control
switch
01 right or left.
Adjust eac h mirror to the desired position using the
switch
02.
R
e
V
e
R
S
e
TILT-DOWN F
e
ATUR
e
(if so equipped)
The reverse tilt-down feature will turn the selected outside mirror surfa\
ce downward to provide better rear visibility close to the vehicle.
1.
Set the parking brake.
2.
Push the ignition switc
h to the o N position.
3.
Move the shift lever to the
R (RE v ERSE) position.
4.
c hoose the right or left outside mirror by operating the outside mirror c\
ontrol switch
01.
5.
T
he outside mirror surfaces move downward.
The outside mirror surfaces will return to their original positions when \
one of the following conditions has occurred:
•
T
he shift lever is moved to any position other than R (RE v ERSE).
•
T
he outside mirror control switch is set to the center (neutral) position.
•
T
he ignition switch is placed in the o FF position.
For more information, refer to the “Pre-driving checks and adjustments (section 3)” of your Owner’s Manual.
0102
STARTiNG/SToPP iN G THE HYBRiD S YSTEM
It is important to make sure the Intelligent key is with
you (that is, in your pocket or purse).
Depress the brake pedal.
Press the ignition switc h START/STo P button to
start the hybrid system.
The ready to drive indicator light 01 will illuminate in
the meter and you may begin driving the vehicle.
TURNING TH
e
HYBRID SYST
e
M O
FF
Move the shift lever to the P (PARK) position and apply the parking brake.
Press the ignition switch START/STo P button to turn the hybrid system off.
For more information, refer to the “Starting and driving (section 5)” of your Owner’s Manual.
ASSiST CHARGE GAUGE
This shows the power consumed 02, or generated
01 by the electric motor.
For more information, refer to the “Hybrid System overview” section and the
“i nstruments and controls (section 2)” of your Owner’s Manual.0102
01
1562941_14b_Pathfinder_HEV_QRG_091913.indd 119/19/13 11:11 AM
To view detailed instructional videos regarding these and other features, please go to www.nissanownersinfo.mobi.
Page 14 of 32
12
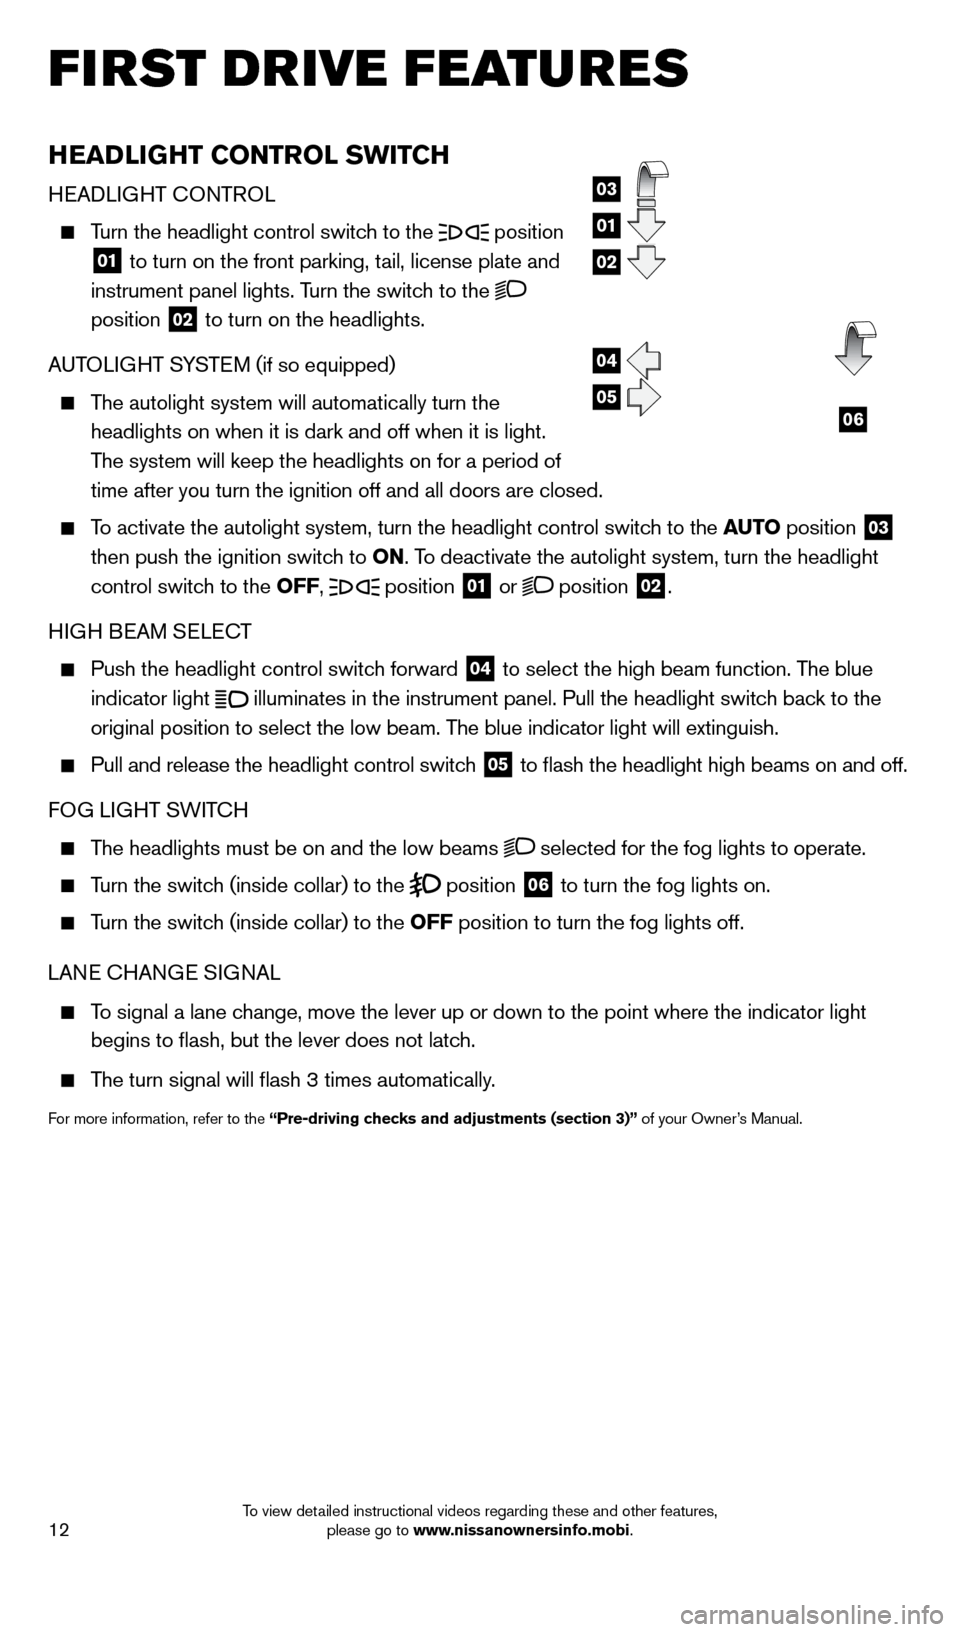
HEADliGHT Co NTRol SW i TCH
HeADLIGHT cO NTROL
Turn the headlight control switch to the position
01 to turn on the front parking, tail, license plate and
instrument panel lights. Turn the switch to the
position
02 to turn on the headlights.
AUTOLIGHT SYST e
M (if so equipped)
The autolight system will automatically turn the headlights on when it is dark and off when it is light.
The system will keep the headlights on for a period of
time after you turn the ignition off and all doors are closed.
To activate the autolight system, turn the headlight control switch to the AUTo position 03
then push the ignition switch to
o
N. To deactivate the autolight system, turn the headlight
control switch to the
o
FF,
position 01 or position 02.
HIGH B
e
AM S
eL
ec
T
Push the headlight control switc h forward 04 to select the high beam function. The blue
indicator light
illuminates in the instrument panel. Pull the headlight switch back to the
original position to select the low beam. The blue indicator light will extinguish.
Pull and release the headlight control switc h 05 to flash the headlight high beams on and off.
FOG LIGHT SWIT
cH
The headlights must be on and the low beams selected for the fog lights to operate.
Turn the switch (inside collar) to the position 06 to turn the fog lights on.
Turn the switch (inside collar) to the o FF position to turn the fog lights off.
LAN
e
c
HAN
G
e
SIGNAL
To signal a lane change, move the lever up or down to the point where the indicator light begins to flash, but the lever does not latch.
The turn signal will flash 3 times automatically.
For more information, refer to the “Pre-driving checks and adjustments (section 3)” of your Owner’s Manual.
03
01
02
04
0506
first drive features
1562941_14b_Pathfinder_HEV_QRG_091913.indd 129/19/13 11:11 AM
To view detailed instructional videos regarding these and other features, please go to www.nissanownersinfo.mobi.
Page 16 of 32
14
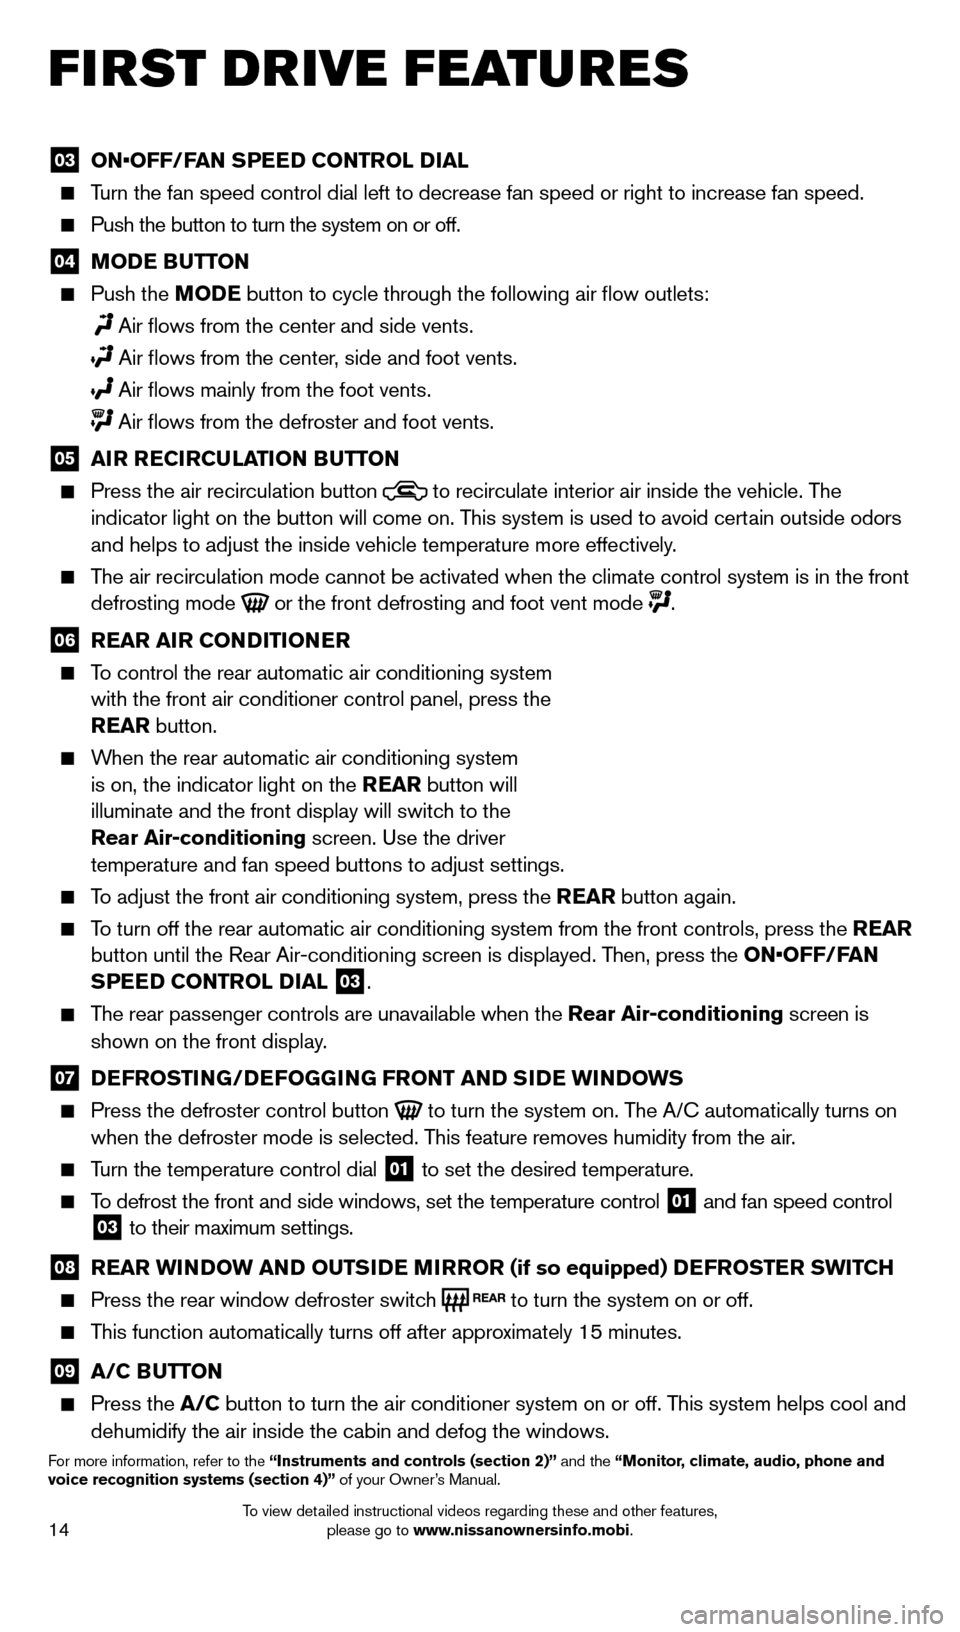
03 ON•OFF/FAN SPEED CONTROL DIAL Turn the fan speed control dial left to decrease fan speed or right to in\
crease fan speed.
Push the button to turn the system on or off.
04 MoDE BUTTo N Push the
Mo DE button to cycle through the following air flow outlets:
Air flows from the center and side vents.
Air flows from the center , side and foot vents.
Air flows mainly from the foot vents. Air flows from the defroster and foot vents.
05 A iR R EC iR CUl AT io N BUTTo N Press the air recirculation button to recirculate interior air inside the vehicle. The
indicator light on the button will come on. This system is used to avoid certain outside odors
and helps to adjust the inside vehicle temperature more effectively.
The air recirculation mode cannot be activated when the climate control s\
ystem is in the front defrosting mode or the front defrosting and foot vent mode .
06 R EAR A iR C o NDi T io NER To control the rear automatic air conditioning system
with the front air conditioner control panel, press the
REAR button.
When the rear automatic air conditioning system is on, the indicator light on the REAR button will
illuminate and the front display will switch to the
Rear Air-conditioning screen. Use the driver
temperature and fan speed buttons to adjust settings.
To adjust the front air conditioning system, press the REAR button again.
To turn off the rear automatic air conditioning system from the front con\
trols, press the REAR button until the Rear Air-conditioning screen is displayed. Then, press the ON•OFF/FAN
SPEED C
o NTR
ol
D
i
A l
03.
The rear passenger controls are unavailable when the Rear Air-conditioning screen is
shown on the front display .
07 DEFRo ST iN G/DEFo GGiN G FRo NT AND SiD E W iN DoWS
Press the defroster control button to turn the system on. The A/c automatically turns on
when the defroster mode is selected. T his feature removes humidity from the air.
Turn the temperature control dial 01 to set the desired temperature.
To defrost the front and side windows, set the temperature control 01 and fan speed control 03 to their maximum settings.
08 R EAR W iN DoW AN D o UTSiD E MiR Ro R (if so equipped) DEFRo STER SW i TCH Press the rear window defroster switc
h to turn the system on or off.
This function automatically turns off after approximately 15 minutes.
09 A/C BUTTo N Press the
A/C button to turn the air conditioner system on or off. This system helps cool and
dehumidify the air inside the cabin and defog the windows.
For more information, refer to the “instruments and controls (section 2)” and the “Monitor, climate, audio, phone and
voice recognition systems (section 4)” of your Owner’s Manual.
first drive features
1562941_14b_Pathfinder_HEV_QRG_091913.indd 149/19/13 11:11 AM
To view detailed instructional videos regarding these and other features, please go to www.nissanownersinfo.mobi.
Page 17 of 32
15
FM/AM/SiriusXM SATElliTE RADi o W i TH CD/D v D P l AYER
(if so equipped)
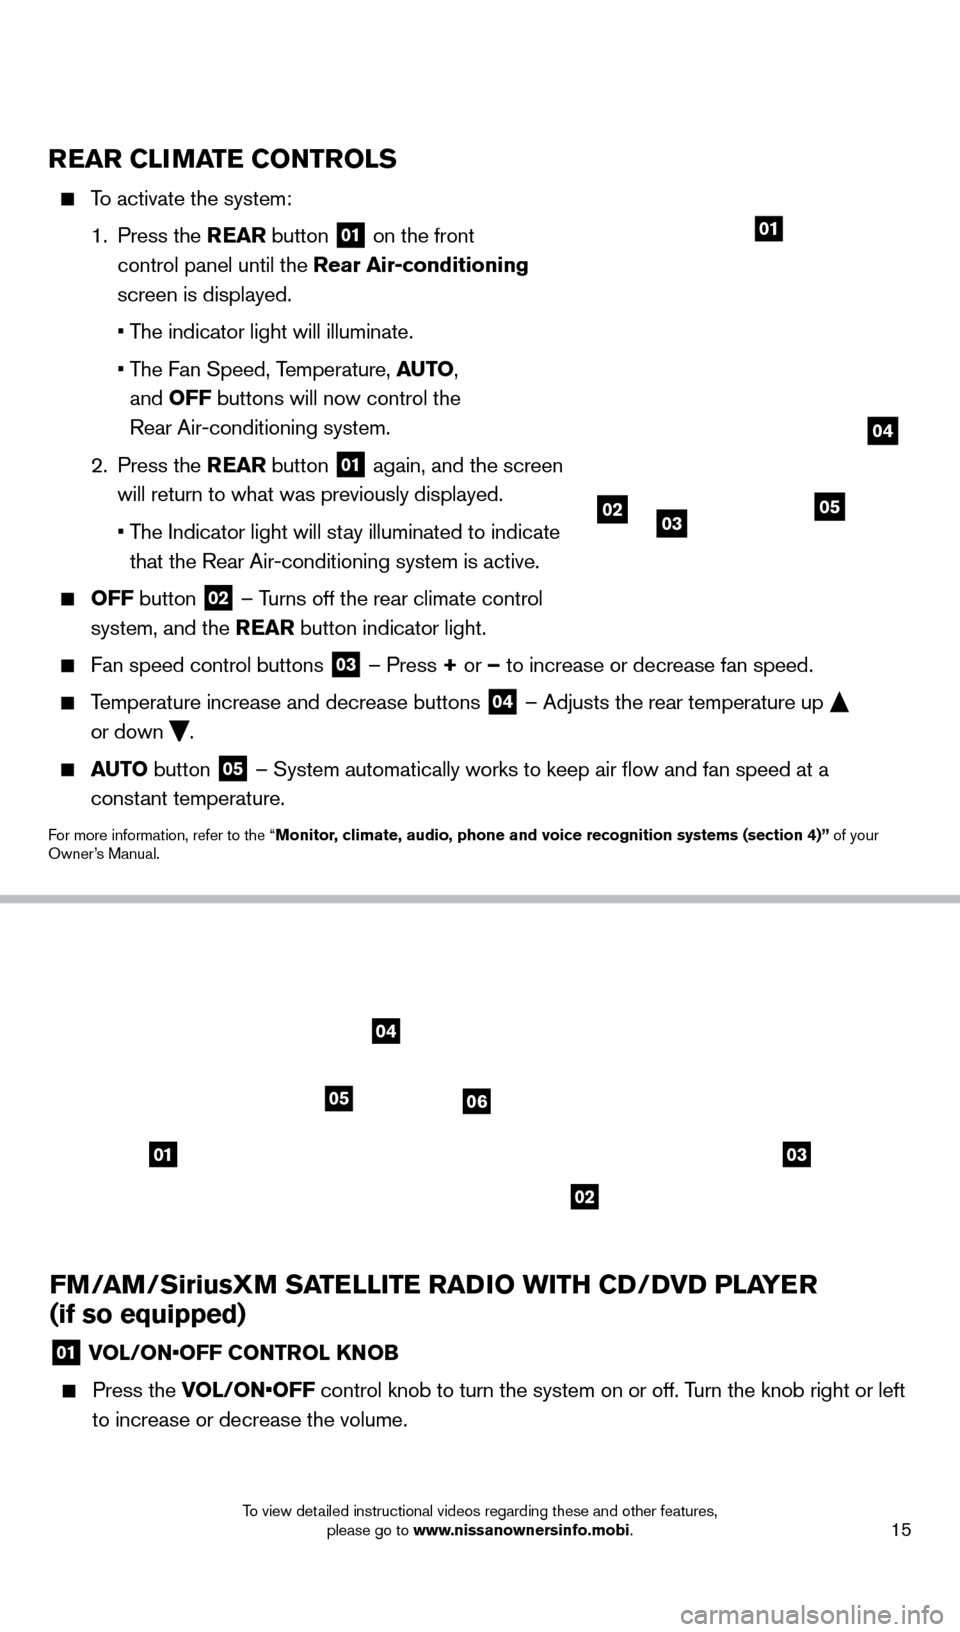
01 VOL/ON•OFF CONTROL KNOB
Press the V OL/ON•OFF control knob to turn the system on or off. Turn the knob right or left
to increase or decrease the volume.
0103
02
04
0506
REAR CliMA TE C o NTRol S
To activate the system:
1.
Press the REAR button
01 on the front
control panel until the Rear Air-conditioning
screen is displayed.
• T
he indicator light will illuminate.
•
T
he Fan Speed, Temperature, AUT
o,
and
o
FF buttons will now control the
Rear Air-conditioning system.
2.
Press the REAR button
01 again, and the screen
will return to what was previously displayed.
•
T
he Indicator light will stay illuminated to indicate
that the Rear Air-conditioning system is active.
o FF button 02 –
Turns off the rear climate control
system, and the REAR button indicator light.
Fan speed control buttons 03 – Press + or – to increase or decrease fan speed.
Temperature increase and decrease buttons 04 – Adjusts the rear temperature up
or down .
AUTo button 05 – System automatically works to keep air flow and fan speed at a
constant temperature.
For more information, refer to the “Monitor, climate, audio, phone and voice recognition systems (section 4)” of your
Owner’s Manual.
01
020503
04
1562941_14b_Pathfinder_HEV_QRG_091913.indd 159/19/13 11:11 AM
To view detailed instructional videos regarding these and other features, please go to www.nissanownersinfo.mobi.
Page 19 of 32
17
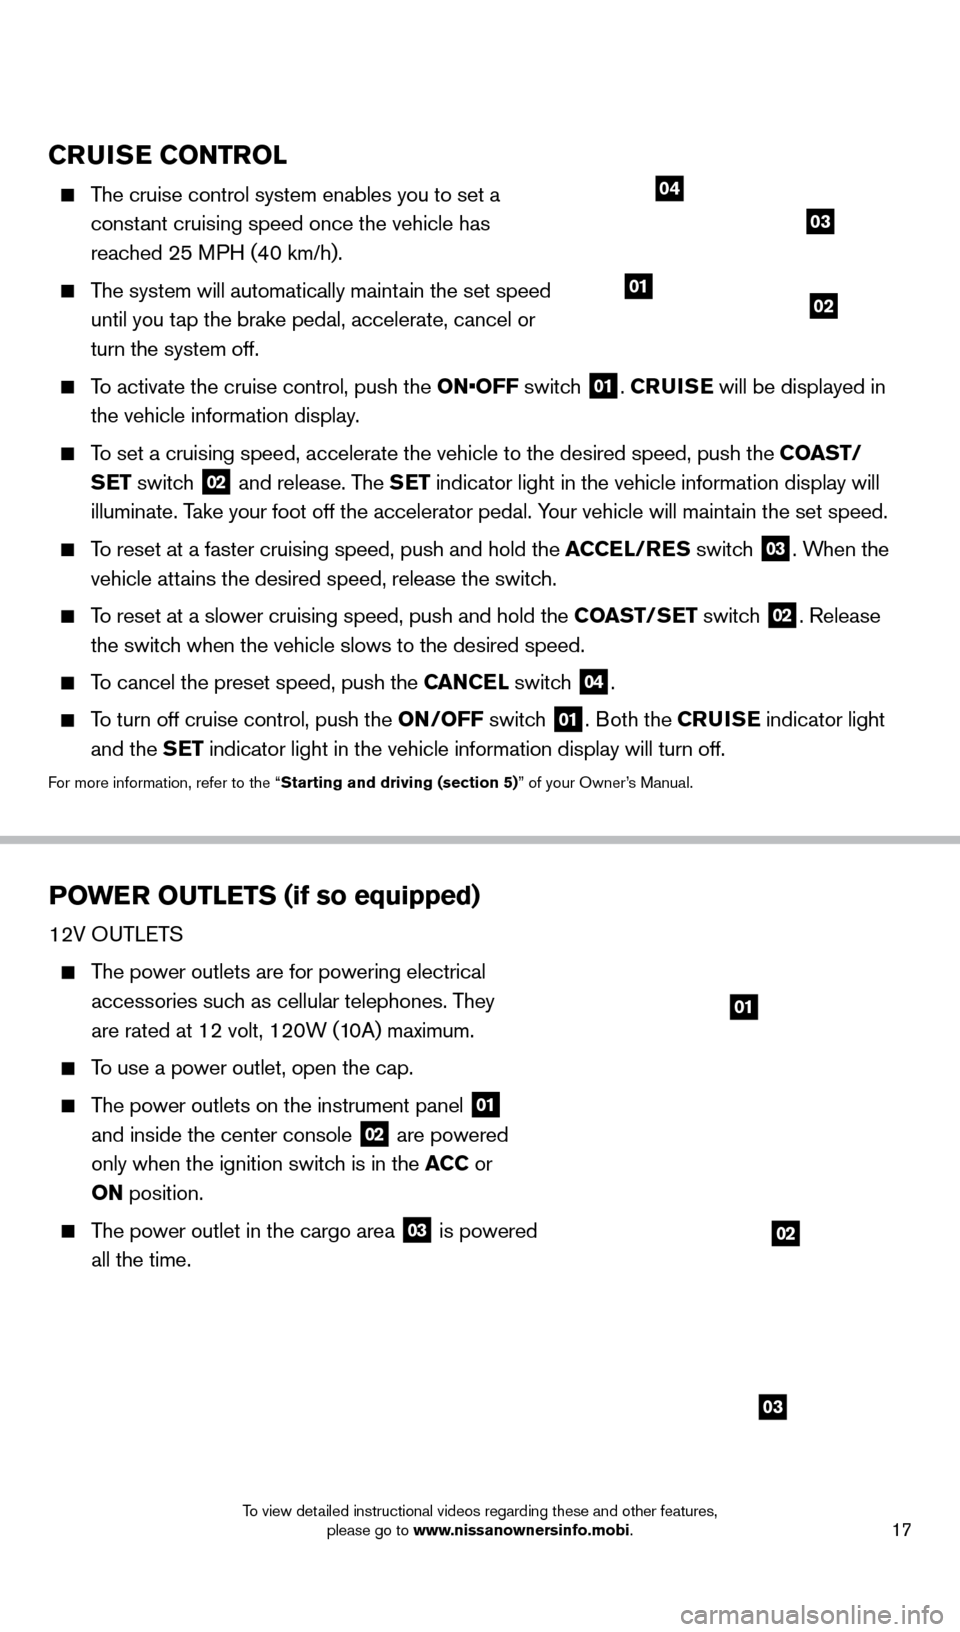
CRUiSE Co NTRol
The cruise control system enables you to set a
constant cruising speed once the vehicle has
reached 25 MPH (40 km/h).
The system will automatically maintain the set speed until you tap the brake pedal, accelerate, cancel or
turn the system off.
To activate the cruise control, push the ON•OFF switch 01. CRU i SE will be displayed in
the vehicle information display.
To set a cruising speed, accelerate the vehicle to the desired speed, pus\
h the C oAST/
S ET switch
02 and release. The SET indicator light in the vehicle information display will
illuminate. Take your foot off the accelerator pedal. Your vehicle will maintain the set speed.
To reset at a faster cruising speed, push and hold the ACCE l/RES switc h 03. When the
vehicle attains the desired speed, release the switch.
To reset at a slower cruising speed, push and hold the C oAST/ SET switch 02. Release
the switch when the vehicle slows to the desired speed.
To cancel the preset speed, push the CANCEl switch 04.
To turn off cruise control, push the o N/ o FF switch 01. Both the CRUiSE indicator light
and the SET indicator light in the vehicle information display will turn off.
For more information, refer to the “Starting and driving (section 5)” of your Owner’s Manual.
PoWER o UT l ETS (if so equipped)
12V OUTLeTS
The power outlets are for powering electrical
accessories such as cellular telephones. They
are rated at 12 volt, 120W (10A) maximum.
To use a power outlet, open the cap.
The power outlets on the instrument panel 01
and inside the center console 02 are powered
only when the ignition switch is in the ACC or
o
N position.
The power outlet in the cargo area 03 is powered
all the time.
0102
03
04
01
02
03
1562941_14b_Pathfinder_HEV_QRG_091913.indd 179/19/13 11:12 AM
To view detailed instructional videos regarding these and other features, please go to www.nissanownersinfo.mobi.
Page 26 of 32
24
MAkING A cALL F ROM THe PHONeB OOk
In some cases, names stored in all U PPeRcA Se letters may not be recognized by the voice
recognition system.
1.
Press the button on the steering wheel.
2.
After waiting for the tone, s
ay “ c all”.
3.
After the next tone, speak the name of a phonebook entry
. For example, “Michael Smith”.
4.
c
onfirm the correct name is recognized by saying “Dial” after the tone.
MA
k
I
NG A
c
ALL B
Y PHON
e
NUMB
eR
1.
Press the button on the steering wheel. A tone will sound.
2.
S
ay: “
c
all”. The system acknowledges the command and announces the next set of
available commands.
3.
S
ay: “Phone Number”. The system acknowledges the command and announces the next
set of available commands.
4.
S
ay the number you wish to call, starting with the area code in single digit format.
5.
W
hen you have finished speaking the phone number, the system repeats it back and
announces the available commands.
6.
S
ay: “Dial”. The system acknowledges the command and makes the call.
R
ece
IVING/
e
NDING A c
A
LL
When you receive a phone call, a ring tone sounds through the audio syste\
m.
To accept the call, press the button on the steering wheel.
To reject the call, press the button on the steering wheel.
To hang up the phone at the end of a call or to disconnect during call pl\
acement, press the
button on the steering wheel.
For more information, refer to the “Monitor, climate, audio, phone and voice recognition systems (section 4)” of your
Owner’s Manual.
NAviGAT
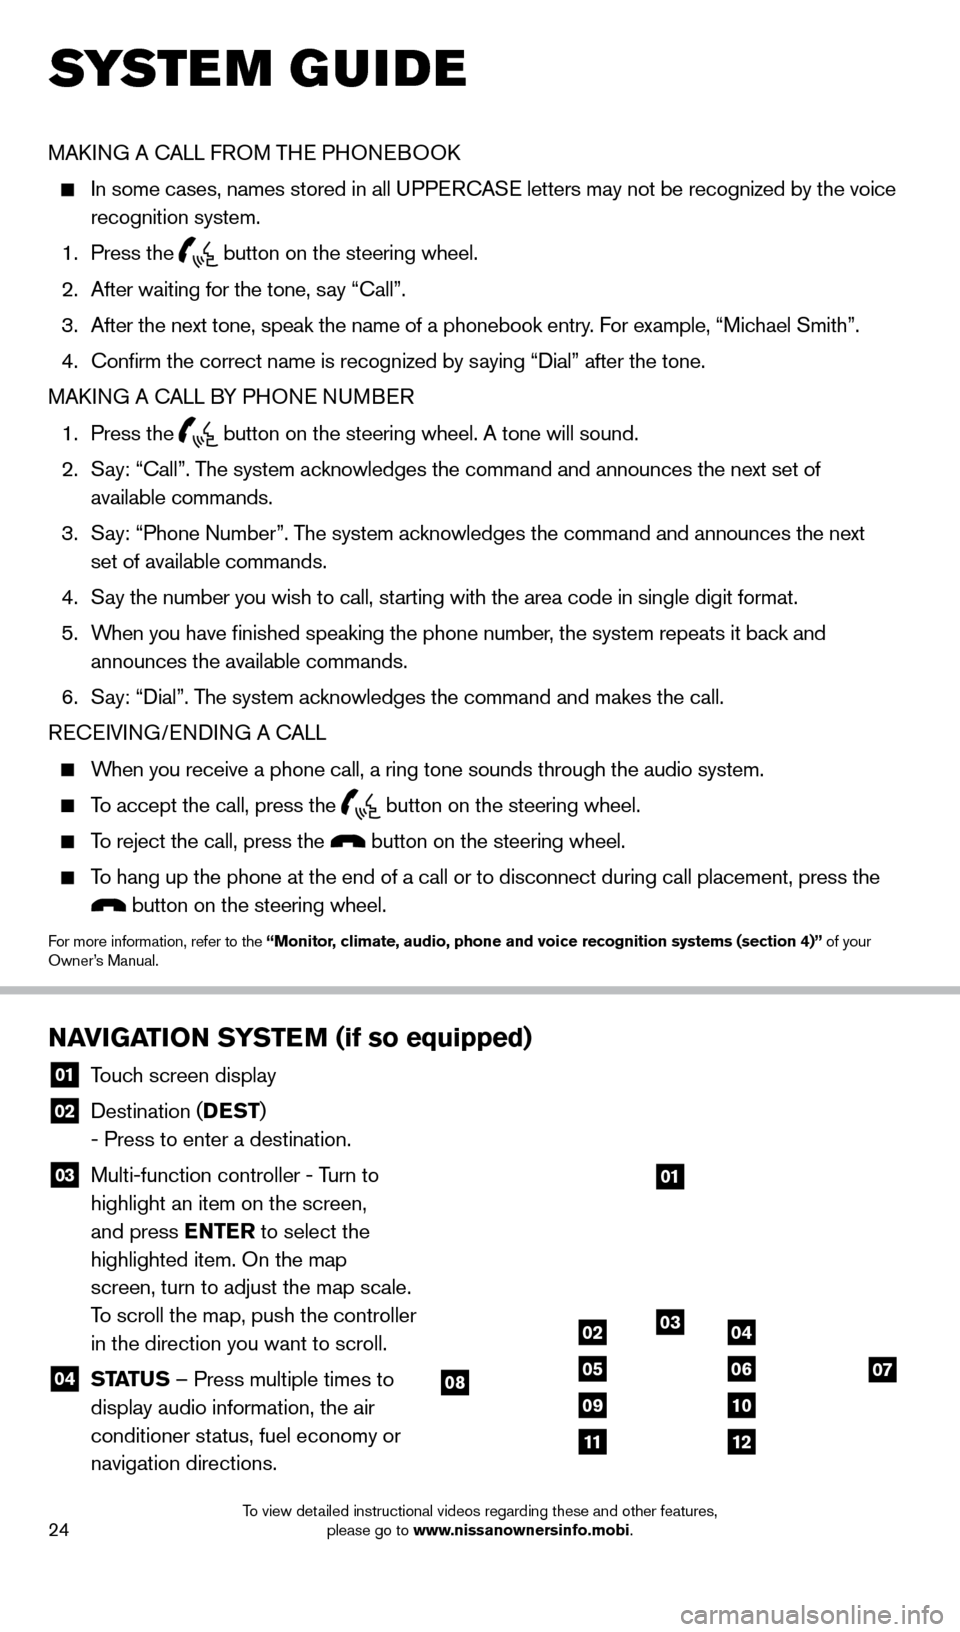
io N SYSTEM (if so equipped)
01 Touch screen display
02 Destination ( DEST
)
- Press to enter a destination.
03 Multi-function controller - T urn to
highlight an item on the screen,
and press ENTER to select the
highlighted item. On the map
screen, turn to adjust the map scale.
To scroll the map, push the controller
in the direction you want to scroll.
04 ST ATUS – Press multiple times to
display audio information, the air
conditioner status, fuel economy or
navigation directions.
01
03
07
09
0204
0506
10
1112
08
system guide
1562941_14b_Pathfinder_HEV_QRG_091913.indd 249/19/13 11:12 AM
To view detailed instructional videos regarding these and other features, please go to www.nissanownersinfo.mobi.
Page 28 of 32

26
HoMEli NK® UNiv ERSA l TRANSCEiv ER (if so equipped)
The HomeLink system can learn and consolidate the
functions of up to 3 different hand-held transmitters,
operating items such as garage doors, property gates,
outdoor and indoor lights or alarm systems.
To program the HomeLink Universal Transceiver:
•
P
osition the handheld transceiver 1-3 in
(26-76 mm) away from the HomeLink surface,
keeping the HomeLink indicator light in view.
•
Press and hold the desired HomeLink button and the handheld tra
nsmitter button
simultaneously until the HomeLink indicator light flashes slowly and then ra\
pidly.
•
B
oth buttons may be released when the indicator light flashes rapidly.
To verify the programing is complete, press and hold the HomeLink and obs\
erve the
indicator light:
•
A solid continuous light indicates the programing is complete a
nd the HomeLink button
will activate your device.
•
A blinking light that turns to a solid continuous light after 2
seconds indicates additional
steps are required to complete the programing.
An additional person may make the remaining steps easier . To complete the
programing process:
•
At the receiver of the device that you are programing to the Ho
meLink, press and release
the “learn” or “smart” button (the name may vary by manufac\
turer but it is usually located
near where the hanging antenna wire is attached to the unit). You have approximately
30 seconds to initiate the following step.
•
Press and hold the programmed HomeLink button for 2 seconds and
release.
Repeat the previous 2 steps up to 3 times to complete the programming pr\
ocess. HomeLink
should now activate your device.
For more information, refer to the “Instruments and controls (section 2)” of your Owner’s Manual, the HomeLink website at
www.homelink.com or call 1-800-355-3515.
HoME li NK
05
For optimum performance, select the appropriate headphone channel
05 that corresponds to the headrest display being viewed directly in
front of you.
To watch or control videos on the front display make sure the vehicle is in the P (PARK) position and the parking brake is applied.
To reduce driver distraction, the wireless headphones will not operate while located in the front seats and movies will not be
shown on the front display while the vehicle is in any drive position.
To access standard DVD controls on the front display while playing a DVD on the rear display, press the DISC•AUX button on the audio control panel while the
vehicle is in the P (Park) position and the parking brake is applied.
For more information, refer to the “Monitor, climate, audio, phone and voice recognition systems (section 4)” of your
Owner’s Manual.
system guide
1562941_14b_Pathfinder_HEV_QRG_091913.indd 269/19/13 11:12 AM
To view detailed instructional videos regarding these and other features, please go to www.nissanownersinfo.mobi.