2014 NISSAN LEAF key
[x] Cancel search: keyPage 3 of 27
TABLE OF CONTENTS
NEW SYSTEM FEATURES
C ARWINGS™/Remote Functions (if so equipped) ..................2
Approac
hing Vehicle Sound for Pedestrians (VSP) System
............2
Around V
iew
® Monitor (if so equipped).............................2 Shift Control System............................................4
Heated Seats..................................................4
E
SSENTIAL INFORMATION
Cold W
eather Range
............................................5 Parking in Extremely Cold W
eather
................................5 Quic
k Charge in Cold Weather (if so equipped) .....................
5 Li-ion B
attery Temperature Gauge
.................................6
Li-ion B
attery Gauges
...........................................6 P
ower Limitation Indicator Light
...................................6
Charge P
ort Lid/Charge Connector Lock Switch ....................
7 Li-ion B
attery Charging .........................................
8
T
ire Pressure Monitoring System (TPMS) with Easy Fill Tire Alert
......10 Cloc
k Set/Adjustment
..........................................10
FI
RST DRIVE FEATURES
N
ISSAN Intelligent Key
® System.................................11 Rear Hatc
h Release............................................11
Seat Adjustments
.............................................
12
Outside Mirror Control Switc
h
...................................12
P
ower Meter
.................................................
13
Electric V
ehicle (EV) System Warning Light
........................13
St
arting/Stopping the Electric Vehicle (EV) System .................
14
Headlight Control Switc
h .......................................
14
W
indshield Wiper and Washer Switch ............................
15
Automatic Climate Controls . . . . . . . . . . . . . . . . . . . . . . . . . . . . . . . . . . . .\
. 16
FM/AM/SiriusXM
® Satellite Radio with CD Player (if so equipped).....17 Cruise Control (if so equipped)
..................................18
USB/iPod
® Interface...........................................18
Pandora® Operation (if so equipped)...........................18
S
YSTEM GUIDE
T
rip Computer ................................................
19
Bluetooth
® Hands-free Phone System.............................20
System Operating T ips .....................................20
Bluetooth
® System without Navigation (if so equipped)...............20
Bluetooth® System with Navigation (if so equipped) .................22 Navigation System (if so equipped)...............................23
HomeLink
® Universal Transceiver (if so equipped)...................24
Please see your Owner’s Manual for impor tant safety
information and system operation limitations.
•
A c
ellular telephone should not be used for any purpose while
driving so full attention may be given to vehicle operation.
• Always wear your seat belt.
• Supplemental air bags do not replace proper seat belt usage.
•
C
hildren 12 and under should always ride in the rear
seat properly secured in child restraints or seat belts
according to their age and weight.
• Do not drink and drive.
For more information, refer to the “Safety — Seats, seat belts and
supplemental restraint system (section 1)”, “Heater, air conditioner,
audio and phone systems (section 4)” and the “Starting and driving
(section 5)” of your Owner’s Manual and the “Bluetooth
® hands-free
phone system (section 7)” and the “Audio systems (section 4)” of
your Navigation System Owner’s Manual.
Additional information about your vehicle is also available in your Owner’s Manual, Navigation System Owner’s Manual and at www.nissanusa.com.
To view detailed instructional videos, go to
www.nissanownersinfo.mobi/2014/leaf or snap this barcode with an appropriate barcode reader.
1700496_14b_Leaf_QRG_021114.indd 12/11/14 3:47 PM
Page 9 of 27
7
CHARGE PORT LID/CHARGE CONNECTOR LOCK SWITCH
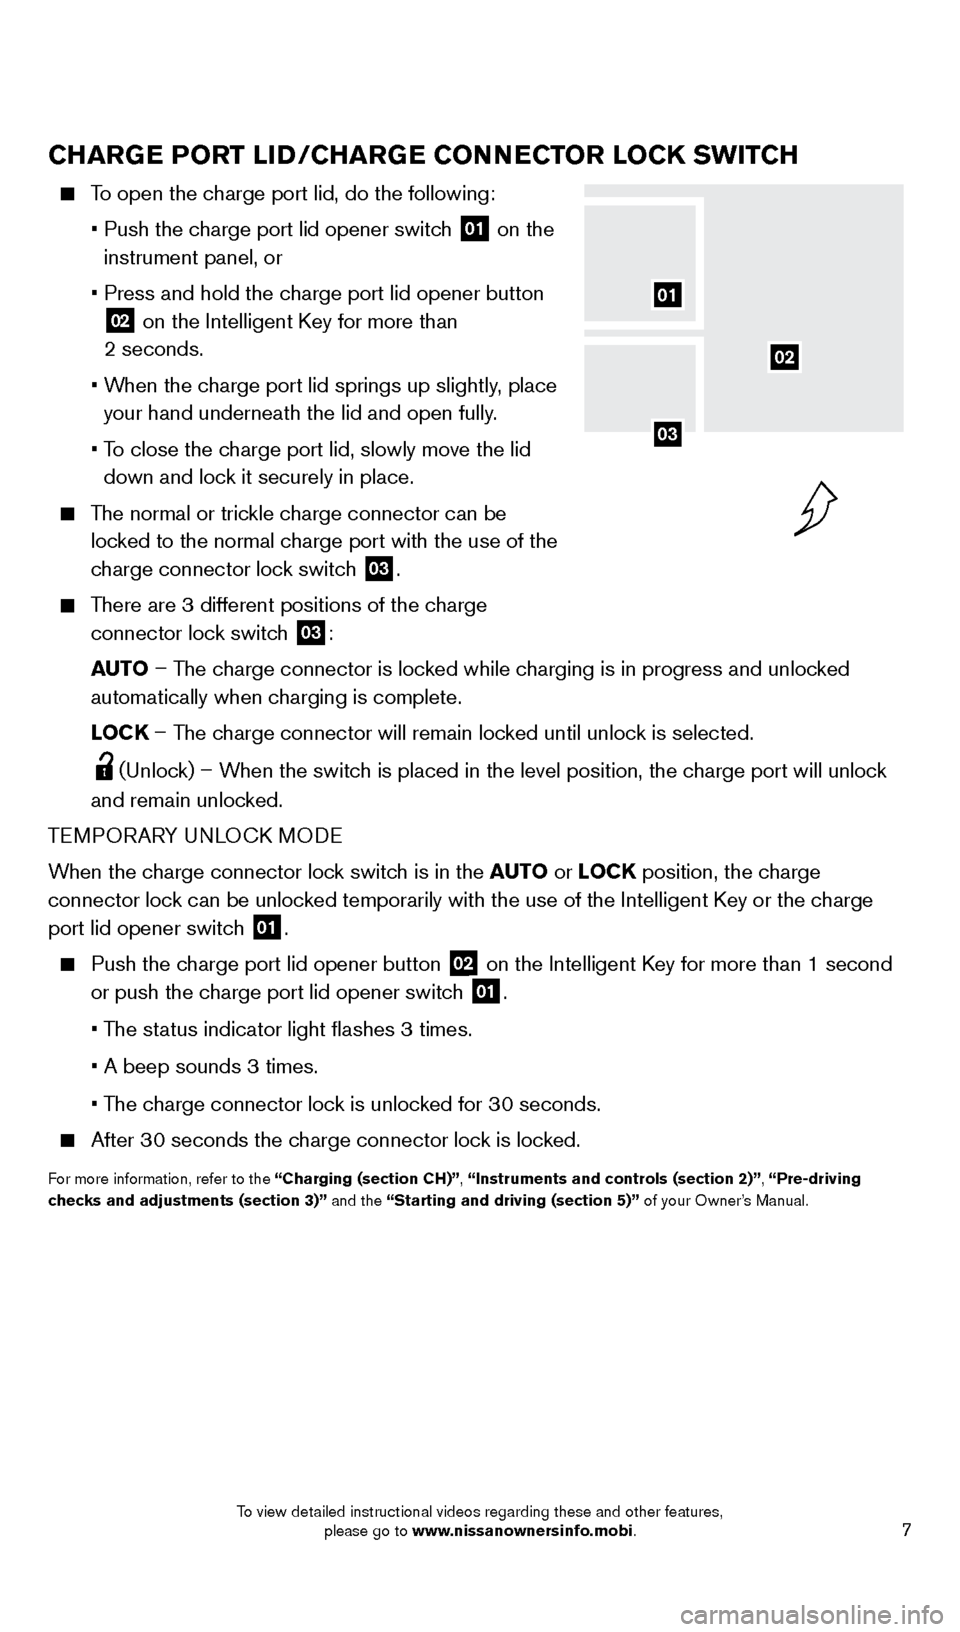
To open the charge port lid, do the following:
•
Push the c
harge port lid opener switch
01 on the
instrument panel, or
•
Press and hold the c
harge port lid opener button
02 on the Intelligent Key for more than
2 seconds.
•
W
hen the charge port lid springs up slightly, place
your hand underneath the lid and open fully.
•
T
o close the charge port lid, slowly move the lid
down and lock it securely in place.
The normal or trickle charge connector can be locked to the normal charge port with the use of the
charge connector lock switch
03.
There are 3 different positions of the charge
connector lock switch
03:
AUTO – The charge connector is locked while charging is in progress and unlocked
automatically when charging is complete.
L
OCK – The charge connector will remain locked until unlock is selected.
(Unlock) – When the switch is placed in the level position, the charge port will unlock
and remain unlocked.
TEMPORARY UNLOCK MODE
When the charge connector lock switch is in the AUTO or LOCK position, the charge
connector lock can be unlocked temporarily with the use of the Intelligent Key or the charge
port lid opener switch
01.
Push the charge port lid opener button
02 on the Intelligent Key for more than 1 second
or push the charge port lid opener switch
01.
• T
he status indicator light flashes 3 times.
• A beep sounds 3 times.
• T
he charge connector lock is unlocked for 30 seconds.
After 30 seconds the charge connector lock is locked.
For more information, refer to the “Charging (section CH)”, “Instruments and controls (section 2)”, “Pre-driving
checks and adjustments (section 3)” and the “Starting and driving (section 5)” of your Owner’s Manual.
02
01
03
1700496_14b_Leaf_QRG_021114.indd 72/11/14 3:48 PM
To view detailed instructional videos regarding these and other features, please go to www.nissanownersinfo.mobi.
Page 13 of 27
11
REAR HATCH RELEASE
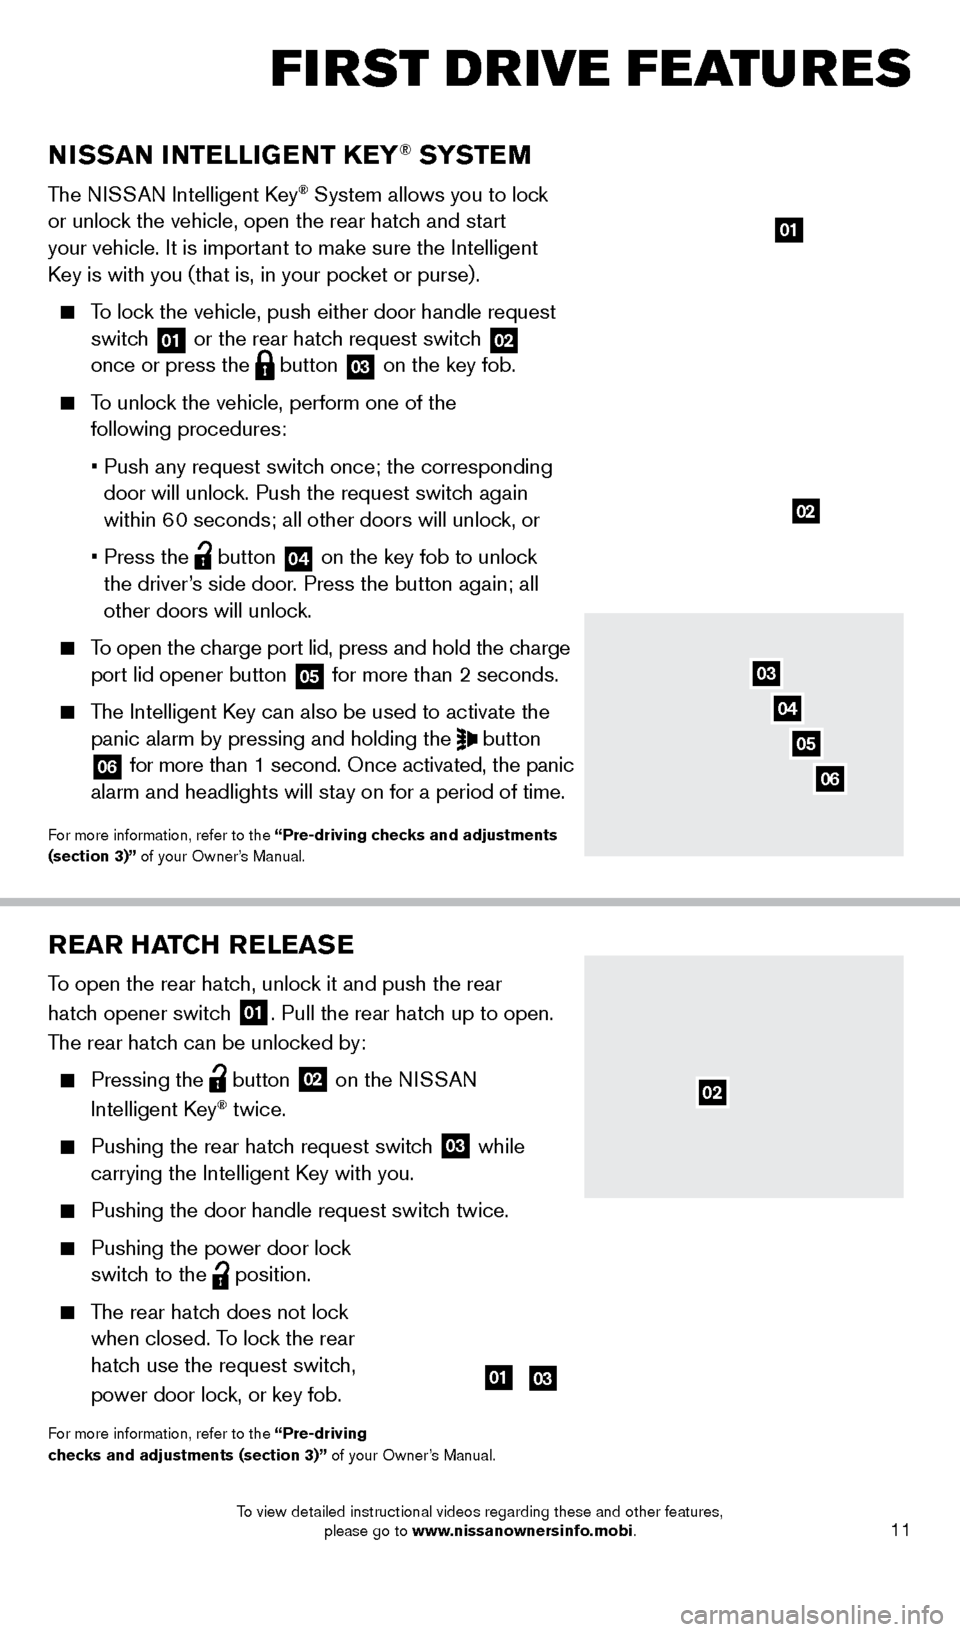
To open the rear hatch, unlock it and push the rear
hatch opener switch
01. Pull the rear hatch up to open.
The rear hatch can be unlocked by:
Pressing the button
02 on the NISSAN
Intelligent Key® twice.
Pushing the rear hatc h request switch
03 while
carrying the Intelligent Key with you.
Pushing the door handle request switc h twice.
Pushing the power door lock
switch to the
position.
The rear hatch does not lock
when closed. To lock the rear
hatch use the request switch,
power door lock, or key fob.
For more information, refer to the “Pre-driving
checks and adjustments (section 3)” of your Owner’s Manual.
NISSAN INTELLIGENT KEY® SYSTE M
The NISSAN Intelligent Key® System allows you to lock
or unlock the vehicle, open the rear hatch and start
your vehicle. It is important to make sure the Intelligent
Key is with you (that is, in your pocket or purse).
To lock the vehicle, push either door handle request
switch
01 or the rear hatch request switch
02
once or press the button
03 on the key fob.
To unlock the vehicle, perform one of the
following procedures:
• Push any request switc
h once; the corresponding
door will unlock. Push the request switch again
within 60 seconds; all other doors will unlock, or
• Press the button
04 on the key fob to unlock
the driver’s side door. Press the button again; all
other doors will unlock.
To open the charge port lid, press and hold the charge
port lid opener button
05 for more than 2 seconds.
The Intelligent Key can also be used to activate the
panic alarm by pressing and holding the
button
06 for more than 1 second. Once activated, the panic
alarm and headlights will stay on for a period of time.
For more information, refer to the “Pre-driving checks and adjustments
(section 3)” of your Owner’s Manual.
01
0103
02
03
04
06
02
FIRST DRIVE FEATURES
05
1700496_14b_Leaf_QRG_021114.indd 112/11/14 3:48 PM
To view detailed instructional videos regarding these and other features, please go to www.nissanownersinfo.mobi.
Page 16 of 27
14
HEADLIGHT CONTROL SWITCH
HEADLIGHT CONTROL
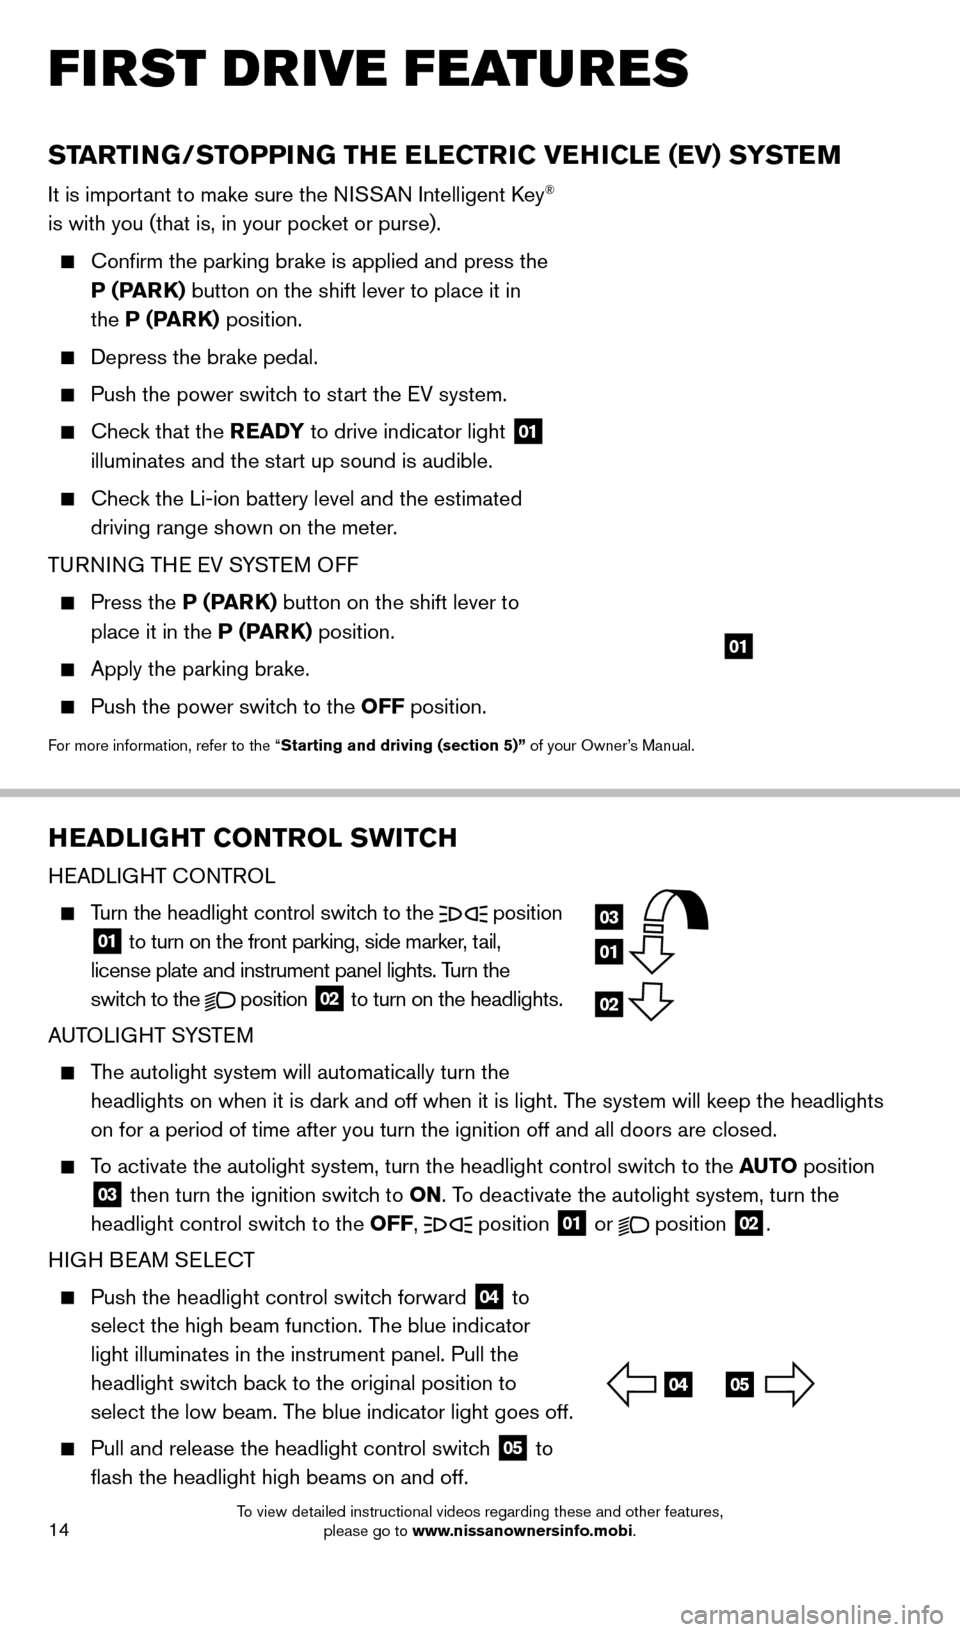
Turn the headlight control switch to the
position
01 to turn on the front parking, side marker, tail,
license plate and instrument panel lights. Turn the
switch to the
position
02 to turn on the headlights.
AUTOLIGHT SYSTEM
The autolight system will automatically turn the headlights on when it is dark and off when it is light. The system will keep the headlights
on for a period of time after you turn the ignition off and all doors ar\
e closed.
To activate the autolight system, turn the headlight control switch to the AUTO position
03 then turn the ignition switch to ON. To deactivate the autolight system, turn the
headlight control switch to the OFF, position 01 or
position
02.
HIGH BEAM SELECT
Push the headlight control switc h forward
04 to
select the high beam function. The blue indicator
light illuminates in the instrument panel. Pull the
headlight switch back to the original position to
select the low beam. The blue indicator light goes off.
Pull and release the headlight control switc h
05 to
flash the headlight high beams on and off.
STARTING/STOPPING THE ELECTRIC VEHICLE (EV) SYSTEM
It is important to make sure the NISSAN Intelligent Key®
is with you (that is, in your pocket or purse).
Confirm the parking brake is applied and press the
P (PARK) button on the shift lever to place it in
the P (PARK) position.
Depress the brake pedal.
Push the power switc h to start the EV system.
Check that the READY to drive indicator light
01
illuminates and the start up sound is audible.
Check the Li-ion battery level and the estimated
driving range shown on the meter.
TURNING THE EV SYSTEM OFF
Press the P (P ARK) button on the shift lever to
place it in the P (PARK) position.
Apply the parking brake.
Push the power switc h to the OFF position.
For more information, refer to the “Starting and driving (section 5)” of your Owner’s Manual.
01
FIRST DRIVE FEATURES
03
01
02
0405
1700496_14b_Leaf_QRG_021114.indd 142/11/14 3:48 PM
To view detailed instructional videos regarding these and other features, please go to www.nissanownersinfo.mobi.
Page 19 of 27
17
FM/AM/SiriusXM®* SATELLITE RADIO with CD PLAYER (if so equipped)
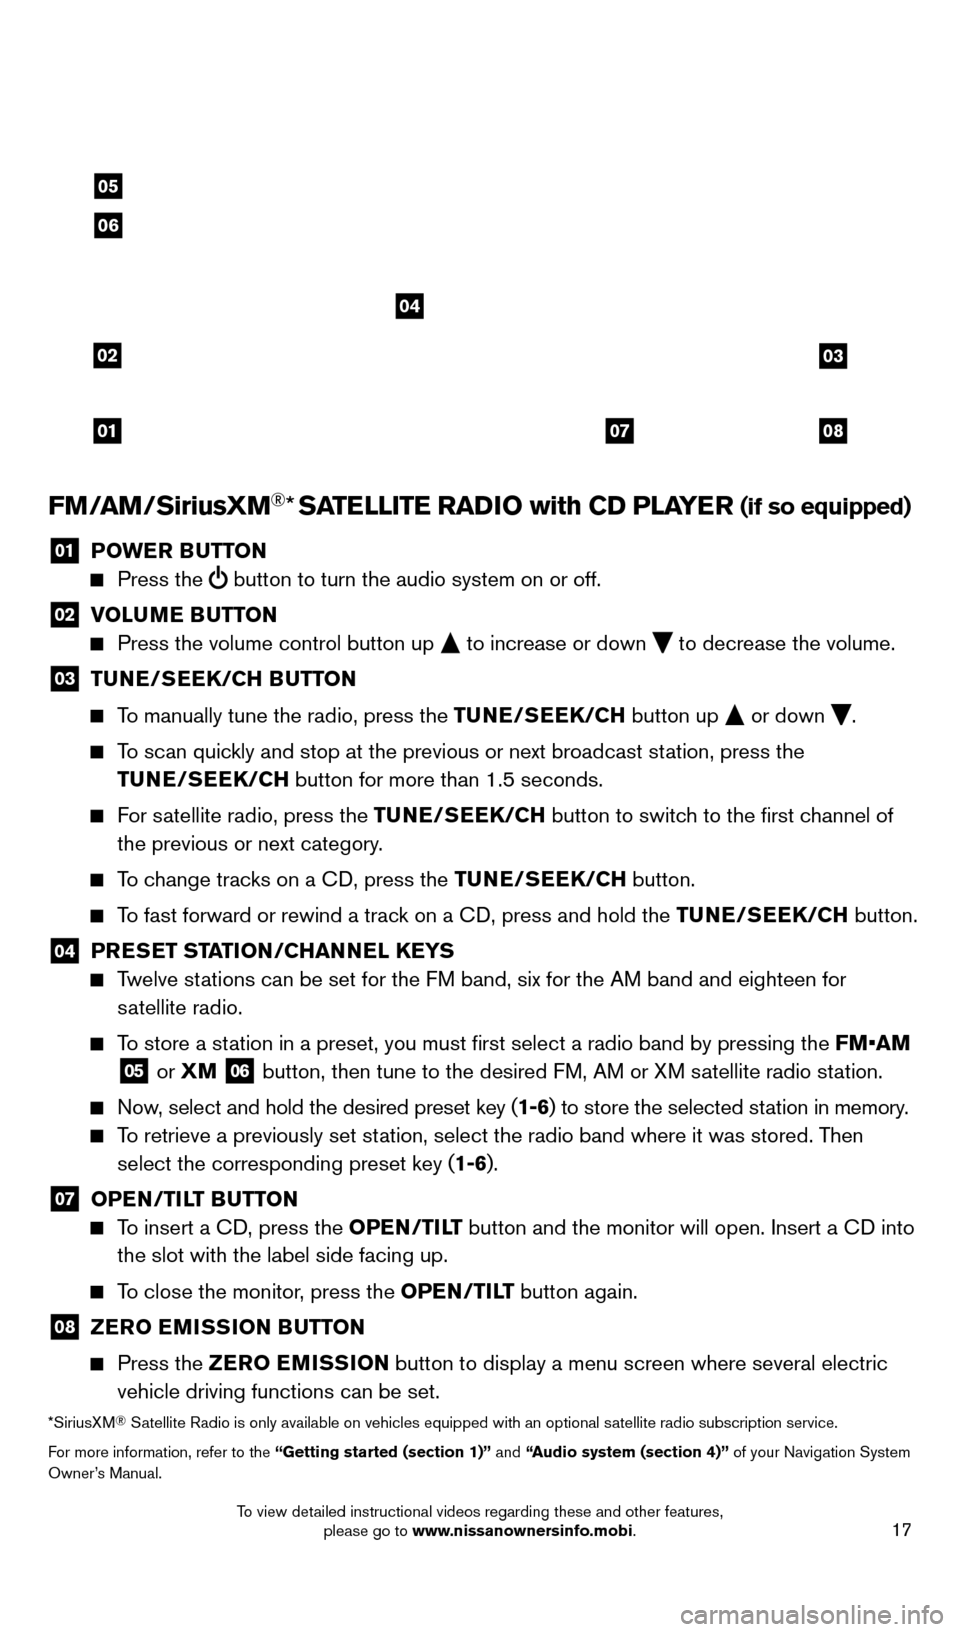
01 POWER BUTTON Press the
button to turn the audio system on or off.
02 V OLUME BUTTON Press the volume control button up
to increase or down
to decrease the volume.
03 TU NE/SEEK/CH BUTTON
To manually tune the radio, press the TUNE/SEEK/CH
button up
or down
.
To scan quickly and stop at the previous or next broadcast station, press the
TUNE/SEEK/CH button for more than 1.5 seconds.
For satellite radio, press the TUNE/SEEK/CH button to switch to the first channel of
the previous or next category.
To change tracks on a CD, press the TUNE/SEEK/CH button.
To fast forward or rewind a track on a CD, press and hold the TUNE/SEEK/CH button.
04 PRESET STATION/CHANNEL KEYS Twelve stations can be set for the FM band, six for the AM band and eighteen for
satellite radio.
To store a station in a preset, you must first select a radio band by pressing the \
FM•AM
05 or XM
06 button, then tune to the desired FM, AM or XM satellite radio station.
Now, select and hold the desired preset key (1-6) to store the selected station in memory.
To retrieve a previously set station, select the radio band where it was stored. Then
select the corresponding preset key (1-6).
07 OPE N/TILT BUTTON To insert a CD, press the OPEN/TILT button and the monitor will open. Insert a CD into
the slot with the label side facing up.
To close the monitor, press the OPEN/TILT button again.
08 ZER O EMISSION BUTTON
Press the
ZER O EMISSION button to display a menu screen where several electric
vehicle driving functions can be set.
*SiriusXM® Satellite Radio is only available on vehicles equipped with an optional s\
atellite radio subscription service.
For more information, refer to the “Getting started (section 1)” and “Audio system (section 4)” of your Navigation System
Owner’s Manual.
02
01
03
0807
04
05
06
1700496_14b_Leaf_QRG_021114.indd 172/11/14 3:48 PM
To view detailed instructional videos regarding these and other features, please go to www.nissanownersinfo.mobi.
Page 24 of 27
22
BLUETOOTH® SYSTEM
WITH NAVIGATION (if so equipped)
Bluetooth® Streaming Audio allows you to use a
compatible Bluetooth® phone to play audio files on
your device. Your compatible cellular phone can be
connected to the vehicle’s audio system, allowing
audio files to play through the vehicle’s speakers.
PAIRING PROCEDURE
Make sure the vehicle is st ationary when pairing
the phone.
1.
Press the
button 01, and select the
“Pair Phone” key.
2.
Initiate pairing from the phone.
•
T
he pairing procedure varies according to
each cellular phone model. For detailed pairing
instructions and a list of compatible phones,
please visit www.nissanusa.com/bluetooth.
•
W
hen prompted for a PIN code, enter “1234”
from the handset. (The PIN code is assigned
by NISSAN and cannot be changed.)
3.
W
hen the pairing is complete, the screen will
return to the Phone menu display.
MAKING A CALL
To make a call, follow this procedure:
1.
Press the
button 01 on the steering wheel.
The “Phone” menu will appear on the control
panel display.
2.
Select the “Handset Phonebook”, “V
ehicle
Phonebook”, “Call History” or “Dial Number” key.
3.
Select the desired entry from the list.
4.
Select “Call” to st
art dialing the number.
SYSTEM GUIDE
RECEIVING/ENDING A CALL
When you receive a phone call, a ring tone sounds through the audio syste\
m.
To accept the call, press the button.
To reject the call, press the button.
To hang-up the phone at the end of a call or to disconnect during call pl\
acement,
press the
button.
For more information, refer to the “Heater, air conditioner, audio and phone systems (section 4)” of your Owner’s
Manual or please visit www.nissanusa.com/bluetooth.
01
1700496_14b_Leaf_QRG_021114.indd 222/11/14 3:48 PM
To view detailed instructional videos regarding these and other features, please go to www.nissanownersinfo.mobi.
Page 25 of 27
23
RECEIVING/ENDING A CALL
To accept the call, press the button on the
steering wheel or touch the “Answer” key.
To reject the call, touch the “Reject Call” key.
To hang-up, press the button or touch the
“Hang Up” key.
For more information, refer to the “Bluetooth hands-free phone system
(section 7)” of your Navigation System Owner’s Manual or please visit
www.nissanusa.com/bluetooth.
NAVIGATION SYSTEM (if so equipped)
01 MAP/V OICE Button – Press to view your current location on the map screen. When you
press and hold, the system will repeat voice guidance.
02 MENU Button – Press to view a list of menus.
Destination
– Touch to enter a destination or press the button and when
prompted say “Navigation” then follow the commands to enter a destination.
Route – Touch to access guidance control functions such as guidance cancellation,
route priority or waypoint setting on the route.
Info – Touch to display the vehicle’s energy information, maintenance and charging
station information, current location, traffic information, voice recogn\
ition command list,
GPS position and navigation version.
Settings – Touch to customize the system to make it easier for you to use.
Phone – Touch to set useful functions for the Bluetooth® Hands-free Phone System.
CARWINGS – Touch to display information feeds. Settings for CARWINGS™ can also
be performed.
For more information, refer to your Navigation System Owner’s Manual.
02
01
1700496_14b_Leaf_QRG_021114.indd 232/11/14 3:48 PM
To view detailed instructional videos regarding these and other features, please go to www.nissanownersinfo.mobi.