2014 NISSAN GT-R USB
[x] Cancel search: USBPage 148 of 314
![NISSAN GT-R 2014 R35 Multi Function Display Owners Manual Example
Settings:
Select[Settings] to adjust the following set-
tings.
. Audio File Playback
Switch to the audio playback mode. This
item is displayed only when the USB
memory contains the audio files NISSAN GT-R 2014 R35 Multi Function Display Owners Manual Example
Settings:
Select[Settings] to adjust the following set-
tings.
. Audio File Playback
Switch to the audio playback mode. This
item is displayed only when the USB
memory contains the audio files](/manual-img/5/367/w960_367-147.png)
Example
Settings:
Select[Settings] to adjust the following set-
tings.
. Audio File Playback
Switch to the audio playback mode. This
item is displayed only when the USB
memory contains the audio files.
. Play Mode
Select the “Normal” or “1 Track Repeat” play
mode.
. 10 Key Search
Select [10 Key Search] to open the number
entry screen.
Input the number to be searched and select
[OK].
The specified folder/file will be played. .
Display
To adjust the image quality of the screen,
select the preferred adjustment items.
. DRC
DRC (Dynamic Range Compression) auto-
matically adjusts the soundtrack volume
level to maintain a more even sound to the
speakers.
. Audio
Select the preferred language for audio.
. Subtitle
Select the preferred language for subtitle.
. Display Mode
Select the “Normal”, “Wide”, “Cinema” or
“Full” mode.
BLUETOOTH®STREAMING AUDIO
Your vehicle is equipped with Bluetooth®
Streaming Audio. If you have a compatible
Bluetooth®device with streaming audio (A2DP
profile) , you can set up the wireless connection
between your Bluetooth
®device and the in-
vehicle audio system. This connection allows
you to listen to the audio from the Bluetooth
®
device using your vehicle speakers. It also may
allow basic control of the device for playing and
skipping audio files using the AVRCP Blue-
tooth
®profile. All Bluetooth®Devices do not
have the same level of controls for AVRCP.
Please consult the manual for your Bluetooth
®
Device for more details.
Once your Bluetooth®device is connected to
the in-vehicle audio system, it will automatically
reconnect whenever the device is present in the
vehicle and you select Bluetooth
®Audio from
your audio system. You do not need to manually
reconnect for each usage.
Regulatory information
FCC Regulatory information:
. CAUTION: To maintain compliance with
FCC’s RF exposure guidelines, use only
the supplied antenna. Unauthorized antenna,
modification, or attachments could damage
the transmitter and may violate FCC regula-
Audio system3-21
Page 151 of 314
3-24Audio system
.Shuffle
Choose “Shuffle OFF”, “Shuffle All Tracks”
and “Shuffle Group”.
. Repeat
Choose from “Repeat OFF”, “Repeat 1
Track”, “Repeat All Tracks” and “Repeat
Group”.
Bluetooth®settings
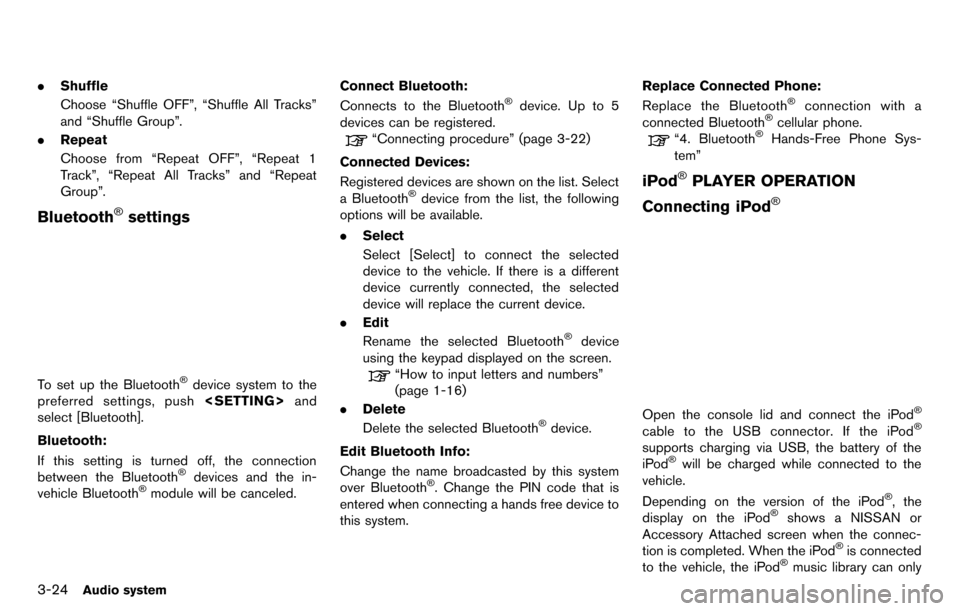
To set up the Bluetooth®device system to the
preferred settings, push
select [Bluetooth].
Bluetooth:
If this setting is turned off, the connection
between the Bluetooth
®devices and the in-
vehicle Bluetooth®module will be canceled. Connect Bluetooth:
Connects to the Bluetooth
®device. Up to 5
devices can be registered.
“Connecting procedure” (page 3-22)
Connected Devices:
Registered devices are shown on the list. Select
a Bluetooth
®device from the list, the following
options will be available.
. Select
Select [Select] to connect the selected
device to the vehicle. If there is a different
device currently connected, the selected
device will replace the current device.
. Edit
Rename the selected Bluetooth
®device
using the keypad displayed on the screen.
“How to input letters and numbers”
(page 1-16)
. Delete
Delete the selected Bluetooth
®device.
Edit Bluetooth Info:
Change the name broadcasted by this system
over Bluetooth
®. Change the PIN code that is
entered when connecting a hands free device to
this system. Replace Connected Phone:
Replace the Bluetooth
®connection with a
connected Bluetooth®cellular phone.
“4. Bluetooth®Hands-Free Phone Sys-
tem”
iPod®PLAYER OPERATION
Connecting iPod
®
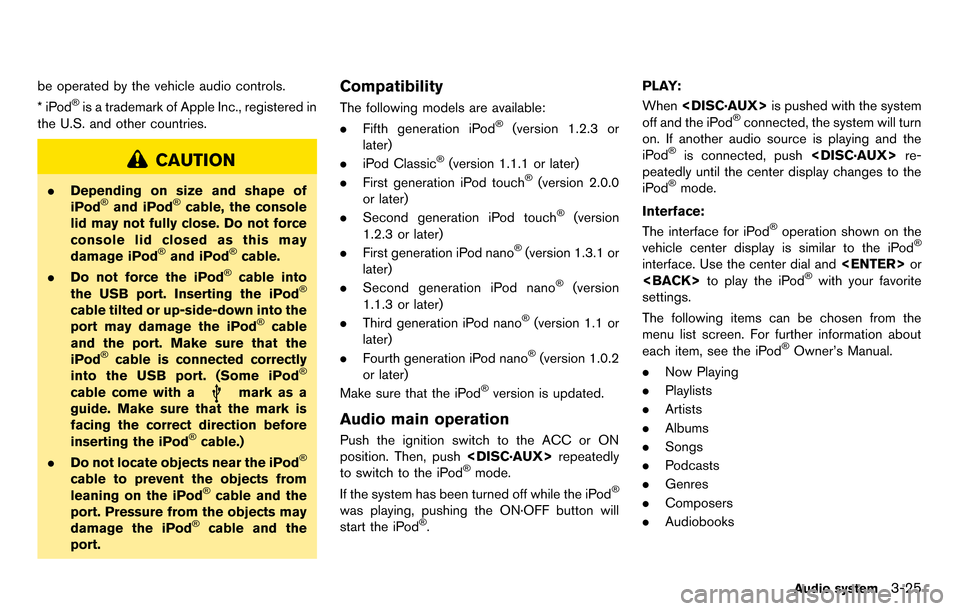
Open the console lid and connect the iPod®
cable to the USB connector. If the iPod®
supports charging via USB, the battery of the
iPod®will be charged while connected to the
vehicle.
Depending on the version of the iPod
®, the
display on the iPod®shows a NISSAN or
Accessory Attached screen when the connec-
tion is completed. When the iPod
®is connected
to the vehicle, the iPod®music library can only
Page 152 of 314
be operated by the vehicle audio controls.
*iPod®is a trademark of Apple Inc., registered in
the U.S. and other countries.
CAUTION
. Depending on size and shape of
iPod®and iPod®cable, the console
lid may not fully close. Do not force
console lid closed as this may
damage iPod
®and iPod®cable.
. Do not force the iPod®cable into
the USB port. Inserting the iPod®
cable tilted or up-side-down into the
port may damage the iPod®cable
and the port. Make sure that the
iPod
®cable is connected correctly
into the USB port. (Some iPod®
cable come with amark as a
guide. Make sure that the mark is
facing the correct direction before
inserting the iPod
®cable.)
. Do not locate objects near the iPod®
cable to prevent the objects from
leaning on the iPod®cable and the
port. Pressure from the objects may
damage the iPod
®cable and the
port.
Compatibility
The following models are available:
. Fifth generation iPod®(version 1.2.3 or
later)
. iPod Classic
®(version 1.1.1 or later)
. First generation iPod touch®(version 2.0.0
or later)
. Second generation iPod touch
®(version
1.2.3 or later)
. First generation iPod nano
®(version 1.3.1 or
later)
. Second generation iPod nano
®(version
1.1.3 or later)
. Third generation iPod nano
®(version 1.1 or
later)
. Fourth generation iPod nano
®(version 1.0.2
or later)
Make sure that the iPod
®version is updated.
Audio main operation
Push the ignition switch to the ACC or ON
position. Then, push
to switch to the iPod
®mode.
If the system has been turned off while the iPod®
was playing, pushing the ON·OFF button will
start the iPod®. PLAY:
When
off and the iPod
®connected, the system will turn
on. If another audio source is playing and the
iPod
®is connected, push
peatedly until the center display changes to the
iPod
®mode.
Interface:
The interface for iPod
®operation shown on the
vehicle center display is similar to the iPod®
interface. Use the center dial and
settings.
The following items can be chosen from the
menu list screen. For further information about
each item, see the iPod
®Owner’s Manual.
. Now Playing
. Playlists
. Artists
. Albums
. Songs
. Podcasts
. Genres
. Composers
. Audiobooks
Audio system3-25
Page 153 of 314
3-26Audio system
.Shuffle Songs
The following touch-panel buttons shown on the
screen are also available:
.
: returns to the previous screen.
.
: plays/pauses the music selected.
Next/Previous Track and Fast Forward/
Rewind:
When <
>or <>is pushed for more than
1.5 seconds while the iPod®is playing, the
iPod®will play while fast forwarding or rewind-
ing. When the button is released, the iPod®will
return to the normal play speed.
When <
>or <>is pushed for less than
1.5 seconds while the iPod®is playing, the next
track or the beginning of the current track on the
iPod
®will be played.
The center dial can also be used to select tracks
when the iPod
®is playing.
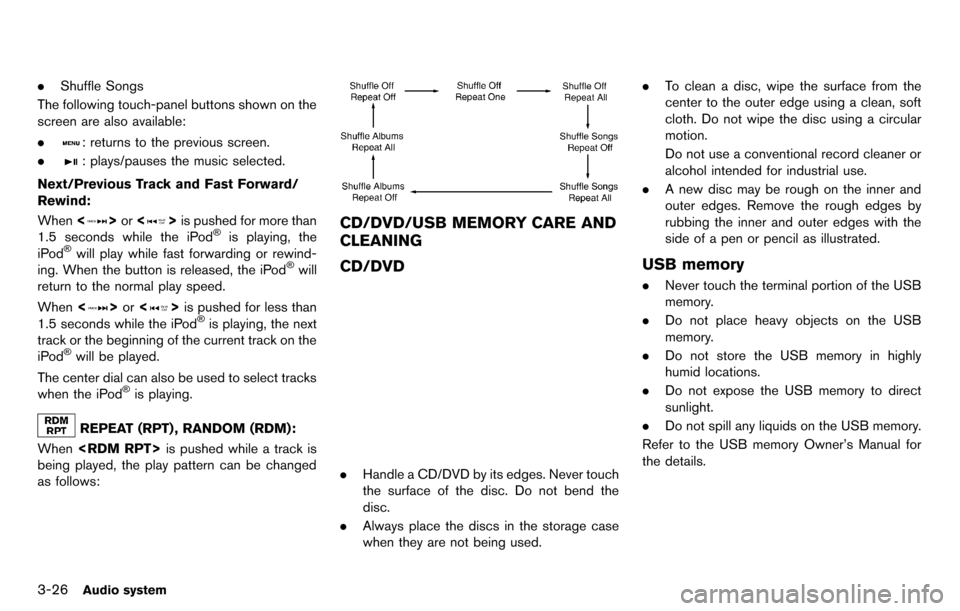
REPEAT (RPT) , RANDOM (RDM):
When
being played, the play pattern can be changed
as follows:
CD/DVD/USB MEMORY CARE AND
CLEANING
CD/DVD
. Handle a CD/DVD by its edges. Never touch
the surface of the disc. Do not bend the
disc.
. Always place the discs in the storage case
when they are not being used. .
To clean a disc, wipe the surface from the
center to the outer edge using a clean, soft
cloth. Do not wipe the disc using a circular
motion.
Do not use a conventional record cleaner or
alcohol intended for industrial use.
. A new disc may be rough on the inner and
outer edges. Remove the rough edges by
rubbing the inner and outer edges with the
side of a pen or pencil as illustrated.
USB memory
.Never touch the terminal portion of the USB
memory.
. Do not place heavy objects on the USB
memory.
. Do not store the USB memory in highly
humid locations.
. Do not expose the USB memory to direct
sunlight.
. Do not spill any liquids on the USB memory.
Refer to the USB memory Owner’s Manual for
the details.
Page 199 of 314
7-2Other settings
The navigation system can be customized to
make it easier for you to use.
BASIC OPERATION
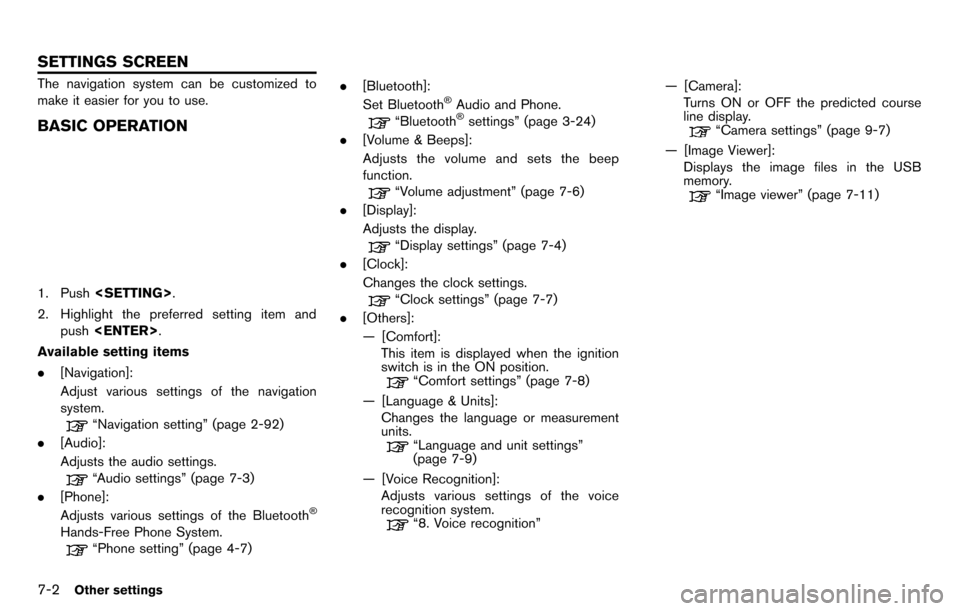
1. Push
2. Highlight the preferred setting item and push
Available setting items
. [Navigation]:
Adjust various settings of the navigation
system.
“Navigation setting” (page 2-92)
. [Audio]:
Adjusts the audio settings.
“Audio settings” (page 7-3)
. [Phone]:
Adjusts various settings of the Bluetooth
®
Hands-Free Phone System.
“Phone setting” (page 4-7) .
[Bluetooth]:
Set Bluetooth
®Audio and Phone.
“Bluetooth®settings” (page 3-24)
. [Volume & Beeps]:
Adjusts the volume and sets the beep
function.
“Volume adjustment” (page 7-6)
. [Display]:
Adjusts the display.
“Display settings” (page 7-4)
. [Clock]:
Changes the clock settings.
“Clock settings” (page 7-7)
. [Others]:
— [Comfort]:
This item is displayed when the ignition
switch is in the ON position.
“Comfort settings” (page 7-8)
— [Language & Units]: Changes the language or measurement
units.
“Language and unit settings”
(page 7-9)
— [Voice Recognition]: Adjusts various settings of the voice
recognition system.
“8. Voice recognition” — [Camera]:
Turns ON or OFF the predicted course
line display.
“Camera settings” (page 9-7)
— [Image Viewer]: Displays the image files in the USB
memory.
“Image viewer” (page 7-11)
SETTINGS SCREEN
Page 200 of 314
![NISSAN GT-R 2014 R35 Multi Function Display Owners Manual This allows to you adjust the speaker tone
quality and sound balance.
1. Push<SETTING>.
2. Highlight [Audio] and push <ENTER>.
3. Highlight the preferred adjustment item and push <ENTER>.
4. Use the c NISSAN GT-R 2014 R35 Multi Function Display Owners Manual This allows to you adjust the speaker tone
quality and sound balance.
1. Push<SETTING>.
2. Highlight [Audio] and push <ENTER>.
3. Highlight the preferred adjustment item and push <ENTER>.
4. Use the c](/manual-img/5/367/w960_367-199.png)
This allows to you adjust the speaker tone
quality and sound balance.
1. Push
2. Highlight [Audio] and push
3. Highlight the preferred adjustment item and push
4. Use the center dial to adjust the tone quality or sound balance.
5. After settings, push
6. Push
screen.
Push
Page 208 of 314
![NISSAN GT-R 2014 R35 Multi Function Display Owners Manual The image files in the USB memory will be
displayed.
1. Press<SETTING>.
2. Select [Others] and press <ENTER>.
3. Select [Image Viewer] and press <ENTER>.
The image of the selected file is displayed on NISSAN GT-R 2014 R35 Multi Function Display Owners Manual The image files in the USB memory will be
displayed.
1. Press<SETTING>.
2. Select [Others] and press <ENTER>.
3. Select [Image Viewer] and press <ENTER>.
The image of the selected file is displayed on](/manual-img/5/367/w960_367-207.png)
The image files in the USB memory will be
displayed.
1. Press
2. Select [Others] and press
3. Select [Image Viewer] and press
The image of the selected file is displayed on the
right side of the screen.
When a number of folders are included in the
USB memory, select a folder from the list and
push
FULL SCREEN DISPLAY
The full screen display will appear when select-
ing [Full Screen Display] and press
To operate the Image Viewer or to change the
settings, select the desired key.
.
(Start)
Select “
” and push
playing the slideshow.
.
(Stop)
Select “
” and push
the slideshow.
.
(Next)
Select “
” and push
display the next file.
.
(Previous)
Select “
” and push
display the previous file.
SETTING THE IMAGE VIEWER
The Image Viewer setting display will appear
when selecting [Settings] on the full screen
display and pushing
settings are available for the full screen display.
. Slideshow Speed
Choose [Slideshow Speed] and push
select the changing time from 5, 10, 30,
60 seconds or “No Auto Change”. .
Slideshow Order
Choose [Slideshow Order] and push
select “Random” or “Order List”.
Operating tips
.Only files that meet the following conditions
will be displayed.
— File format: JPEG (“.jpg” or “.jpeg”)
— File size: 2 MB or less
— Display size: 1,536 62,048 pixels or
less
. If an electronic device (such as a digital
camera) is directly connected to the vehicle
using a USB cable, no image will be
displayed on the screen.
. If the file name is too long, some file names
may not be entirely displayed.
Other settings7-11
IMAGE VIEWER
Page 230 of 314
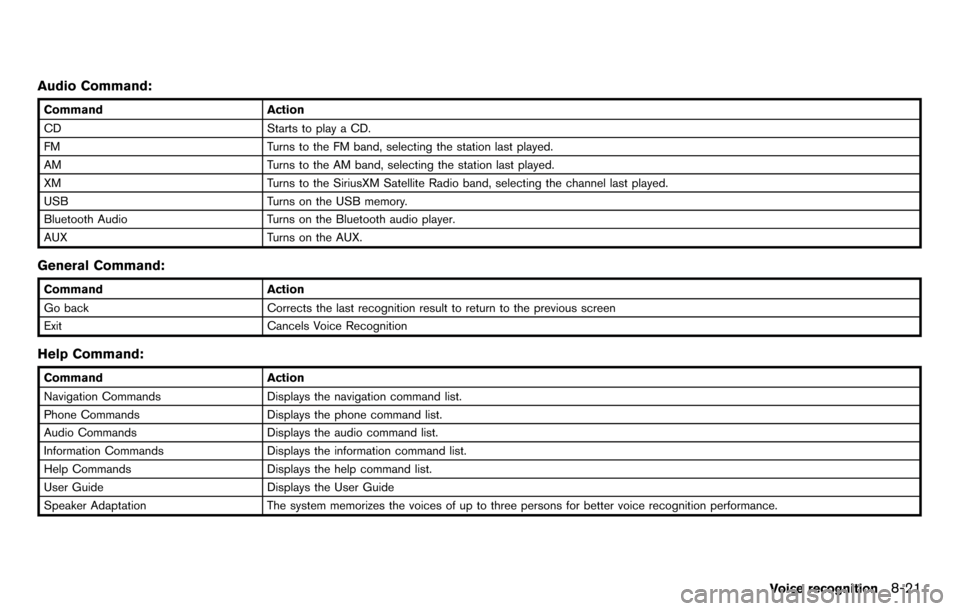
Audio Command:
CommandAction
CD Starts to play a CD.
FM Turns to the FM band, selecting the station last played.
AM Turns to the AM band, selecting the station last played.
XM Turns to the SiriusXM Satellite Radio band, selecting the channel last played.
USB Turns on the USB memory.
Bluetooth Audio Turns on the Bluetooth audio player.
AUX Turns on the AUX.
General Command:
CommandAction
Go back Corrects the last recognition result to return to the previous screen
Exit Cancels Voice Recognition
Help Command:
Command Action
Navigation Commands Displays the navigation command list.
Phone Commands Displays the phone command list.
Audio Commands Displays the audio command list.
Information Commands Displays the information command list.
Help Commands Displays the help command list.
User Guide Displays the User Guide
Speaker Adaptation The system memorizes the voices of up to three persons for better voice recognition performance.
Voice recognition8-21