2014 NISSAN GT-R change time
[x] Cancel search: change timePage 129 of 314
3-2Audio system
AUDIO OPERATION PRECAUTIONS
Radio
Push the ignition switch to the ACC or ON
position and push the radio band select button
to turn on the radio. If you listen to the radio with
the engine not running, the ignition switch
should be pushed to the ACC position.
Radio reception is affected by station signal
strength, distance from radio transmitter, build-
ings, bridges, mountains and other external
influences. Intermittent changes in reception
quality normally are caused by these external
influences.
Using a cellular phone in or near the
vehicle may influence radio reception
quality.
Radio reception:
Your NISSAN radio system is equipped with
state-of-the-art electronic circuits to enhance
radio reception. These circuits are designed to
extend reception range, and to enhance the
quality of that reception.
However there are some general characteristics
of both FM and AM radio signals that can affect
radio reception quality in a moving vehicle, even
when the finest equipment is used. These
characteristics are completely normal in a givenreception area, and do not indicate any mal-
function in your NISSAN radio system.
Reception conditions will constantly change
because of vehicle movement. Buildings, terrain,
signal distance and interference from other
vehicles can work against ideal reception.
Described below are some of the factors that
can affect your radio reception.
Some cellular phones or other devices may
cause interference or a buzzing noise to come
from the audio system speakers. Storing the
device in a different location may reduce or
eliminate the noise.
FM radio reception:
Range: FM range is normally limited to 25 to 30
miles (40 to 48 km) , with monaural (single
channel) FM having slightly more range than
stereo FM. External influences may sometimes
interfere with FM station reception even if the
FM station is within 25 miles (40 km). The
strength of the FM signal is directly related to the
distance between the transmitter and receiver.
FM signals follow a line-of-sight path, exhibiting
many of the same characteristics as light. For
example they will reflect off objects.
Fade and drift: As your vehicle moves away from
a station transmitter, the signals will tend to fade
and/or drift.
Static and flutter: During signal interference from
buildings, large hills or due to antenna position,
usually in conjunction with increased distance
from the station transmitter, static or flutter can
be heard. This can be reduced by lowering the
treble setting to reduce the treble response.
Multipath reception: Because of the reflective
characteristics of FM signals, direct and re-
flected signals reach the receiver at the same
time. The signals may cancel each other,
resulting in momentary flutter or loss of sound.
AUDIO SYSTEM
Page 130 of 314
AM radio reception:
AM signals, because of their low frequency, can
bend around objects and skip along the ground.
In addition, the signals can be bounced off the
ionosphere and bent back to earth. Because of
these characteristics. AM signals are also
subject to interference as they travel from
transmitter to receiver.
Fading: Occurs while the vehicle is passing
through freeway underpasses or in areas with
many tall buildings. It can also occur for several
seconds during ionospheric turbulence even in
areas where no obstacles exist.
Static: Caused by thunderstorms, electrical
power lines, electric signs and even traffic lights.
Satellite radio reception:
When the satellite radio is used for the first time
or the battery has been replaced, the satellite
radio may not work properly. This is not a
malfunction. Wait more than 10 minutes with the
satellite radio ON and the vehicle outside of any
metal or large building for the satellite radio to
receive all of the necessary data.
The satellite radio mode requires an active
SiriusXM Satellite Radio subscription. The sa-
tellite radio is not available in Alaska, Hawaii and
Guam.
The satellite radio performance may be affectedif cargo carried on the roof blocks the satellite
radio signal.
If possible, do not put cargo near the satellite
antenna.
A build up of ice on the satellite radio antenna
can affect satellite radio performance. Remove
the ice to restore satellite radio reception.Compact Disc (CD) player
.
Do not force a compact disc into the CD
insert slot. This could damage the CD and/
or CD changer/player.
. Trying to load a CD with the CD door closed
could damage the CD and/or CD changer.
Audio system3-3
Page 142 of 314
After loading the CD, the number of tracks on
the CD and the play time will appear on the
display.
If the radio is already operating, it will auto-
matically turn off and the CD will play.
If the system has been turned off while the CD
was playing, pushing the ON·OFF button will
start the CD.
Do not use 3.1 in (8 cm) discs.
PLAY:
When
off and the CD loaded, the system will turn on
and the CD will start to play.
When
loaded and the radio playing, the radio will
automatically be turned off and the CD will start
to play.
Menu:
When [Menu] on the display is selected while
the CD is being played, the menu screen will be
displayed. The following menu options are
available.
. Folder List (for CD with compressed audio
files)
Displays the folder list. .
Track List
Displays the track list.
. Play Mode
Select a play mode from the following items.
— Normal
— 1 Folder Repeat (for CD with com-
pressed audio files)
— 1 Track Repeat
— 1 Disc Random
— 1 Folder Random (for CD with com- pressed audio files)
Next/Previous Track and Fast Forward/
Rewind:
When <
>(fast forward) or <>(rewind)
is pushed for more than 1.5 seconds while the
CD is being played, the CD will play while fast
forwarding or rewinding. When the button is
released, the CD will return to normal play
speed.
When <
>or <>is pushed for less than
1.5 seconds while the CD is being played, the
next track or the beginning of the current track
on the CD will be played.
REPEAT (RPT) , RANDOM (RDM):
When
played, the play pattern can be changed as
follows:
(CD)
(CD with compressed audio files)
CD EJECT:
When the CD EJECT button is pushed with the
CD loaded, the CD will be ejected.
When this button is pushed while the CD is
being played, the CD will be ejected.
If the CD comes out and is not removed, it
will be pulled back into the slot to protect
it.
Audio system3-15
Page 143 of 314
3-16Audio system
DVD (Digital Versatile Disc) PLAYER
OPERATION
Precautions
Start the engine when using the DVD entertain-
ment system.
Movies will not be shown on the front display
while the vehicle is in any drive position to
reduce driver distraction. Audio is available
when a movie is played. To view movies in the
front display, stop the vehicle in a safe location,
move the shift lever to the P (Park) position and
apply the parking brake.
WARNING
.The driver must not attempt to
operate the DVD system or wear
the headphones while the vehicle is
in motion so that full attention may
be given to vehicle operation.
. Do not attempt to modify the system
to display a movie on the front
screen while the vehicle is being
driven. Doing so may distract the
driver and may cause a collision and
serious personal injury or death.
CAUTION
.Only operate the DVD while the
vehicle engine is running. Operating
the DVD for extended periods of
time with the engine OFF can dis-
charge the vehicle battery.
. Do not allow the system to get wet.
Excessive moisture such as spilled
liquids may cause the system to
malfunction.
. While playing VIDEO-CD media, this
DVD player does not guarantee
complete functionality of all VI-
DEO-CD formats.
Display settings
To adjust the front display mode, push
select [Others] and then select [Display].
To adjust the display ON/OFF, brightness, tint,
color and contrast, select [Display Adjustment]
and then select each key.
Then you can adjust each item using the center
dial. After changes have been made push
Playing a DVD
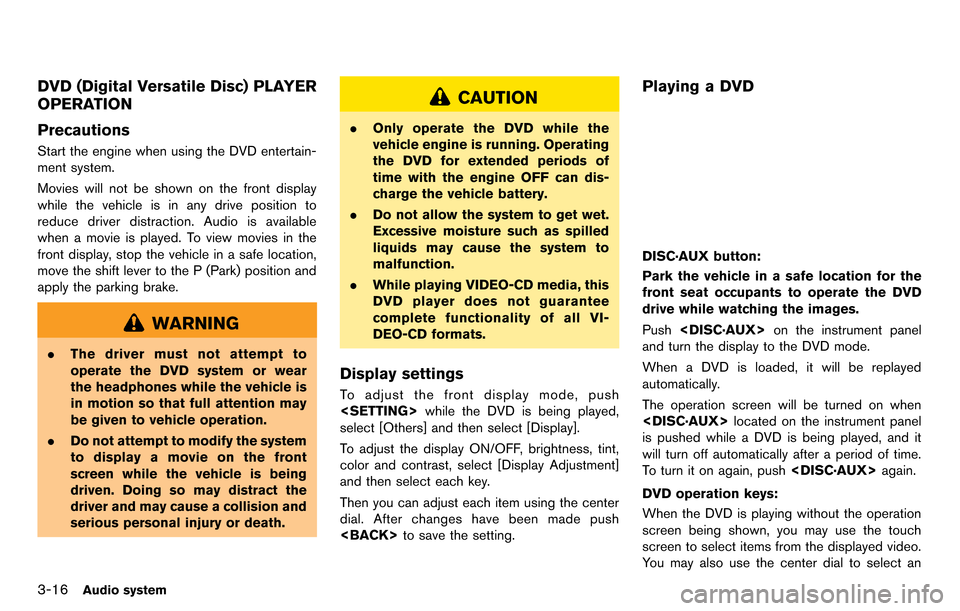
DISC·AUX button:
Park the vehicle in a safe location for the
front seat occupants to operate the DVD
drive while watching the images.
Push
and turn the display to the DVD mode.
When a DVD is loaded, it will be replayed
automatically.
The operation screen will be turned on when
is pushed while a DVD is being played, and it
will turn off automatically after a period of time.
To turn it on again, push
DVD operation keys:
When the DVD is playing without the operation
screen being shown, you may use the touch
screen to select items from the displayed video.
You may also use the center dial to select an
Page 144 of 314
![NISSAN GT-R 2014 R35 Multi Function Display Owners Manual item from the displayed video. When the
operation screen is being shown, use the center
dial or touch screen to select an item from the
displayed menus.
PAUSE:
Select [
]to pause the DVD. To resume
pl NISSAN GT-R 2014 R35 Multi Function Display Owners Manual item from the displayed video. When the
operation screen is being shown, use the center
dial or touch screen to select an item from the
displayed menus.
PAUSE:
Select [
]to pause the DVD. To resume
pl](/manual-img/5/367/w960_367-143.png)
item from the displayed video. When the
operation screen is being shown, use the center
dial or touch screen to select an item from the
displayed menus.
PAUSE:
Select [
]to pause the DVD. To resume
playing the DVD, use [PLAY].
PLAY:
Select [
]to start playing the DVD, for
example, after pausing the DVD.
STOP:
Select [
]to stop playing the DVD.
/Next/Previous Chapter:
Select [
]or []to skip the chapter(s) of
the disc forward/backward. The chapters will
advance/go back the number of times this key is
selected.
/Commercial Skip:
This function is only for DVD-VIDEO, DVD-VR.
Select [
]or []to skip forward or
backwards by the set amount as defined in the
DVD Settings menu. Top Menu:
When
[Top Menu] is selected in the screen
while a DVD is being played, the top menu
specific to each disc will be displayed. For
details, see the instructions on the disc.
DVD settings
ExampleSelect [Settings] to adjust the following settings.
Key (DVD-VIDEO):
Keys for the DVD menu operation are displayed.
: Move the cursor to select a DVD menu.
Enter: Enter the selected menu.
Move: Change the display location by moving
the operation key.
Back: Return to the previous screen.
Hide: Hide the operation key. Title Menu (DVD-VIDEO):
Some menus specific to each disc will be
shown. For details, see the instructions on the
disc.
Title Search (DVD-VIDEO, DVD-VR):
The scene with the specified title will be
displayed each time the [+] side or [−] side is
selected.
Group Search (VIDEO CD):
A scene in the specified group will be displayed
each time the [+] side or [−] side is selected.
10 Key Search (DVD-VIDEO, VIDEO-CD,CD-
DA, DVD-VR):
Select [10 Key Search] to open the number
entry screen. Input the number to be searched
and select [OK]. The specified Title/Chapter or
Group/Track will be played.
Select No. (VIDEO-CD):
Select [Select No.] to open the number entry
screen. Input the number to be searched and
select [OK]. The specified scene will be played.
Angle (DVD-VIDEO):
If the DVD contains different angles (such as
moving images), the current image angle can be
switched to another one. Select [Angle]. The
angle will change each time the [+] side or [−]
side is selected.
Audio system3-17
Page 145 of 314
3-18Audio system
Angle Mark (DVD-VIDEO):
When this item is turned on, an angle mark will
be shown on the bottom of the screen if the
scene can be seen from a different angle.
Menu Skip (DVD-VIDEO):
DVD menus are automatically configured and
the contents will be played directly when [Menu
Skip] is turned on. Note that some discs may not
be played directly even if this item is turned on.
CM Skip (DVD-VIDEO):
Select [CM Skip]. Choose the setting time from
15, 30 or 60 seconds by selecting the [+] side
or [−] side.
DRC (DVD-VIDEO, DVD-VR):
DRC (Dynamic Range Compression) automati-
cally adjusts the soundtrack volume level to
maintain a more even sound to the speakers.
DVD Language (DVD-VIDEO, VIDEO-CD):
Select [DVD Language] to open the number
entry screen. Input the number corresponding to
the preferred language and select [OK]. The
DVD top menu language will be changed to the
one specified.Display:
To adjust the image quality of the screen, select
the preferred adjustment items.
Audio:
Select the preferred language for audio.
Subtitle (DVD-VIDEO, DVD-VR):
Select the preferred language for subtitles.
Display Mode (DVD-VIDEO, VIDEO-CD,
DVD-VR):
Select from the “Full”, “Wide”, “Normal” or
“Cinema” modes.
Title List (DVD-VR):
Select the preferred title from the list.
Play Mode:
Select the preferred play mode.
PG/PL Mode (DVD-VR):
Select the “PG” or “PL” mode.USB MEMORY OPERATION
Audio main operation
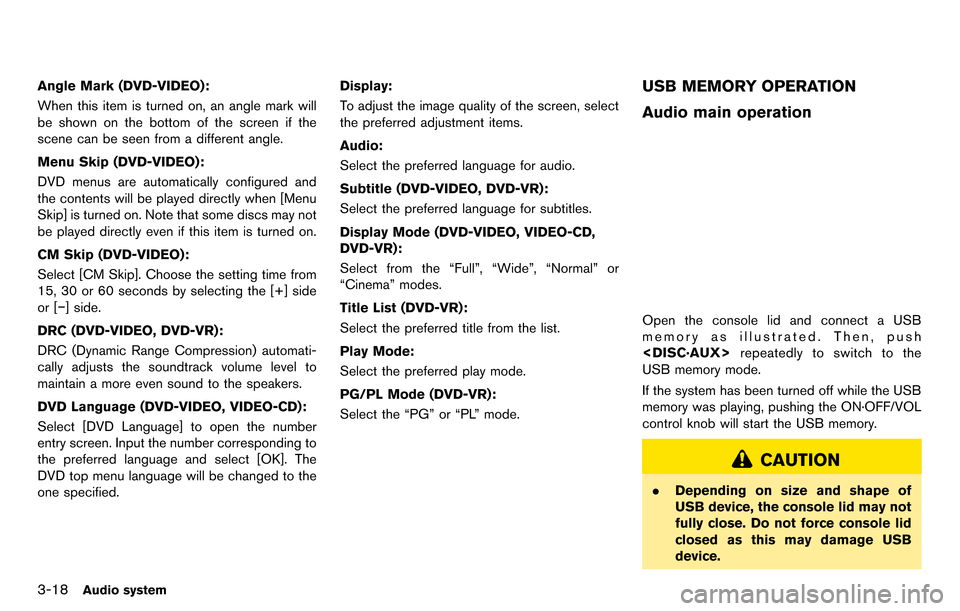
Open the console lid and connect a USB
memory as illustrated. Then, push
repeatedly to switch to the
USB memory mode.
If the system has been turned off while the USB
memory was playing, pushing the ON·OFF/VOL
control knob will start the USB memory.
CAUTION
. Depending on size and shape of
USB device, the console lid may not
fully close. Do not force console lid
closed as this may damage USB
device.
Page 147 of 314
3-20Audio system
Menu:
There are some options available during play-
back. Select one of the following options that
are displayed on the screen if necessary. Refer
to the following information for each item.
.Movie Playback
Switch to the movie playback mode. This
item is displayed only when a USB memory
contains movie files.
. Folder List/Track List
Displays the folder or track list. [Movie
Playback] is also displayed in this list screen,
and enables switching to the movie playback
mode.
. Play Mode
Select the preferred play mode.
Movie file operation
Park the vehicle in a safe location for the
front seat occupants to operate the USB
memory while watching the images.
PLAY:
When
off and the USB memory inserted, the system
will turn on.
If another audio source is playing and a USB
memory is inserted, push
peatedly until the center display changes to the
USB memory mode.
Operation keys:
To operate the USB memory, select the desired
key displayed on the operation screen using the
center dial.
Pause
Select [
]to pause the movie file. To resume
playing the movie file, select [
].
Play
Select [
]to start playing a movie file, for
example, after pausing a movie file.
STOP
Select [
]to stop playing a movie file.
Skip (Next chapter)
Select [
]to skip the chapter(s) of the disc
forward. The chapters will advance the number
of times
Skip (Previous chapter)
Select [
]to skip the chapter(s) of the disc
backward. The chapters will go back the number
of times [
]is selected.
List:
Select [List] on the movie file operation screen
to display the file list.
Page 175 of 314
6-2Viewing technical information
By pushing
screen with audio information that is always at
the top can be displayed.
Each time
part of the screen changes between air condi-
tioner, fuel economy and navigation directions.
INFO:
There are different status screens displayed
depending on various factors, such as the
currently active mode, whether a destination
has been set or not, etc.
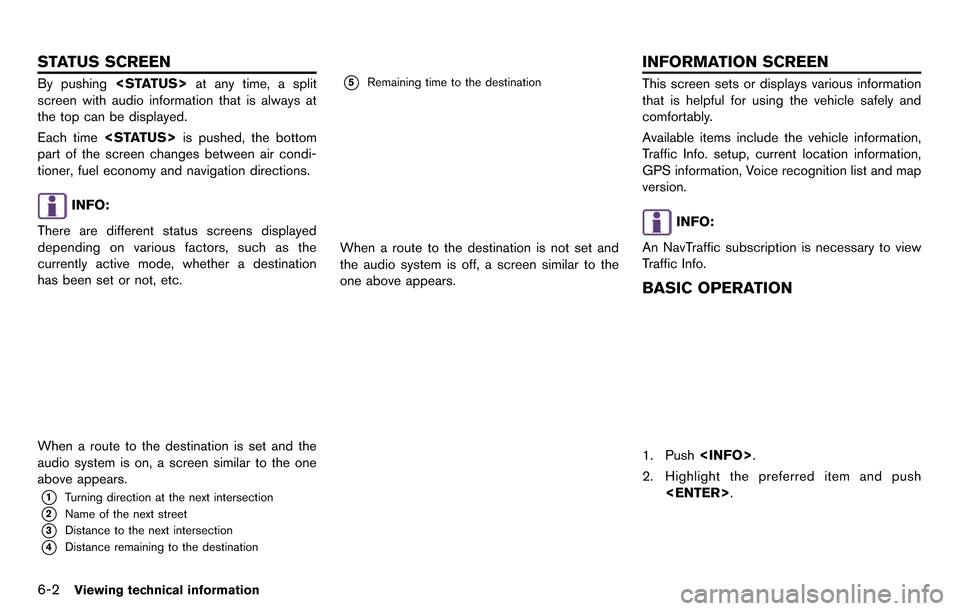
When a route to the destination is set and the
audio system is on, a screen similar to the one
above appears.
*1Turning direction at the next intersection
*2Name of the next street
*3Distance to the next intersection
*4Distance remaining to the destination
*5Remaining time to the destination
When a route to the destination is not set and
the audio system is off, a screen similar to the
one above appears.
This screen sets or displays various information
that is helpful for using the vehicle safely and
comfortably.
Available items include the vehicle information,
Traffic Info. setup, current location information,
GPS information, Voice recognition list and map
version.
INFO:
An NavTraffic subscription is necessary to view
Traffic Info.
BASIC OPERATION
1. Push
2. Highlight the preferred item and push
STATUS SCREEN INFORMATION SCREEN