2014 NISSAN GT-R buttons
[x] Cancel search: buttonsPage 74 of 314
![NISSAN GT-R 2014 R35 Multi Function Display Owners Manual 1. Highlight [Move Location] and push<ENTER>.
INFO:
The screen for adjusting the location also
changes by touching the map screen dis-
played on the right side of the screen.
2. Adjust the location by NISSAN GT-R 2014 R35 Multi Function Display Owners Manual 1. Highlight [Move Location] and push<ENTER>.
INFO:
The screen for adjusting the location also
changes by touching the map screen dis-
played on the right side of the screen.
2. Adjust the location by](/manual-img/5/367/w960_367-73.png)
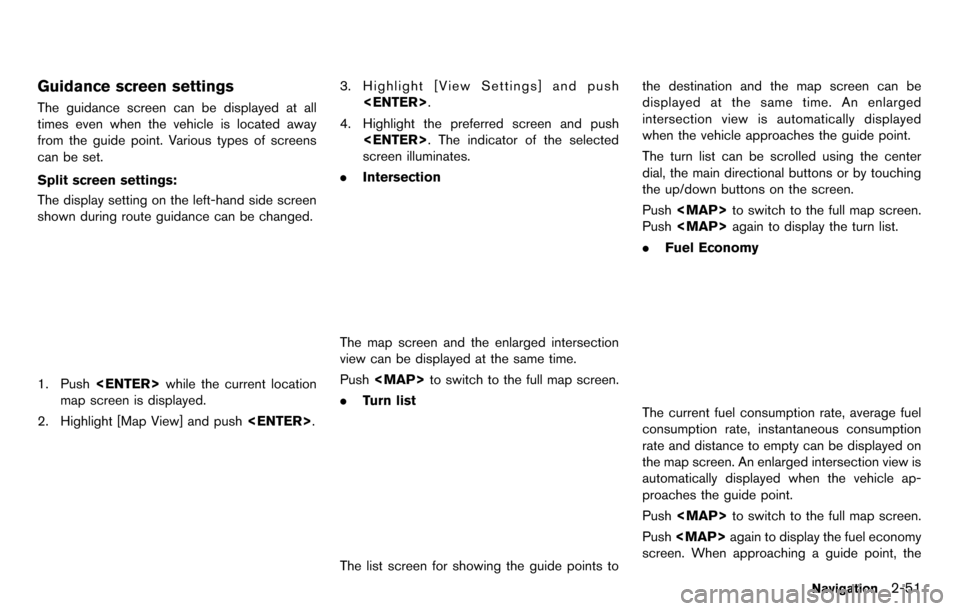
1. Highlight [Move Location] and push
INFO:
The screen for adjusting the location also
changes by touching the map screen dis-
played on the right side of the screen.
2. Adjust the location by moving the cross pointer across the map and push
is modified.
INFO:
Even if the map screen is touched or the
directional buttons other than the up or down
button are operated, the same map screen as
when [Move Location] is selected is displayed.
Storing location
A searched location can be stored in the
Address Book. Then it can be easily retrieved
and set as a destination (or waypoint).
1. Highlight [Store Location] and push
2. The location is stored in the Address Book.The corresponding icon is displayed at the
set location on the map.
Viewing information about searched
location
Information (street address and phone number)
about places stored in the map data can be
displayed.
1. Select [Place Info] and push
Navigation2-47
Page 78 of 314

Guidance screen settings
The guidance screen can be displayed at all
times even when the vehicle is located away
from the guide point. Various types of screens
can be set.
Split screen settings:
The display setting on the left-hand side screen
shown during route guidance can be changed.
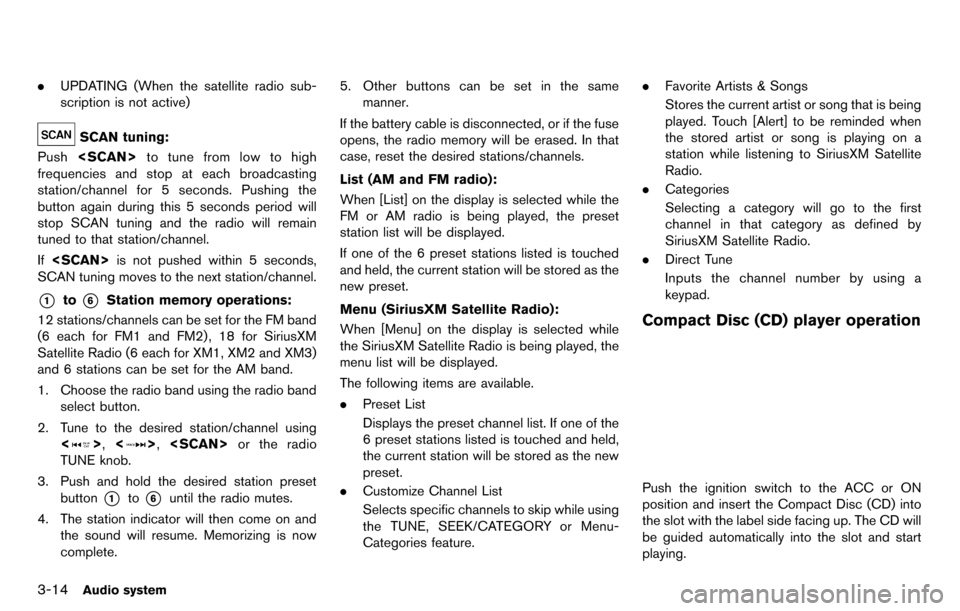
1. Push
map screen is displayed.
2. Highlight [Map View] and push
3. Highlight [View Settings] and push
4. Highlight the preferred screen and push
screen illuminates.
. Intersection
The map screen and the enlarged intersection
view can be displayed at the same time.
Push
Page 88 of 314
![NISSAN GT-R 2014 R35 Multi Function Display Owners Manual Available setting items
.[Turn List]:
Displays the details of the suggested route.
“Using turn list” (page 2-61)
. [Preview]:
The system will trace the planned route
going forward or in reverse.
� NISSAN GT-R 2014 R35 Multi Function Display Owners Manual Available setting items
.[Turn List]:
Displays the details of the suggested route.
“Using turn list” (page 2-61)
. [Preview]:
The system will trace the planned route
going forward or in reverse.
�](/manual-img/5/367/w960_367-87.png)
Available setting items
.[Turn List]:
Displays the details of the suggested route.
“Using turn list” (page 2-61)
. [Preview]:
The system will trace the planned route
going forward or in reverse.
“Using route preview” (page 2-61)
. [Simulation]:
Displays a simulation of the suggested
route. This function provides a detailed
image of the route with voice guidance.
“Confirming route by simulation”
(page 2-62)
. [Store Route]:
Stores a calculated route. A maximum of 5
routes can be stored. Stored routes can be
easily retrieved and set as the suggested
route.
“Storing route” (page 2-75)
. [Map Scroll]:
Displays a map screen where the location of
the destination can be confirmed.
Even if the map screen is touched or
directional buttons other than the up or
down button are pushed, the same map
screen as when [Map Scroll] is selected is
displayed. Using turn list:
1. Highlight [Turn List] and push
2. The information (e.g., intersections) can be confirmed on the route to the destination by
scrolling the screen using the up and down
switches of the main directional buttons or
the center dial.
3. Push
location map screen. Using route preview:1. Highlight [Preview] and push
2. Highlight the preferred key and push
: Moves forward in the direction of thedestination.
: Moves backward in the direction of thestarting point.
/: Pauses the route preview.
3. Push
location map screen.
Navigation2-61
Page 98 of 314
![NISSAN GT-R 2014 R35 Multi Function Display Owners Manual 1. Push<SETTING>.
2. Highlight [Navigation] and push <ENTER>.
3. Highlight [Guidance Settings] and push <ENTER>.
4. Highlight [Others] and push <ENTER>.
5. Highlight [Set Average Speeds] and push <ENT NISSAN GT-R 2014 R35 Multi Function Display Owners Manual 1. Push<SETTING>.
2. Highlight [Navigation] and push <ENTER>.
3. Highlight [Guidance Settings] and push <ENTER>.
4. Highlight [Others] and push <ENTER>.
5. Highlight [Set Average Speeds] and push <ENT](/manual-img/5/367/w960_367-97.png)
1. Push
2. Highlight [Navigation] and push
3. Highlight [Guidance Settings] and push
4. Highlight [Others] and push
5. Highlight [Set Average Speeds] and push
6. Highlight the preferred item and push
7. Use the main directional buttons or the center dial to make an adjustment. The
speed can be increased/decreased by 5
MPH (5 km/h).
8. After finishing the setting, push
or
9. Push
screen. Push
current location map screen.Available setting items
. [Auto]:
If set to ON, the system automatically
calculates the required time to the destina-
tion, the indicator illuminates and the speed
settings cannot be changed.
. [Freeway]:
Adjust the average vehicle speed on a
freeway by moving the main directional
buttons or the center dial in the direction
of [+] or [−].
. [Main Road]:
Adjust the average vehicle speed on a main
road by moving the main directional buttons
or the center dial in the direction of [+] or
[−].
. [Town Road]:
Adjust the average vehicle speed on a town
road by moving the main directional buttons
or the center dial in the direction of [+] or
[−].
. [Residential]:
Adjust the average vehicle speed in a
residential area by moving the main direc-
tional buttons or the center dial in the
direction of [+] or [−]. .
[Reset]:
Sets the average vehicle speeds to the
default values.
Navigation2-71
Page 141 of 314

3-14Audio system
.UPDATING (When the satellite radio sub-
scription is not active)
SCAN tuning:
Push
frequencies and stop at each broadcasting
station/channel for 5 seconds. Pushing the
button again during this 5 seconds period will
stop SCAN tuning and the radio will remain
tuned to that station/channel.
If
SCAN tuning moves to the next station/channel.
*1to*6Station memory operations:
12 stations/channels can be set for the FM band
(6 each for FM1 and FM2) , 18 for SiriusXM
Satellite Radio (6 each for XM1, XM2 and XM3)
and 6 stations can be set for the AM band.
1. Choose the radio band using the radio band select button.
2. Tune to the desired station/channel using <
>, <>,
TUNE knob.
3. Push and hold the desired station preset button
*1to*6until the radio mutes.
4. The station indicator will then come on and the sound will resume. Memorizing is now
complete. 5. Other buttons can be set in the same
manner.
If the battery cable is disconnected, or if the fuse
opens, the radio memory will be erased. In that
case, reset the desired stations/channels.
List (AM and FM radio):
When [List] on the display is selected while the
FM or AM radio is being played, the preset
station list will be displayed.
If one of the 6 preset stations listed is touched
and held, the current station will be stored as the
new preset.
Menu (SiriusXM Satellite Radio):
When [Menu] on the display is selected while
the SiriusXM Satellite Radio is being played, the
menu list will be displayed.
The following items are available.
. Preset List
Displays the preset channel list. If one of the
6 preset stations listed is touched and held,
the current station will be stored as the new
preset.
. Customize Channel List
Selects specific channels to skip while using
the TUNE, SEEK/CATEGORY or Menu-
Categories feature. .
Favorite Artists & Songs
Stores the current artist or song that is being
played. Touch [Alert] to be reminded when
the stored artist or song is playing on a
station while listening to SiriusXM Satellite
Radio.
. Categories
Selecting a category will go to the first
channel in that category as defined by
SiriusXM Satellite Radio.
. Direct Tune
Inputs the channel number by using a
keypad.
Compact Disc (CD) player operation
Push the ignition switch to the ACC or ON
position and insert the Compact Disc (CD) into
the slot with the label side facing up. The CD will
be guided automatically into the slot and start
playing.
Page 153 of 314

3-26Audio system
.Shuffle Songs
The following touch-panel buttons shown on the
screen are also available:
.
: returns to the previous screen.
.
: plays/pauses the music selected.
Next/Previous Track and Fast Forward/
Rewind:
When <
>or <>is pushed for more than
1.5 seconds while the iPod®is playing, the
iPod®will play while fast forwarding or rewind-
ing. When the button is released, the iPod®will
return to the normal play speed.
When <
>or <>is pushed for less than
1.5 seconds while the iPod®is playing, the next
track or the beginning of the current track on the
iPod
®will be played.
The center dial can also be used to select tracks
when the iPod
®is playing.
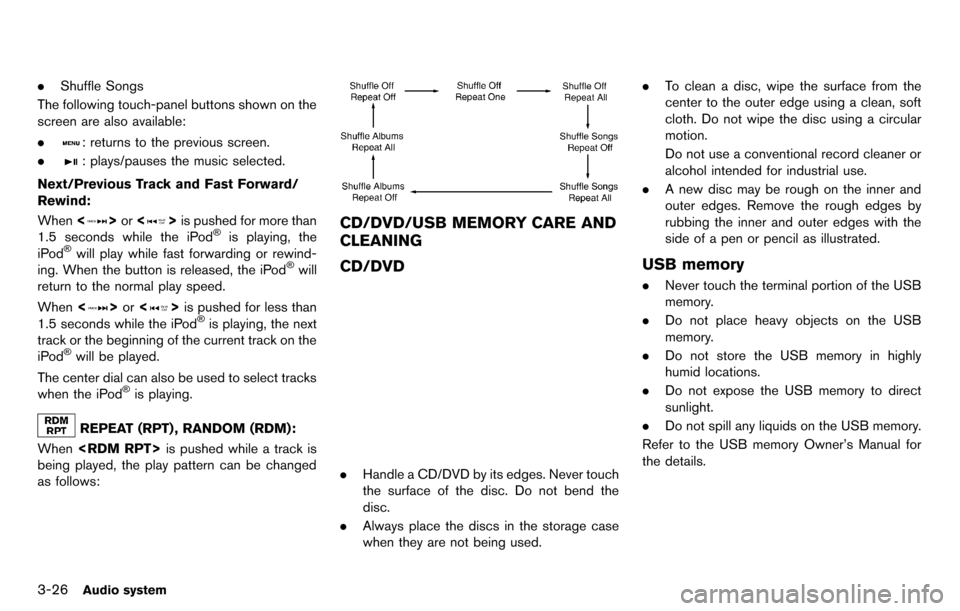
REPEAT (RPT) , RANDOM (RDM):
When
being played, the play pattern can be changed
as follows:
CD/DVD/USB MEMORY CARE AND
CLEANING
CD/DVD
. Handle a CD/DVD by its edges. Never touch
the surface of the disc. Do not bend the
disc.
. Always place the discs in the storage case
when they are not being used. .
To clean a disc, wipe the surface from the
center to the outer edge using a clean, soft
cloth. Do not wipe the disc using a circular
motion.
Do not use a conventional record cleaner or
alcohol intended for industrial use.
. A new disc may be rough on the inner and
outer edges. Remove the rough edges by
rubbing the inner and outer edges with the
side of a pen or pencil as illustrated.
USB memory
.Never touch the terminal portion of the USB
memory.
. Do not place heavy objects on the USB
memory.
. Do not store the USB memory in highly
humid locations.
. Do not expose the USB memory to direct
sunlight.
. Do not spill any liquids on the USB memory.
Refer to the USB memory Owner’s Manual for
the details.
Page 156 of 314

4 Bluetooth®Hands-Free Phone System
Bluetooth®Hands-Free Phone System ............................... 4-2
Regulatory information ........................................................ 4-3
Voice commands .................................................................. 4-3
Control buttons .................................................................... 4-4
Connecting procedure........................................................ 4-4
Phone selection .................................................................... 4-4 Quick Dial ........................................................................\
.... 4-4
Making a call ....................................................................... 4-6
Receiving a call .................................................................. 4-6
During a call ........................................................................\
4-7
Phone setting ...................................................................... 4-7
Page 159 of 314
![NISSAN GT-R 2014 R35 Multi Function Display Owners Manual 4-4Bluetooth®Hands-Free Phone System
CONTROL BUTTONS
&1PHONE button
&2button
CONNECTING PROCEDURE
1. Push<PHONE> or<>, and select
[Connect Phone].
2. When a PIN code appears on the screen, operate th NISSAN GT-R 2014 R35 Multi Function Display Owners Manual 4-4Bluetooth®Hands-Free Phone System
CONTROL BUTTONS
&1PHONE button
&2button
CONNECTING PROCEDURE
1. Push<PHONE> or<>, and select
[Connect Phone].
2. When a PIN code appears on the screen, operate th](/manual-img/5/367/w960_367-158.png)
4-4Bluetooth®Hands-Free Phone System
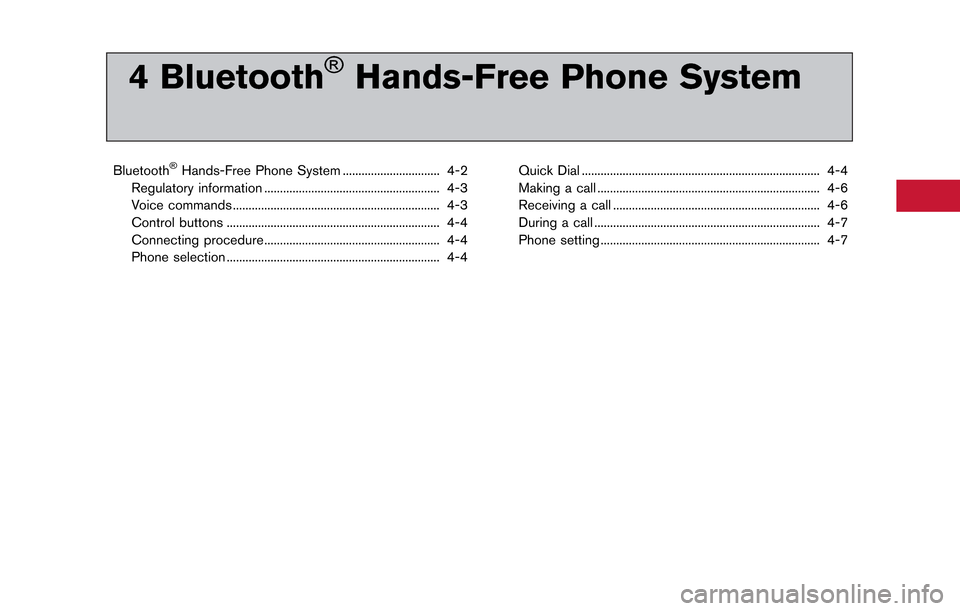
CONTROL BUTTONS
&1PHONE button
&2button
CONNECTING PROCEDURE
1. Push
[Connect Phone].
2. When a PIN code appears on the screen, operate the compatible Bluetooth®cellular
phone to enter the PIN code.
The connecting procedure of the cellular
phone varies according to each cellular
phone. See the cellular phone Owner’s
Manual for the details. You can also visit
www.nissanusa.com/bluetooth or call NISSAN Consumer Affairs Department for
instructions on pairing NISSAN recom-
mended cellular phones.
When the connection process is completed,
the screen will return to the Phone menu
display.
PHONE SELECTION
Up to 5 cellular phones can be registered to the
system. To switch to connect another cellular
phone, push
Phone]. The registered cellular phones are
shown on the list. If you select a cellular phone
that is different from the one currently con-
nected, the newly selected phone will be
connected to the system.
QUICK DIAL
This vehicle has two phonebooks available for
hands-free use. Depending on the phone, the
system may automatically download the entire
cell phone’s phonebook into the “Phonebook”.
“Phone setting” (page 4-7)
If a phonebook does not automatically down-
load, the quick dial may be set for up to 1,000
entries. This phonebook allows the recording of
a name to speak while using voice recognition.