2014 NISSAN ALTIMA display
[x] Cancel search: displayPage 310 of 428
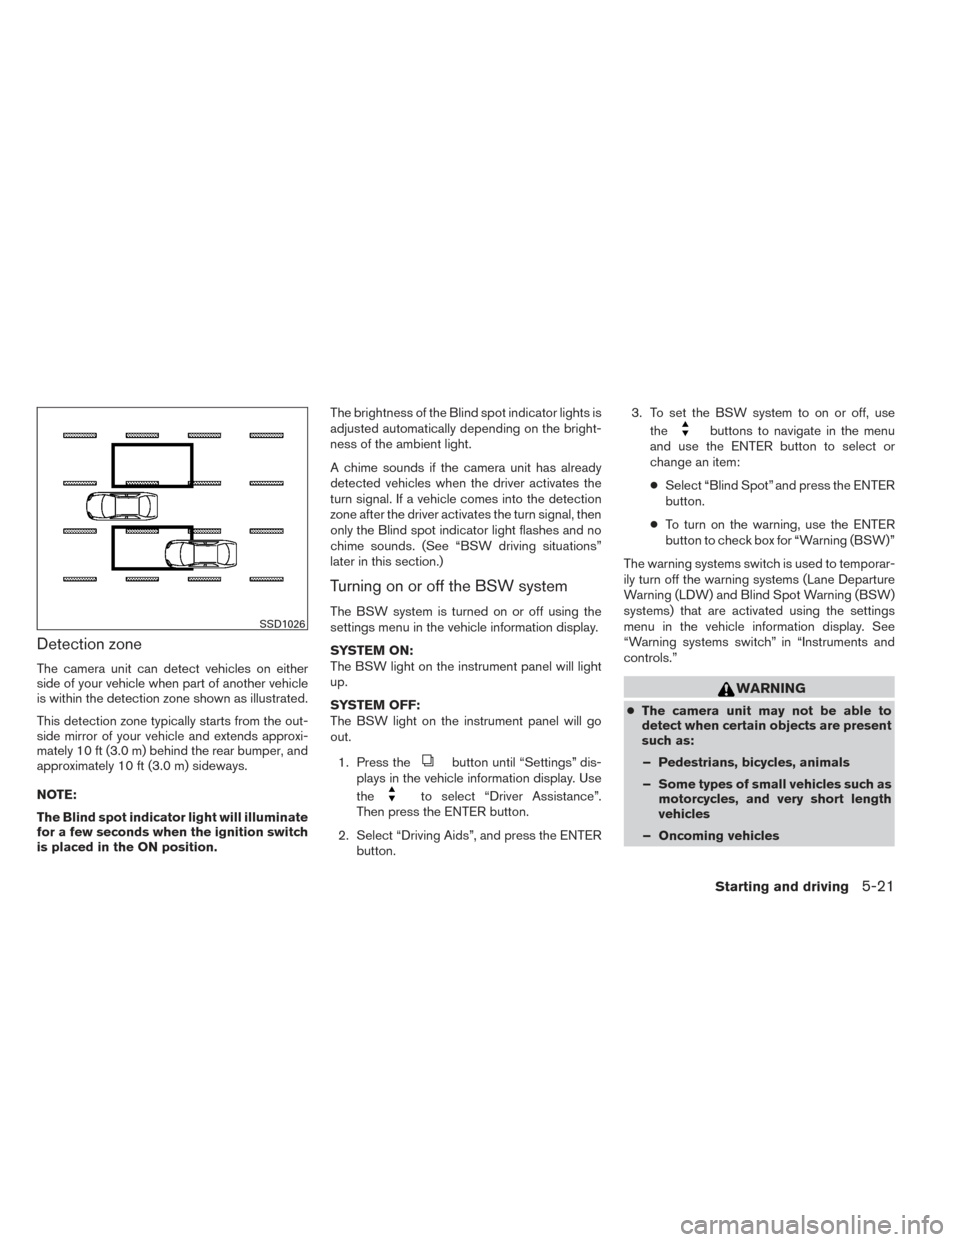
Detection zone
The camera unit can detect vehicles on either
side of your vehicle when part of another vehicle
is within the detection zone shown as illustrated.
This detection zone typically starts from the out-
side mirror of your vehicle and extends approxi-
mately 10 ft (3.0 m) behind the rear bumper, and
approximately 10 ft (3.0 m) sideways.
NOTE:
The Blind spot indicator light will illuminate
for a few seconds when the ignition switch
is placed in the ON position.The brightness of the Blind spot indicator lights is
adjusted automatically depending on the bright-
ness of the ambient light.
A chime sounds if the camera unit has already
detected vehicles when the driver activates the
turn signal. If a vehicle comes into the detection
zone after the driver activates the turn signal, then
only the Blind spot indicator light flashes and no
chime sounds. (See “BSW driving situations”
later in this section.)
Turning on or off the BSW system
The BSW system is turned on or off using the
settings menu in the vehicle information display.
SYSTEM ON:
The BSW light on the instrument panel will light
up.
SYSTEM OFF:
The BSW light on the instrument panel will go
out.
1. Press the
button until “Settings” dis-
plays in the vehicle information display. Use
the
to select “Driver Assistance”.
Then press the ENTER button.
2. Select “Driving Aids”, and press the ENTER button. 3. To set the BSW system to on or off, use
the
buttons to navigate in the menu
and use the ENTER button to select or
change an item:
● Select “Blind Spot” and press the ENTER
button.
● To turn on the warning, use the ENTER
button to check box for “Warning (BSW)”
The warning systems switch is used to temporar-
ily turn off the warning systems (Lane Departure
Warning (LDW) and Blind Spot Warning (BSW)
systems) that are activated using the settings
menu in the vehicle information display. See
“Warning systems switch” in “Instruments and
controls.”
WARNING
● The camera unit may not be able to
detect when certain objects are present
such as:
– Pedestrians, bicycles, animals
– Some types of small vehicles such as motorcycles, and very short length
vehicles
– Oncoming vehicles
SSD1026
Starting and driving5-21
Page 313 of 428
LDW SYSTEM OPERATION
The LDW system operates above approximately
45 MPH (70 km/h).
When the vehicle approaches either the left or
the right of the traveling lane, the LDW system
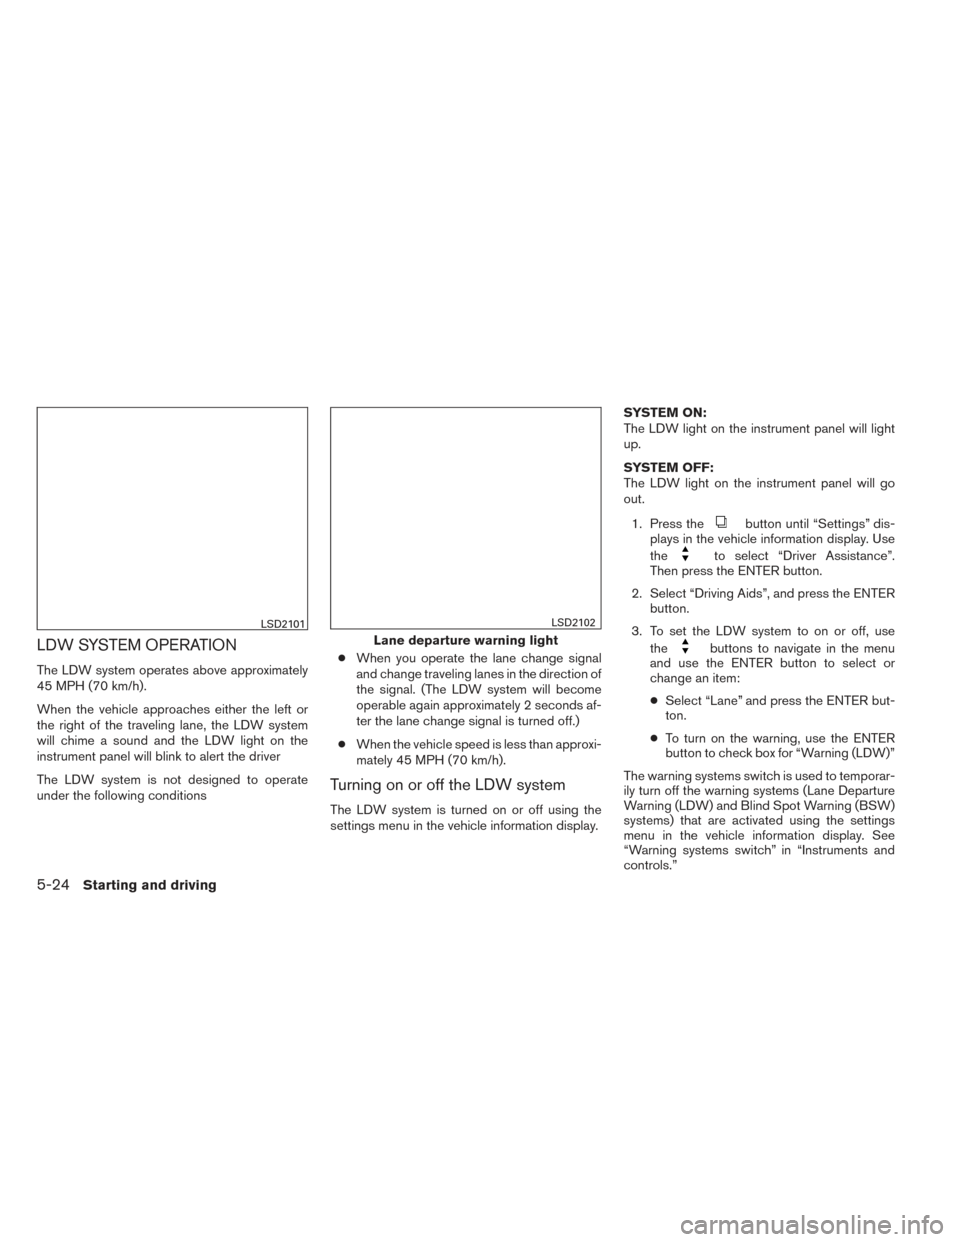
will chime a sound and the LDW light on the
instrument panel will blink to alert the driver
The LDW system is not designed to operate
under the following conditions●
When you operate the lane change signal
and change traveling lanes in the direction of
the signal. (The LDW system will become
operable again approximately 2 seconds af-
ter the lane change signal is turned off.)
● When the vehicle speed is less than approxi-
mately 45 MPH (70 km/h).
Turning on or off the LDW system
The LDW system is turned on or off using the
settings menu in the vehicle information display. SYSTEM ON:
The LDW light on the instrument panel will light
up.
SYSTEM OFF:
The LDW light on the instrument panel will go
out.
1. Press the
button until “Settings” dis-
plays in the vehicle information display. Use
the
to select “Driver Assistance”.
Then press the ENTER button.
2. Select “Driving Aids”, and press the ENTER button.
3. To set the LDW system to on or off, use the
buttons to navigate in the menu
and use the ENTER button to select or
change an item:
● Select “Lane” and press the ENTER but-
ton.
● To turn on the warning, use the ENTER
button to check box for “Warning (LDW)”
The warning systems switch is used to temporar-
ily turn off the warning systems (Lane Departure
Warning (LDW) and Blind Spot Warning (BSW)
systems) that are activated using the settings
menu in the vehicle information display. See
“Warning systems switch” in “Instruments and
controls.”
LSD2101
Lane departure warning light
LSD2102
5-24Starting and driving
Page 314 of 428
WARNING
●The camera unit may not be able to
detect properly under the following
conditions:
– On roads where there are multiple parallel lane markers; lane markers
that are faded or not painted clearly;
yellow painted lane markers; non-
standard lane markers; or lane mark-
ers covered with water, dirt, snow,
etc.
– On roads where the discontinued lane markers are still detectable.
– On roads where there are sharp curves.
– On roads where there are sharply contrasting objects, such as shad-
ows, snow, water, wheel ruts, seams
or lines remaining after road repairs.
(The LDW system could detect these
items as lane markers.)
– On roads where the traveling lane merges or separates.
– When the vehicle’s traveling direc- tion does not align with the lane
marker. – When the road surface is very dark
due to weak ambient light or im-
paired tail lamp.
● When driving on a curved road, warning
will be late on the outside of the curve.
BSW/LDW TEMPORARY DISABLED
STATUS
Under the following condition, the BSW and/or
LDW system is turned off temporarily, the BSW
light (white) and/or LDW light (white) will blink,
and either of the following message will appear in
the vehicle information display:
● “Trunk is open”
● “Washer fluid is low”
When the above conditions are corrected, the
BSW and/or LDW system will resume automati-
cally.
BSW/LDW AUTOMATIC
DEACTIVATION
When dirt, rain or snow cannot be removed by
the automatic washer and blower and accumu-
lates on the camera, making it impossible to
detect the vehicles or the lane markers, the BSW
and/or LDW system will be turned off automati-
cally. The BSW light (white) and/or LDW light (white) will blink, and the “Unavailable : Clean
rear camera” will appear in the vehicle information
display.
Action to take:
If the message appears, park the vehicle in a safe
place, clean the camera unit with a soft cloth.
Then turn off and restart the engine.
When the BSW and/or LDW system malfunc-
tions, they will be turned off automatically, the
BSW light (orange) and/or LDW light (orange)
will illuminate and “Malfunction: Please see own-
ers manual” will appear in the vehicle information
display.
Action to take:
Stop the vehicle in a safe location, turn off and
restart the engine. If the BSW light (orange)
and/or the LDW light (orange) continues to illu-
minate, have the BSW and/or LDW system
checked by a NISSAN dealer.
Starting and driving5-25
Page 330 of 428
TIRE PRESSURE MONITORING
SYSTEM (TPMS)
This vehicle is equipped with the Tire Pressure
Monitoring System (TPMS) . It monitors tire pres-
sure of all tires except the spare. When the low
tire pressure warning light is lit, and the “Tire
Pressure Low - Add Air” warning appears in the
vehicle information display, one or more of your
tires is significantly under-inflated. If equipped,
the system also displays pressure of all tires
(except the spare tire) on the display screen by
sending a signal from a sensor that is installed in
each wheel. If the vehicle is being driven with low
tire pressure, the TPMS will activate and warn
you of it by the low tire pressure warning light.
This system will activate only when the vehicle is
driven at speeds above 16 MPH (25 km/h). For
more details, refer to “Warning/indicator lights
and audible reminders” in the “Instruments and
controls” section and “Tire Pressure Monitoring
System (TPMS)” in the “Starting and driving”
section.
WARNING
●Radio waves could adversely affect
electric medical equipment. Those who
use a pacemaker should contact the
electric medical equipment manufac-
turer for the possible influences before
use.
● If the low tire pressure warning light
illuminates while driving, avoid sudden
steering maneuvers or abrupt braking,
reduce vehicle speed, pull off the road
to a safe location and stop the vehicle
as soon as possible. Driving with under-
inflated tires may permanently damage
the tires and increase the likelihood of
tire failure. Serious vehicle damage
could occur and may lead to an accident
and could result in serious personal in-
jury. Check the tire pressure for all four
tires. Adjust the tire pressure to the
recommended COLD tire pressure
shown on the Tire and Loading Informa-
tion label to turn the low tire pressure
warning light OFF. If you have a flat tire,
replace it with a spare tire as soon as
possible. ●
When a spare tire is mounted or a wheel
is replaced, tire pressure will not be
indicated, the TPMS will not function
and the low tire pressure warning light
will flash for approximately 1 minute.
The light will remain on after 1 minute.
Contact your NISSAN dealer as soon as
possible for tire replacement and/or
system resetting.
● Replacing tires with those not originally
specified by NISSAN could affect the
proper operation of the TPMS.
● Do not inject any tire liquid or aerosol
tire sealant into the tires, as this may
cause a malfunction of the tire pressure
sensors.
CHANGING A FLAT TIRE
If you have a flat tire, follow the instructions be-
low:
Stopping the vehicle
1. Safely move the vehicle off the road and
away from traffic.
2. Turn on the hazard warning flashers.
3. Park on a level surface and apply the parking brake. Move the shift lever to P (Park) .
FLAT TIRE
In case of emergency6-3
Page 385 of 428

If you have a flat tire, see “Flat tire” in the
“In case of emergency” section of this
manual.
TIRE PRESSURE
Tire Pressure Monitoring System
(TPMS)
This vehicle is equipped with the Tire
Pressure Monitoring System (TPMS) . It
monitors tire pressure of all tires except
the spare. When the low tire pressure
warning light is lit and the “Tire Pressure
Low - Add Air” warning appears in the
vehicle information display, one or more of
your tires is significantly under-inflated.
The TPMS will activate only when the
vehicle is driven at speeds above 16 MPH
(25 km/h). Also, this system may not de-
tect a sudden drop in tire pressure (for
example a flat tire while driving) .
For more details, refer to “Low tire pres-
sure warning light” in the “Instruments and
controls” section, “Tire Pressure Monitor-
ing System (TPMS)” in the “Starting and
driving” section, and “Flat tire” in the “In
case of emergency” section.
Tire inflation pressure
Check the tire pressures (including the
spare) often and always prior to long dis-
tance trips. The recommended tire pres-
sure specifications are shown on the
F.M.V.S.S./C.M.V.S.S. certification label
or the Tire and Loading Information label
under the “Cold Tire Pressure” heading.
The Tire and Loading Information label is
affixed to the driver side center pillar. Tire
pressures should be checked regularly
because:● Most tires naturally lose air over time.
● Tires can lose air suddenly when
driven over potholes or other objects
or if the vehicle strikes a curb while
parking.
The tire pressures should be checked
when the tires are cold. The tires are
considered COLD after the vehicle has
been parked for 3 or more hours, or driven
less than 1 mile (1.6 km) at moderate
speeds.
Trunk light
LDI2135
WHEELS AND TIRES
8-36Maintenance and do-it-yourself
Page 421 of 428
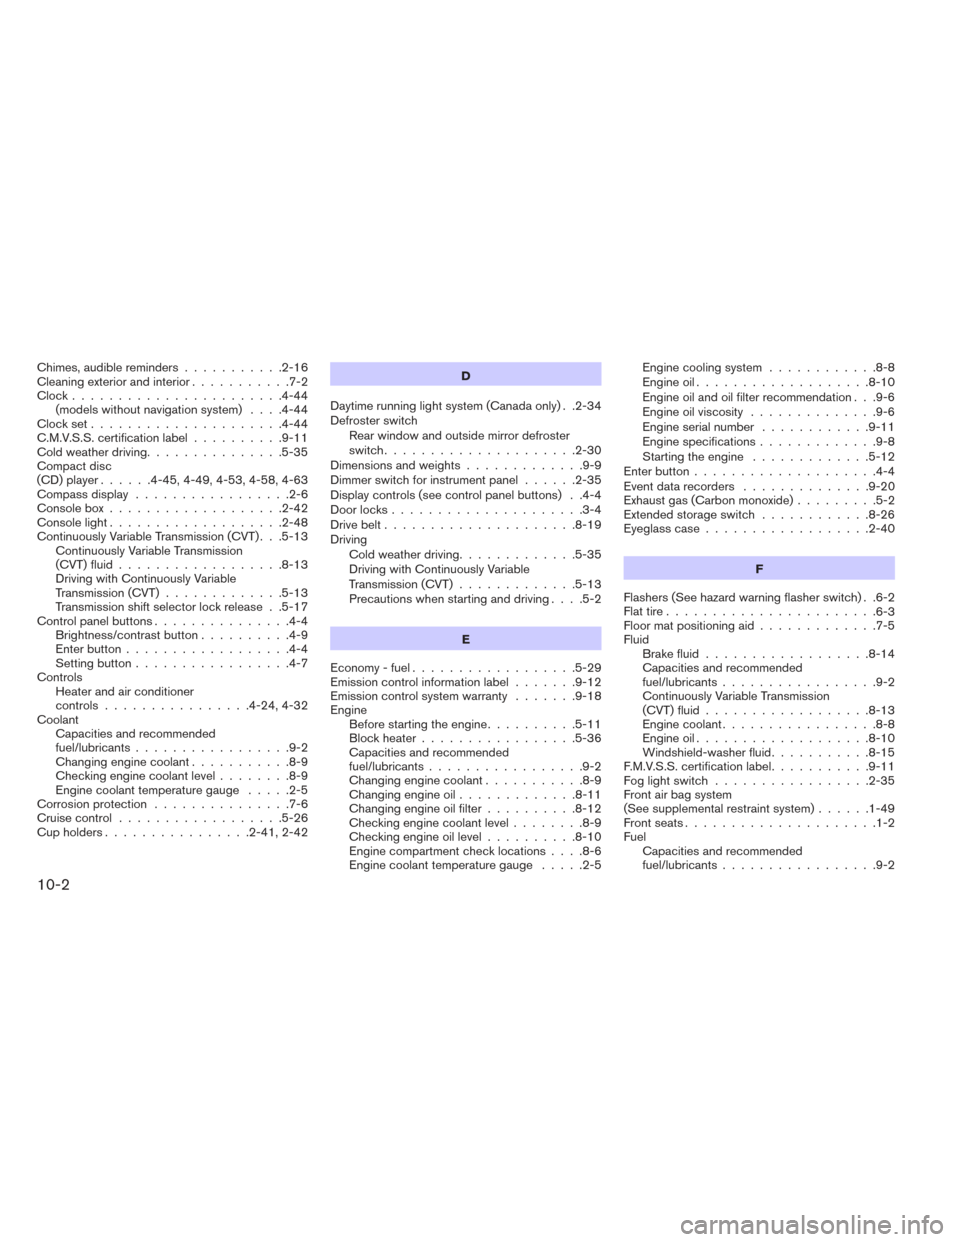
Chimes, audible reminders...........2-16
Cleaning exterior and interior ...........7-2
Clock.......................4-44 (models without navigation system) ....4-44
Clockset.....................4-44
C.M.V.S.S. certification label ..........9-11
Cold weather driving ...............5-35
Compact disc
(CD) player ......4-45,4-49,4-53,4-58,4-63
Compass display .................2-6
Consolebox...................2-42
Consolelight...................2-48
Continuously Variable Transmission (CVT) . . .5-13 Continuously Variable Transmission
(CVT) fluid ..................8-13
Driving with Continuously Variable
Transmission (CVT) .............5-13
Transmission shift selector lock release . .5-17
Control panel buttons ...............4-4
Brightness/contrast button ..........4-9
Enterbutton..................4-4
Setting button .................4-7
Controls Heater and air conditioner
controls ................4-24,4-32
Coolant Capacities and recommended
fuel/lubricants .................9-2
Changing engine coolant ...........8-9
Checking engine coolant level ........8-9
Engine coolant temperature gauge .....2-5
Corrosionprotection ...............7-6
Cruisecontrol..................5-26
Cupholders................2-41,2-42 D
Daytime running light system (Canada only) . .2-34
Defroster switch Rear window and outside mirror defroster
switch.....................2-30
Dimensionsandweights.............9-9
Dimmer switch for instrument panel ......2-35
Display controls (see control panel buttons) . .4-4
Door locks .....................3-4
Drive belt .....................8-19
Driving Cold weather driving .............5-35
Driving with Continuously Variable
Transmission (CVT) .............5-13
Precautions when starting and driving ....5-2
E
Economy - fuel ..................5-29
Emission control information label .......9-12
Emission control system warranty .......9-18
Engine Before starting the engine ..........5-11
Block heater .................5-36
Capacities and recommended
fuel/lubricants .................9-2
Changingenginecoolant...........8-9
Changingengineoil.............8-11
Changing engine oil filter ..........8-12
Checking engine coolant level ........8-9
Checking engine oil level ..........8-10
Engine compartment check locations ....8-6
Engine coolant temperature gauge .....2-5Engine cooling system
............8-8
Engine oil ...................8-10
Engine oil and oil filter recommendation . . .9-6
Engine oil viscosity ..............9-6
Engine serial number ............9-11
Engine specifications .............9-8
Starting the engine .............5-12
Enterbutton....................4-4
Eventdatarecorders ..............9-20
Exhaustgas(Carbonmonoxide).........5-2
Extended storage switch ............8-26
Eyeglass case ..................2-40
F
Flashers (See hazard warning flasher switch) . .6-2
Flat tire .......................
6-3
Floor mat positioning aid .............7-5
Fluid Brake fluid ..................8-14
Capacities and recommended
fuel/lubricants .................9-2
Continuously Variable Transmission
(CVT) fluid ..................8-13
Engine coolant .................8-8
Engine oil ...................8-10
Windshield-washer fluid ...........8-15
F.M.V.S.S. certification label ...........9-11
Foglightswitch .................2-35
Front air bag system
(See supplemental restraint system) ......1-49
Front seats .....................1-2
Fuel Capacities and recommended
fuel/lubricants .................9-2
10-2