2014 NISSAN 370Z COUPE fuel
[x] Cancel search: fuelPage 81 of 428
2-16Instruments and controls
If this indicator light remains on for 20 seconds
and then blinks for 10 seconds when the engine
is not running, it indicates that the vehicle is not
ready for an emission control system inspection/
maintenance test. (See “Readiness for Inspec-
tion/Maintenance (I/M) test” (P.9-24) .)
Operation:
The malfunction indicator light will come on in
one of two ways:
.Malfunction indicator light on steady — An
emission control system malfunction has
been detected. Check the fuel-filler cap if
the LOOSE FUEL CAP warning appears in
the vehicle information display. If the fuel-
filler cap is loose or missing, tighten or install
the cap and continue to drive the vehicle.
The
light should turn off after a few
driving trips. If thelight does not turn off
after a few driving trips, have the vehicle
inspected by a NISSAN dealer. You do not
need to have your vehicle towed to the
dealer.
. Malfunction indicator light blinking — An
engine misfire has been detected which may
damage the emission control system.
To reduce or avoid emission control system
damage:
1) Do not drive at speeds above 45 MPH
(72 km/h). 2) Avoid hard acceleration or deceleration.
3) Avoid steep uphill grades.
4) If possible, reduce the amount of cargo
being hauled or towed.
The malfunction indicator light may stop
blinking and remain on.
Have the vehicle inspected by a NISSAN
dealer. You do not need to have your vehicle
towed to the dealer.
CAUTION
Continued vehicle operation without
having the emission control system
checked and repaired as necessary
could lead to poor driveability, reduced
fuel economy, and possible damage to
the emission control system.
Rear fog light indicator light (if so
equipped)
The rear fog light indicator light illuminates when
the rear fog light is on. (See “Fog light switch”
(P.2-36) .)
Security indicator light
The light blinks when the ignition switch is in the
ACC, OFF or LOCK position. This function
indicates the security system equipped on the
vehicle is operational.
If the security system is malfunctioning, this light
will remain on while the ignition switch is in the
ON position. For additional information, see
“Security systems” (P.2-28) .
Soft top indicator light (Roadster
models)
This light illuminates when the soft top is being
operated or it is stopped before reaching a full
open/close state. When the top is fully opened
or closed, the light will turn off.
The light blinks while the soft top is not fully
opened or closed under the following condi-
tions:
. When the vehicle is driven.
. When the shift lever is in the R (Reverse)
position.
Be sure to fully open or close the soft top when
driving the vehicle.
The soft top can be moved with the soft top
operating switch only under all of the following
conditions:
Page 86 of 428
JVI0582X
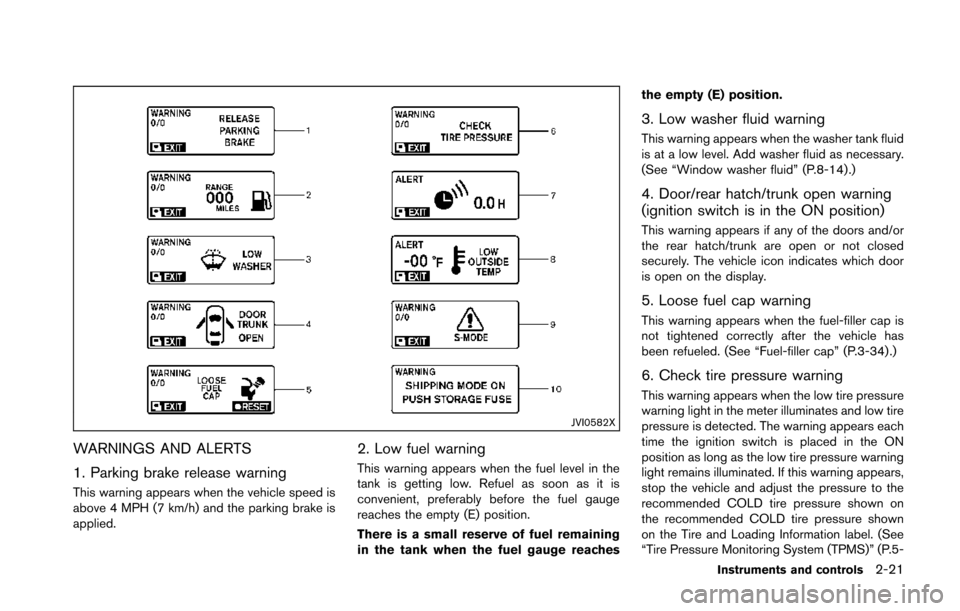
WARNINGS AND ALERTS
1. Parking brake release warning
This warning appears when the vehicle speed is
above 4 MPH (7 km/h) and the parking brake is
applied.
2. Low fuel warning
This warning appears when the fuel level in the
tank is getting low. Refuel as soon as it is
convenient, preferably before the fuel gauge
reaches the empty (E) position.
There is a small reserve of fuel remaining
in the tank when the fuel gauge reachesthe empty (E) position.
3. Low washer fluid warning
This warning appears when the washer tank fluid
is at a low level. Add washer fluid as necessary.
(See “Window washer fluid” (P.8-14).)
4. Door/rear hatch/trunk open warning
(ignition switch is in the ON position)
This warning appears if any of the doors and/or
the rear hatch/trunk are open or not closed
securely. The vehicle icon indicates which door
is open on the display.
5. Loose fuel cap warning
This warning appears when the fuel-filler cap is
not tightened correctly after the vehicle has
been refueled. (See “Fuel-filler cap” (P.3-34) .)
6. Check tire pressure warning
This warning appears when the low tire pressure
warning light in the meter illuminates and low tire
pressure is detected. The warning appears each
time the ignition switch is placed in the ON
position as long as the low tire pressure warning
light remains illuminated. If this warning appears,
stop the vehicle and adjust the pressure to the
recommended COLD tire pressure shown on
the recommended COLD tire pressure shown
on the Tire and Loading Information label. (See
“Tire Pressure Monitoring System (TPMS)” (P.5-
Instruments and controls2-21
Page 88 of 428
replacement indicator for a certain
driving distance does not mean your
tires will last that long. Use the tire
replacement indicator as a guide only
and always perform regular tire checks.
Failure to perform regular tire checks,
including tire pressure checks could
result in tire failure. Serious vehicle
damage could occur and may lead to a
collision, which could result in serious
personal injury or death.
4. “OTHER” indicator
This indicator appears when the set time comes
for replacing items other than the engine oil, oil
filter and tires. You can set or reset the distance
for replacing the items. (See “Trip computer”
(P.2-23) .)
Models with navigation system:
More maintenance reminders are also available
on the center display. (See “How to use INFO
button” (P.4-8).)
SIC3978
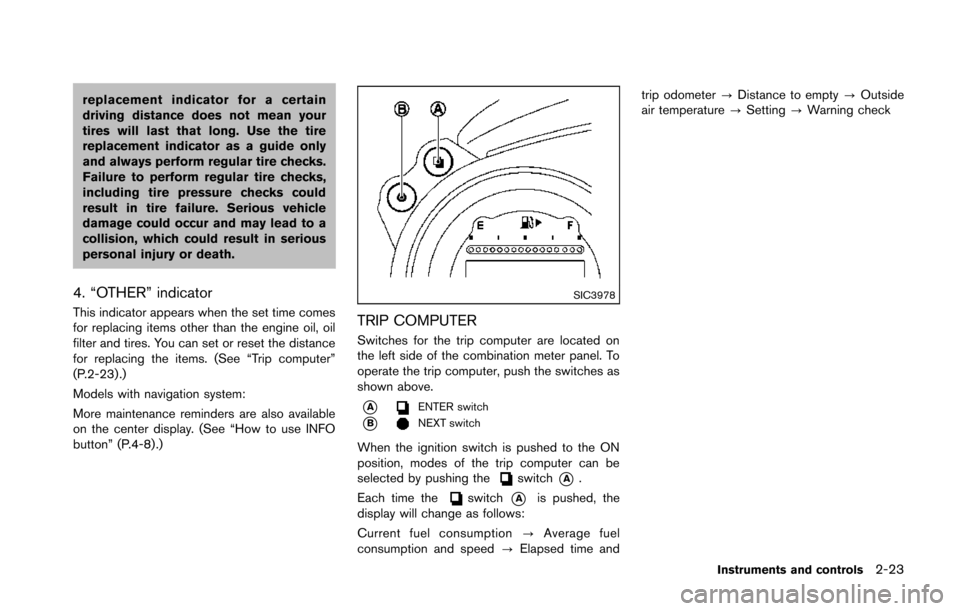
TRIP COMPUTER
Switches for the trip computer are located on
the left side of the combination meter panel. To
operate the trip computer, push the switches as
shown above.
*AENTER switch
*BNEXT switch
When the ignition switch is pushed to the ON
position, modes of the trip computer can be
selected by pushing the
switch*A.
Each time the
switch*Ais pushed, the
display will change as follows:
Current fuel consumption ?Average fuel
consumption and speed ?Elapsed time and trip odometer
?Distance to empty ?Outside
air temperature ?Setting ?Warning check
Instruments and controls2-23
Page 89 of 428
2-24Instruments and controls
SIC3673
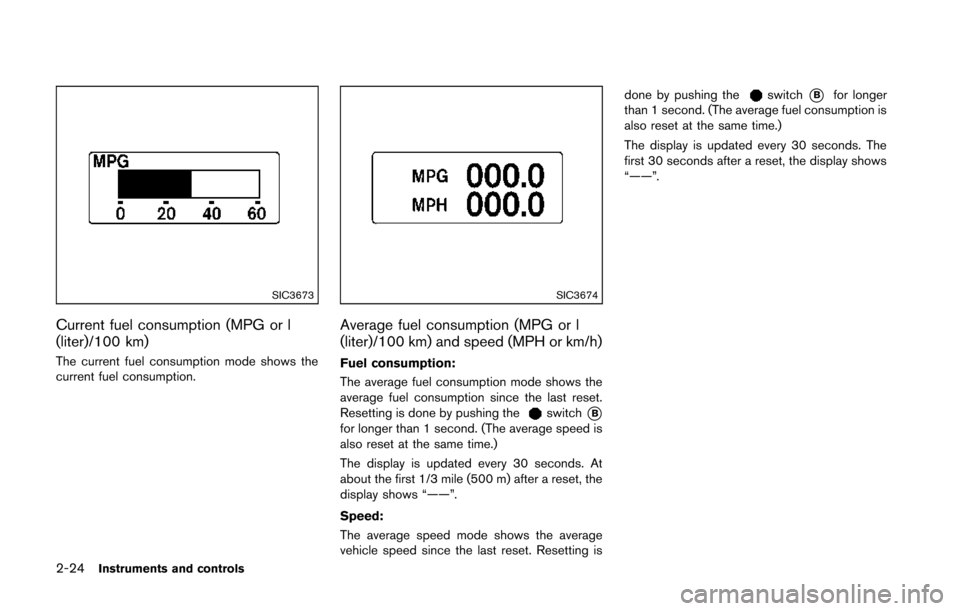
Current fuel consumption (MPG or l
(liter)/100 km)
The current fuel consumption mode shows the
current fuel consumption.
SIC3674
Average fuel consumption (MPG or l
(liter)/100 km) and speed (MPH or km/h)
Fuel consumption:
The average fuel consumption mode shows the
average fuel consumption since the last reset.
Resetting is done by pushing the
switch*Bfor longer than 1 second. (The average speed is
also reset at the same time.)
The display is updated every 30 seconds. At
about the first 1/3 mile (500 m) after a reset, the
display shows “——”.
Speed:
The average speed mode shows the average
vehicle speed since the last reset. Resetting isdone by pushing the
switch*Bfor longer
than 1 second. (The average fuel consumption is
also reset at the same time.)
The display is updated every 30 seconds. The
first 30 seconds after a reset, the display shows
“——”.
Page 90 of 428
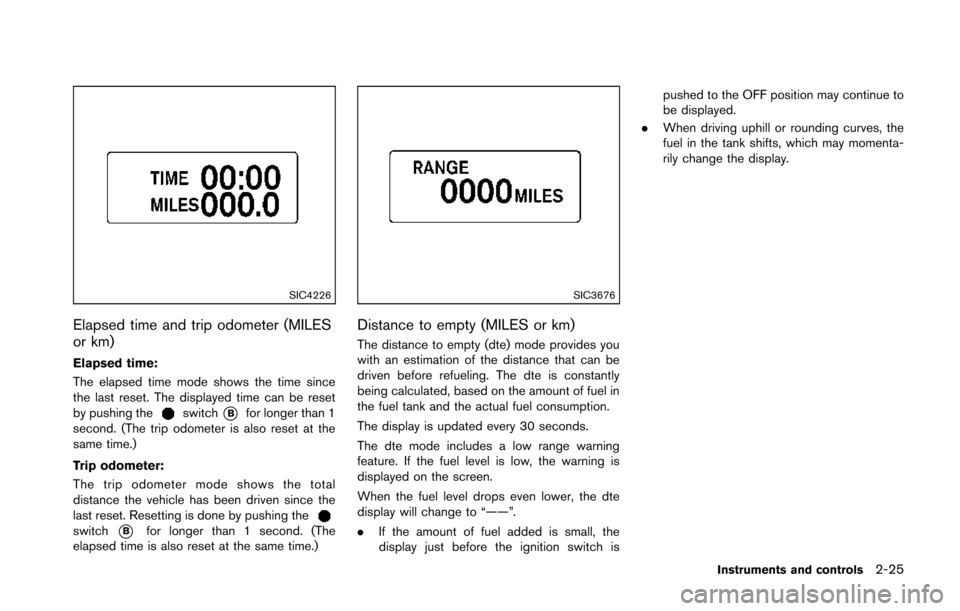
SIC4226
Elapsed time and trip odometer (MILES
or km)
Elapsed time:
The elapsed time mode shows the time since
the last reset. The displayed time can be reset
by pushing the
switch*Bfor longer than 1
second. (The trip odometer is also reset at the
same time.)
Trip odometer:
The trip odometer mode shows the total
distance the vehicle has been driven since the
last reset. Resetting is done by pushing the
switch*Bfor longer than 1 second. (The
elapsed time is also reset at the same time.)
SIC3676
Distance to empty (MILES or km)
The distance to empty (dte) mode provides you
with an estimation of the distance that can be
driven before refueling. The dte is constantly
being calculated, based on the amount of fuel in
the fuel tank and the actual fuel consumption.
The display is updated every 30 seconds.
The dte mode includes a low range warning
feature. If the fuel level is low, the warning is
displayed on the screen.
When the fuel level drops even lower, the dte
display will change to “——”.
. If the amount of fuel added is small, the
display just before the ignition switch is pushed to the OFF position may continue to
be displayed.
. When driving uphill or rounding curves, the
fuel in the tank shifts, which may momenta-
rily change the display.
Instruments and controls2-25
Page 92 of 428
.OIL
Select this submenu to set or reset the
distance for changing the engine oil.
. FILTER
Select this submenu to set or reset the
distance for replacing the oil filter.
. TIRE
Select this submenu to set or reset the
distance for replacing tires.
. OTHER
Select this submenu and set or reset the
distance for replacing items other than the
engine oil, oil filter and tires.
To return to the top page of the setting mode,
select “BACK”.
OPTIONS:
The 3 option menus can be set to your
preference.
. LANGUAGE
Select this submenu to choose English or
French for display.
. UNIT
Select this submenu to choose the unit from
US or METRIC.
. EFFECTS
Select this menu to set the dial effects
described below to on or off. — The indicator needles sweep in the
meters when the engine is started.
To return to the top page of the setting mode,
select “BACK”.
SIC3993
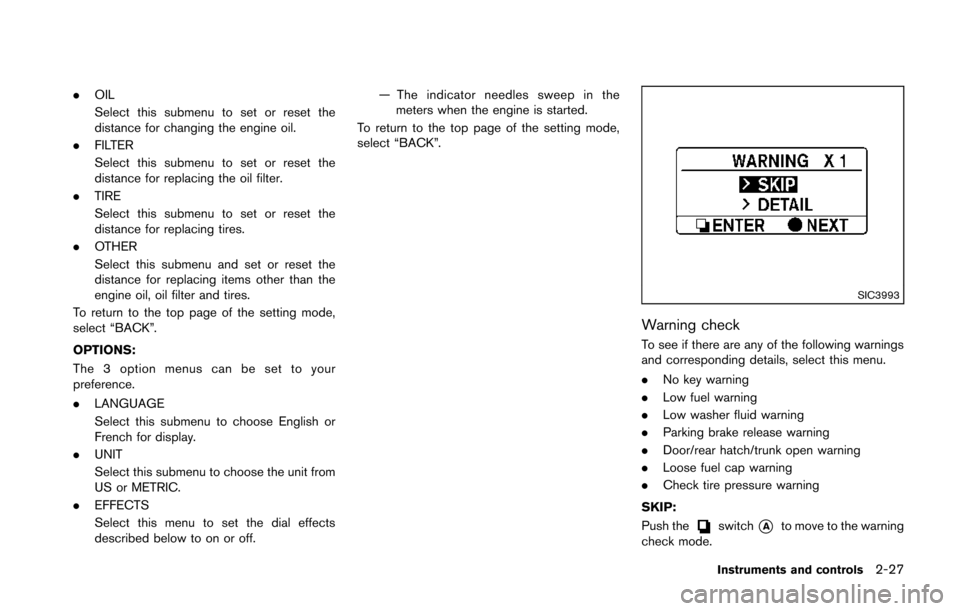
Warning check
To see if there are any of the following warnings
and corresponding details, select this menu.
. No key warning
. Low fuel warning
. Low washer fluid warning
. Parking brake release warning
. Door/rear hatch/trunk open warning
. Loose fuel cap warning
. Check tire pressure warning
SKIP:
Push the
switch*Ato move to the warning
check mode.
Instruments and controls2-27
Page 122 of 428

3 Pre-driving checks and adjustments
Keys ........................................................................\
...................... 3-2Intelligent Key ....................................................................... 3-2
Valet hand-off ....................................................................... 3-3
Doors ........................................................................\
.................... 3-4 Locking with mechanical key ............................................ 3-4
Opening and closing windows with the
mechanical key ..................................................................... 3-4
Locking with inside lock knob .......................................... 3-5
Locking with power door lock switch ............................ 3-5
Automatic door locks ......................................................... 3-5
Intelligent Key system .............................................................. 3-6 Intelligent Key operating range ....................................... 3-8
Door locks/unlocks precaution ....................................... 3-8
Intelligent Key operation .................................................... 3-9
Battery saver system ....................................................... 3-11
Warning signals ................................................................ 3-11
Troubleshooting guide ..................................................... 3-12
Remote keyless entry system ............................................. 3-13 How to use remote keyless entry system .................. 3-13
Hood ........................................................................\
.................. 3-16
Rear hatch (Coupe models) ............................................... 3-17 Rear hatch opener switch .............................................. 3-17
Secondary rear hatch release ....................................... 3-18 Trunk lid (Roadster models) ............................................... 3-19
Trunk lid opener switch ................................................ 3-19
Trunk release power cancel switch ........................... 3-19
Interior trunk lid release ................................................ 3-20
Secondary trunk lid release ......................................... 3-20
Soft top (Roadster models) ................................................ 3-21
Before operating the top .............................................. 3-21
When operating the top ............................................... 3-23
Opening the top ............................................................. 3-25
Closing the top ............................................................... 3-25
Opening the top using the Intelligent Key ............... 3-26
Troubleshooting guide .................................................. 3-27
If the top does not open or close electrically ......... 3-28
Care of the soft top and the vehicle body .............. 3-32
Front, side and rear unique parts (NISMO models) ..... 3-32
Fuel-filler door ........................................................................\
3-34
Opening the fuel-filler door ......................................... 3-34
Fuel-filler cap .................................................................. 3-34
Tilt steering ........................................................................\
..... 3-36 Manual operation ............................................................ 3-36
Sun visors ........................................................................\
........ 3-36
Mirrors ........................................................................\
.............. 3-37 Inside mirror ..................................................................... 3-37
Outside mirrors ............................................................... 3-38
Vanity mirror ..................................................................... 3-39
Page 126 of 428
SPA2566
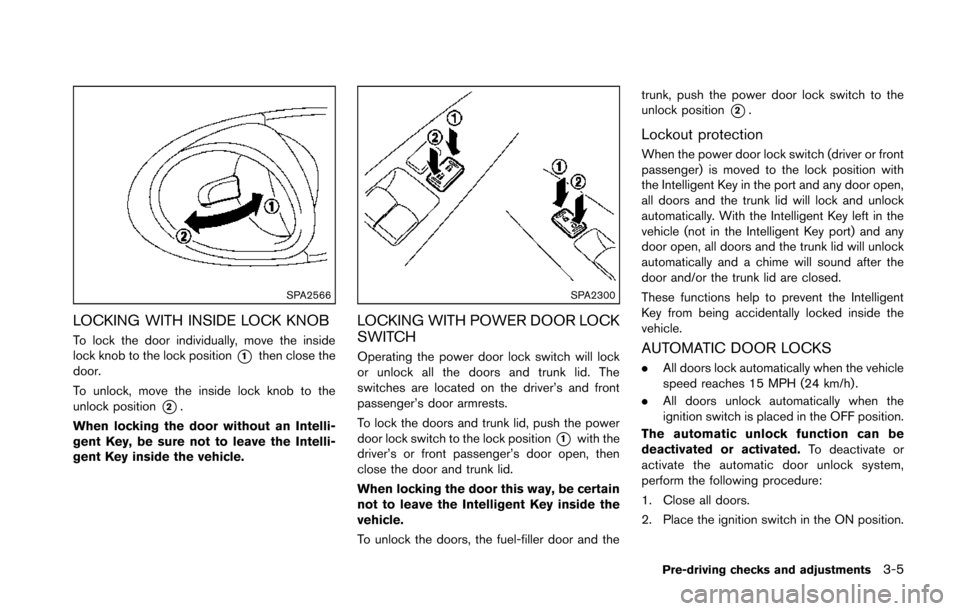
LOCKING WITH INSIDE LOCK KNOB
To lock the door individually, move the inside
lock knob to the lock position
*1then close the
door.
To unlock, move the inside lock knob to the
unlock position
*2.
When locking the door without an Intelli-
gent Key, be sure not to leave the Intelli-
gent Key inside the vehicle.
SPA2300
LOCKING WITH POWER DOOR LOCK
SWITCH
Operating the power door lock switch will lock
or unlock all the doors and trunk lid. The
switches are located on the driver’s and front
passenger’s door armrests.
To lock the doors and trunk lid, push the power
door lock switch to the lock position
*1with the
driver’s or front passenger’s door open, then
close the door and trunk lid.
When locking the door this way, be certain
not to leave the Intelligent Key inside the
vehicle.
To unlock the doors, the fuel-filler door and the trunk, push the power door lock switch to the
unlock position
*2.
Lockout protection
When the power door lock switch (driver or front
passenger) is moved to the lock position with
the Intelligent Key in the port and any door open,
all doors and the trunk lid will lock and unlock
automatically. With the Intelligent Key left in the
vehicle (not in the Intelligent Key port) and any
door open, all doors and the trunk lid will unlock
automatically and a chime will sound after the
door and/or the trunk lid are closed.
These functions help to prevent the Intelligent
Key from being accidentally locked inside the
vehicle.
AUTOMATIC DOOR LOCKS
.
All doors lock automatically when the vehicle
speed reaches 15 MPH (24 km/h) .
. All doors unlock automatically when the
ignition switch is placed in the OFF position.
The automatic unlock function can be
deactivated or activated. To deactivate or
activate the automatic door unlock system,
perform the following procedure:
1. Close all doors.
2. Place the ignition switch in the ON position.
Pre-driving checks and adjustments3-5