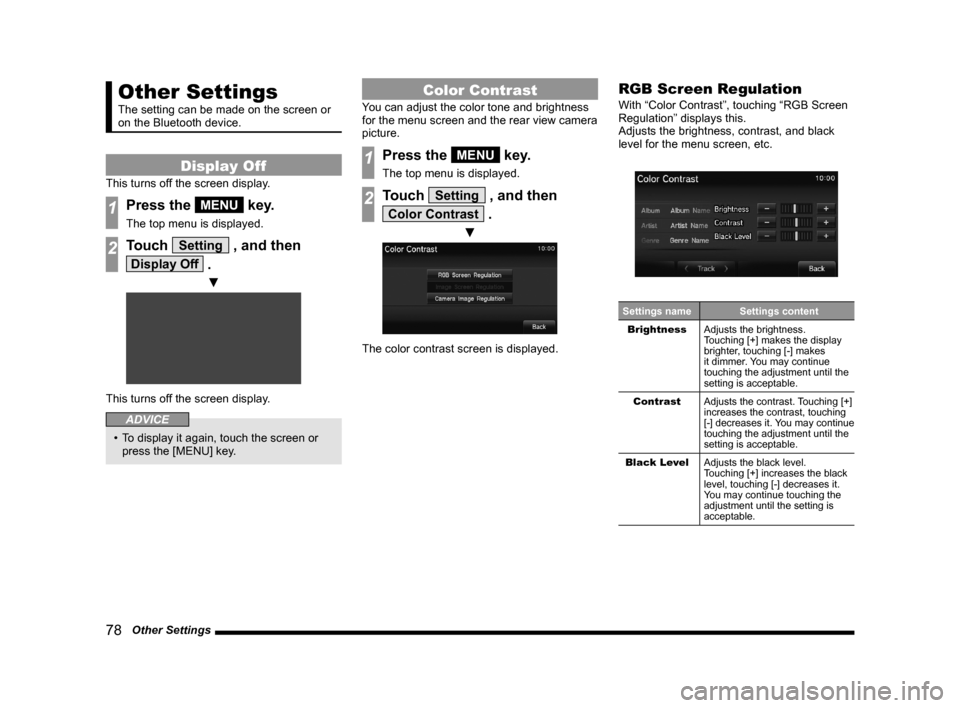
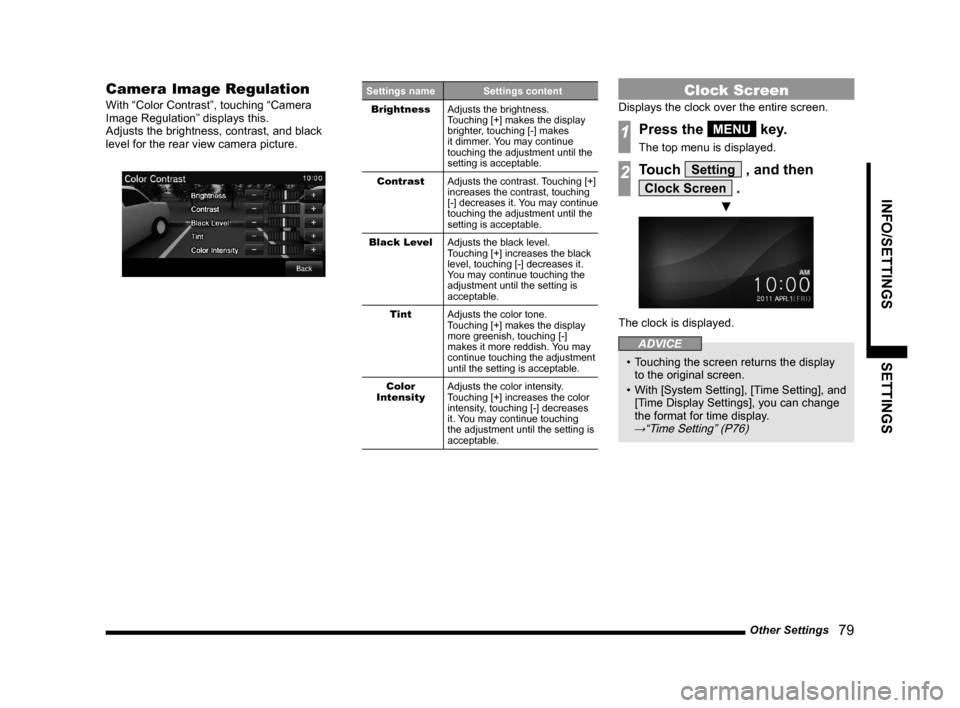
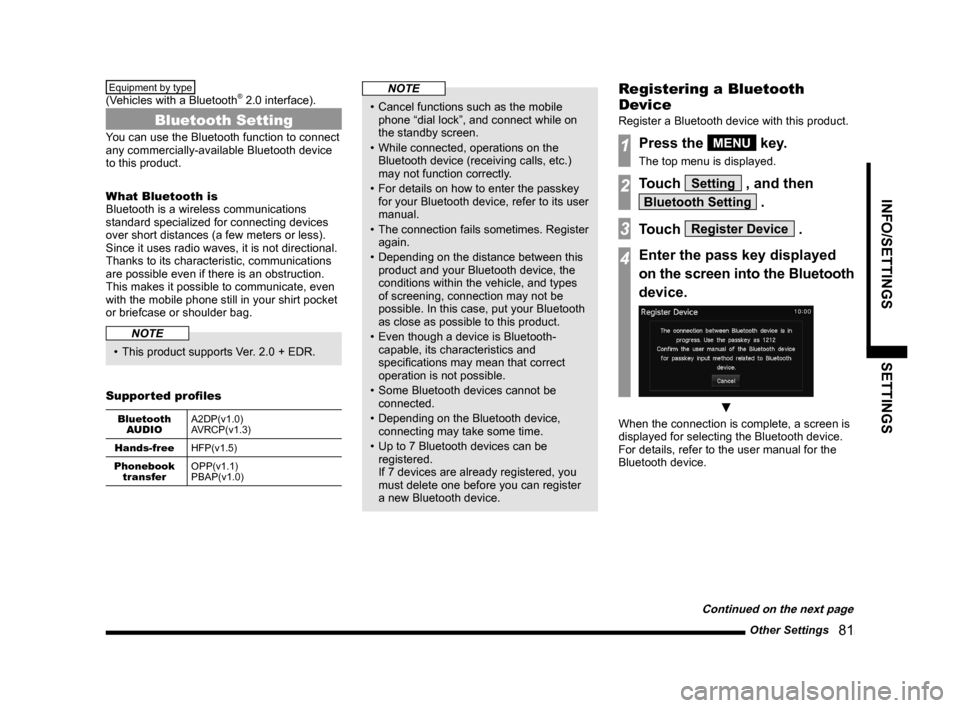
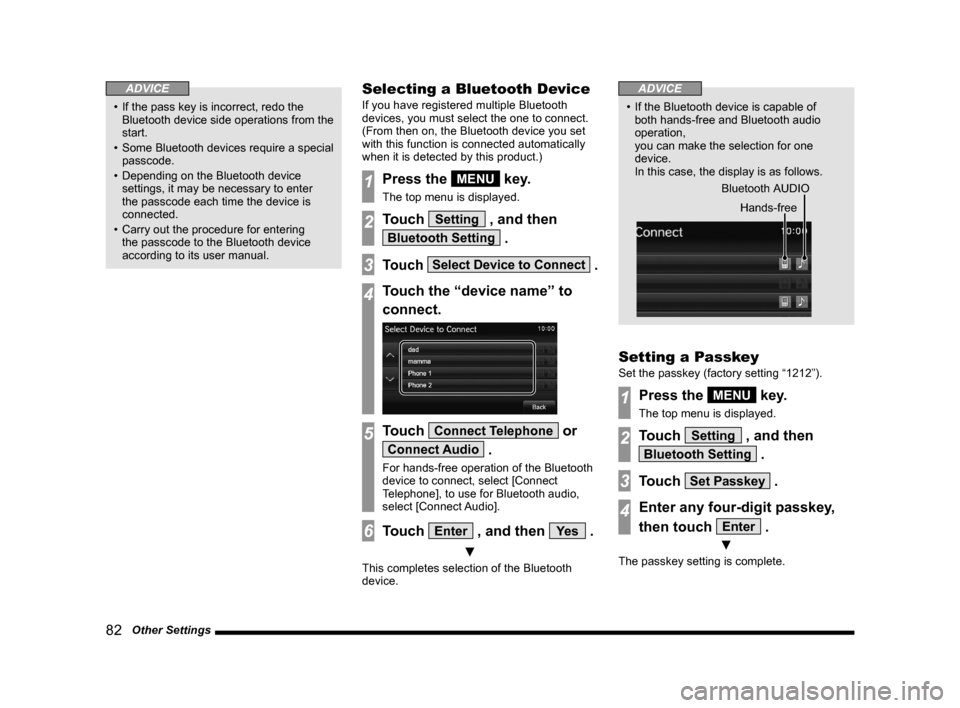
2014 MITSUBISHI LANCER display
[x] Cancel search: displayPage 77 of 88
![MITSUBISHI LANCER 2014 8.G Display Audio Manual System Settings 77
INFO/SETTINGSSETTINGS
AUX Setting
It allows you to switch the AUX function ON/
OFF.
NOTE
• If you set this to ON, [AUX] will be
displayed in the top menu even if the
vehicle MITSUBISHI LANCER 2014 8.G Display Audio Manual System Settings 77
INFO/SETTINGSSETTINGS
AUX Setting
It allows you to switch the AUX function ON/
OFF.
NOTE
• If you set this to ON, [AUX] will be
displayed in the top menu even if the
vehicle](/manual-img/19/7457/w960_7457-76.png)
System Settings 77
INFO/SETTINGSSETTINGS
AUX Setting
It allows you to switch the AUX function ON/
OFF.
NOTE
• If you set this to ON, [AUX] will be
displayed in the top menu even if the
vehicle does not support AUX devices.
However, touching it does not output any
audio.
13MY_AVC(NAS).indb 772013/02/14 10:58:05
Page 78 of 88

78 Other Settings
Other Settings
The setting can be made on the screen or
on the Bluetooth device.
Display Off
This turns off the screen display.
1Press the MENU key.
The top menu is displayed.
2Touch Setting , and then
Display Off .
▼
This turns off the screen display.
ADVICE
• To display it again, touch the screen or press the [MENU] key.
Color Contrast
You can adjust the color tone and brightness
for the menu screen and the rear view camera
picture.
1Press the MENU key.
The top menu is displayed.
2Touch Setting , and then
Color Contrast .
▼
The color contrast screen is displayed.
RGB Screen Regulation
With “Color Contrast”, touching “RGB Screen
Regulation” displays this.
Adjusts the brightness, contrast, and black
level for the menu screen, etc.
Settings name Settings content
Brightness Adjusts the brightness.
Touching [+] makes the display
brighter, touching [-] makes
it dimmer. You may continue
touching the adjustment until the
setting is acceptable.
Contrast Adjusts the contrast. Touching [+]
increases the contrast, touching
[-] decreases it. You may continue
touching the adjustment until the
setting is acceptable.
Black Level Adjusts the black level.
Touching [+] increases the black
level, touching [-] decreases it.
You may continue touching the
adjustment until the setting is
acceptable.
13MY_AVC(NAS).indb 782013/02/14 10:58:06
Page 79 of 88

Other Settings 79
INFO/SETTINGSSETTINGS
Camera Image Regulation
With “Color Contrast”, touching “Camera
Image Regulation” displays this.
Adjusts the brightness, contrast, and black
level for the rear view camera picture.
Settings name Settings content
Brightness Adjusts the brightness.
Touching [+] makes the display
brighter, touching [-] makes
it dimmer. You may continue
touching the adjustment until the
setting is acceptable.
Contrast Adjusts the contrast. Touching [+]
increases the contrast, touching
[-] decreases it. You may continue
touching the adjustment until the
setting is acceptable.
Black Level Adjusts the black level.
Touching [+] increases the black
level, touching [-] decreases it.
You may continue touching the
adjustment until the setting is
acceptable.
Tint Adjusts the color tone.
Touching [+] makes the display
more greenish, touching [-]
makes it more reddish. You may
continue touching the adjustment
until the setting is acceptable.
Color
Intensity Adjusts the color intensity.
Touching [+] increases the color
intensity, touching [-] decreases
it. You may continue touching
the adjustment until the setting is
acceptable.Clock Screen
Displays the clock over the entire screen.
1Press the MENU key.
The top menu is displayed.
2Touch Setting , and then
Clock Screen .
▼
The clock is displayed.
ADVICE
• Touching the screen returns the display
to the original screen.
• With [System Setting], [Time Setting], and
[Time Display Settings], you can change
the format for time display.
→“Time Setting” (P76)
13MY_AVC(NAS).indb 792013/02/14 10:58:06
Page 80 of 88

80 Other Settings
Radio Setting
You can change the radio reception mode and
the display language for PTY filter.
You can set this for both FM and AM.
1Press the MENU key.
The top menu is displayed.
2Touch Setting , and then
Radio Setting .
3Set individual items.
ADVICE
• Radio settings can also be accessed from
the radio broadcast information screen
(P26) sub-menu. “Set value” bold typeface indicates factory default settings.
Settings name
Settings value Settings content
PTY Language EnglishYou can change the display language for PTY filter.
Francais Espanol
HD Radio Receive OnSet whether or not to receive digital radio.
Off
HD Radio Setting AutoReceive mode can be set when the HD Radio Receive
settings are “On”.
If “Auto” is set, digital reception is used. If digital reception \
is no longer possible, it will automatically switch to analog
reception.
Digital
Analog
13MY_AVC(NAS).indb 802013/02/14 10:58:06
Page 81 of 88

Other Settings 81
INFO/SETTINGSSETTINGS
Equipment by type
(Vehicles with a Bluetooth® 2.0 interface).
Bluetooth Setting
You can use the Bluetooth function to connect
any commercially-available Bluetooth device
to this product.
What Bluetooth is
Bluetooth is a wireless communications
standard specialized for connecting devices
over short distances (a few meters or less).
Since it uses radio waves, it is not directional.
Thanks to its characteristic, communications
are possible even if there is an obstruction.
This makes it possible to communicate, even
with the mobile phone still in your shirt pocket
or briefcase or shoulder bag.
NOTE
• This product supports Ver. 2.0 + EDR.
Supported profiles
Bluetooth AUDIO A2DP(v1.0)
AVRCP(v1.3)
Hands-free HFP(v1.5)
Phonebook transfer OPP(v1.1)
PBAP(v1.0)
NOTE
• Cancel functions such as the mobile
phone “dial lock”, and connect while on
the standby screen.
• While connected, operations on the Bluetooth device (receiving calls, etc.)
may not function correctly.
• For details on how to enter the passkey for your Bluetooth device, refer to its user
manual.
• The connection fails sometimes. Register again.
• Depending on the distance between this product and your Bluetooth device, the
conditions within the vehicle, and types
of screening, connection may not be
possible. In this case, put your Bluetooth
as close as possible to this product.
• Even though a device is Bluetooth- capable, its characteristics and
specifications may mean that correct
operation is not possible.
• Some Bluetooth devices cannot be connected.
• Depending on the Bluetooth device, connecting may take some time.
• Up to 7 Bluetooth devices can be registered.
If 7 devices are already registered, you
must delete one before you can register
a new Bluetooth device.
Registering a Bluetooth
Device
Register a Bluetooth device with this product.
1Press the MENU key.
The top menu is displayed.
2Touch Setting , and then
Bluetooth Setting .
3Touch Register Device .
4Enter the pass key displayed
on the screen into the Bluetooth
device.
▼
When the connection is complete, a screen is
displayed for selecting the Bluetooth device.
For details, refer to the user manual for the
Bluetooth device.
Continued on the next page
13MY_AVC(NAS).indb 812013/02/14 10:58:07
Page 82 of 88

82 Other Settings
ADVICE
• If the pass key is incorrect, redo the Bluetooth device side operations from the
start.
• Some Bluetooth devices require a special
passcode.
• Depending on the Bluetooth device settings, it may be necessary to enter
the passcode each time the device is
connected.
• Carry out the procedure for entering the passcode to the Bluetooth device
according to its user manual.
Selecting a Bluetooth Device
If you have registered multiple Bluetooth
devices, you must select the one to connect.
(From then on, the Bluetooth device you set
with this function is connected automatically
when it is detected by this product.)
1Press the MENU key.
The top menu is displayed.
2Touch Setting , and then
Bluetooth Setting .
3Touch Select Device to Connect .
4Touch the “device name” to
connect.
5Touch Connect Telephone or
Connect Audio .
For hands-free operation of the Bluetooth
device to connect, select [Connect
Telephone], to use for Bluetooth audio,
select [Connect Audio].
6Touch Enter , and then Ye s .
▼
This completes selection of the Bluetooth
device.
ADVICE
• If the Bluetooth device is capable of both hands-free and Bluetooth audio
operation,
you can make the selection for one
device.
In this case, the display is as follows.
Bluetooth AUDIO Hands-free
Setting a Passkey
Set the passkey (factory setting “1212”).
1Press the MENU key.
The top menu is displayed.
2Touch Setting , and then
Bluetooth Setting .
3Touch Set Passkey .
4Enter any four-digit passkey,
then touch
Enter .
▼
The passkey setting is complete.
13MY_AVC(NAS).indb 822013/02/14 10:58:08
Page 83 of 88

Troubleshooting 83
Other
Other
Troubleshooting
Please check these items if a message appears on the screen, or if you t\
hink something is not working properly.
If This Message Appears...
A message is displayed on the screen of this product according to the sit\
uation.
Message CauseResponse
Play is impossible due to a mechanism error. The drive has malfunctioned for some reason.Check that there is no problem with the disc, and insert
the disc again. If the problem persists, consult an
authorized Mitsubishi Motors dealer or a repair facility
of your choice.
The disc is damaged or warped. Do not insert a damaged or warped disc.
Play is impossible due to low battery voltage. The vehicle's battery voltage has dropped.Check the battery.
Cannot be played.
Check the disc. A disc is inserted that cannot be played.
Insert a disc that can be played.
→“Types of Disc That Can Be Played Back”(P19)
The disc is inserted upside down. Insert with the label side up.
The disc has condensation on it. Wait a while before inserting again.
The disc is dirty. Clean the read surface of the disc.
Play is impossible due to high temperatures. The temperature inside the product is high.Remove the disc, and wait for the internal temperature
to return to normal.
This iPod cannot be played. Authentication failed.Reconnect your iPod.
The connected iPod has an unsupported format and
cannot be recognized. Use an iPod that supports this product.
(P7)
This iPod software version is not correct.
Please change to a supported software version.
This USB memory cannot be played. An unsupported USB device has been connected.Reconnect a supported USB device.
→“Listen to Audio Files on a USB Device” (P57)
13MY_AVC(NAS).indb 832013/02/14 10:58:08
Page 85 of 88

Troubleshooting 85
Other
If You Think Something Is Not Working Properly...
Here is a list of symptoms, causes and responses if you think something \
is not working properly.
Symptoms CauseResponse
Cannot operate. For safety, some operations are restricted while the
vehicle is moving.The driver should refrain from operating this product
while the vehicle is moving. First stop the vehicle in a
safe location, then operate this product.
The operation sound is not made. The operation sound is set to [Off].Set the [Sound] “Operation Volume”to [1] to [3].
→“Sound” (P75)
Nothing is displayed on the screen. The screen is turned OFF.Stop the vehicle in a safe location, apply the parking
brakes, then perform the operation to turn the screen
back ON
(P78).
The vehicle's battery voltage has dropped. Charge or replace the battery.
The temperature inside the product is high. Please wait for the temperature to drop.
The monitor screen is dark. The monitor brightness is not correctly adjusted.Adjust the monitor brightness.
→“Color Contrast” (P78)
There is no sound or quiet sound. The volume is turned to its minimum.Adjust the volume.→“Adjust Volume” (P14)
The balance or fader is turned to one side.Adjust the balance or fader.→“Adjust the Sound Quality” (P73)
“Audio OFF”.Switch to “Audio ON”.→“Switch Audio ON/OFF” (P14)
The disc cannot be played. The disc is inserted upside down.Insert with the label side up.
The disc has condensation on it. Wait a while before inserting.
The disc is dirty. Clean the read surface of the disc.
13MY_AVC(NAS).indb 852013/02/14 10:58:08