2014 MERCEDES-BENZ SLS AMG ROADSTER stop start
[x] Cancel search: stop startPage 94 of 292
Parking position for the exterior
mirror on the front-passenger side
Setting and storing the parking position You can position the front-passenger side
exterior mirror in such a way that you can see
the rear wheel on that side as soon as you
engage reverse gear. You can store this
position. X
Select key position 2with the Start/Stop
button.
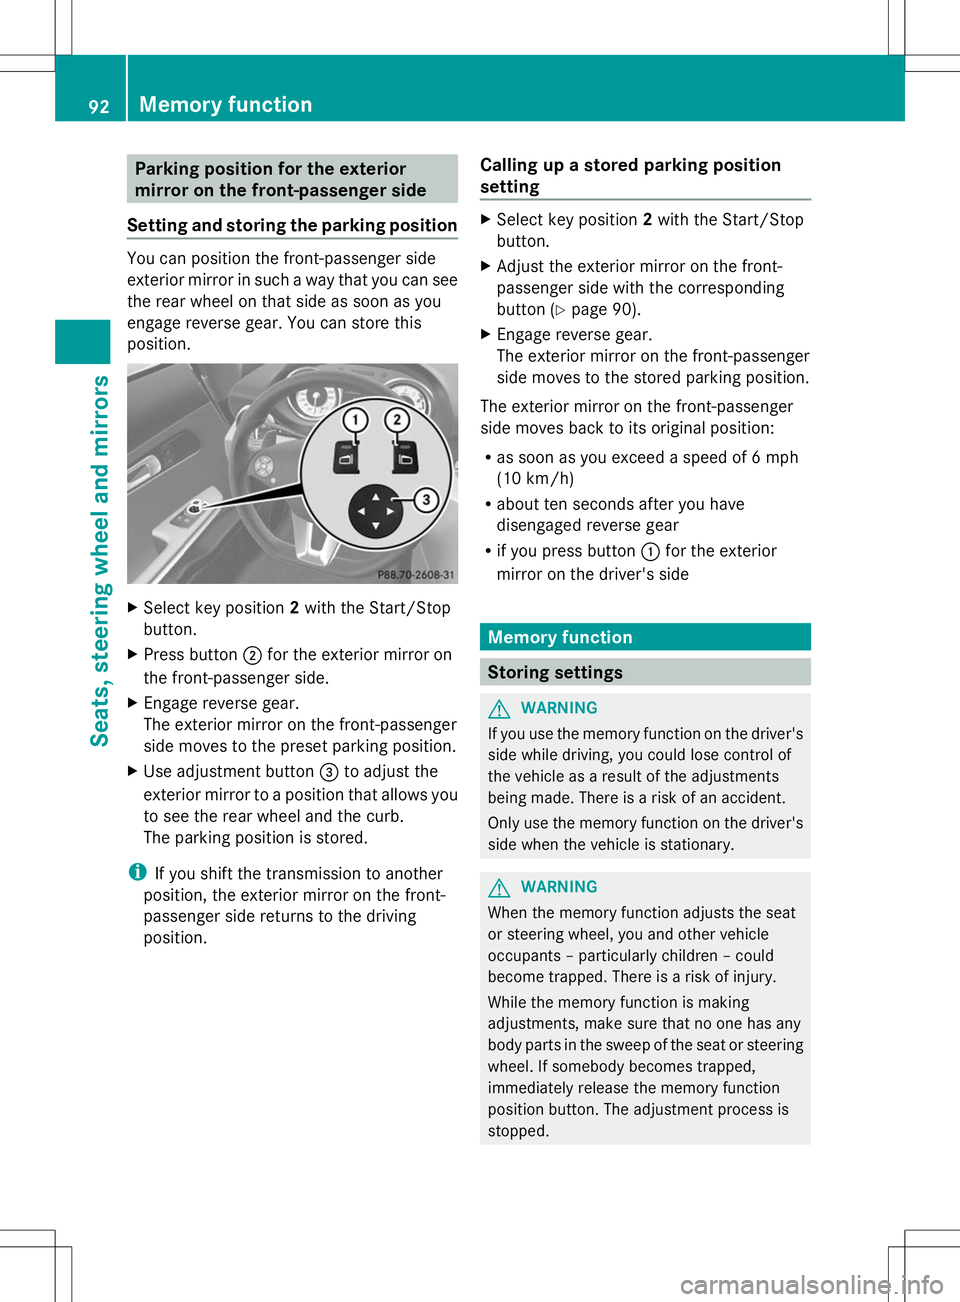
X Press button ;for the exterior mirror on
the front-passenger side.
X Engage reverse gear.
The exterior mirror on the front-passenger
side moves to the preset parking position.
X Use adjustment button =to adjust the
exterior mirror to a position that allows you
to see the rear wheel and the curb.
The parking position is stored.
i If you shift the transmission to another
position, the exterior mirror on the front-
passenger side returns to the driving
position. Calling up a stored parking position
setting X
Select key position 2with the Start/Stop
button.
X Adjust the exterior mirror on the front-
passenger side with the corresponding
button (Y page 90).
X Engage reverse gear.
The exterior mirror on the front-passenger
side moves to the stored parking position.
The exterior mirror on the front-passenger
side moves back to its original position:
R as soon as you exceed a speed of 6 mph
(10 km/h)
R about ten seconds after you have
disengaged reverse gear
R if you press button :for the exterior
mirror on the driver's side Memory function
Storing settings
G
WARNING
If you use the memory function on the driver's
side while driving, you could lose control of
the vehicle as a result of the adjustments
being made. There is a risk of an accident.
Only use the memory function on the driver's
side when the vehicle is stationary. G
WARNING
When the memory function adjusts the seat
or steering wheel, you and other vehicle
occupants – particularly children – could
become trapped. There is a risk of injury.
While the memory function is making
adjustments, make sure that no one has any
body parts in the sweep of the seat or steering
wheel. If somebody becomes trapped,
immediately release the memory function
position button. The adjustment process is
stopped. 92
Memory functionSeats, steering wheel and mirrors
Page 95 of 292
G
WARNING
Children could become trapped if they
activate the memory function, particularly
when unattended. There is a risk of injury.
When leaving the vehicle, always take the
SmartKey with you and lock the vehicle. Never
leave children unsupervised in the vehicle.
With the memory function, you can store up
to three different settings, e.g. for three
different people.
The following settings are stored as a single
memory preset:
R seat and backrest position
R driver's side: steering wheel position
R driver's side: position of the exterior
mirrors on the driver's and front-passenger
sides X
Select key position 2with the Start/Stop
button.
X Adjust the seat (Y page 86).
X On the driver's side, adjust the steering
wheel (Y page 89) and the exterior mirrors
(Y page 90).
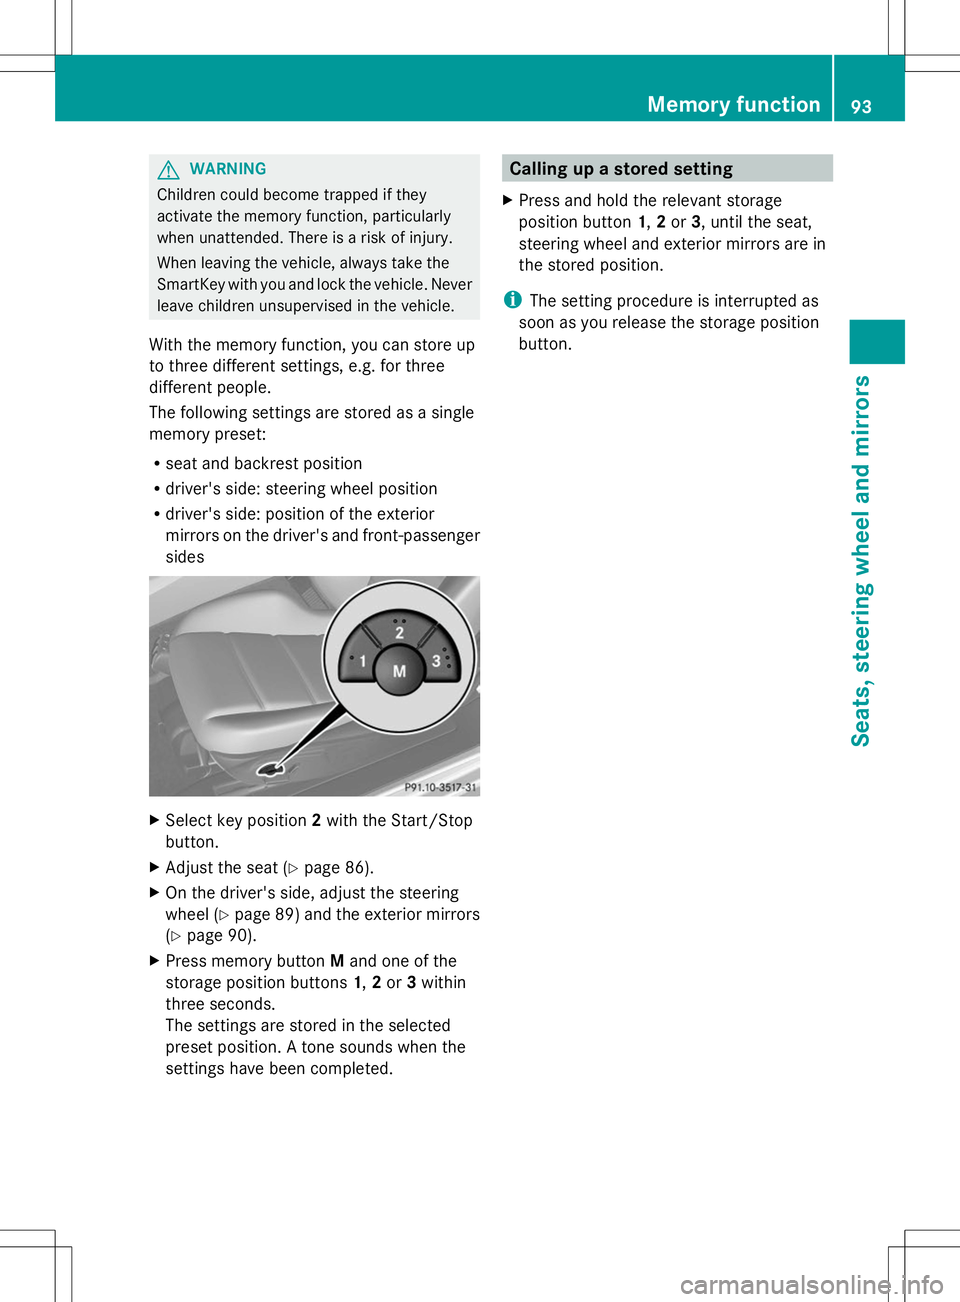
X Press memory button Mand one of the
storage position buttons 1,2or 3within
three seconds.
The settings are stored in the selected
preset position. A tone sounds when the
settings have been completed. Calling up a stored setting
X Press and hold the relevant storage
position button 1,2or 3, until the seat,
steering wheel and exterior mirrors are in
the stored position.
i The setting procedure is interrupted as
soon as you release the storage position
button. Memory function
93Seats, steering wheel and mirrors Z
Page 104 of 292
according to the intensity of the rain. In
the Å position, the rain sensor is more
sensitive than in the Äposition, causing
the windshield wipers to wipe more
frequently.
If the wiper blades are worn, the windshield
will no longer be wiped properly. This could
prevent you from observing the traffic
conditions. Replace the wiper blades twice a
year, ideally in spring and fall. Replacing the wiper blades
Important safety notes G
WARNING
If the windshield wipers begin to move while
you are changing the wiper blades, you could
be trapped by the wiper arm. There is a risk
of injury.
Always switch off the windshield wipers and
ignition before changing the wiper blades.
! To avoid damaging the wiper blades,
make sure that you touch only the wiper
arm of the wiper.
! Never open the hood if a windshield wiper
arm has been folded away from the
windshield.
Never fold a windshield wiper arm without
a wiper blade back onto the windshield.
Hold the windshield wiper arm firmly when
you change the wiper blade. If you release
the windshield wiper arm without a wiper
blade and it falls onto the windshield, the
windshield may be damaged by the force of
the impact.
Mercedes-Benz recommends that you have
the wiper blades changed at a qualified
specialist workshop. Replacing the wiper blades Removing the wiper blades
X
Switch off the engine.
X Remove your foot from the brake pedal.
X Set the windshield wiper to the °
position.
X Press the Start/Stop button repeatedly
until the windshield wipers start.
X When the wiper arms have reached a
vertical position, press the Start/Stop
button.
X Fold the wiper arm away from the
windshield until it engages.
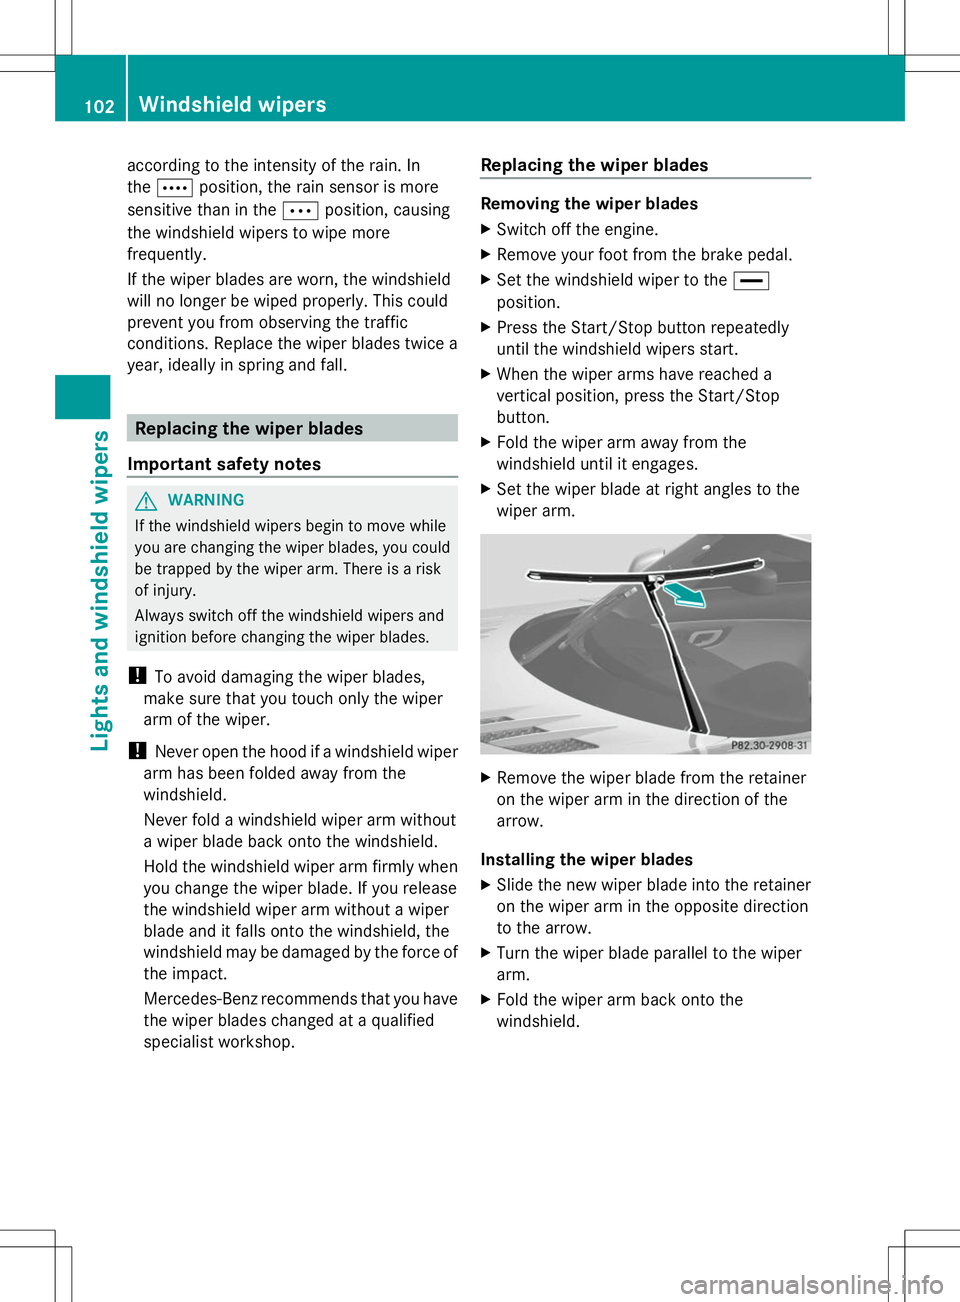
X Set the wiper blade at right angles to the
wiper arm. X
Remove the wiper blade from the retainer
on the wiper arm in the direction of the
arrow.
Installing the wiper blades
X Slide the new wiper blade into the retainer
on the wiper arm in the opposite direction
to the arrow.
X Turn the wiper blade parallel to the wiper
arm.
X Fold the wiper arm back onto the
windshield. 102
Windshield wipersLights and windshield wipers
Page 105 of 292
Problems with the windshield wipers
Problem Possible causes/consequences and
M
MSolutions The windshield wipers
are jammed. Leaves or snow, for example, may be obstructing the windshield
wiper movement. The wiper motor has been deactivated.
X
Switch off the engine using the Start/Stop button and open the
driver's door.
X Remove the cause of the obstruction.
X Switch the windshield wipers back on. The windshield wipers
fail completely. The windshield wiper drive is malfunctioning.
X
Select another wiper speed on the combination switch.
X Have the windshield wipers checked at a qualified specialist
workshop. The windshield washer
fluid from the spray
nozzles no longer hits
the center of the
windshield. The spray nozzles are misaligned.
X
Have the spray nozzles adjusted at a qualified specialist
workshop. The wiper arms are on
the windshield. The wiper arms have been moved by an external force.
X
Select key position 2(ignition) with the Start/Stop button.
The wiper arms move back down automatically. Windshield wipers
103Lights and windshield wipers Z
Page 110 of 292
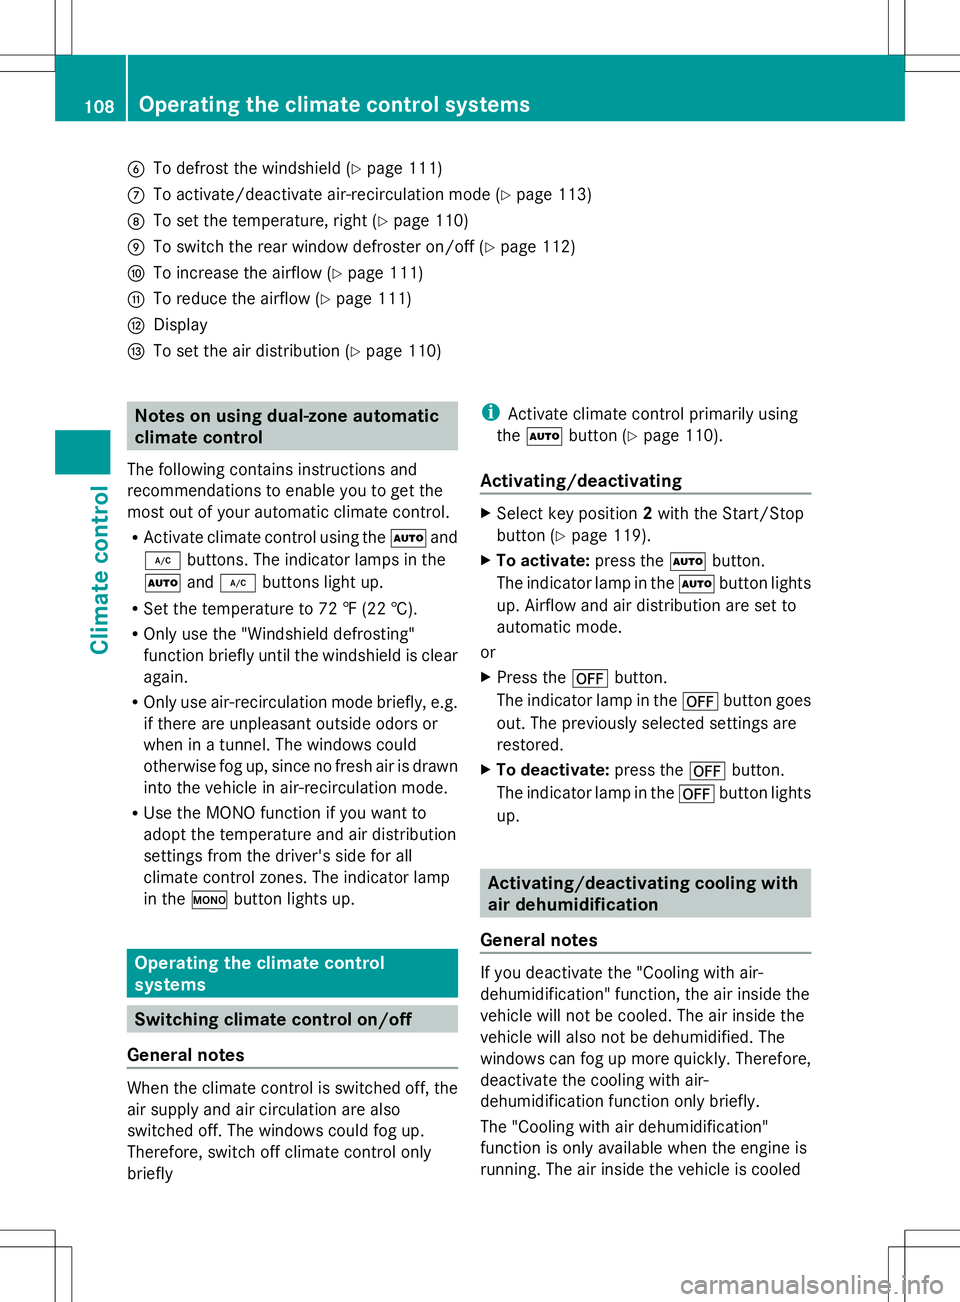
B
To defrost the windshield (Y page 111)
C To activate/deactivate air-recirculation mode (Y page 113)
D To set the temperature, right (Y page 110)
E To switch the rear window defroster on/off (Y page 112)
F To increase the airflow (Y page 111)
G To reduce the airflow (Y page 111)
H Display
I To set the air distribution (Y page 110)Notes on using dual-zone automatic
climate control
The following contains instructions and
recommendations to enable you to get the
most out of your automatic climate control.
R Activate climate control using the Ãand
¿ buttons. The indicator lamps in the
à and¿ buttons light up.
R Set the temperature to 72 ‡ (22 †).
R Only use the "Windshield defrosting"
function briefly until the windshield is clear
again.
R Only use air-recirculation mode briefly, e.g.
if there are unpleasant outside odors or
when in a tunnel. The windows could
otherwise fog up, since no fresh air is drawn
into the vehicle in air-recirculation mode.
R Use the MONO function if you want to
adopt the temperature and air distribution
settings from the driver's side for all
climate control zones. The indicator lamp
in the ºbutton lights up. Operating the climate control
systems
Switching climate control on/off
General notes When the climate control is switched off, the
air supply and air circulation are also
switched off. The windows could fog up.
Therefore, switch off climate control only
briefly i
Activate climate control primarily using
the à button (Y page 110).
Activating/deactivating X
Select key position 2with the Start/Stop
button (Y page 119).
X To activate: press theÃbutton.
The indicator lamp in the Ãbutton lights
up. Airflow and air distribution are set to
automatic mode.
or
X Press the ^button.
The indicator lamp in the ^button goes
out. The previously selected settings are
restored.
X To deactivate: press the^button.
The indicator lamp in the ^button lights
up. Activating/deactivating cooling with
air dehumidification
General notes If you deactivate the "Cooling with air-
dehumidification" function, the air inside the
vehicle will not be cooled. The air inside the
vehicle will also not be dehumidified. The
windows can fog up more quickly. Therefore,
deactivate the cooling with air-
dehumidification function only briefly.
The "Cooling with air dehumidification"
function is only available when the engine is
running. The air inside the vehicle is cooled108
Operating the climate control systemsClimate control
Page 112 of 292
Problems with the "Cooling with air dehumidification" function
Problem Possible causes/consequences and
M
MSolutions The indicator lamp in
the
¿ button
flashes three times or
remains off. The
"Cooling with air
dehumidification"
function cannot be
switched on. Cooling with air dehumidification has been deactivated due to a
malfunction.
X
Visit a qualified specialist workshop. Setting climate control to automatic
General notes In automatic mode, the set temperature is
controlled automatically. The system
automatically regulates the temperature of
the dispensed air, the airflow and the air
distribution.
The automatic mode functions optimally
when the "Cooling with air dehumidification"
function is activated. If necessary, cooling
with air dehumidification can be deactivated.
If you deactivate the "Cooling with air-
dehumidification" function, the air inside the
vehicle will not be cooled. The air inside the
vehicle will also not be dehumidified. The
windows can fog up more quickly. Therefore,
deactivate the cooling with air-
dehumidification function only briefly.
Activating/switching X
Select key position 2with the Start/Stop
button (Y page 119).
X Set the desired temperature. X
To activate: press theÃbutton.
The indicator lamp in the Ãbutton lights
up. Automatic air distribution and airflow
are activated.
X To switch to manual mode: press the
à button.
The indicator lamp in the Ãbutton goes
out. Automatic air distribution and airflow
are deactivated. Setting the temperature
Different temperatures can be set for the
driver's and front-passenger sides.
X Select key position 2with the Start/Stop
button (Y page 119).
X To increase/reduce: turn controls:and
D clockwise or counter-clockwise
(Y page 107).
Only change the temperature setting in
small increments. Start at 72 ‡ (22 †). Setting the air distribution
Air distribution settings ¯
Directs air through the defroster vents
P Directs air through the center and side
air vents
O Directs air through the footwell air
vents 110
Operating the climate control systemsClimate control
Page 113 of 292
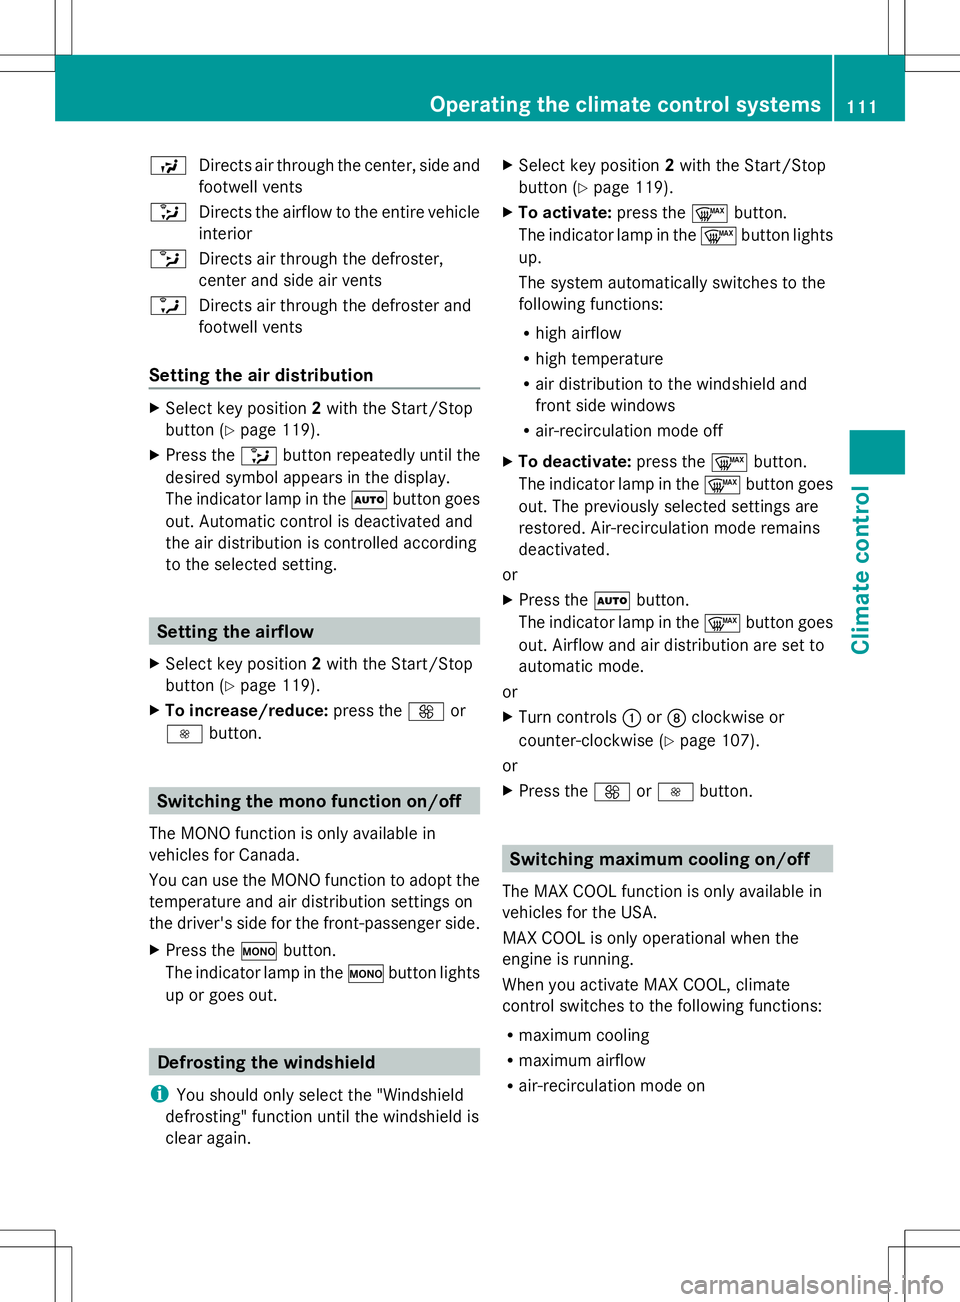
S
Directs air through the center, side and
footwell vents
_ Directs the airflow to the entire vehicle
interior
b Directs air through the defroster,
center and side air vents
a Directs air through the defroster and
footwell vents
Setting the air distribution X
Select key position 2with the Start/Stop
button ( Ypage 119).
X Press the _button repeatedly until the
desired symbol appears in the display.
The indicator lamp in the Ãbutton goes
out. Automatic control is deactivated and
the air distribution is controlled according
to the selected setting. Setting the airflow
X Select key position 2with the Start/Stop
button ( Ypage 119).
X To increase/reduce: press theKor
I button. Switching the mono function on/off
The MONO function is only available in
vehicles for Canada.
You can use the MONO function to adopt the
temperature and air distribution settings on
the driver's side for the front-passenger side.
X Press the ºbutton.
The indicator lamp in the ºbutton lights
up or goes out. Defrosting the windshield
i You should only select the "Windshield
defrosting" function until the windshield is
clear again. X
Select key position 2with the Start/Stop
button ( Ypage 119).
X To activate: press the¬button.
The indicator lamp in the ¬button lights
up.
The system automatically switches to the
following functions:
R high airflow
R high temperature
R air distribution to the windshield and
front side windows
R air-recirculation mode off
X To deactivate: press the¬button.
The indicator lamp in the ¬button goes
out. The previously selected settings are
restored. Air-recirculation mode remains
deactivated.
or
X Press the Ãbutton.
The indicator lamp in the ¬button goes
out. Airflow and air distribution are set to
automatic mode.
or
X Turn controls :orD clockwise or
counter-clockwise ( Ypage 107).
or
X Press the KorI button. Switching maximum cooling on/off
The MAX COOL function is only available in
vehicles for the USA.
MAX COOL is only operational when the
engine is running.
When you activate MAX COOL, climate
control switches to the following functions:
R maximum cooling
R maximum airflow
R air-recirculation mode on Operating the climate control systems
111Climate control
Page 114 of 292
X
To activate: press theÙbutton.
The indicator lamp in the button lights up.
X To deactivate: press theÙbutton
again.
The indicator lamp in the button goes out.
The previously selected settings come into
effect again.
i To deactivate MAX COOL press the ^,
Ã, or ¬button. Defrosting the windows
Windows fogged up on the inside X
Activate the "Cooling with air
dehumidification" function ¿.
X Activate automatic mode Ã.
X If the windows continue to fog up, activate
the "Windshield defrosting" function ¬.
Windows fogged up on the outside X
Activate the windshield wipers.
X Press the _button repeatedly until the
O orP symbol appears in the
display.
i You should only select this setting until
the windshield is clear again. Rear window defroster
General notes The rear window defroster has a high current
draw. You should therefore switch it off as
soon as the rear window is clear. Otherwise,
the rear window defroster switches off
automatically after several minutes.
If the battery voltage is too low, the rear
window defroster may switch off. Activating/deactivating X
Select key position 2with the Start/Stop
button ( Ypage 119).
X Press the ¤button.
The indicator lamp in the ¤button lights
up or goes out. 112
Operating the climate control systemsClimate control