2014 MERCEDES-BENZ SLS AMG GT COUPE service
[x] Cancel search: servicePage 224 of 290
X
To open: pull cap0043upwards by the tab.
X Add the premixed washer fluid.
X To close: press cap 0043onto the filler neck
until it engages.
If the washer fluid level drops below the
recommended minimum of 1 liter, a message
appears in the multifunction display
prompting you to add washer fluid
(Y page 185).
Further information on windshield washer
fluid/antifreeze (Y page 284).Maintenance
Service interval display
Service messages Information on the type of service and service
intervals (see the separate Maintenance
Booklet).
You can obtain further information from an
authorized Mercedes-Benz Center or at
http://www.mbusa.com (USA only).
The service interval message informs you of
the next service due date.
If a service due date has been exceeded, you
also hear a warning tone.
The multifunction display shows a service
message for several seconds, e.g.:
Next Service A in .. days
Next Service A in .. days
Service A Due Service A Due
Service A Exceeded by .. days Service A Exceeded by .. days
The letter indicates which service is due. A A
stands for a minor service and B
Bfor a major
service. A number or another letter may be
displayed after the letter. This figure indicates
any necessary additional maintenance work
to be performed.
You can obtain further information from an
authorized Mercedes-Benz Center.
The service interval display does not take into
account any periods of time during which the
battery is disconnected. Maintaining the time-dependent service
schedule:
X
Note down the service due date displayed
in the multifunction display before
disconnecting the battery.
or
X After reconnecting the battery, subtract
the battery disconnection periods from the
service date shown on the display.
i The service interval display does not
provide any information regarding the
engine's oil level. Observe the notes on the
engine oil level (Y page 219).
Hiding a service message X
Press the 0038or0076 button on the
steering wheel.
Displaying service messages X
Switch on the ignition.
X Press the 0059or0065 button on the
steering wheel to select the Serv. Serv.menu.
X Press the 0063or0064 button to select the
ASSYST PLUS
ASSYST PLUS submenu and confirm by
pressing the 0076button.
The service due date appears in the
multifunction display.
Points to remember Resetting the service interval display
A qualified specialist workshop, e.g. an
authorized Mercedes-Benz Center, will reset
the service interval display after the
necessary service work has been carried out.
You can also obtain further information on
maintenance work, for example.
! If the service interval display has been
reset unintentionally, have the setting
corrected at a Mercedes-Benz Center.
Have service work carried out as described
in the Maintenance Booklet. This may
otherwise lead to increased wear and 222
MaintenanceMaintenance and care
Page 225 of 290
damage to the major assemblies or the
vehicle.
Special service requirements
The specified maintenance interval takes only
the normal operation of the vehicle into
account. Under arduous operating conditions
or increased load on the vehicle,
maintenance work must be carried out more
frequently, for example:
R regular city driving with frequent
intermediate stops
R if the vehicle is primarily used to travel
short distances
R use in mountainous terrain or on poor road
surfaces
R if the engine is often left idling for long
periods
Under these or similar conditions, have, for
example, the air filter, engine oil and oil filter
replaced or changed more frequently. Under
arduous operating conditions, the tires must
be checked more often. Further information
can be obtained at a qualified specialist
workshop, e.g. an authorized Mercedes-Benz
Center.
Driving abroad
An extensive Mercedes-Benz Service network
is also available in other countries. You can
obtain further information from any
authorized Mercedes-Benz Center. Care
General notes
Regular care of your vehicle is a condition for
retaining the quality in the long term.
Use care products and cleaning agents
recommended and approved by Mercedes-
Benz.
! For cleaning your vehicle, do not use any
of the following:
R dry, rough or hard cloths
R abrasive cleaning agents R
solvents
R cleaning agents containing solvents
Do not scrub.
Do not touch the surfaces or protective
films with hard objects, e.g. a ring or ice
scraper. You could otherwise scratch or
damage the surfaces and protective film. H
Environmental note
Dispose of empty packaging and cleaning
cloths in an environmentally responsible
manner.
! Do not park the vehicle for an extended
period straight after cleaning it, particularly
after having cleaned the wheels with wheel
cleaner. Wheel cleaners could cause
increased corrosion of the brake discs and
brake pads/linings. For this reason, you
should drive for a few minutes after
cleaning. Braking heats the brake discs and
the brake pads/linings, thus drying them.
The vehicle can then be parked. Exterior care
Automatic car wash G
WARNING
Braking efficiency is reduced after washing
the vehicle. There is a risk of an accident.
After the vehicle has been washed, brake
carefully while paying attention to the traffic
conditions until full braking power is restored.
You can wash the vehicle in an automatic car
wash from the very start.
If the vehicle is very dirty, pre-wash it before
cleaning it in an automatic car wash.
! Never clean your vehicle in a Touchless
Automatic Car Wash as these use special
cleaning agents. These cleaning agents can
damage the paintwork or plastic parts.
! When washing your vehicle in a tow-
through car wash, use the SmartKey
instead of the Start/Stop button. Care
223Maintenance and care Z
Page 240 of 290
special collection point for
used batteries.
! Have the battery checked regularly at a
qualified specialist workshop.
Observe the service intervals in the
Maintenance Booklet or contact a qualified
specialist workshop for more information.
! You should have all work involving the
battery carried out at a qualified specialist
workshop. In the exceptional case that it is
necessary for you to disconnect the battery
yourself, make sure that:
R you switch off the engine and remove the
SmartKey. On vehicles with KEYLESS-
GO, ensure that the ignition is switched
off. Check that all the indicator lamps in
the instrument cluster are off. Otherwise,
electronic components, such as the
alternator, may be damaged.
R you first remove the negative terminal
clamp and then the positive terminal
clamp. Never swap the terminal clamps.
Otherwise, the vehicle's electronic
system may be damaged.
R the transmission is locked in position P
after disconnecting the battery. The
vehicle is secured against rolling away.
You can then no longer move the vehicle.
The battery and the cover of the positive
terminal clamp must be installed securely
during operation.
Comply with safety precautions and take
protective measures when handling
batteries. Risk of explosion.
Fire, open flames and smoking are
prohibited when handling the
battery. Avoid creating sparks. Battery acid is caustic. Avoid
contact with skin, eyes or clothing. Wear suitable protective clothing,
especially gloves, apron and
faceguard.
Rinse any acid spills immediately
with clear water. Contact a
physician if necessary. Wear eye protection.
Keep children away.
Observe this Operator's Manual.
For safety reasons, Mercedes-Benz
recommends that you only use batteries
which have been tested and approved for
your vehicle by Mercedes-Benz. These
batteries provide increased impact
protection to prevent vehicle occupants from
suffering acid burns should the battery be
damaged in the event of an accident.
In order for the battery to achieve the
maximum possible service life, it must always
be sufficiently charged.
The vehicle battery, like other batteries, can
discharge over time if you do not use the
vehicle. In this case, have the battery
disconnected at a qualified specialist
workshop. You can also charge the battery
with a charger recommended by Mercedes-
Benz. Contact a qualified specialist workshop
for further information.
Have the battery condition of charge checked
more frequently if you use the vehicle mainly
for short trips or if you leave it standing idle
for a lengthy period. Consult a qualified
specialist workshop if you wish to leave your
vehicle parked for a long period of time.
i Remove the SmartKey if you park the
vehicle and do not require any electrical
consumers. The vehicle will then use very 238
Battery (vehicle)Breakdown assistance
Page 251 of 290
over curbs, speed humps or similar
elevations, try to do so slowly and at an
obtuse angle. Otherwise, the tires,
particularly the sidewalls, may be
damaged.
Notes on high performance tires
G
WARNING
Due to the special tire tread in combination
with the optimized rubber compound, there is
an increased risk of hydroplaning and
skidding on a damp or wet road surface. tire
grip is also noticeably reduced at low outside
temperatures and low tire operating
temperatures. There is a risk of an accident.
Turn on ESP ®
and adapt your driving style
accordingly. When the outside temperature
falls below 10 †, use M+S tires.
i Different driving styles may lead to high
tire wear and the tires may reach the
minimum tire tread depth after only a short
time. Regular checking of wheels and tires
G
WARNING
Damaged tires can cause tire inflation
pressure loss. As a result, you could lose
control of your vehicle. There is a risk of
accident.
Check the tires regularly for signs of damage
and replace any damaged tires immediately.
Regularly check the wheels and tires of your
vehicle for damage at least once a month, as
well as after driving off-road or on rough
roads. Damaged wheels can cause a loss of
tire pressure. Pay particular attention to
damage such as:
R cuts in the tires
R punctures
R tears in the tires R
bulges on tires
R deformation or severe corrosion on wheels
Regularly check the tire tread depth and the
condition of the tread across the whole width
of the tire (Y page 249). If necessary, turn
the front wheels to full lock in order to inspect
the inner side of the tire surface.
All wheels must have a valve cap to protect
the valve against dirt and moisture. Do not
mount anything onto the valve other than the
standard valve cap or other valve caps
approved by Mercedes-Benz for your vehicle.
Do not use any other valve caps or systems,
e.g. tire pressure monitoring systems.
Regularly check the pressure of all the tires
particularly prior to long trips. Adjust the tire
pressure as necessary (Y page 251).
The service life of tires depends on the
following factors amongst other things:
R driving style
R tire pressure
R distance covered Tire tread
G
WARNING
Insufficient tire tread will reduce tire traction.
The tire is no longer able to dissipate water.
This means that on wet road surfaces, the risk
of hydroplaning increases, in particular where
speed is not adapted to suit the driving
conditions. There is a risk of accident.
If the tire pressure is too high or too low, tires
may exhibit different levels of wear at
different locations on the tire tread. Thus, you
should regularly check the tread depth and
the condition of the tread across the entire
width of all tires.
Minimum tire tread depth for:
R Summer tires: 00CEin (3 mm)
R M+S tires: 00CFin (4 mm)
For safety reasons, replace the tires before
the legally prescribed limit for the minimum
tire tread depth is reached. Operation
249Wheels and tires Z
Page 257 of 290

drops in one or more of the tires. The tire
pressure monitor only functions if the correct
sensors are installed on all wheels.
Information on tire pressures is displayed in
the multifunction display. After a few minutes
of driving, the current tire pressure of each
tire is shown in the Service
Service menu of the
multifunction display. Example
For information on the message display, refer
to the "Checking the tire pressure
electronically" section (Y page 256).
Important safety notes G
WARNING
Each tire, including the spare (if provided),
should be checked at least once every two
weeks when cold and inflated to the pressure
recommended by the vehicle manufacturer
on the Tire and Loading Information placard
on the driver's door B-pillar or the tire
pressure label on the inside of the fuel filler
flap. If your vehicle has tires of a different size
than the size indicated on the Tire and Loading
Information placard or, if available, the tire
pressure label, you should determine the
proper tire pressure for those tires.
As an added safety feature, your vehicle has
been equipped with a tire pressure monitoring
system (TPMS) that illuminates a low tire
pressure telltale when one or more of your
tires are significantly underinflated.
Accordingly, when the low tire pressure
telltale lights up, you should stop and check
your tires as soon as possible, and inflate
them to the proper pressure. Driving on a
significantly underinflated tire causes the tire
to overheat and can lead to tire failure. Underinflation also reduces fuel efficiency
and tire tread life, and may affect the vehicle's
handling and stopping ability. Please note that
the TPMS is not a substitute for proper tire
maintenance, and it is the driver's
responsibility to maintain correct tire
pressure, even if underinflation has not
reached the level to trigger illumination of the
TPMS low tire pressure telltale.
Your vehicle has also been equipped with a
TPMS malfunction indicator to indicate when
the system is not operating properly. The
TPMS malfunction indicator is combined with
the low tire pressure telltale. When the
system detects a malfunction, the warning
lamp will flash for approximately a minute and
then remain continuously illuminated. This
sequence will be repeated every time the
vehicle is started as long as the malfunction
exists. When the malfunction indicator is
illuminated, the system may not be able to
detect or signal low tire pressure as intended.
TPMS malfunctions may occur for a variety of
reasons, including the installation of
incompatible replacement or alternate tires
or wheels on the vehicle that prevent the
TPMS from functioning properly. Always
check the TPMS malfunction telltale after
replacing one or more tires or wheels on your
vehicle to ensure that the replacement or
alternate Tires and wheels allow the TPMS to
continue to function properly.
It is the driver's responsibility to set the tire
pressure to that recommended for cold tires
which is suitable for the operating situation
(Y page 251). Note that the correct tire
pressure for the current operating situation
must first be taught-in to the tire pressure
monitor. If there is a substantial loss of
pressure, the warning threshold for the
warning message is aligned to the reference
values taught-in. Restart the tire pressure
monitor after adjusting the pressure of the
cold tires (Y page 257). The current
pressures are saved as new reference values. Tire pressure
255Wheels and tires Z
Page 263 of 290

Gross axle weight rating:
the maximum
permissible weight that can be carried by one
axle (front or rear axle).
To ensure that your vehicle does not exceed
the maximum permissible values (gross
vehicle weight and maximum gross axle
weight rating), have your loaded vehicle
(including driver, occupants, cargo, and full
trailer load if applicable) weighed on a
suitable vehicle weighbridge. All about wheels and tires
Uniform Tire Quality Grading
Standards
Overview of Tire Quality Grading
Standards Uniform Tire Quality Grading Standards are
U.S. government specifications. Their
purpose is to provide drivers with uniform
reliable information on tire performance data.
tire manufacturers have to grade tires using
three performance factors: tread wear 0043,
tire traction 0044and heat resistance 0087. All
tires sold in North America are provided with
the corresponding quality class mark on the
sidewall of the tire, even though these
regulations do not apply to Canada.
Quality grades can be found, where
applicable, on the tire sidewall between the
tread shoulder and maximum tire width. Example:
R
Treadwear grade: 200
R Traction grade: AA
R Temperature grade: A
All passenger car tires must conform to the
statutory safety requirements in addition to
these grades.
i The actual values for tires are vehicle-
specific and may deviate from the values in
the illustration.
Treadwear The treadwear grade is a comparative rating
based on the wear rate of the tire when tested
under controlled conditions on a specified
U.S. government course. For example, a tire
graded 150 would wear one and one-half
times as well on the government course as a
tire graded 100.
The relative performance of tires depends
upon the actual conditions of their use,
however, and may depart significantly from
the norm due to variations in driving habits,
service practices and differences in road
characteristics and climate conditions.
Traction
G
WARNING
The traction grade assigned to this tire is
based on straight-ahead braking traction
tests, and does not include acceleration,
cornering, hydroplaning, or peak traction
characteristics.
! Avoid wheelspin. This can lead to damage
to the drive train.
The traction grades – from highest to lowest
– are AA, A, B and C. Those grades represent
the tire's ability to stop on wet pavement as
measured under controlled conditions on
specified government test surfaces of asphalt
and concrete. A tire marked C may have poor
traction performance. All about wheels and tires
261Wheels and tires Z
Page 266 of 290
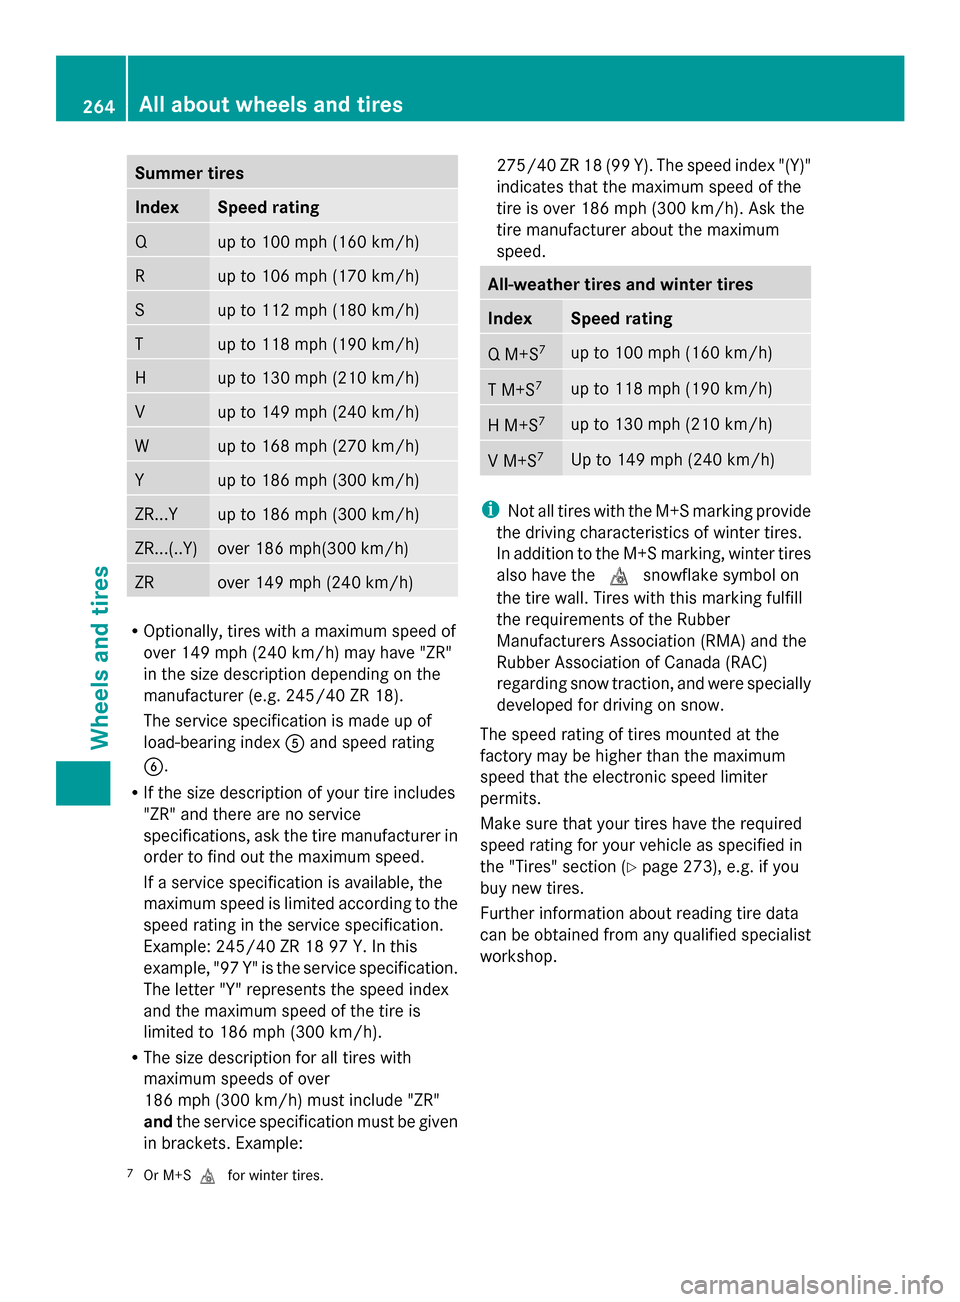
Summer tires
Index Speed rating
Q up to 100 mph (160 km/h)
R up to 106 mph (170 km/h)
S up to 112 mph (180 km/h)
T up to 118 mph (190 km/h)
H up to 130 mph (210 km/h)
V up to 149 mph (240 km/h)
W up to 168 mph (270 km/h)
Y up to 186 mph (300 km/h)
ZR...Y up to 186 mph (300 km/h)
ZR...(..Y) over 186 mph(300 km/h)
ZR over 149 mph (240 km/h)
R
Optionally, tires with a maximum speed of
over 149 mph (240 km/h) may have "ZR"
in the size description depending on the
manufacturer (e.g. 245/40 ZR 18).
The service specification is made up of
load-bearing index 0083and speed rating
0084.
R If the size description of your tire includes
"ZR" and there are no service
specifications, ask the tire manufacturer in
order to find out the maximum speed.
If a service specification is available, the
maximum speed is limited according to the
speed rating in the service specification.
Example: 245/40 ZR 18 97 Y.In this
example, "97 Y" is the service specification.
The letter "Y" represents the speed index
and the maximum speed of the tire is
limited to 186 mph (300 km/h).
R The size description for all tires with
maximum speeds of over
186 mph (300 km/h) must include "ZR"
and the service specification must be given
in brackets. Example: 275/40 ZR 18 (99 Y). The speed index "(Y)"
indicates that the maximum speed of the
tire is over 186 mph (300 km/h). Ask the
tire manufacturer about the maximum
speed. All-weather tires and winter tires
Index Speed rating
Q M+S
7 up to 100 mph (160 km/h)
T M+S
7 up to 118 mph (190 km/h)
H M+S
7 up to 130 mph (210 km/h)
V M+S
7 Up to 149 mph (240 km/h)
i
Not all tires with the M+S marking provide
the driving characteristics of winter tires.
In addition to the M+S marking, winter tires
also have the 004Dsnowflake symbol on
the tire wall. Tires with this marking fulfill
the requirements of the Rubber
Manufacturers Association (RMA) and the
Rubber Association of Canada (RAC)
regarding snow traction, and were specially
developed for driving on snow.
The speed rating of tires mounted at the
factory may be higher than the maximum
speed that the electronic speed limiter
permits.
Make sure that your tires have the required
speed rating for your vehicle as specified in
the "Tires" section (Y page 273), e.g. if you
buy new tires.
Further information about reading tire data
can be obtained from any qualified specialist
workshop.
7 Or M+S004D for winter tires.264
All about wheels and tiresWheels and tires
Page 279 of 290
Useful information
............................278
Information regarding technical
data .................................................... 278
Warranty ............................................ 278
Identification plates .........................278
Service products and filling capaci-
ties ..................................................... 279
Vehicle data, Coupe ..........................284
Vehicle data, Roadster .....................285 277Technical data