2014 MERCEDES-BENZ S-CLASS COUPE start stop button
[x] Cancel search: start stop buttonPage 106 of 413
feature is only an aid, not a substitute for your
attention when closing the roller sunblind. G
WARNING
The reversing feature especially does not
react to soft, light and thin objects, such as
small fingers. This means that the reversing
feature cannot prevent someone being trap-
ped in these situations. There is a risk of
injury.
When closing make sure that no parts of the
body are in the sweep of the roller sunblind.
If someone is trapped:
R release the switch immediately or
R during automatic operation, press the
switch briefly in any direction
The closing process is stopped.
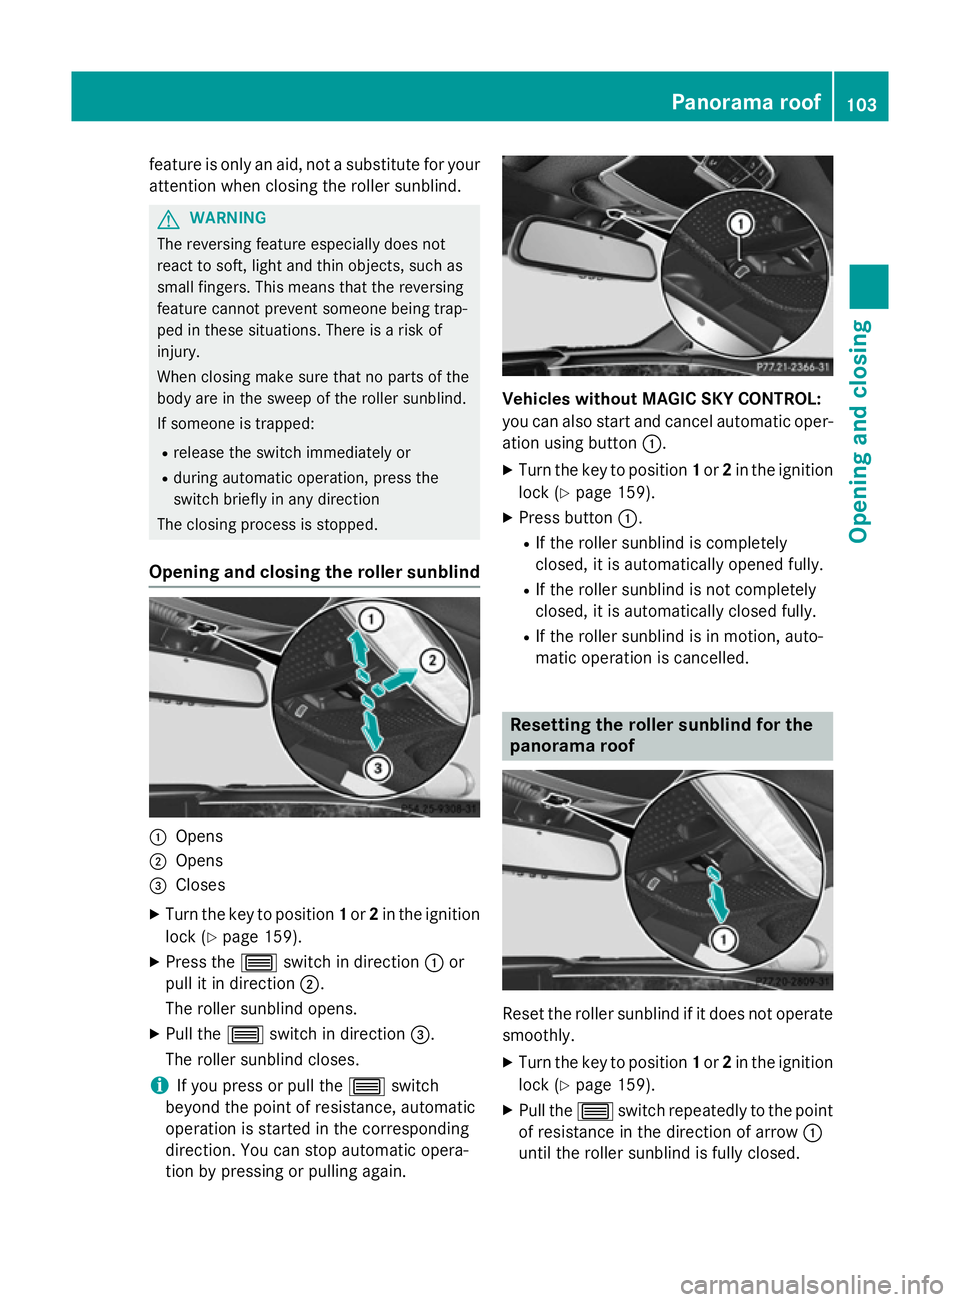
Opening and closing the roller sunblind :
Opens
; Opens
= Closes
X Turn the key to position 1or 2in the ignition
lock (Y page 159).
X Press the 3switch in direction :or
pull it in direction ;.
The roller sunblind opens.
X Pull the 3switch in direction =.
The roller sunblind closes.
i If you press or pull the
3switch
beyond the point of resistance, automatic
operation is started in the corresponding
direction. You can stop automatic opera-
tion by pressing or pulling again. Vehicles without MAGIC SKY CONTROL:
you can also start and cancel automatic oper-
ation using button :.
X Turn the key to position 1or 2in the ignition
lock (Y page 159).
X Press button :.
R If the roller sunblind is completely
closed, it is automatically opened fully.
R If the roller sunblind is not completely
closed, it is automatically closed fully.
R If the roller sunblind is in motion, auto-
matic operation is cancelled. Resetting the roller sunblind for the
panorama roof
Reset the roller sunblind if it does not operate
smoothly.
X Turn the key to position 1or 2in the ignition
lock (Y page 159).
X Pull the 3switch repeatedly to the point
of resistance in the direction of arrow :
until the roller sunblind is fully closed. Panorama roof
103Opening and closing Z
Page 120 of 413

The driver's seat moves backwards unless
it is already in the rearmost position.
Position of the steering wheel and the
driver's seat for driving The steering wheel and the driver's seat are
moved to the previously set position if:
R the driver's door is closed and you insert
the key into the ignition lock
R you close the driver's door when the igni-
tion is switched on
R you press the Start/Stop button once on
vehicles with KEYLESS-GO
i The steering wheel and the driver's seat
only return to the last set position when the
driving position is stored after seat or steer-
ing wheel adjustment (Y page 120).
The last position of the steering wheel or seat is stored if:
R the ignition is switched off
R the setting is stored using the memory
function (Y page 120)
Crash-responsive EASY-EXIT feature If the crash-responsive EASY-EXIT feature is
triggered in an accident, the steering column
will move upwards when the driver's door is
opened or the key is removed from the igni-
tion lock. This makes it easier to exit the vehi- cle and rescue the occupants.
The crash-responsive EASY-EXIT feature is
only operational if the EASY-EXIT/ENTRY fea-
ture is activated in COMAND Online (see the
separate operating instructions). Mirrors
Rear-view mirror
X
Anti-dazzle mode: pivot anti-dazzle
switch :forwards or back. Exterior mirrors
Important safety notes G
WARNING
You could lose control of the vehicle while
driving if you:
R adjust the driver's seat, steering wheel or
mirrors
R fasten the seat belt
There is a risk of an accident.
Adjust the driver's seat, head restraint, steer-
ing wheel and mirrors and fasten your seat
belt before starting the engine. G
WARNING
The exterior mirrors reduce the size of the
image. Objects visible in the mirrors are
closer than they appear. You could misjudge
the distance from road users driving behind
you when changing lanes, for instance. There is a risk of an accident.
You should therefore always look over your
shoulder to determine the actual distance
from road users driving behind you. Mirrors
117Seats, steering wheel and mirrors Z
Page 135 of 413

!
Vehicles with a rain sensor: if the wind-
screen becomes dirty in dry weather con-
ditions, the windscreen wipers may be acti- vated inadvertently. This could damage the
windscreen wiper blades or scratch the
windscreen.
For this reason, you should always switch
off the windscreen wipers in dry weather. 1
$ Windscreen wipers off
2 Ä Intermittent wipe, low (rain sensor
set to low sensitivity)
3 Å Intermittent wipe, high (rain sensor
set to high sensitivity)
4 ° Continuous wipe, slow
5 ¯ Continuous wipe, fast
B í Single wipe/î to wipe the wind-
screen using washer fluid
X Switch on the power supply with the Start/
Stop button or the key (Y page 159).
X Turn the combination switch to the corre-
sponding position.
In the ÄorÅ position, the appropriate
wiping frequency is set automatically accord- ing to the intensity of the rain. In the Å
position, the rain sensor is more sensitive
than in the Äposition, causing the wind-
screen wipers to wipe more frequently.
The washer fluid is fed through the wiper
blades; when the screen is wiped with washer
fluid î, the water is emitted directly from
the blades.
If you push the combination switch beyond
the point of resistance in the direction of
arrow Band hold it in this position, the man- ual wash programme is activated. If you
briefly push the combination switch beyond
the point of resistance in the direction of
arrow B, the automatic wash programme is
activated.
If the wiper blades are worn, the windscreen
will no longer be wiped properly. This could
prevent you from observing the traffic condi-
tions. Replacing the wiper blades
Important safety notes G
WARNING
If the windscreen wipers begin to move while
you are changing the wiper blades, you can be trapped by the wiper arm. There is a risk of
injury.
Always switch off the windscreen wipers and
ignition before changing the wiper blades.
! To avoid damaging the windscreen wiper
blades, make sure that you touch only the
wiper arm of the windscreen wiper.
! Never open the bonnet if a windscreen
wiper arm has been folded away from the
windscreen.
Hold the windscreen wiper arm firmly when you change the wiper blade. If you release
the windscreen wiper arm without a wiper
blade and it falls onto the windscreen, the
windscreen may be damaged by the force
of the impact.
Mercedes-Benz recommends that you have
the wiper blades changed at a qualified
specialist workshop.
! Always position the windscreen wiper
arms vertically before folding them away
from the windscreen. By doing so, you will
avoid damage to the bonnet. 132
Windscreen wipersLights and windscreen wipers
Page 137 of 413
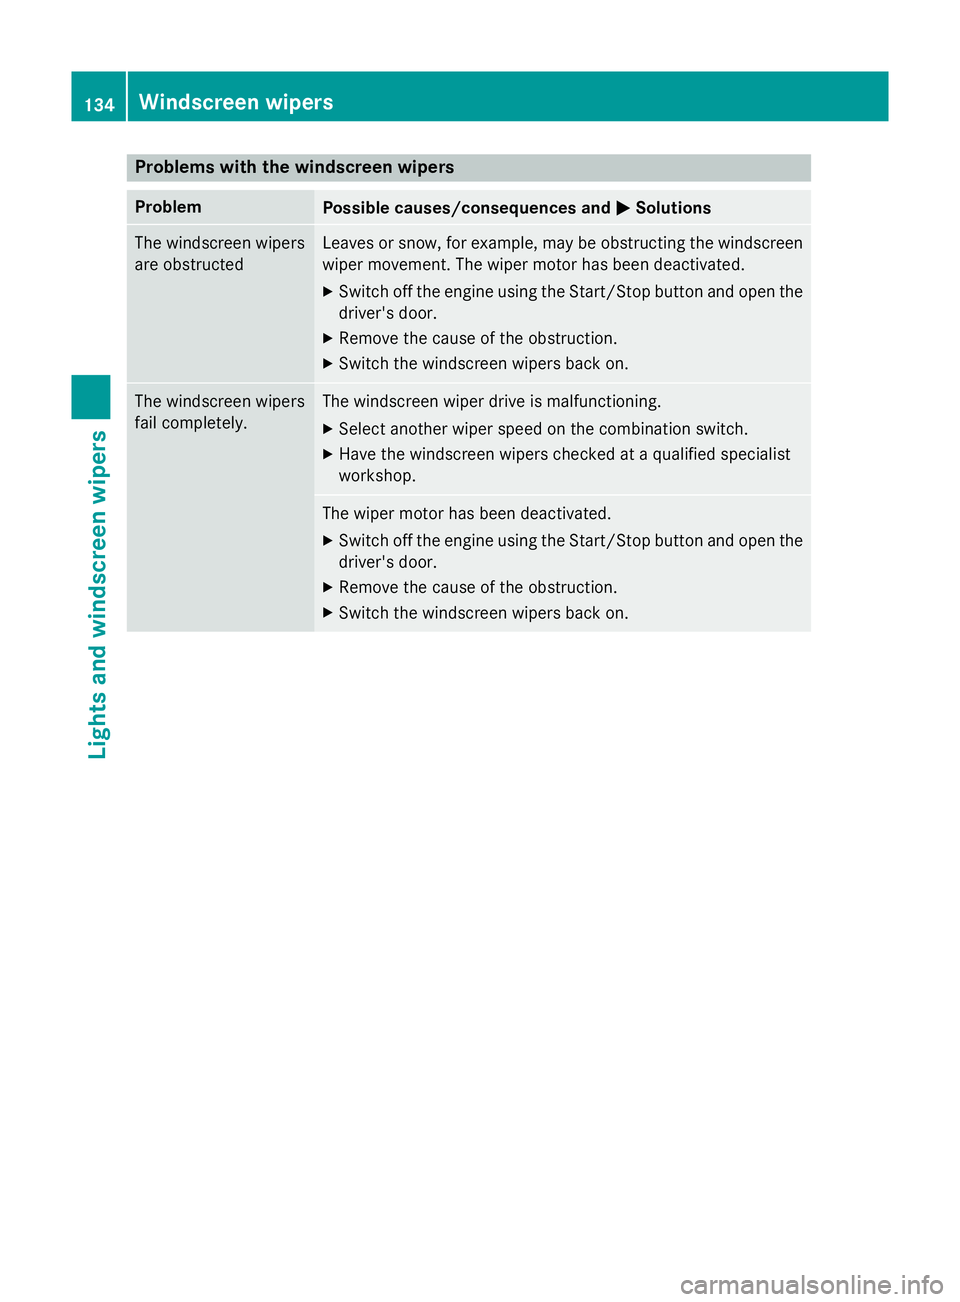
Problems with the windscreen wipers
Problem
Possible causes/consequences and
M
MSolutions The windscreen wipers
are obstructed Leaves or snow, for example, may be obstructing the windscreen
wiper movement. The wiper motor has been deactivated.
X Switch off the engine using the Start/Stop button and open the
driver's door.
X Remove the cause of the obstruction.
X Switch the windscreen wipers back on. The windscreen wipers
fail completely. The windscreen wiper drive is malfunctioning.
X Select another wiper speed on the combination switch.
X Have the windscreen wipers checked at a qualified specialist
workshop. The wiper motor has been deactivated.
X Switch off the engine using the Start/Stop button and open the
driver's door.
X Remove the cause of the obstruction.
X Switch the windscreen wipers back on. 134
Windscreen wipersLights and windscreen wipers
Page 142 of 413
residual heat function is deactivated when
the ignition is switched on.
ECO start/stop function During automatic engine switch-off, the cli-
mate control only operates at a reduced capa- city. If you require the full climate control out-
put, you can switch off the ECO start/stop
function by pressing the ECO button
(Y page 164). Operating the climate control system
Switching climate control on/off
General notes When the climate control is switched off, the
air supply and air circulation are also
switched off. The windows could mist up.
Therefore, only switch off climate control
briefly.
Switch on climate control primarily using theà rocker switch (Y page 141).
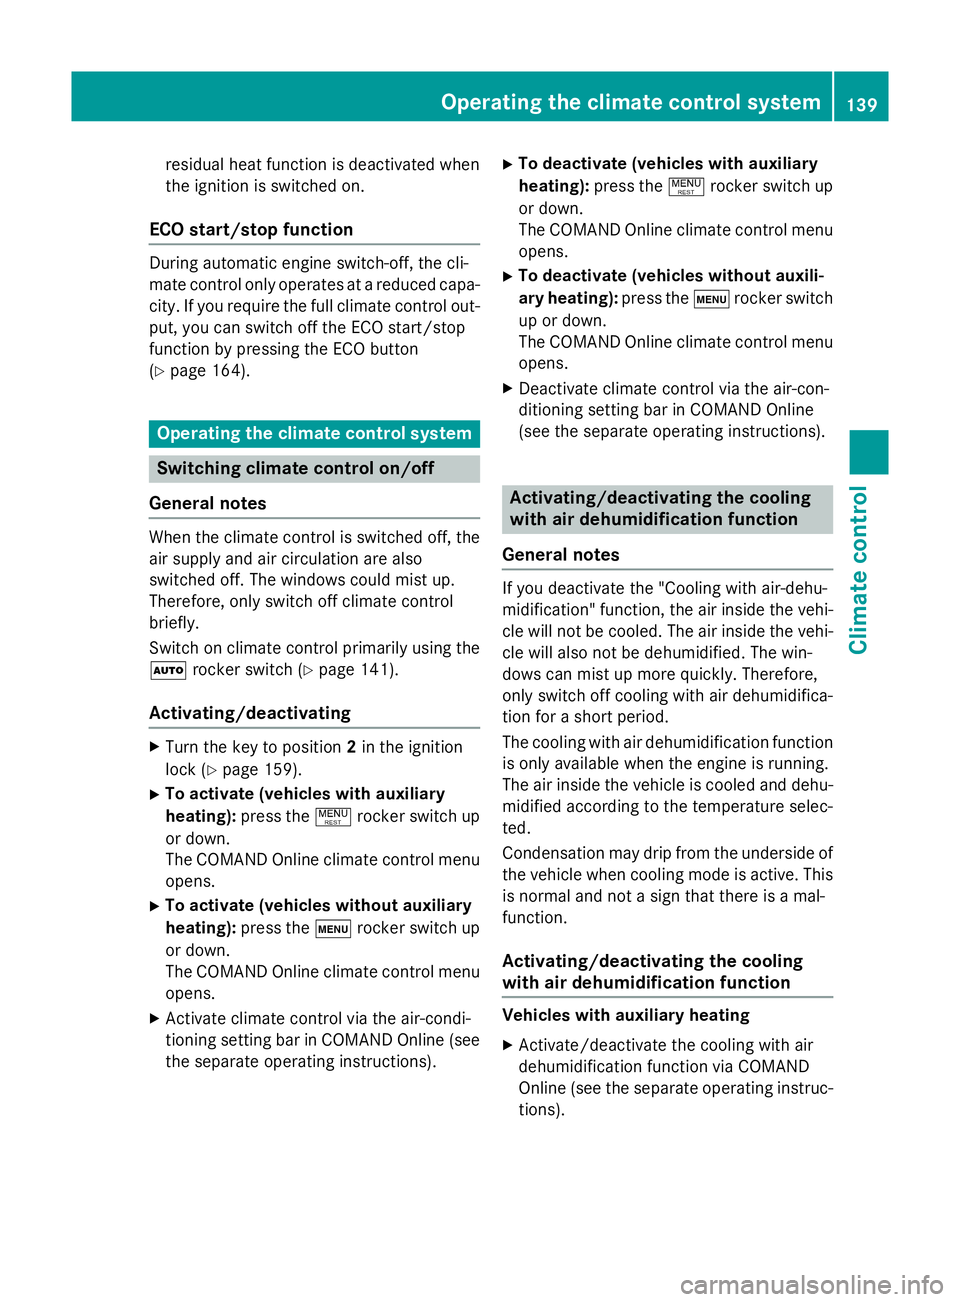
Activating/deactivating X
Turn the key to position 2in the ignition
lock (Y page 159).
X To activate (vehicles with auxiliary
heating): press the!rocker switch up
or down.
The COMAND Online climate control menu
opens.
X To activate (vehicles without auxiliary
heating): press thetrocker switch up
or down.
The COMAND Online climate control menu
opens.
X Activate climate control via the air-condi-
tioning setting bar in COMAND Online (see
the separate operating instructions). X
To deactivate (vehicles with auxiliary
heating): press the!rocker switch up
or down.
The COMAND Online climate control menu
opens.
X To deactivate (vehicles without auxili-
ary heating): press thetrocker switch
up or down.
The COMAND Online climate control menu
opens.
X Deactivate climate control via the air-con-
ditioning setting bar in COMAND Online
(see the separate operating instructions). Activating/deactivating the cooling
with air dehumidification function
General notes If you deactivate the "Cooling with air-dehu-
midification" function, the air inside the vehi-
cle will not be cooled. The air inside the vehi-
cle will also not be dehumidified. The win-
dows can mist up more quickly. Therefore,
only switch off cooling with air dehumidifica-
tion for a short period.
The cooling with air dehumidification function is only available when the engine is running.
The air inside the vehicle is cooled and dehu-midified according to the temperature selec-
ted.
Condensation may drip from the underside of
the vehicle when cooling mode is active. This is normal and not a sign that there is a mal-
function.
Activating/deactivating the cooling
with air dehumidification function Vehicles with auxiliary heating
X Activate/deactivate the cooling with air
dehumidification function via COMAND
Online (see the separate operating instruc-
tions). Operating the climate control system
139Climate control
Page 149 of 413
tinue closing the side window, pull on the
W switch.
X Convenience closing feature: press and
hold the grocker switch up or down
until the side windows start to close auto-
matically.
The indicator lamp in the grocker
switch lights up. Air-recirculation mode is
activated.
If you open the side windows manually after closing them with the convenience closing
feature, they will remain in this position
when opened using the convenience open-
ing feature.
If parts of the body are in the closing area
during convenience closing, proceed as fol-
lows:
X Press the Wbutton for opening/closing
the side windows.
The side windows stop.
X To then open the side window, press the
W button again.
Observe the notes on the automatic reversing
feature for the side windows (Y page 99).
X Convenience opening feature: press and
hold the grocker switch up or down
until the side windows start to open auto-
matically.
The indicator lamp in rocker switch g
goes out. Air-recirculation mode is deacti-
vated. Activating/deactivating the residual
heat function
General notes Once the engine is switched off, it is possible
to make use of the residual heat of the engine to continue heating or ventilating the front
compartment of the vehicle for approximately
30 minutes.
The heating or ventilation time depends on
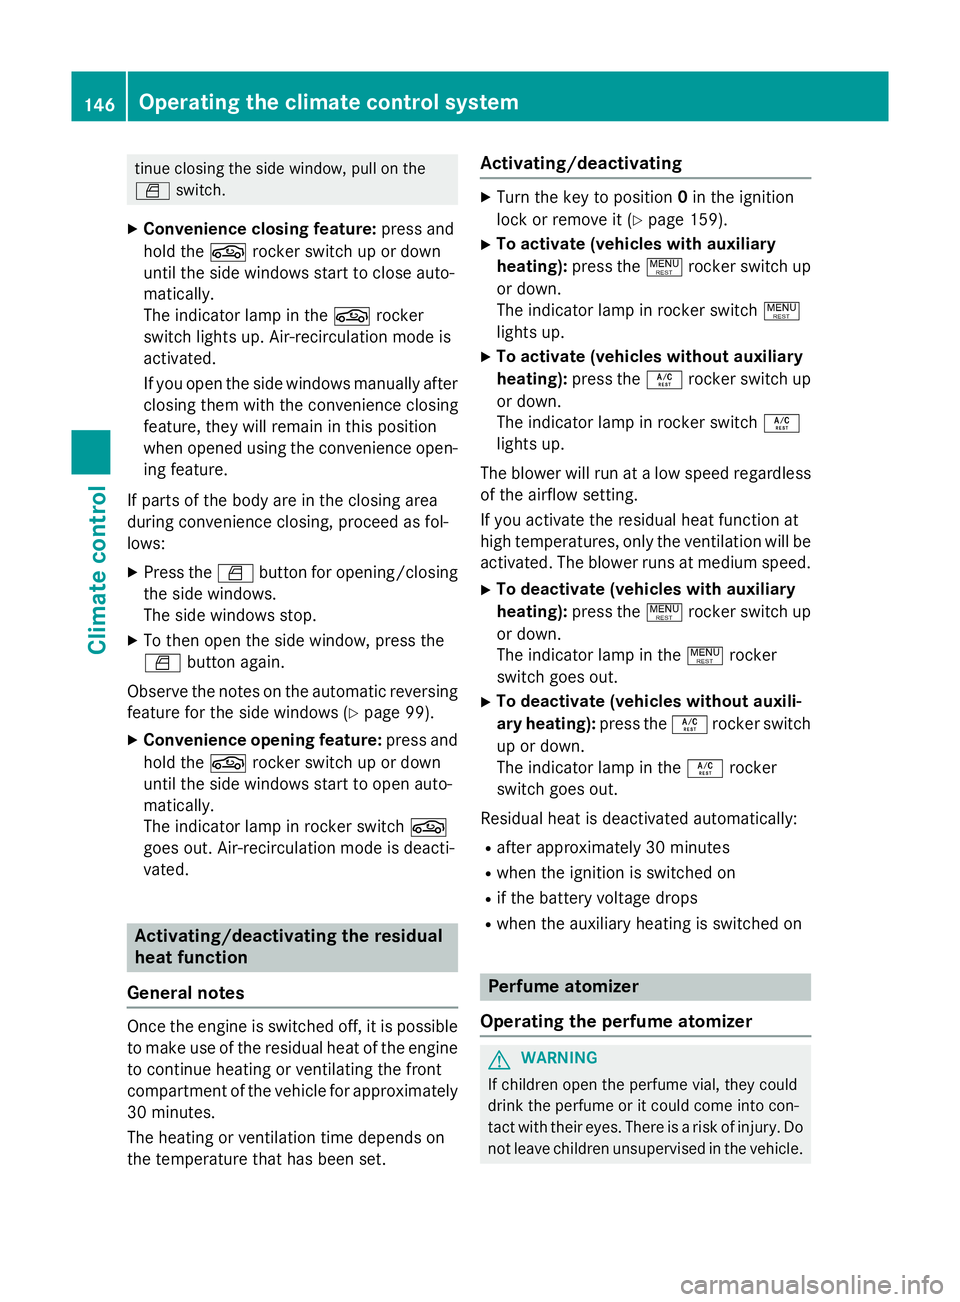
the temperature that has been set. Activating/deactivating X
Turn the key to position 0in the ignition
lock or remove it (Y page 159).
X To activate (vehicles with auxiliary
heating): press the!rocker switch up
or down.
The indicator lamp in rocker switch !
lights up.
X To activate (vehicles without auxiliary
heating): press theÁrocker switch up
or down.
The indicator lamp in rocker switch Á
lights up.
The blower will run at a low speed regardless of the airflow setting.
If you activate the residual heat function at
high temperatures, only the ventilation will be
activated. The blower runs at medium speed.
X To deactivate (vehicles with auxiliary
heating): press the!rocker switch up
or down.
The indicator lamp in the !rocker
switch goes out.
X To deactivate (vehicles without auxili-
ary heating): press theÁrocker switch
up or down.
The indicator lamp in the Árocker
switch goes out.
Residual heat is deactivated automatically:
R after approximately 30 minutes
R when the ignition is switched on
R if the battery voltage drops
R when the auxiliary heating is switched on Perfume atomizer
Operating the perfume atomizer G
WARNING
If children open the perfume vial, they could
drink the perfume or it could come into con-
tact with their eyes. There is a risk of injury. Do not leave children unsupervised in the vehicle. 146
Operating the climate control systemClimate control
Page 162 of 413
G
WARNING
Unsuitable footwear can hinder correct usage of the pedals, e.g.:
R shoes with thick soles
R shoes with high heels
R slippers
There is a risk of an accident.
Wear suitable footwear to ensure correct
usage of the pedals. G
WARNING
If you switch off the ignition while driving,
safety-relevant functions are only available
with limitations, or not at all. This could affect, for example, the power steering and the brake
boosting effect. You will require considerably
more effort to steer and brake. There is a risk of an accident.
Do not switch off the ignition while driving. G
WARNING
If the parking brake has not been fully
released when driving, the parking brake can:
R overheat and cause a fire
R lose its hold function.
There is a risk of fire and an accident. Release
the parking brake fully before driving off.
! Warm up the engine quickly. Do not use
the engine's full performance until it has
reached operating temperature.
Only set the automatic transmission to the
respective drive positions when the vehicle
is stationary.
Where possible, avoid spinning the drive
wheels when pulling away on slippery
roads. Otherwise, you could damage the
drive train.
! AMG vehicles:
at low engine oil temper-
atures (below +20 †), the maximum
engine speed is restricted in order to pro-
tect the engine. To protect the engine and
maintain smooth engine operation, avoid driving at full throttle when the engine is
cold. Key positions
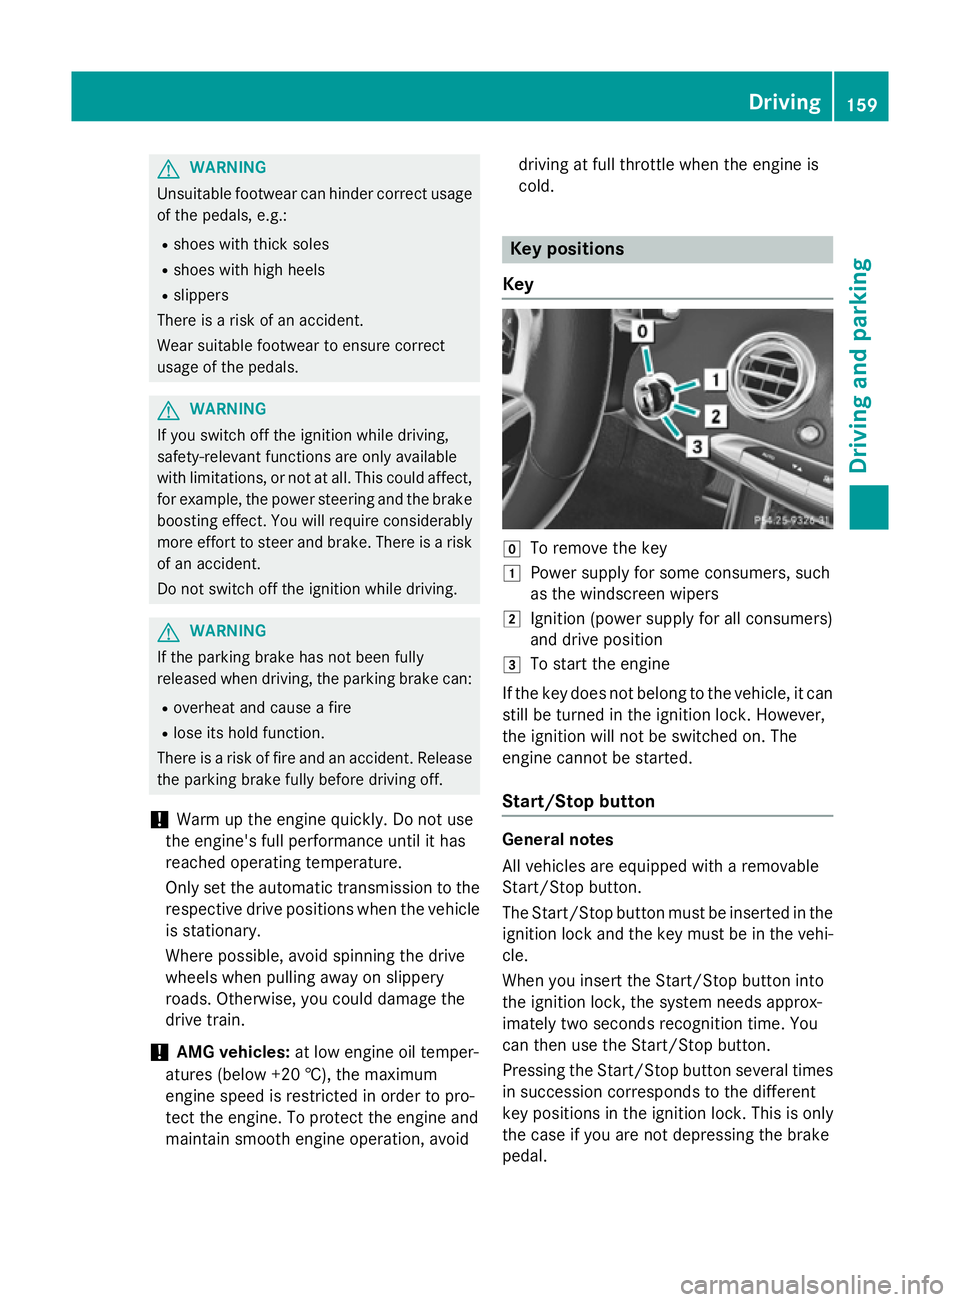
Key g
To remove the key
1 Power supply for some consumers, such
as the windscreen wipers
2 Ignition (power supply for all consumers)
and drive position
3 To start the engine
If the key does not belong to the vehicle, it can still be turned in the ignition lock. However,
the ignition will not be switched on. The
engine cannot be started.
Start/Stop button General notes
All vehicles are equipped with a removable
Start/Stop button.
The Start/Stop button must be inserted in the
ignition lock and the key must be in the vehi-
cle.
When you insert the Start/Stop button into
the ignition lock, the system needs approx-
imately two seconds recognition time. You
can then use the Start/Stop button.
Pressing the Start/Stop button several times in succession corresponds to the different
key positions in the ignition lock. This is only
the case if you are not depressing the brake
pedal. Driving
159Driving and parking Z
Page 163 of 413
If you depress the brake pedal and press the
Start/Stop button, the engine starts immedi-
ately.
A check which periodically establishes a radio
connection between the vehicle and the key
determines whether a valid key is in the vehi- cle. This occurs, for example, when starting
the engine.
To start the vehicle without actively using the
key:
R the Start/Stop button must be inserted in
the ignition lock
R the key must be in the vehicle
R the vehicle must not be locked with the key
or KEYLESS-GO (Y page 85)
Do not keep the key:
R with electronic devices, e.g. a mobile
phone or another key
R with metallic objects, e.g. coins or metal
film
R inside metallic objects, e.g. a metal case
This can affect the key's functionality.
If you lock the vehicle with the key's remote
control or with KEYLESS-GO, after a short
time:
R you will not be able to switch on the ignition
with the Start/Stop button
R you will not be able to start the engine with
the Start/Stop button until the vehicle is
unlocked again
If you lock the vehicle centrally using the but- ton on the front door (Y page 91), you can
continue to start the engine with the Start/
Stop button.
The engine can be switched off while the vehi-
cle is in motion by pressing and holding the
Start/Stop button for three seconds. This
function operates independently of the ECO
start/stop automatic engine switch-off func-
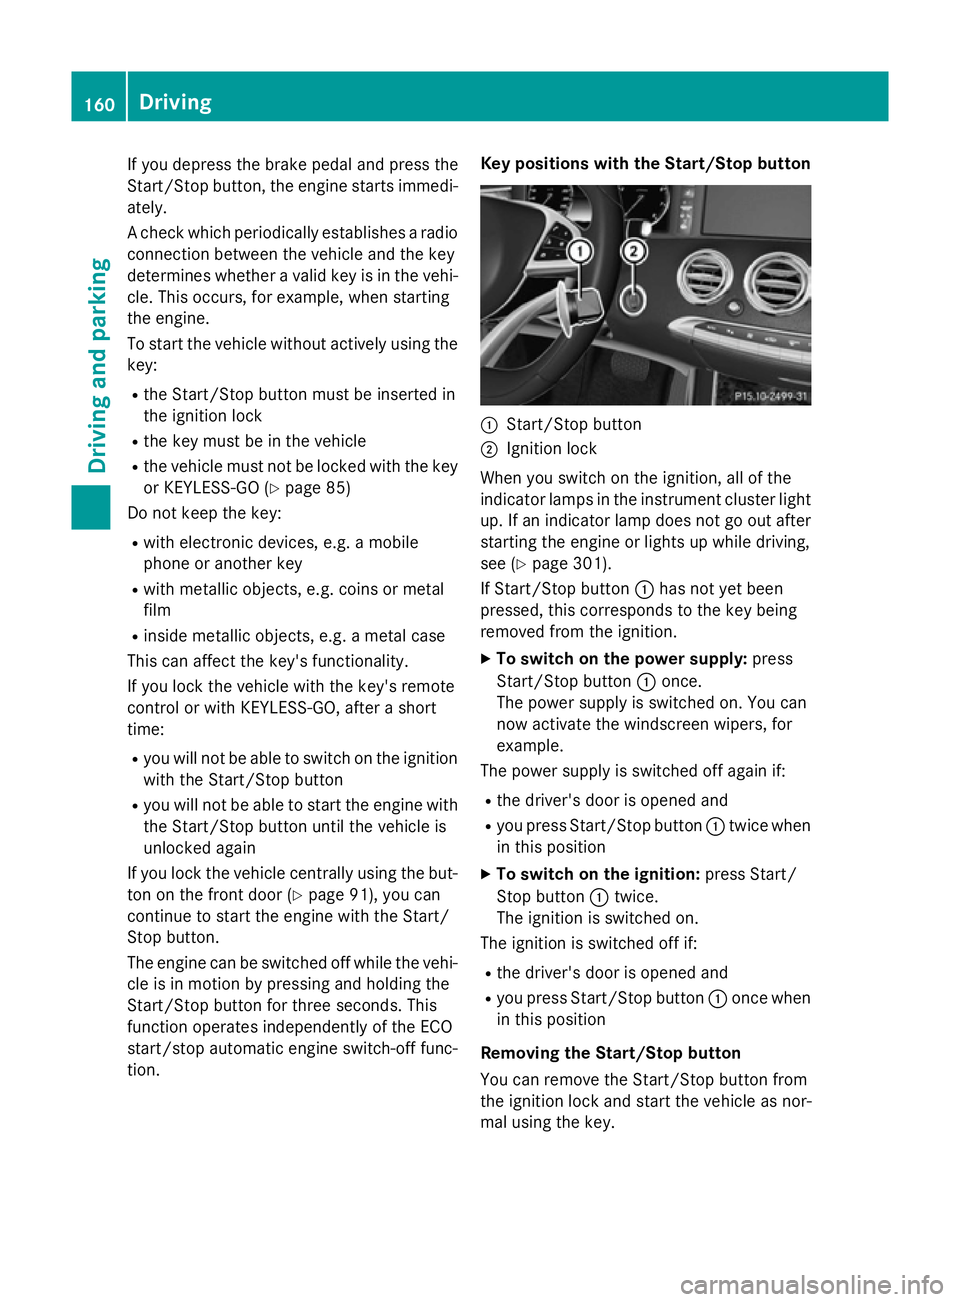
tion. Key positions with the Start/Stop button
:
Start/Stop button
; Ignition lock
When you switch on the ignition, all of the
indicator lamps in the instrument cluster light up. If an indicator lamp does not go out after
starting the engine or lights up while driving,
see (Y page 301).
If Start/Stop button :has not yet been
pressed, this corresponds to the key being
removed from the ignition.
X To switch on the power supply: press
Start/Stop button :once.
The power supply is switched on. You can
now activate the windscreen wipers, for
example.
The power supply is switched off again if:
R the driver's door is opened and
R you press Start/Stop button :twice when
in this position
X To switch on the ignition: press Start/
Stop button :twice.
The ignition is switched on.
The ignition is switched off if:
R the driver's door is opened and
R you press Start/Stop button :once when
in this position
Removing the Start/Stop button
You can remove the Start/Stop button from
the ignition lock and start the vehicle as nor-
mal using the key. 160
DrivingDriving and parking