2014 MERCEDES-BENZ GLK-CLASS SUV ignition
[x] Cancel search: ignitionPage 226 of 384

The
From Reset
From Reset trip computer is
automatically reset if the value exceeds
9,999 hours or 99,999 miles.
Displaying the range and current fuel
consumption X
Press the =or; button on the
steering wheel to select the Trip
Trip menu.
X Press the 9or: button to select the
current fuel consumption and approximate
range.
The approximate range that can be covered
depends on the fuel level and your current
driving style. If there is only a small amount
of fuel left in the fuel tank, the display shows
a vehicle being refueled Cinstead of the
range.
ECO display Example: ECO display
X
Press the =or; button on the
steering wheel to select the Trip
Trip menu.
X Press the 9or: button to select
ECO DISPLAY ECO DISPLAY .
If the ignition remains switched off for longer
than four hours, the ECO display will be
automatically reset.
Further information on the ECO display
(Y page 167). Digital speedometer
:
Shift recommendation (Y page 156)
; Digital speedometer
X Press the =or; button on the
steering wheel to select the Trip Tripmenu.
X Press the 9or: button to select the
digital speedometer.
Resetting values Example: resetting the trip computer "From Start"
X Press the =or; button on the
steering wheel to select the Trip
Tripmenu.
X Press the 9or: button to select the
function that you wish to reset.
X Press the abutton.
X Press the :button to select Yes
Yes and
press the abutton to confirm.
You can reset the values of the following
functions:
R Trip odometer
R "From Start" trip computer
R "From Reset" trip computer
R ECO display
i When you reset the values in the "ECO
display", the values in the trip computer
"From Start" are likewise reset. When you
reset the values in the trip computer "From
Start", the values in the "ECO display"are
likewise reset. 224
Menus and submenusOn-board computer and displays
Page 234 of 384
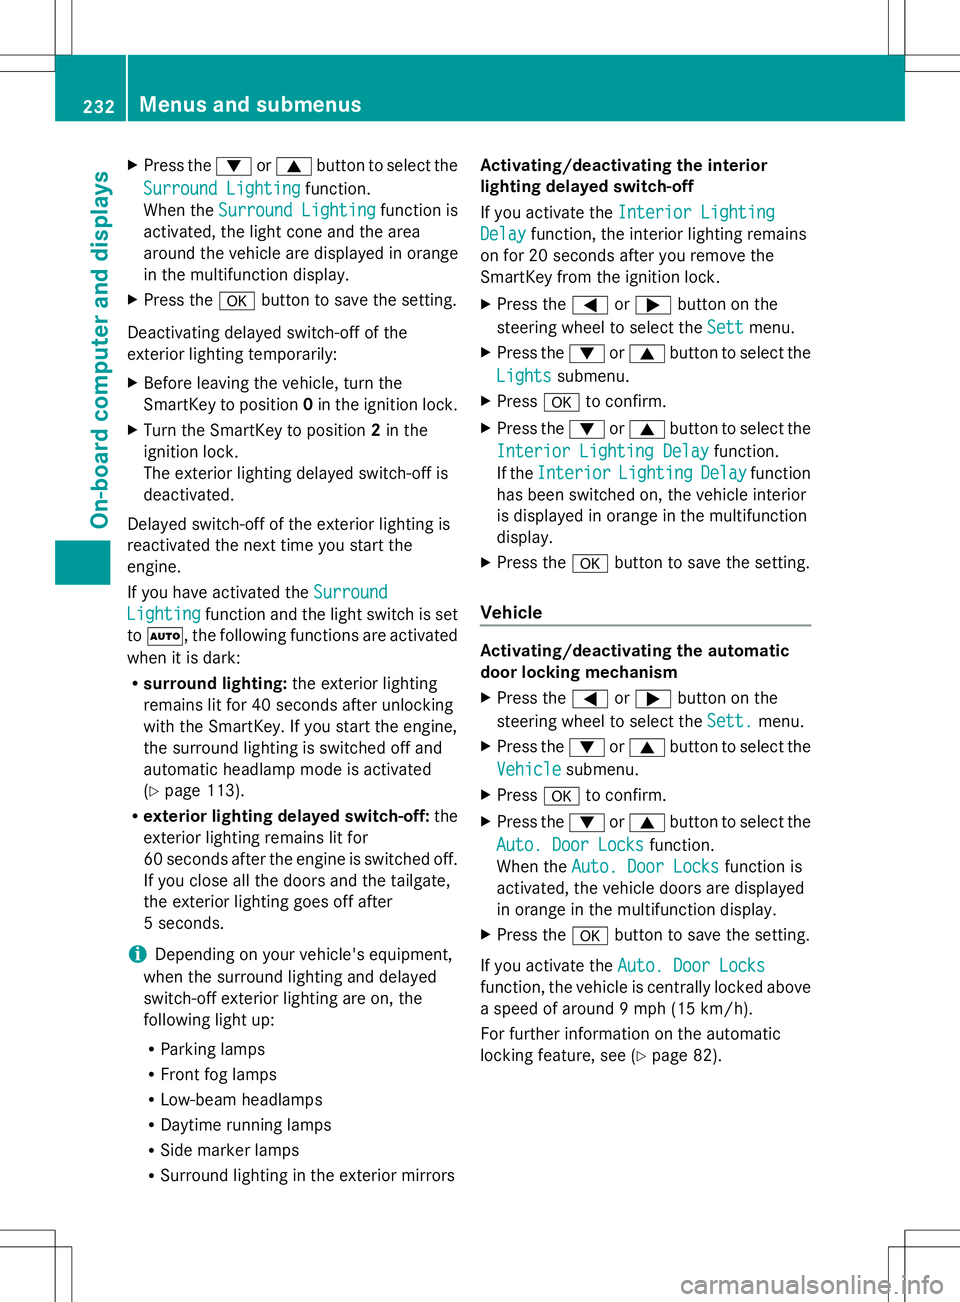
X
Press the :or9 button to select the
Surround Lighting
Surround Lighting function.
When the Surround Lighting
Surround Lighting function is
activated, the light cone and the area
around the vehicle are displayed in orange
in the multifunction display.
X Press the abutton to save the setting.
Deactivating delayed switch-off of the
exterior lighting temporarily:
X Before leaving the vehicle, turn the
SmartKey to position 0in the ignition lock.
X Turn the SmartKey to position 2in the
ignition lock.
The exterior lighting delayed switch-off is
deactivated.
Delayed switch-off of the exterior lighting is
reactivated the next time you start the
engine.
If you have activated the Surround
Surround
Lighting Lighting function and the light switch is set
to Ã, the following functions are activated
when it is dark:
R surround lighting: the exterior lighting
remains lit for 40 seconds after unlocking
with the SmartKey. If you start the engine,
the surround lighting is switched off and
automatic headlamp mode is activated
(Y page 113).
R exterior lighting delayed switch-off: the
exterior lighting remains lit for
60 seconds after the engine is switched off.
If you close all the doors and the tailgate,
the exterior lighting goes off after
5 seconds.
i Depending on your vehicle's equipment,
when the surround lighting and delayed
switch-off exterior lighting are on, the
following light up:
R Parking lamps
R Front fog lamps
R Low-beam headlamps
R Daytime running lamps
R Side marker lamps
R Surround lighting in the exterior mirrors Activating/deactivating the interior
lighting delayed switch-off
If you activate the
Interior Lighting
Interior Lighting
Delay Delay function, the interior lighting remains
on for 20 seconds after you remove the
SmartKey from the ignition lock.
X Press the =or; button on the
steering wheel to select the Sett
Sett menu.
X Press the :or9 button to select the
Lights Lights submenu.
X Press ato confirm.
X Press the :or9 button to select the
Interior Lighting Delay
Interior Lighting Delay function.
If the Interior
Interior Lighting
Lighting Delay
Delayfunction
has been switched on, the vehicle interior
is displayed in orange in the multifunction
display.
X Press the abutton to save the setting.
Vehicle Activating/deactivating the automatic
door locking mechanism
X
Press the =or; button on the
steering wheel to select the Sett. Sett.menu.
X Press the :or9 button to select the
Vehicle
Vehicle submenu.
X Press ato confirm.
X Press the :or9 button to select the
Auto. Door Locks
Auto. Door Locks function.
When the Auto. Door Locks
Auto. Door Locks function is
activated, the vehicle doors are displayed
in orange in the multifunction display.
X Press the abutton to save the setting.
If you activate the Auto. Door Locks Auto. Door Locks
function, the vehicle is centrally locked above
a speed of around 9 mph (15 km/h).
For further information on the automatic
locking feature, see (Y page 82).232
Menus and submenusOn-board computer and displays
Page 237 of 384
Display messages
General notes
Display messages appear in the multifunction display.
Display messages with graphic displays may be shown in simplified form in the Operator's
Manual and may therefore differ from the multifunction display.
Please respond in accordance with the display messages and follow the additional notes in
this Operator's Manual.
Certain display messages are accompanied by an audible warning tone or a continuous tone.
When the ignition is switched off, all display messages are deleted, apart from some high-
priority display messages. Once the causes of the high-priority display messages have been
rectified, the corresponding display messages are also deleted.
When you stop and park the vehicle, please observe the notes on the HOLD function
(Y page 183) and parking ( Ypage 164). Hiding display messages
X Press the aor% button on the steering wheel to hide the display message.
The display message is cleared.
The multifunction display shows high-priority display messages in red. Some high-priority
display messages cannot be hidden.
The multifunction display shows these messages continuously until the causes for the
messages have been remedied. Message memory
The message memory allows you to call up previous display messages.
X Press the =or; button on the steering wheel to select the Serv.
Serv. menu.
If there are display messages, the multifunction display shows 2 messages
2 messages , for example.
X Press the 9or: button to select the entry, e.g. 2 messages 2 messages.
X Press ato confirm.
X Press the 9or: button to scroll through the display messages. Display
messages
235On-board computer and displays Z
Page 243 of 384
Display messages Possible causes/consequences and
M
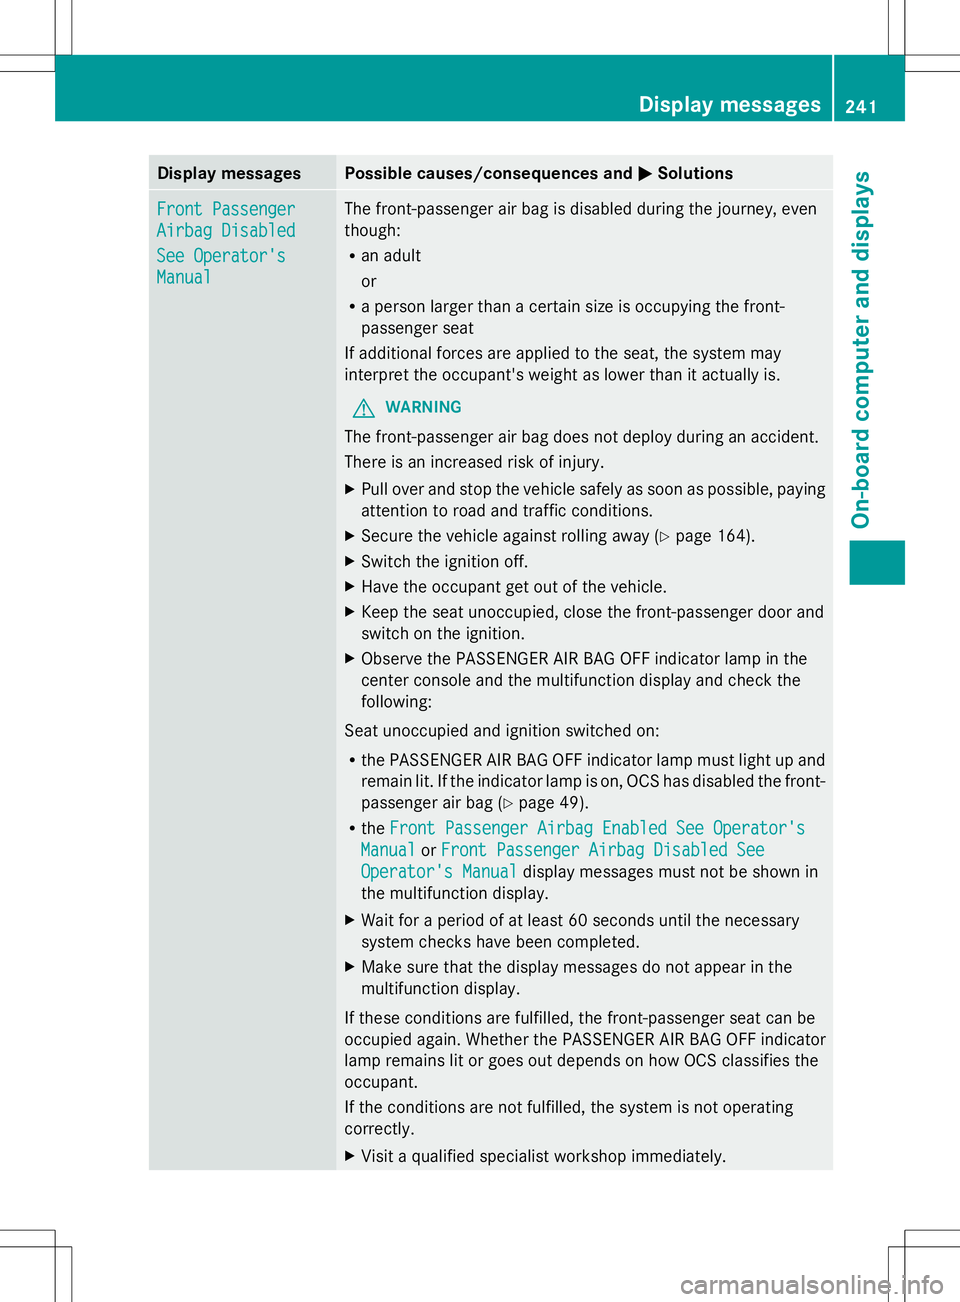
MSolutions Front Passenger
Front Passenger
Airbag Disabled Airbag Disabled
See Operator's See Operator's
Manual Manual The front-passenger air bag is disabled during the journey, even
though:
R
an adult
or
R a person larger than a certain size is occupying the front-
passenger seat
If additional forces are applied to the seat, the system may
interpret the occupant's weight as lower than it actually is.
G WARNING
The front-passenger air bag does not deploy during an accident.
There is an increased risk of injury.
X Pull over and stop the vehicle safely as soon as possible, paying
attention to road and traffic conditions.
X Secure the vehicle against rolling away ( Ypage 164).
X Switch the ignition off.
X Have the occupant get out of the vehicle.
X Keep the seat unoccupied, close the front-passenger door and
switch on the ignition.
X Observe the PASSENGER AIR BAG OFF indicator lamp in the
center console and the multifunction display and check the
following:
Seat unoccupied and ignition switched on:
R the PASSENGER AIR BAG OFF indicator lamp must light up and
remain lit. If the indicator lamp is on, OCS has disabled the front-
passenger air bag ( Ypage 49).
R the Front Passenger Airbag Enabled See Operator's
Front Passenger Airbag Enabled See Operator's
Manual Manual orFront Passenger Airbag Disabled See
Front Passenger Airbag Disabled See
Operator's Manual
Operator's Manual display messages must not be shown in
the multifunction display.
X Wait for a period of at least 60 seconds until the necessary
system checks have been completed.
X Make sure that the display messages do not appear in the
multifunction display.
If these conditions are fulfilled, the front-passenger seat can be
occupied again. Whether the PASSENGER AIR BAG OFF indicator
lamp remains lit or goes out depends on how OCS classifies the
occupant.
If the conditions are not fulfilled, the system is not operating
correctly.
X Visit a qualified specialist workshop immediately. Display
messages
241On-board computer and displays Z
Page 244 of 384
Display messages Possible causes/consequences and
M
MSolutions For further information about the Occupant Classification System,
see (Y
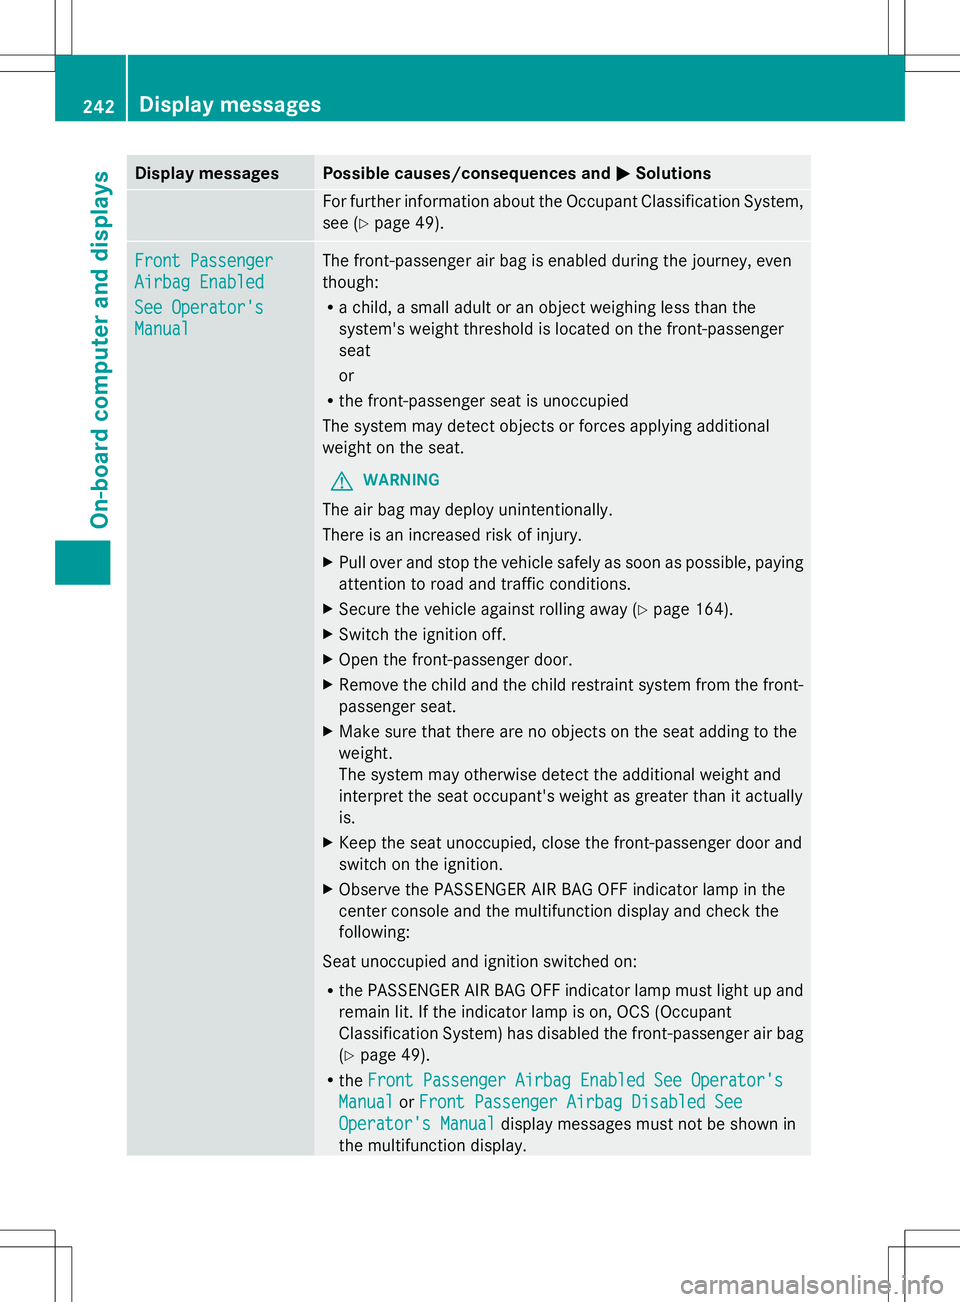
page 49). Front Passenger Front Passenger
Airbag Enabled Airbag Enabled
See Operator's See Operator's
Manual Manual The front-passenger air bag is enabled during the journey, even
though:
R
a child, a small adult or an object weighing less than the
system's weight threshold is located on the front-passenger
seat
or
R the front-passenger seat is unoccupied
The system may detect objects or forces applying additional
weight on the seat.
G WARNING
The air bag may deploy unintentionally.
There is an increased risk of injury.
X Pull over and stop the vehicle safely as soon as possible, paying
attention to road and traffic conditions.
X Secure the vehicle against rolling away ( Ypage 164).
X Switch the ignition off.
X Open the front-passenger door.
X Remove the child and the child restraint system from the front-
passenger seat.
X Make sure that there are no objects on the seat adding to the
weight.
The system may otherwise detect the additional weight and
interpret the seat occupant's weight as greater than it actually
is.
X Keep the seat unoccupied, close the front-passenger door and
switch on the ignition.
X Observe the PASSENGER AIR BAG OFF indicator lamp in the
center console and the multifunction display and check the
following:
Seat unoccupied and ignition switched on:
R the PASSENGER AIR BAG OFF indicator lamp must light up and
remain lit. If the indicator lamp is on, OCS (Occupant
Classification System) has disabled the front-passenger air bag
(Y page 49).
R the Front Passenger Airbag Enabled See Operator's Front Passenger Airbag Enabled See Operator's
Manual Manual orFront Passenger Airbag Disabled See
Front Passenger Airbag Disabled See
Operator's Manual
Operator's Manual display messages must not be shown in
the multifunction display. 242
Display
messagesOn-board computer and displays
Page 262 of 384
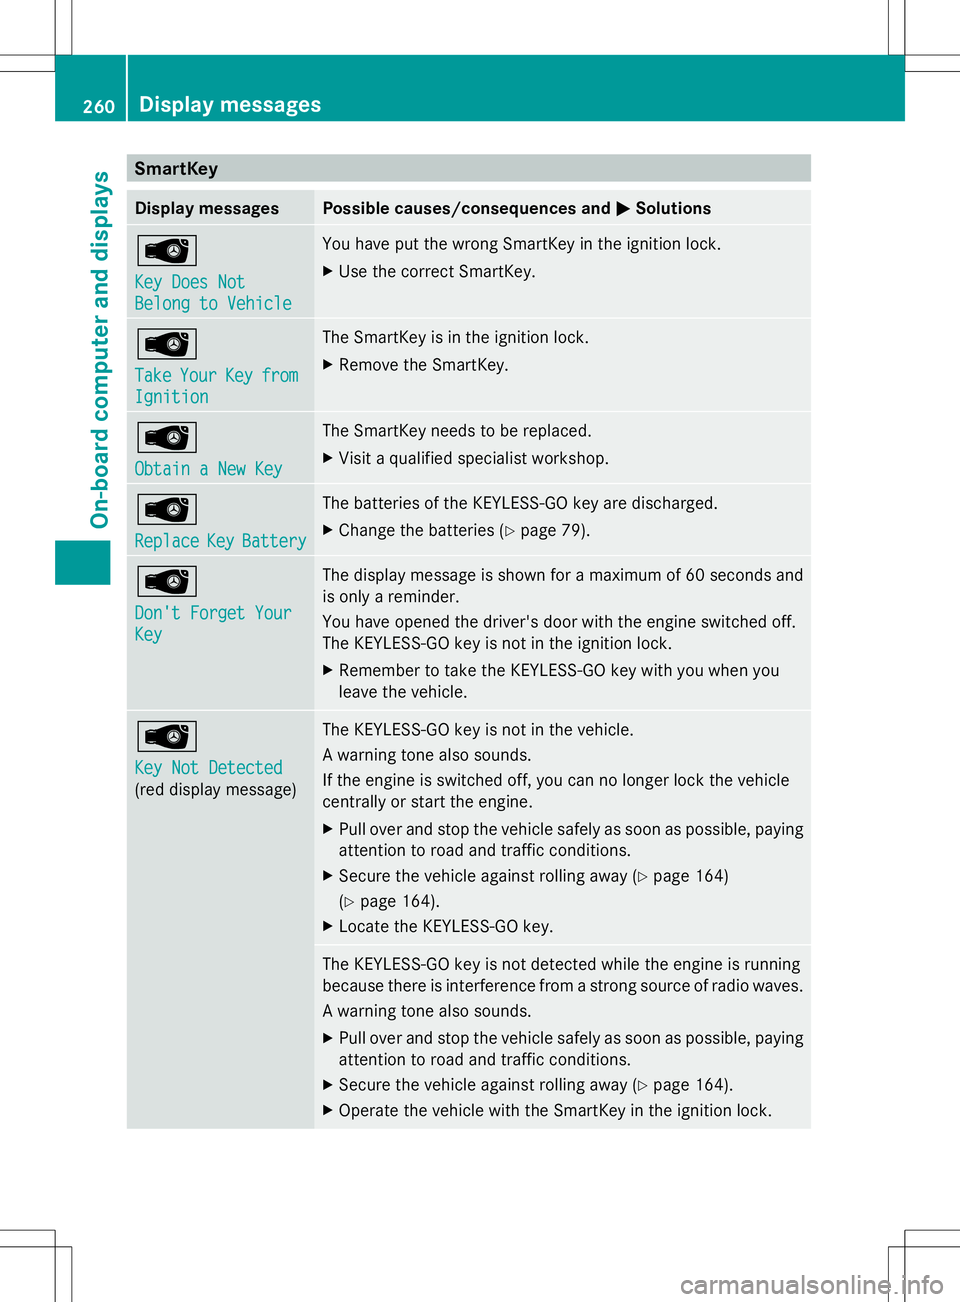
SmartKey
Display messages Possible causes/consequences and
M
MSolutions Â
Key Does Not Key Does Not
Belong to Vehicle Belong to Vehicle You have put the wrong SmartKey in the ignition lock.
X
Use the correct SmartKey. Â
Take Take
Your
YourKey
Keyfrom
from
Ignition
Ignition The SmartKey is in the ignition lock.
X
Remove the SmartKey. Â
Obtain a New Key Obtain a New Key The SmartKey needs to be replaced.
X
Visit a qualified specialist workshop. Â
Replace Replace
Key
KeyBattery
Battery The batteries of the KEYLESS-GO key are discharged.
X
Change the batteries (Y page 79).Â
Don't Forget Your Don't Forget Your
Key Key The display message is shown for a maximum of 60 seconds and
is only a reminder.
You have opened the driver's door with the engine switched off.
The KEYLESS-GO key is not in the ignition lock.
X
Remember to take the KEYLESS-GO key with you when you
leave the vehicle. Â
Key Not Detected Key Not Detected
(red display message) The KEYLESS-GO key is not in the vehicle.
A warning tone also sounds.
If the engine is switched off, you can no longer lock the vehicle
centrally or start the engine.
X
Pull over and stop the vehicle safely as soon as possible, paying
attention to road and traffic conditions.
X Secure the vehicle against rolling away (Y page 164)
(Y page 164).
X Locate the KEYLESS-GO key. The KEYLESS-GO key is not detected while the engine is running
because there is interference from a strong source of radio waves.
A warning tone also sounds.
X
Pull over and stop the vehicle safely as soon as possible, paying
attention to road and traffic conditions.
X Secure the vehicle against rolling away (Y page 164).
X Operate the vehicle with the SmartKey in the ignition lock. 260
Display messagesOn-board computer and displays
Page 263 of 384
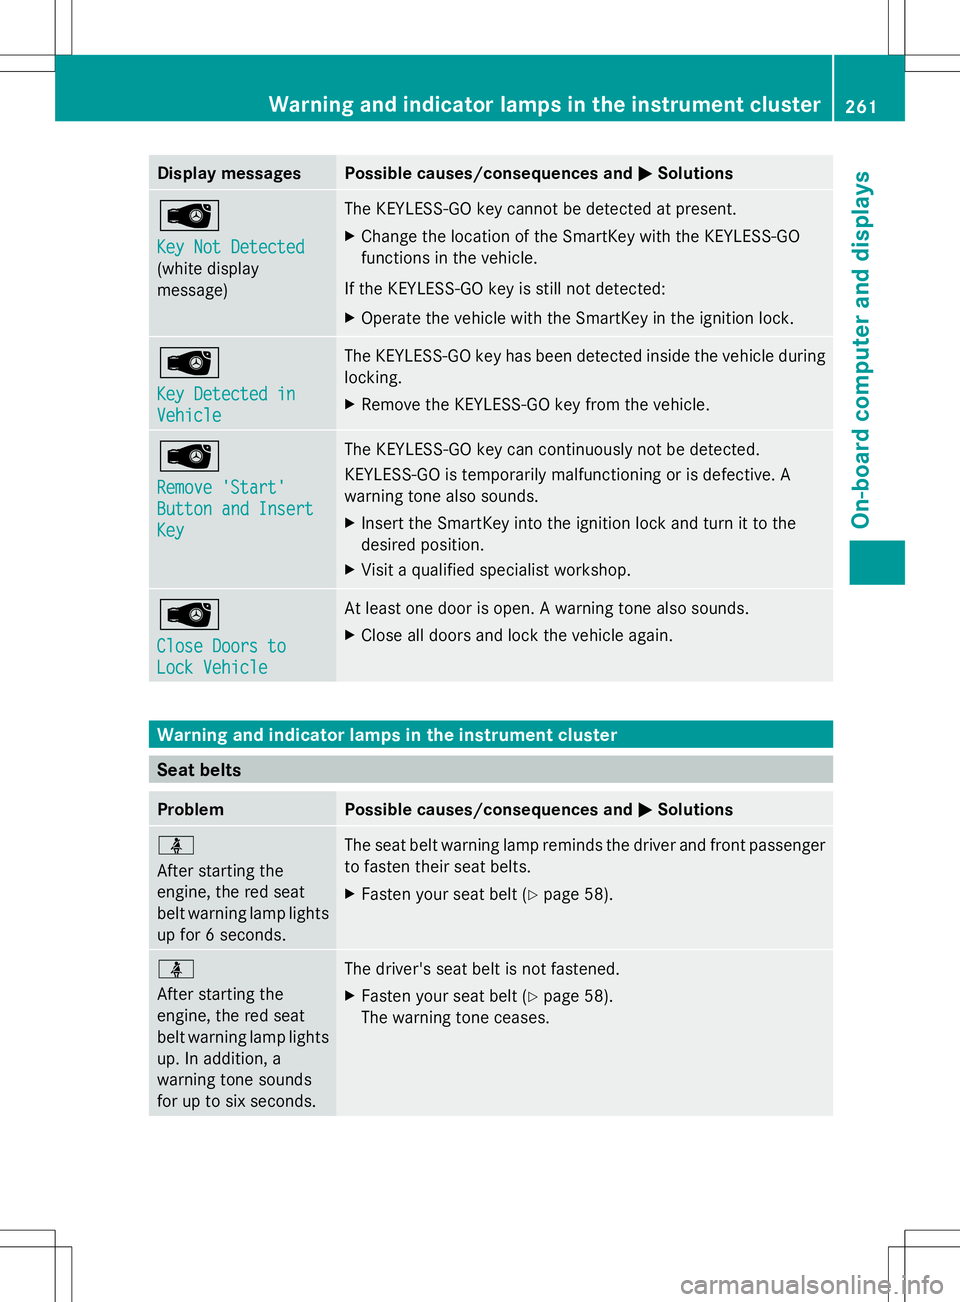
Display messages Possible causes/consequences and
M
MSolutions Â
Key Not Detected Key Not Detected
(white display
message) The KEYLESS-GO key cannot be detected at present.
X
Change the location of the SmartKey with the KEYLESS-GO
functions in the vehicle.
If the KEYLESS-GO key is still not detected:
X Operate the vehicle with the SmartKey in the ignition lock. Â
Key Detected in Key Detected in
Vehicle Vehicle The KEYLESS-GO key has been detected inside the vehicle during
locking.
X
Remove the KEYLESS-GO key from the vehicle. Â
Remove 'Start' Remove 'Start'
Button and Insert Button and Insert
Key Key The KEYLESS-GO key can continuously not be detected.
KEYLESS-GO is temporarily malfunctioning or is defective. A
warning tone also sounds.
X
Insert the SmartKey into the ignition lock and turn it to the
desired position.
X Visit a qualified specialist workshop. Â
Close Doors to Close Doors to
Lock Vehicle Lock Vehicle At least one door is open. A warning tone also sounds.
X
Close all doors and lock the vehicle again. Warning and indicator lamps in the instrument cluster
Seat belts
Problem Possible causes/consequences and
M MSolutions ü
After starting the
engine, the red seat
belt warning lamp lights
up for 6 seconds.
The seat belt warning lamp reminds the driver and front passenger
to fasten their seat belts.
X
Fasten your seat belt (Y page 58).ü
After starting the
engine, the red seat
belt warning lamp lights
up. In addition, a
warning tone sounds
for up to six seconds.
The driver's seat belt is not fastened.
X
Fasten your seat belt (Y page 58).
The warning tone ceases. Wa
rning and indi cator lamps in the instrument cluster
261On-board computer and displays Z
Page 270 of 384
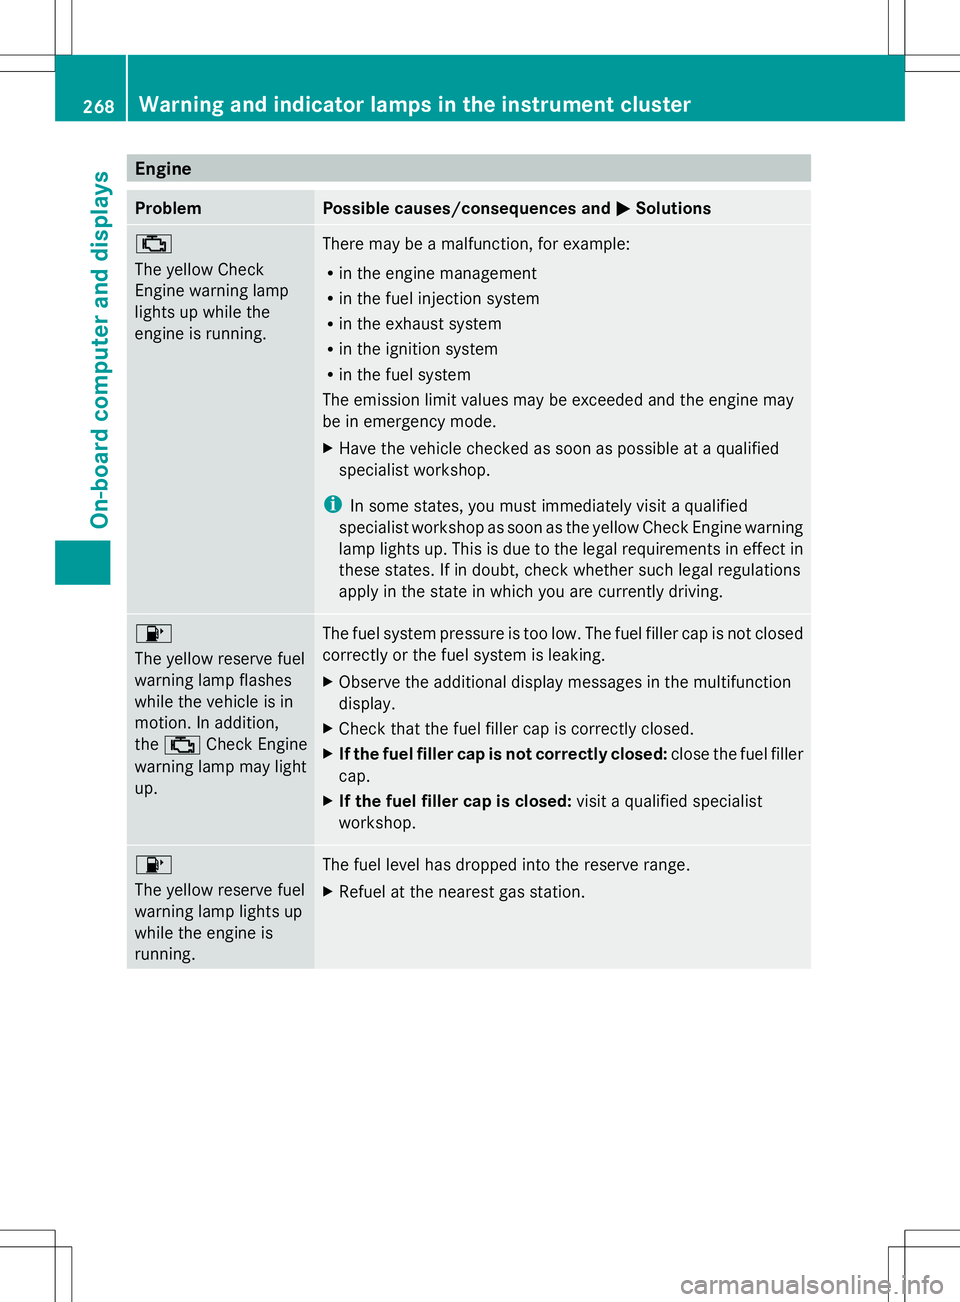
Engine
Problem Possible causes/consequences and
M
MSolutions ;
The yellow Check
Engine warning lamp
lights up while the
engine is running.
There may be a malfunction, for example:
R
in the engine management
R in the fuel injection system
R in the exhaust system
R in the ignition system
R in the fuel system
The emission limit values may be exceeded and the engine may
be in emergency mode.
X Have the vehicle checked as soon as possible at a qualified
specialist workshop.
i In some states, you must immediately visit a qualified
specialist workshop as soon as the yellow Check Engine warning
lamp lights up. This is due to the legal requirements in effect in
these states. If in doubt, check whether such legal regulations
apply in the state in which you are currently driving. 8
The yellow reserve fuel
warning lamp flashes
while the vehicle is in
motion. In addition,
the
; Check Engine
warning lamp may light
up. The fuel system pressure is too low. The fuel filler cap is not closed
correctly or the fuel system is leaking.
X Observe the additional display messages in the multifunction
display.
X Check that the fuel filler cap is correctly closed.
X If the fuel filler cap is not correctly closed: close the fuel filler
cap.
X If the fuel filler cap is closed: visit a qualified specialist
workshop. 8
The yellow reserve fuel
warning lamp lights up
while the engine is
running.
The fuel level has dropped into the reserve range.
X
Refuel at the nearest gas station. 268
Warning and indicator lamps in the instrument clusterOn-board computer and displays