2014 MERCEDES-BENZ C-CLASS ESTATE service
[x] Cancel search: servicePage 302 of 489

Head-up display
Content and information for the following systems are shown in the head-up display:
: Navigation messages
; Current speed
= Set DISTRONIC PLUS speed (Y page 226)
The selected cruise control speed (Y page 220)
The selected SPEEDTRONIC speed (Y page 223)
If Traffic Sign Assist is activated in the head-up display submenu, detected traffic signs are also shown in the display.
In the Settings menu, in the submenu head-up display, you have the following settings options:
R Switching other displays on/off (Y page 312)
R Setting the position (Y page 312)
R Adjusting the brightness (Y page 312)Menus and submenus
Menu overview
Press the òbutton on the steering wheel
to call up the list of menus and select a menu.
Operating the on-board computer
(Y page 295).
Depending on the equipment fitted in the
vehicle, you can call up the following menus:
R Trip Trip menu (Y page 300)
R Navi
Navi menu (navigation instructions)
(Y page 302)
R Radio Radio menu (Y page 304) R
Media Media menu (Y page 304)
R Telephone
Telephone menu (Ypage 306)
R Assistance graphic
Assistance graphic menu
(Y page 308)
R Service
Service menu (Ypage 308)
R Settings
Settings menu (Ypage 309) Menus and submenus
299On-board computer and displays Z
Page 310 of 489
X
Insert the mobile phone into the bracket
(Y page 390).
or
X Establish a Bluetooth ®
connection to Audio
20 or COMAND Online, see the separate
operating instructions.
X Use ò on the steering wheel to call up
the list of menus.
X Press :or9 on the steering wheel
to select the Telephone
Telephone menu.
X Confirm by pressing aon the steering
wheel.
You will see one of the following display mes-
sages in the multifunction display:
R Telephone ready
Telephone ready or the name of the net-
work provider: the mobile phone has found a network and is ready to receive.
R Telephone No service
Telephone No service: there is no net-
work available or the mobile phone is
searching for a network.
i You can obtain further information about
suitable mobile phones and connecting
mobile phones via Bluetooth ®
:
R from any Mercedes-Benz Service Centre
R on the Internet at http://
www.mercedes-benz.com/connect
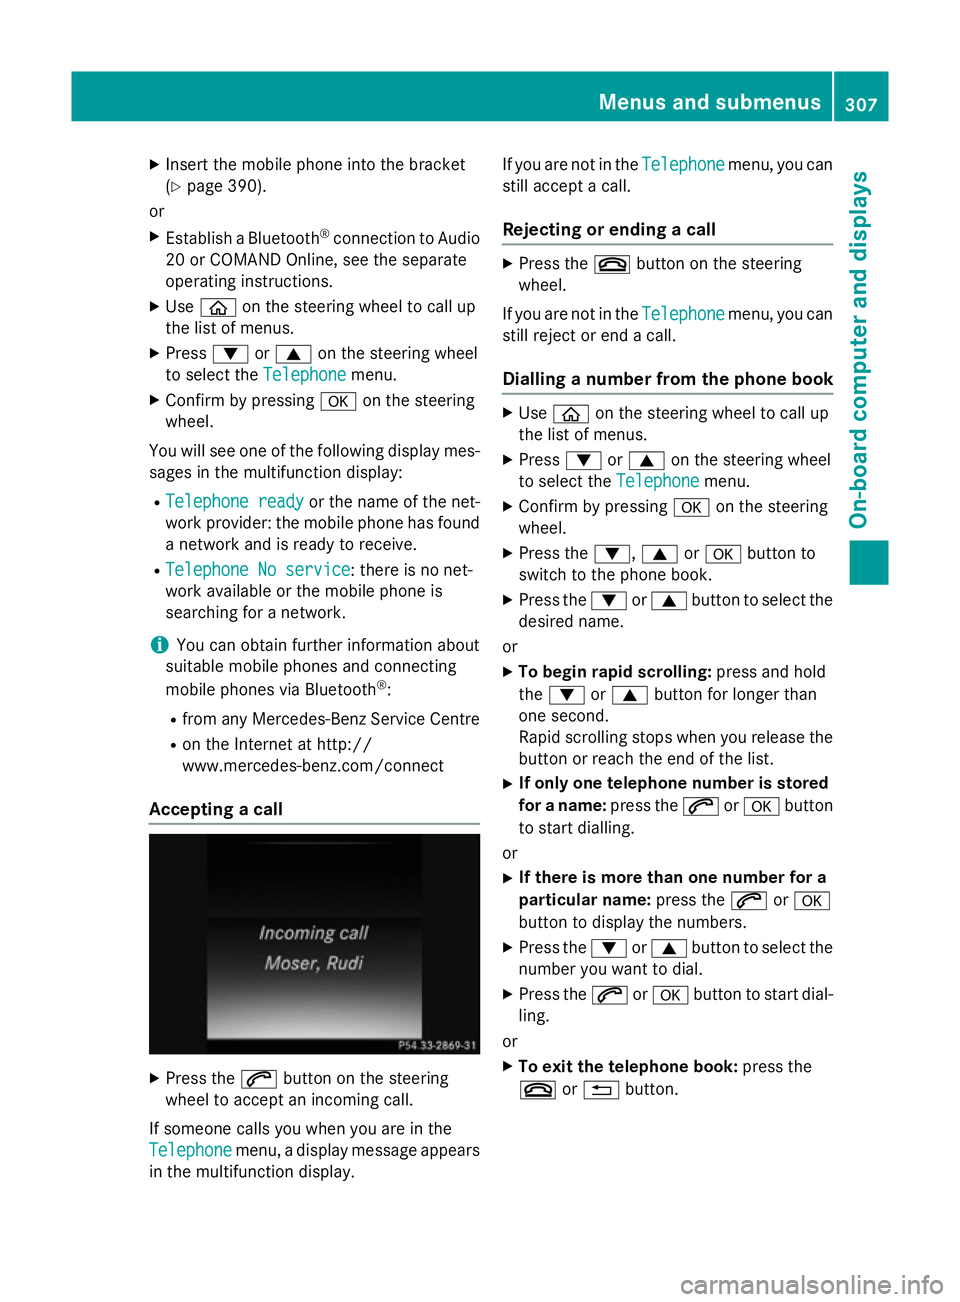
Accepting a call X
Press the 6button on the steering
wheel to accept an incoming call.
If someone calls you when you are in the
Telephone
Telephone menu, a display message appears
in the multifunction display. If you are not in the
Telephone
Telephone menu, you can
still accept a call.
Rejecting or ending a call X
Press the ~button on the steering
wheel.
If you are not in the Telephone Telephonemenu, you can
still reject or end a call.
Dialling a number from the phone book X
Use ò on the steering wheel to call up
the list of menus.
X Press :or9 on the steering wheel
to select the Telephone
Telephonemenu.
X Confirm by pressing aon the steering
wheel.
X Press the :,9ora button to
switch to the phone book.
X Press the :or9 button to select the
desired name.
or X To begin rapid scrolling: press and hold
the : or9 button for longer than
one second.
Rapid scrolling stops when you release the button or reach the end of the list.
X If only one telephone number is stored
for a name: press the6ora button
to start dialling.
or X If there is more than one number for a
particular name: press the6ora
button to display the numbers.
X Press the :or9 button to select the
number you want to dial.
X Press the 6ora button to start dial-
ling.
or X To exit the telephone book: press the
~ or% button. Menus and submenus
307On-board computer and displays Z
Page 311 of 489
Redialling
The on-board computer saves the last names
or numbers dialled in the redial memory.
X Use ò on the steering wheel to call up
the list of menus.
X Press :or9 on the steering wheel
to select the Telephone
Telephone menu.
X Confirm by pressing aon the steering
wheel.
X Press the 6button to switch to the
redial memory.
X Press the :or9 button to select the
desired name or number.
X Press the 6ora button to start dial-
ling.
or
X To exit the redial memory: press the
~ or% button. Assistance graphic menu
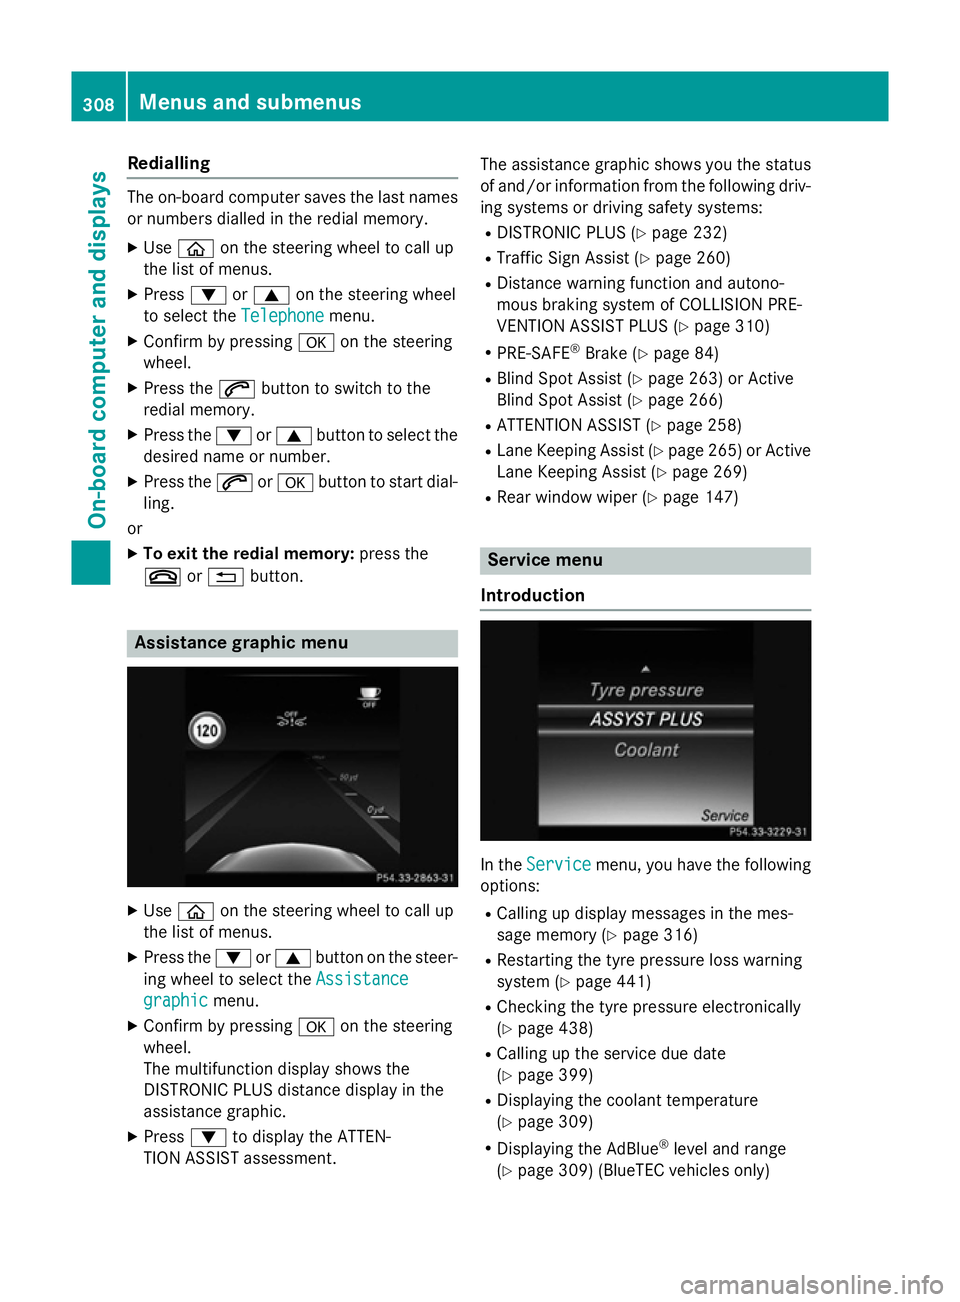
X
Use ò on the steering wheel to call up
the list of menus.
X Press the :or9 button on the steer-
ing wheel to select the Assistance
Assistance
graphic
graphic menu.
X Confirm by pressing aon the steering
wheel.
The multifunction display shows the
DISTRONIC PLUS distance display in the
assistance graphic.
X Press :to display the ATTEN-
TION ASSIST assessment. The assistance graphic shows you the status
of and/or information from the following driv-ing systems or driving safety systems:
R DISTRONIC PLUS (Y page 232)
R Traffic Sign Assist (Y page 260)
R Distance warning function and autono-
mous braking system of COLLISION PRE-
VENTION ASSIST PLUS (Y page 310)
R PRE-SAFE ®
Brake (Y page 84)
R Blind Spot Assist (Y page 263) or Active
Blind Spot Assist (Y page 266)
R ATTENTION ASSIST (Y page 258)
R Lane Keeping Assist (Y page 265)or Active
Lane Keeping Assist (Y page 269)
R Rear window wiper (Y page 147) Service menu
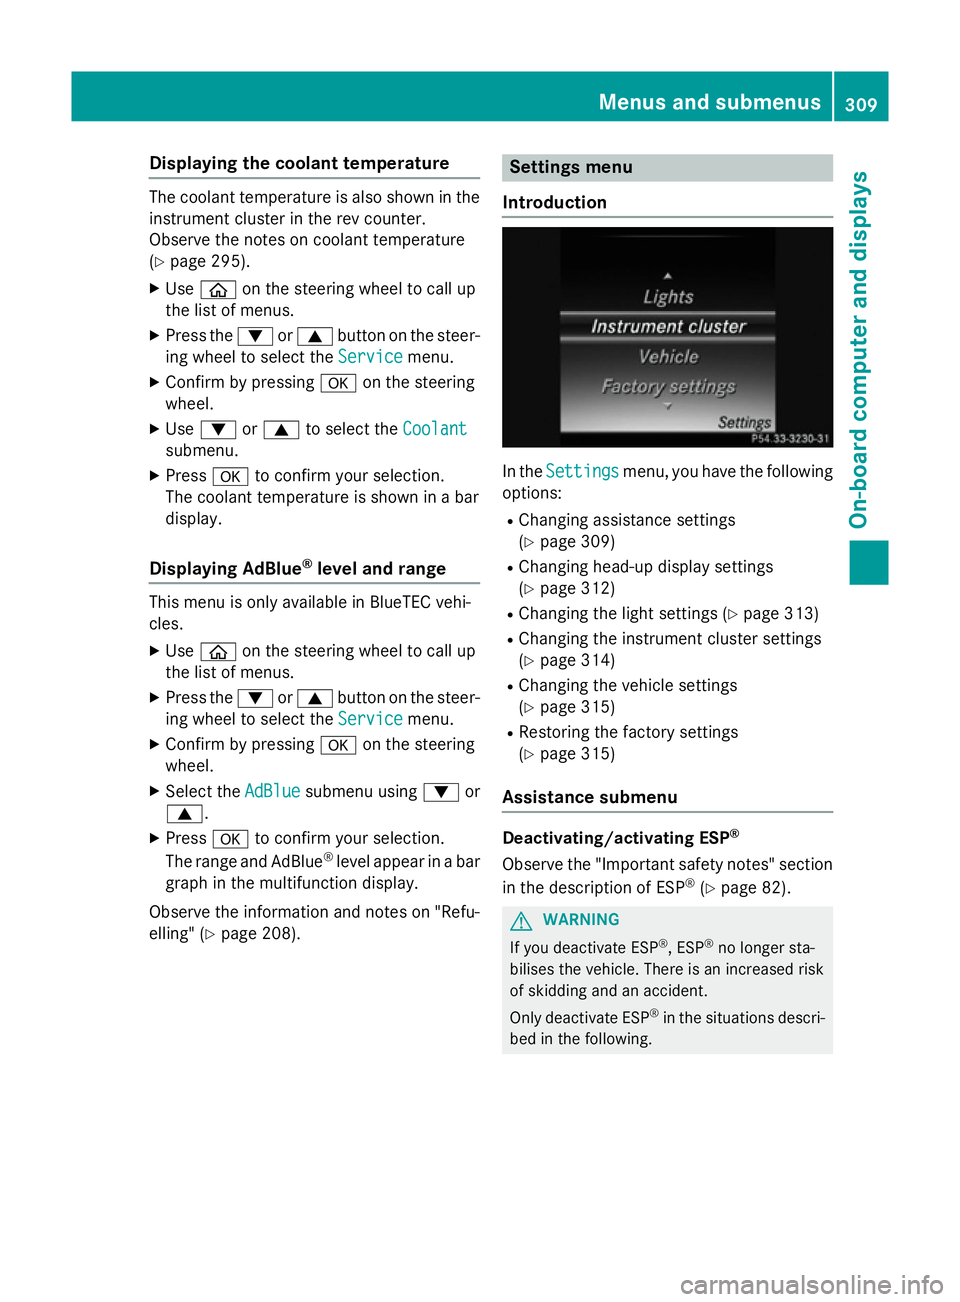
Introduction In the
Service Service menu, you have the following
options:
R Calling up display messages in the mes-
sage memory (Y page 316)
R Restarting the tyre pressure loss warning
system (Y page 441)
R Checking the tyre pressure electronically
(Y page 438)
R Calling up the service due date
(Y page 399)
R Displaying the coolant temperature
(Y page 309)
R Displaying the AdBlue ®
level and range
(Y page 309) (BlueTEC vehicles only) 308
Menus and submenusOn-board computer and displays
Page 312 of 489
Displaying the coolant temperature
The coolant temperature is also shown in the
instrument cluster in the rev counter.
Observe the notes on coolant temperature
(Y page 295).
X Use ò on the steering wheel to call up
the list of menus.
X Press the :or9 button on the steer-
ing wheel to select the Service Servicemenu.
X Confirm by pressing aon the steering
wheel.
X Use : or9 to select the Coolant Coolant
submenu.
X Press ato confirm your selection.
The coolant temperature is shown in a bar
display.
Displaying AdBlue ®
level and range This menu is only available in BlueTEC vehi-
cles.
X Use ò on the steering wheel to call up
the list of menus.
X Press the :or9 button on the steer-
ing wheel to select the Service
Service menu.
X Confirm by pressing aon the steering
wheel.
X Select the AdBlue AdBluesubmenu using :or
9.
X Press ato confirm your selection.
The range and AdBlue ®
level appear in a bar
graph in the multifunction display.
Observe the information and notes on "Refu- elling" (Y page 208). Settings menu
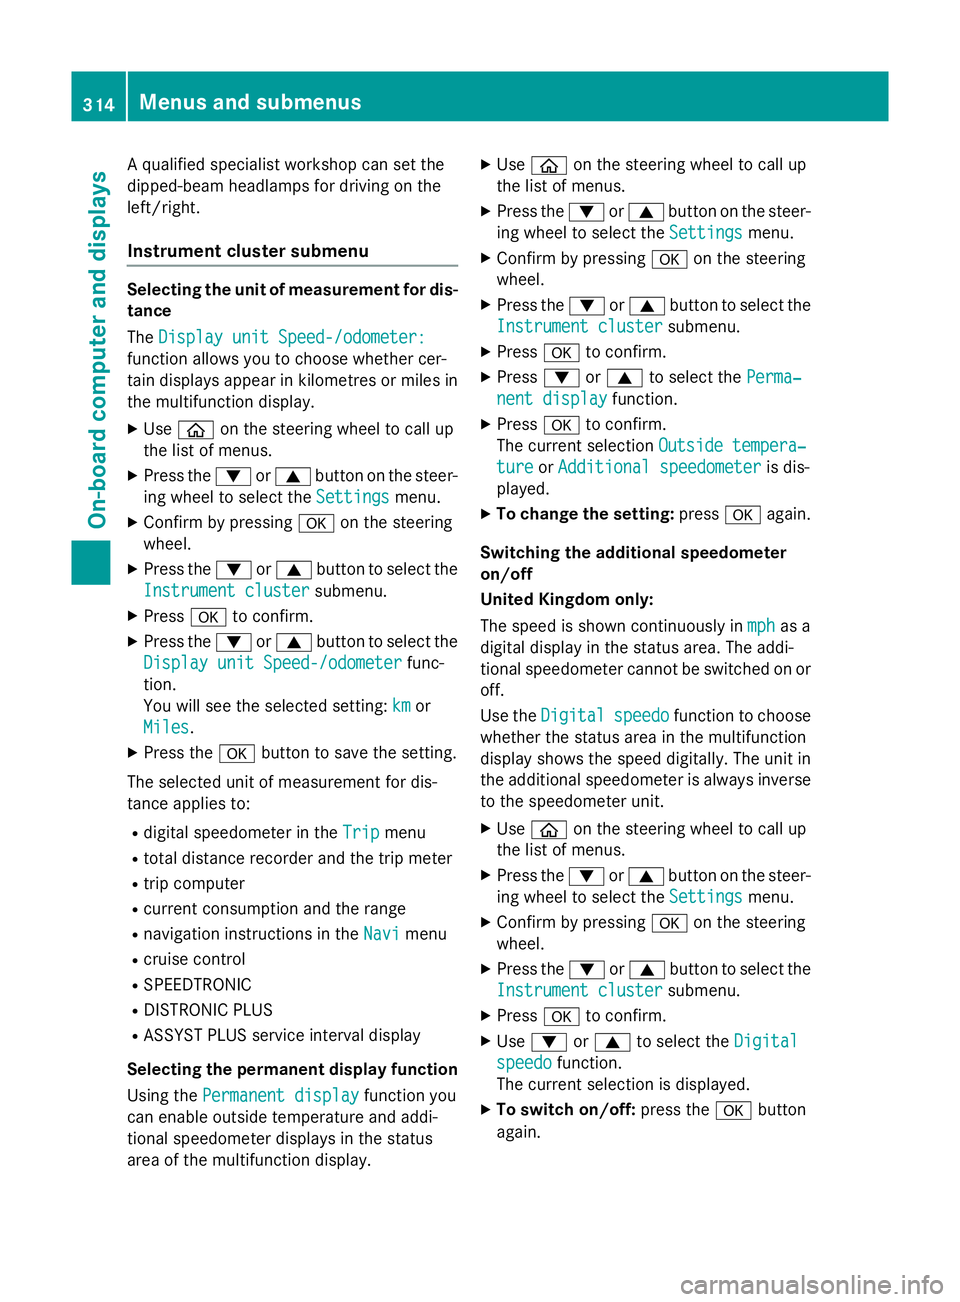
Introduction In the
Settings
Settings menu, you have the following
options:
R Changing assistance settings
(Y page 309)
R Changing head-up display settings
(Y page 312)
R Changing the light settings (Y page 313)
R Changing the instrument cluster settings
(Y page 314)
R Changing the vehicle settings
(Y page 315)
R Restoring the factory settings
(Y page 315)
Assistance submenu Deactivating/activating ESP
®
Observe the "Important safety notes" section
in the description of ESP ®
(Y page 82). G
WARNING
If you deactivate ESP ®
, ESP ®
no longer sta-
bilises the vehicle. There is an increased risk
of skidding and an accident.
Only deactivate ESP ®
in the situations descri-
bed in the following. Menus and submenus
309On-boardcompu ter and displays Z
Page 317 of 489
A qualified specialist workshop can set the
dipped-beam headlamps for driving on the
left/right.
Instrument cluster submenu Selecting the unit of measurement for dis-
tance
The Display unit Speed-/odometer:
Display unit Speed-/odometer:
function allows you to choose whether cer-
tain displays appear in kilometres or miles in the multifunction display.
X Use ò on the steering wheel to call up
the list of menus.
X Press the :or9 button on the steer-
ing wheel to select the Settings Settingsmenu.
X Confirm by pressing aon the steering
wheel.
X Press the :or9 button to select the
Instrument cluster
Instrument cluster submenu.
X Press ato confirm.
X Press the :or9 button to select the
Display unit Speed-/odometer
Display unit Speed-/odometer func-
tion.
You will see the selected setting: km kmor
Miles
Miles.
X Press the abutton to save the setting.
The selected unit of measurement for dis-
tance applies to:
R digital speedometer in the Trip
Tripmenu
R total distance recorder and the trip meter
R trip computer
R current consumption and the range
R navigation instructions in the Navi
Navi menu
R cruise control
R SPEEDTRONIC
R DISTRONIC PLUS
R ASSYST PLUS service interval display
Selecting the permanent display function
Using the Permanent display
Permanent display function you
can enable outside temperature and addi-
tional speedometer displays in the status
area of the multifunction display. X
Use ò on the steering wheel to call up
the list of menus.
X Press the :or9 button on the steer-
ing wheel to select the Settings
Settings menu.
X Confirm by pressing aon the steering
wheel.
X Press the :or9 button to select the
Instrument cluster Instrument cluster submenu.
X Press ato confirm.
X Press :or9 to select the Perma‐
Perma‐
nent display
nent display function.
X Press ato confirm.
The current selection Outside tempera‐
Outside tempera‐
ture
ture orAdditional speedometer
Additional speedometer is dis-
played.
X To change the setting: pressaagain.
Switching the additional speedometer
on/off
United Kingdom only:
The speed is shown continuously in mph mphas a
digital display in the status area. The addi-
tional speedometer cannot be switched on or off.
Use the Digital Digital speedo
speedofunction to choose
whether the status area in the multifunction
display shows the speed digitally. The unit in
the additional speedometer is always inverse to the speedometer unit.
X Use ò on the steering wheel to call up
the list of menus.
X Press the :or9 button on the steer-
ing wheel to select the Settings Settingsmenu.
X Confirm by pressing aon the steering
wheel.
X Press the :or9 button to select the
Instrument cluster
Instrument cluster submenu.
X Press ato confirm.
X Use : or9 to select the Digital
Digital
speedo
speedo function.
The current selection is displayed.
X To switch on/off: press theabutton
again. 314
Menus and submenusOn-board computer and displays
Page 319 of 489
Display messages
Introduction
General notes Display messages appear in the multifunction display.
Display messages with graphic symbols are simplified in the Owner's Manual and may differ
from the symbols in the multifunction display.
Please respond in accordance with the display messages and follow the additional notes in this Owner's Manual.
With certain display messages, you will also hear a warning tone.
You can hide the display messages. The display messages are then stored in the message
memory. Rectify the cause of a display message as soon as possible.
When you stop and park the vehicle, please observe the notes on:
R HOLD function (Y page 236)
R Parking (Y page 211)
Hides display messages X
Press the aor% button on the steering wheel to hide the display message.
The display message is cleared.
The multifunction display shows high-priority display messages in red. Some high-priority dis- play messages cannot be hidden.
The multifunction display shows these messages continuously until the causes for the mes-
sages have been remedied.
Message memory The on-board computer saves certain display messages in the
message memory. You can call
up the display messages:
X Use ò on the steering wheel to call up the list of menus.
X Press the :or9 button on the steering wheel to select the Service
Service menu.
X Confirm by pressing aon the steering wheel.
X Press :or9 to select the message memory.
If there are no display messages, you will see No messages
No messages in the multifunction display.
If there are display messages, the number of messages stored is shown.
X Press ato confirm.
X Press the :or9 button to scroll through the display messages. 316
Display
messagesOn-board computer and displays
Page 373 of 489
Useful information
i This Owner's Manual describes all mod-
els, series and optional equipment for your
vehicle that were available at the time of
going to press. National variations are pos- sible. Note that your vehicle may not be
equipped with all of the functions descri-
bed. This is also the case for systems and
functions relevant to safety.
i Read the information on qualified special-
ist workshops: (Y page 27). Stowage areas
Loading guidelines
G
WARNING
Combustion engines emit poisonous exhaust
gases such as carbon monoxide. If the tailgate is open when the engine is running, particu-
larly if the vehicle is moving, exhaust fumes
could enter the passenger compartment.
There is a risk of poisoning.
Turn off the engine before opening the tail-
gate. Never drive with the tailgate open. G
WARNING
If objects, luggage or loads are not secured or not secured sufficiently, they could slip, tip
over or be flung around and thereby hit vehicle
occupants. There is a risk of injury, especially when braking or abruptly changing directions.
Always store objects so that they cannot be
flung around. Secure objects, luggage or
loads against slipping or tipping before the
journey. G
WARNING
The exhaust tail pipe and tail pipe trim can
become very hot. If you come into contact
with these parts of the vehicle, you could burn
yourself. There is a risk of injury.
Always be particularly careful around the
exhaust tail pipe and the tail pipe trim. Allow these components to cool down before touch-
ing them.
The handling characteristics of a laden vehi-
cle are dependent on the distribution of the
load within the vehicle. For this reason, you
should observe the following notes when
transporting a load:
R never exceed the maximum permissible
gross vehicle weight or the permissible axle
loads for the vehicle (including occupants).
R the luggage compartment is the preferred
place to carry objects.
R position heavy loads as far forwards as pos-
sible and as low down in the luggage com-
partment as possible.
R the load must not protrude above the upper
edge of the seat backrests.
R always place the load behind unoccupied
seats if possible.
R secure the load with sufficiently strong and
wear-resistant lashing material. Pad sharp
edges for protection.
i Load restraints are available at any quali-
fied specialist workshop, e.g. a Mercedes-
Benz Service Centre. Stowage compartments
Important safety notes G
WARNING
If you do not correctly store objects in the
vehicle interior, they can slip or be flung
around, thus striking vehicle occupants.
There is a risk of injury, especially when brak- ing or abruptly changing directions.
R Always store objects so that they cannot be
flung around in these or in similar situa-
tions.
R Always make sure that objects do not pro-
trude from stowage compartments, lug-
gage nets or stowage nets. 370
Stowage areasStowing and features
Page 393 of 489
Mobile phone
Important safety notes G
WARNING
Operating mobile communications equip-
ment while driving distracts you from paying
attention to traffic conditions. This could also cause you to lose control of the vehicle. There
is a risk of an accident.
Use this device only when the vehicle is sta-
tionary.
You must observe the legal requirements for
the country in which you are currently driving when operating mobile communications
equipment in the vehicle.
If it is permitted by law to operate communi-
cations equipment while the vehicle is in
motion, you may only do so if the traffic sit-
uation permits. You may otherwise be dis-
tracted from the traffic conditions, cause an
accident and injure yourself and others.
Excessive levels of electromagnetic radiation
may cause damage to your health and to the
health of others. The use of an exterior aerial
takes into consideration the scientific discus- sion surrounding the possible health risk
posed by electromagnetic fields.
Mercedes-Benz recommends the use of an
approved exterior aerial. This ensures:
R optimal mobile phone reception quality in
the vehicle
R that mutual interference between the vehi-
cle electronics and mobile phones is mini-
mised
An exterior aerial has the following advan-
tages:
R it conducts the electromagnetic fields gen-
erated by a wireless device to the exterior
R the field strength in the vehicle interior is
lower than in a vehicle that does not have
an exterior aerial
Information on retrofitting two-way radios
and mobile phones (RF transmitters)
(Y page 468). General notes Depending on the vehicle equipment, there
are various mobile phone brackets that may
be fitted in your vehicle; in some cases, these
are country-specific.
More information on suitable mobile phones,
mobile phone brackets and on connecting
Bluetooth ®
-capable mobile phones to
COMAND Online/Audio 20 can be obtained:
R at your Mercedes-Benz Service Centre
R on the Internet at http://www.mercedes-
benz.com/connect
The functions and services available when
you use the phone depend on your mobile
phone model and service provider.
Using a mobile phone To connect a mobile phone to the exterior
aerial and charge it, insert it into the mobile
phone bracket.
X Open the telephone compartment
(Y page 372).
X Place the mobile phone bracket into the
pre-installed fitting; see the separate instal- lation instructions for the mobile phone fit-
ting.
X Insert the mobile phone into the mobile
phone bracket; see the separate installa-
tion instructions for the mobile phone fit-
ting.
i The mobile phone can also be operated
without being in the bracket. However, the charging function and aerial function are
not available.
In order to use Bluetooth ®
(SAP profile) on
your telephone module, you must first insert
the telephone module into the pre-installed
fitting. This connects it to the exterior aerial.
If you wish to charge the mobile phone, then
you must connect it to a USB port.
Further information on the telephone module
with Bluetooth ®
(SAP profile) can be found in
the Digital Owner's Manual. 390
FeaturesStowing and features