Page 6 of 42
5
Slide/Tilt Switch
Seat can be moved back
and forth, raised, lowered,
or tilted with this control. Recline Switch
Push forward or backward
to adjust seatback angle.
ELECTRONICALLY OPERATED DRIVER SEAT CONTROLS
(if equipped)
Lumbar Support
Adjustment
To increase firmness ,
push and hold the front
part of the switch. Release
at desired firmness.
To decrease firmness ,
push and hold the rear part
of the switch.
Slide Release Lever
Pull lever up to move seat
backward or forward. Recline Lever
Pull up to adjust seatback angle.
MANUAL SEAT CONTROLS
Height Adjustment Lever
Raise or lower seat height
by repeatedly pulling up or
pushing down on the lever.
Seats
NOTE: 8-way power seat shown above. 6-way power seat also available.
Page 7 of 42
6
FRONT S EAT WARMER
The driver and front passenger seats can be warmed by pushing the
applicable seat warmer button while the ignition is ON.
Seat temperature increases with the number of illuminated indicator lights
(0-OFF, 1-Low, 2-Mid, 3-High).
www.MazdaUSA.comSeats
Seatback Knob
FOLDING SECOND-ROW SEATS
1 Support the seatback with your hand.
2
Push the rear seatback knob down (red indicator is visible when seat
is in the unlocked position).
3 Bring the seatback forward. Low
High
Seats
Page 8 of 42
Folding Rear Seatbacks Down
OR
Returning rear seats to upright position
1 Raise seatbacks until they lock into position (red indicator is not visible
when seat is in the locked position).
2 Pull on the top of the seatbacks from inside the vehicle to make sure
they are locked.
3 Check that all seat belts are routed properly for passenger use.
Folding Only Center Seat Down
NOTE: 4:2:4 type rear seats shown.
Using remote handle:
1 Check that rear seats are clear
of objects.
2 Open the liftgate and pull
the left and right side remote
handle levers.
Using remote handle:
1 Store center seat
head restraint.
2 Check that rear seats are clear.
3 Open the liftgate and pull only
the smaller of the left side
remote handle levers.
7
Seats
Page 9 of 42
Customize the following vehicle functions
using the audio SETUP button:
• Door Locks
• Lighting Control
• Wiper Control
PERSONALIZATION FEATURES
OUTSIDE TEMPERATURE DISPLAY UNIT CHANGE
The outside temperature unit can be switched between Celsius and
Fahrenheit using the following procedure:
1 With the ignition switched OFF, push and hold the INFO button on the
steering wheel. Continue holding the INFO button for 5 seconds or
longer while switching the ignition ON.
2
Release the INFO button when the outside
temperature display flashes.
3
Push the up
or down part of the INFO
switch to change the outside temperature
unit to Celsius or Fahrenheit.
4
Push and hold the INFO button until the
outside temperature display stops flashing.
S ETTING YOUR CLOCK
•
Push the H button to set the hour.
• Push the M button to set the minutes.
Push the :00 button to reset clock to
nearest hour.
8
Seatswww.MazdaUSA.comFeature Highlights
Page 11 of 42
Driver’s View
10
WIPER /
WASHER
( P. 14 )HAZARD
WARNING NAVIGATION/AUDIO
(WITH 5.8” LCD) ( P P. 2 9 - 3 4 )
CLIMATE CONTROL ( P P. 2 5 - 2 6 )SE AT WA R M E R S ( P. 6 )PASSENGER AIRb AG
OFF INDICATOR1
CLOCK ( P. 8 )
AUDIO
( WITHOUT 5.8” LCD)
( P P. 2 7- 2 8 )
ACCESSORY
S OCKET
1 This indicator light illuminates to remind you that the front passenger’s front/side airbags
and seat belt pretensioner will not deploy during a collision. The reason for this is that the
weight in the seat is less than approximately 66 lbs. Always wear your seat belt and secure children in the rear
seats in appropriate child restraints. See the Owner’s Manual for important information on this safety feature.
NOTE:
Indicator light turns of f when conditions have been met for necessar y airbag deployment.
See Owner’s Manual for fur ther information.
www.MazdaUSA.com
Page 40 of 42

Keyless Entry
..............................1-2
• Advanced Keyless Entry*
• Door/Liftgate Request Switch*
• Liftgate Opener Switch
Starting the Engine
....................3-4
• Start/Stop Button
• Accelerated Warm-Up System (AWS)
• Emergency Vehicle Entry/
Engine Start/Stop
Seats
............................................5 -7
• Adjustments and Operation
(Front and Rear).
Set Clock
.......................................8
Driver’s View
.............................9 -10
• Location of Switches and Controls
Instrument Cluster
..................11-12
• Review of Warning and Indicator
Light Function and Location
Lights
.......................................13, 19
Wiper/Washer
...............................14
Fuel Door
......................................17
• Fuel Door Release and Fuel Spec
Adaptive Front Lighting System
(AFS)*
............................................19
Tire Pressure Monitoring System
(TPMS) ...........................................20
• Initialize TPMS before delivery
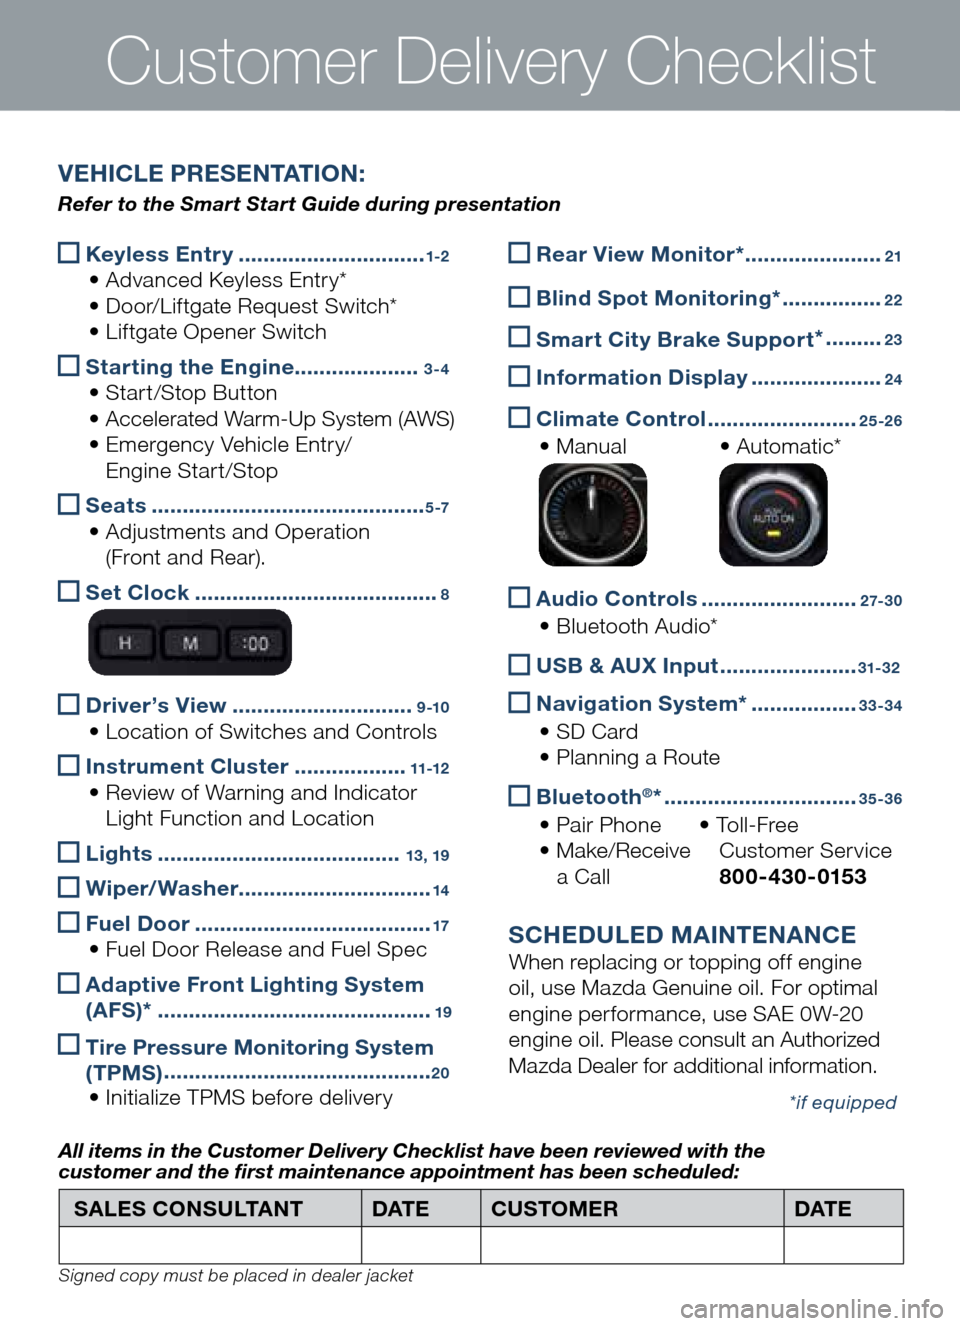
Customer Delivery Checklist
Rear View Monitor* ......................21
b
lind Spot Monitoring* ................22
Smart City b rake Support *
.........23
Information Display
.....................24
Climate Control
........................25-26
• Manual • Automatic*
Audio Controls
.........................2 7- 3 0
• Bluetooth Audio*
US
b & AUX Input ......................31-32
Navigation System*
.................33-34
• SD Card
• Planning a Route
b
luetooth®* ...............................35-36
• Pair Phone • To l l - F r e e
• Make/Receive Customer Service
a Call 800-430-0153
SCHEDULED MAINTENANCE
When replacing or topping off engine
oil, use Mazda Genuine oil. For optimal
engine performance, use SAE 0W-20
engine oil. Please consult an Authorized
Mazda Dealer for additional information.
*if equipped
SALES CONSULTANT DAT ECUSTOMER DAT E
All items in the Customer Deliver y Checklist have been reviewed with the
customer and the first maintenance appointment has been scheduled:
Signed copy must be placed in dealer jacket
V EHICLE PRESENTATION :
Refer to the Smart Start Guide during presentation