Page 524 of 844
524
GS350_OM_OM30D41U_(U)
5-4. Using the hands-free phone system (for cellular phone)
Setting the hands-free system (for cellular phone)
Phone sound settings
Phonebook settings
Message settings
Phone display settings
To display the screen shown above, press the “MENU” button on the
Remote Touch, then select “Setup”, and select “Phone” on the “Setup”
screen.
You can set the hands-free system to your desired settings.
1
2
3
4
Page 525 of 844
GS350_OM_OM30D41U_(U)
5255-4. Using the hands-free phone system (for cellular phone)
5
Interior features
■Setting the volumeDisplay the “Phone Settings” screen. ( P. 5 2 4 )
Select “Phone Sound Settings” on the “Phone Settings” screen.
Choose the volume setting
switch.
“Call Volume”: changes the
speaker volume
“Transmit Volume”: changes the
transmit volume.
“Ring Tone Volume”: changes the
ring tone volume
Select “-” or “+” to lower or
raise the volume, and then
select “OK”.
When you complete all settings, select “Save”.
■Setting the ring tone Display the “Phone Settings” screen. ( P. 5 2 4 )
Select “Phone Sound Settings” on the “Phone Settings” screen.
Select “Ring Tone” on the “Phone Sound Settings” screen.
Select the screen button cor-
responding to the desired ring
tone.
Ring tones can be heard by select-
ing the screen buttons, and then
“OK”.
Phone sound settings
1
2
3
4
5
1
2
3
4
Page 526 of 844

526
GS350_OM_OM30D41U_(U)
5-4. Using the hands-free phone system (for cellular phone)
When you complete setting, select “Save”.
■Adaptive volume control
When traveling at 50 mph (80 km/h) or more, the system automatically raises the
volume.
■Tr a n s m i t v o l u m e
The sound quality of the voice heard from the other party’s speaker may be nega-
tively impacted.
■To return to the default phone sound settings
Select “Default”, and then “Yes”.
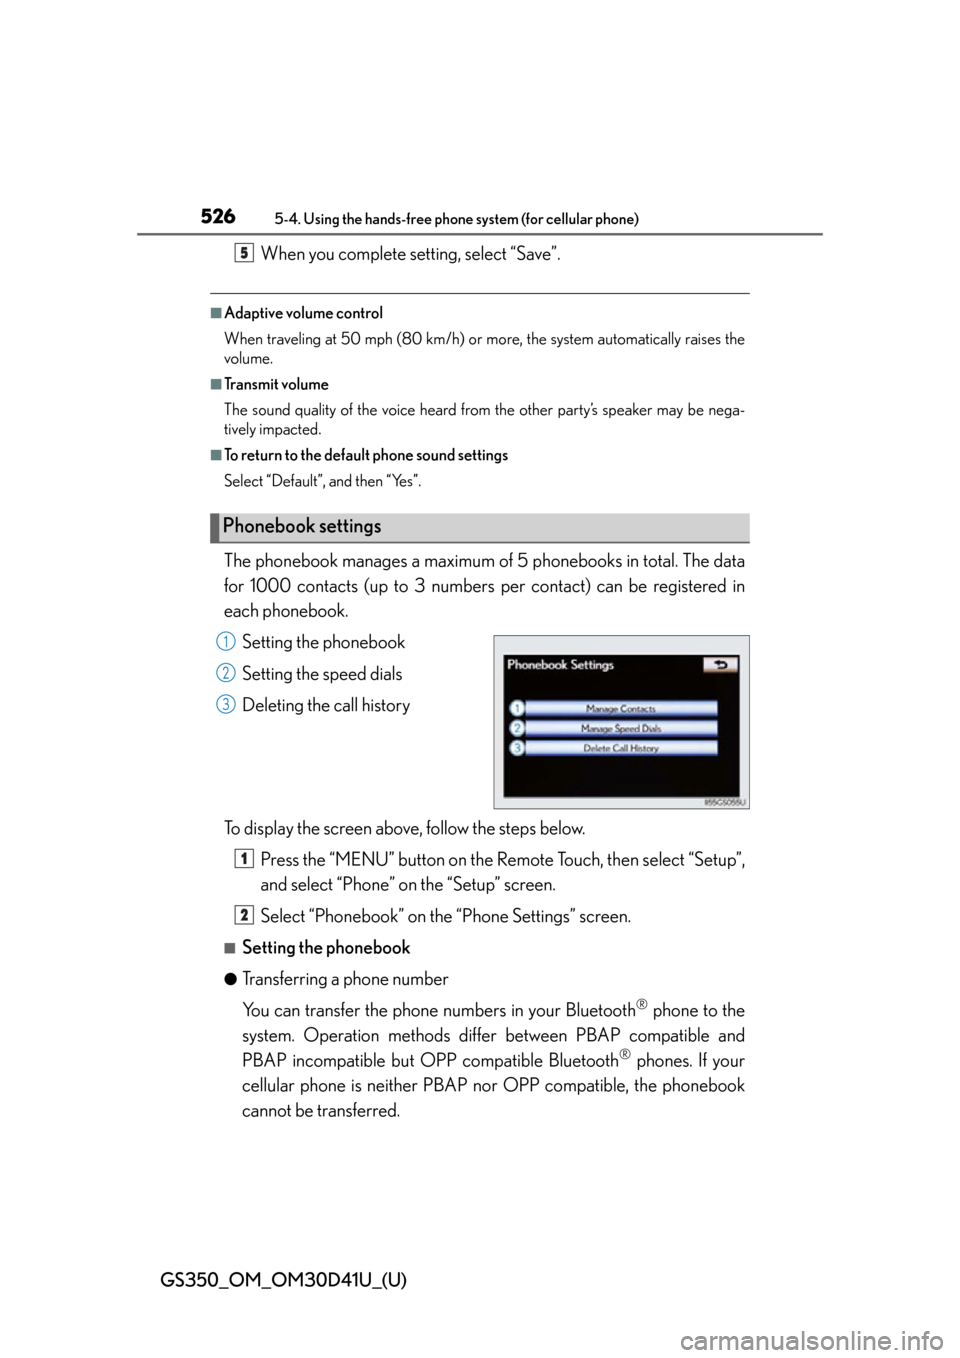
The phonebook manages a maximum of 5 phonebooks in total. The data
for 1000 contacts (up to 3 numbers per contact) can be registered in
each phonebook.
Setting the phonebook
Setting the speed dials
Deleting the call history
To display the screen above, follow the steps below. Press the “MENU” button on the Remote Touch, then select “Setup”,
and select “Phone” on the “Setup” screen.
Select “Phonebook” on the “Phone Settings” screen.
■Setting the phonebook
●Transferring a phone number
You can transfer the phone numbers in your Bluetooth
® phone to the
system. Operation methods differ between PBAP compatible and
PBAP incompatible but OPP compatible Bluetooth
® phones. If your
cellular phone is neither PBAP nor OPP compatible, the phonebook
cannot be transferred.
Phonebook settings
5
1
2
3
1
2
Page 527 of 844
GS350_OM_OM30D41U_(U)
5275-4. Using the hands-free phone system (for cellular phone)
5
Interior features
For PBAP compatible Bluetooth® phones
Display the “Phonebook Settings” screen. ( P. 5 2 6 )
Select “Manage Contacts” on th e “Phonebook Settings” screen.
Select “Transfer Contacts”.
Select “Update Contacts”.
Transfer the phonebook data
to the system using the
Bluetooth
® phone.
This operation may be unnecessary
depending on the cellular phone
model.
Depending on the type of
Bluetooth
® phone:
• OBEX authentication may be required when transferring
phonebook data. Enter “1234”
into the Bluetooth
® phone.
• The registered image on the phonebook may not appear
when phonebook data is trans-
ferred.
If you wish to cancel the transfer
before it finishes, select “Cancel”.
1
2
3
4
5
Page 528 of 844
528
GS350_OM_OM30D41U_(U)
5-4. Using the hands-free phone system (for cellular phone)
PBAP compatible models automatic data transfer setting
Display the “Phonebook Settings” screen. ( P. 5 2 6 )
Select “Manage Contacts” on th e “Phonebook Settings” screen.
Select “Transfer Contacts” on the “Contacts” screen.
Select the item to be set.
“Automatically Download Con-
tacts”: Transfer the phonebook
from a connected cellular phone.
“Automatically Download Call His-
tory”: transfer the call history from a
connected cellular phone.
Depending on the type of
Bluetooth
® phone, the registered
image on the phonebook may not
appear when phonebook data is
transferred.
Select “On”, and then “Save”.
1
2
3
4
5
Page 529 of 844
GS350_OM_OM30D41U_(U)
5295-4. Using the hands-free phone system (for cellular phone)
5
Interior features
For PBAP incompatible but OPP compatible Bluetooth® phones
Display the “Phonebook Settings” screen. ( P. 5 2 6 )
Select “Manage Contacts” on th e “Phonebook Settings” screen.
Select “Transfer Contacts”.
Select “Replace Contacts” or
“Add Contacts”.
In the case that the phonebook
contains phonebook data, this
screen is displayed.
1
2
3
4
Page 531 of 844
GS350_OM_OM30D41U_(U)
5315-4. Using the hands-free phone system (for cellular phone)
5
Interior features
●Registering the phonebook data
You can register the phonebook data. Up to 3 numbers per person can
be registered. New phonebook data cannot be added for PBAP com-
patible Bluetooth
® phones.
Display the “Phonebook Settings” screen. ( P. 5 2 6 )
Select “Manage Contacts” on th e “Phonebook Settings” screen.
Select “New Contact” on the “Contacts” screen.
Input the name, and select
“OK”.
Input the phone number, and
select “OK”.
If you want to use the tone signal
after the phone number, input the
tone signal too.
Select the desired phone type.
When two or less numbers in total ar e registered to this contact, this
screen is displayed. When you want to add a number to this contact,
select “Yes”.
1
2
3
4
5
6
7
Page 532 of 844
532
GS350_OM_OM30D41U_(U)
5-4. Using the hands-free phone system (for cellular phone)
●Editing the phonebook data
You can register the phone number separately. Phonebooks cannot be
edited for PBAP compatible Bluetooth
® phones.
Display the “Phonebook Settings” screen. ( P. 5 2 6 )
Select “Manage Contacts” on th e “Phonebook Settings” screen.
Select “Edit Contacts” on the “Contacts” screen.
Choose the data to edit.
Select the desired name or
number.
Edit the name or number. After editing, select “Save”.
1
2
3
4
5
6