Page 248 of 424

247
1. AUDIO/VIDEO SYSTEM OPERATION
5
AUDIO/VIDEO SYSTEM
ES350/300h_Navi_OM33A66U_(U)13.07.11 10:10
■PARENTAL LOCK
1Select “Parental Lock” on the “DVD
Settings” screen.
2Enter the 4-digit personal code on the
“Key Code” screen.
�z If the wrong numbers are entered, select
to delete the numbers.
�z To return to the “DVD Settings” screen,
select .
3Select a parental level ( 1-8) on the “Se-
lect Restriction Level” screen.
�z To return to the “DVD Settings” screen,
select .
4Select “Save” on the “DVD Settings”
screen.
■ AUTO START PLAYBACK
1Select “Auto Start Playback” on the
“DVD Settings” screen.
2Select “On” or “Off” .
3Select “Save” on the “DVD Settings”
screen.
■ SOUND DYNAMIC RANGE
1Select “Sound Dynamic Range” on the
“DVD Settings” screen.
2Select “MAX” , “STD” or “MIN” .
3Select “Save” on the “DVD Settings”
screen.
The level of viewer restrictions can be
changed.Discs that are inserted while the vehicle
is in motion will automatically start play-
ing. Certain discs may not play.
The difference between the lowest vol-
ume and the highest volume can be ad-
justed.
Page 255 of 424
254
1. AUDIO/VIDEO SYSTEM OPERATION
ES350/300h_Navi_OM33A66U_(U)13.07.11 10:10
8. USB MEMORY OPERATION
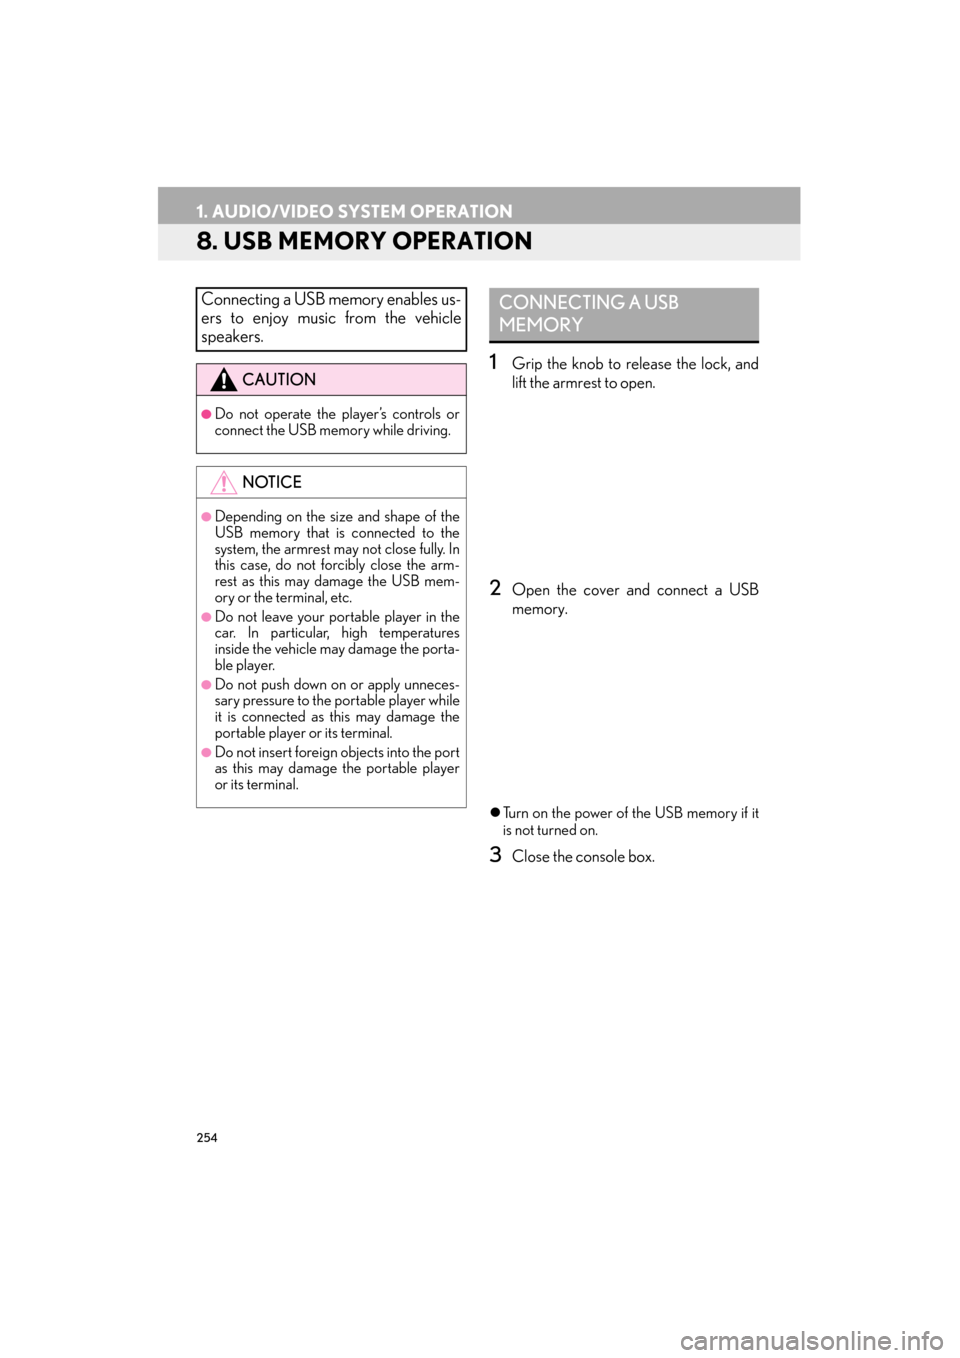
1Grip the knob to release the lock, and
lift the armrest to open.
2Open the cover and connect a USB
memory.
�zTurn on the power of the USB memory if it
is not turned on.
3Close the console box.
Connecting a USB memory enables us-
ers to enjoy music from the vehicle
speakers.
CAUTION
●Do not operate the player’s controls or
connect the USB memory while driving.
NOTICE
●Depending on the size and shape of the
USB memory that is connected to the
system, the armrest may not close fully. In
this case, do not forcibly close the arm-
rest as this may damage the USB mem-
ory or the terminal, etc.
●Do not leave your portable player in the
car. In particular, high temperatures
inside the vehicle may damage the porta-
ble player.
●Do not push down on or apply unneces-
sary pressure to the portable player while
it is connected as this may damage the
portable player or its terminal.
●Do not insert foreign objects into the port
as this may damage the portable player
or its terminal.
CONNECTING A USB
MEMORY
Page 257 of 424
256
1. AUDIO/VIDEO SYSTEM OPERATION
ES350/300h_Navi_OM33A66U_(U)13.07.11 10:10
■ON THE USB TOP SCREEN
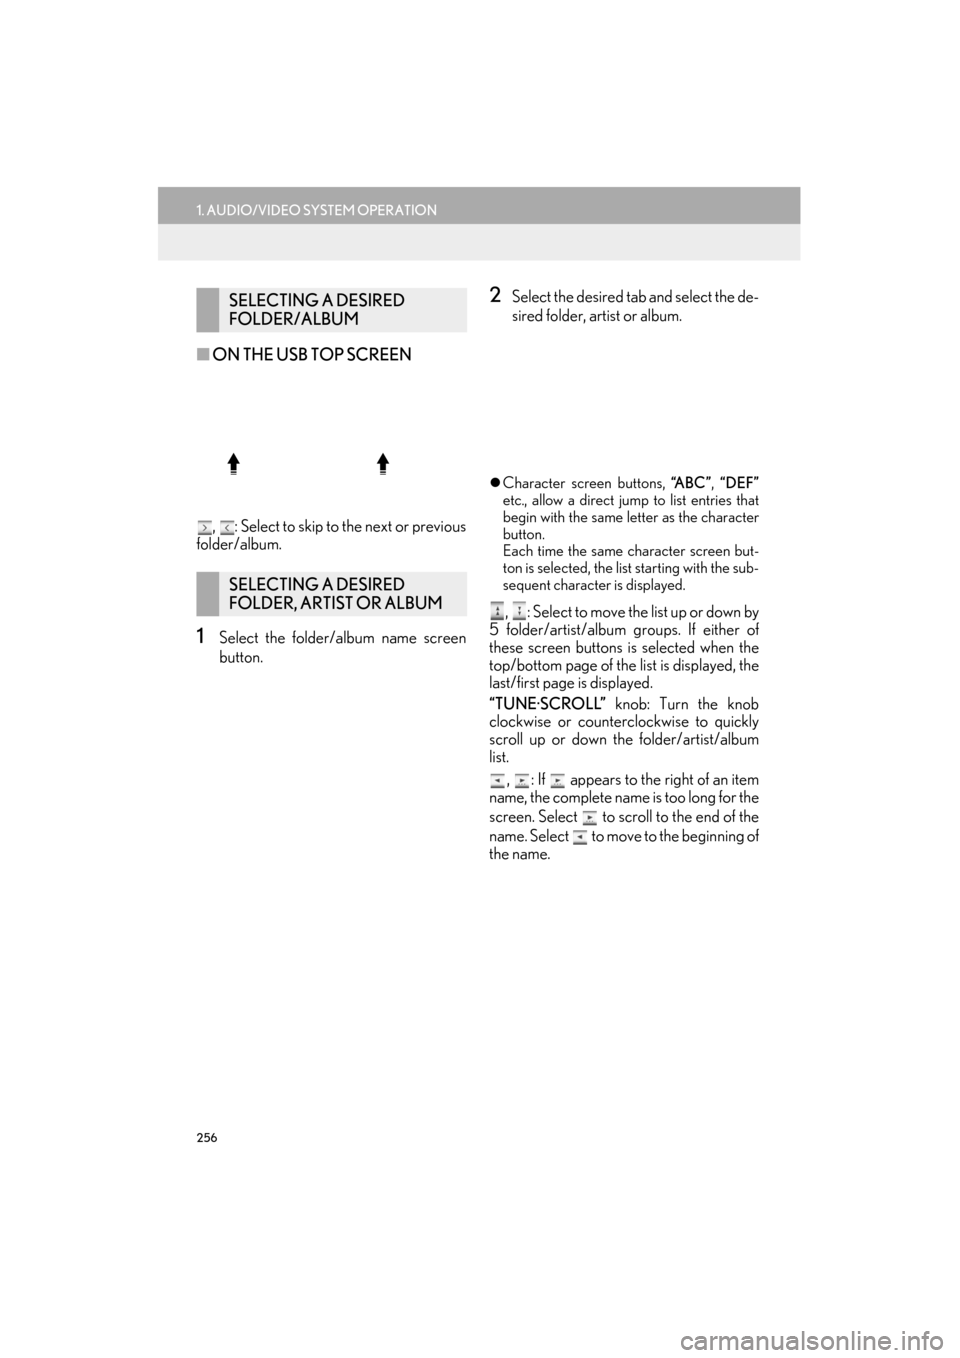
, : Select to skip to the next or previous
folder/album.
1Select the folder/album name screen
button.
2Select the desired tab and select the de-
sired folder, artist or album.
�z Character screen buttons, “A B C ”, “DEF”
etc., allow a direct jump to list entries that
begin with the same letter as the character
button.
Each time the same character screen but-
ton is selected, the list starting with the sub-
sequent character is displayed.
, : Select to move the list up or down by
5 folder/artist/album groups. If either of
these screen buttons is selected when the
top/bottom page of the list is displayed, the
last/first page is displayed.
“TUNE·SCROLL” knob: Turn the knob
clockwise or counterclockwise to quickly
scroll up or down the folder/artist/album
list.
, : If appears to the right of an item
name, the complete name is too long for the
screen. Select to scroll to the end of the
name. Select to move to the beginning of
the name.
SELECTING A DESIRED
FOLDER/ALBUM
SELECTING A DESIRED
FOLDER, ARTIST OR ALBUM
Page 258 of 424
257
1. AUDIO/VIDEO SYSTEM OPERATION
5
AUDIO/VIDEO SYSTEM
ES350/300h_Navi_OM33A66U_(U)13.07.11 10:10
■ON THE USB TOP SCREEN
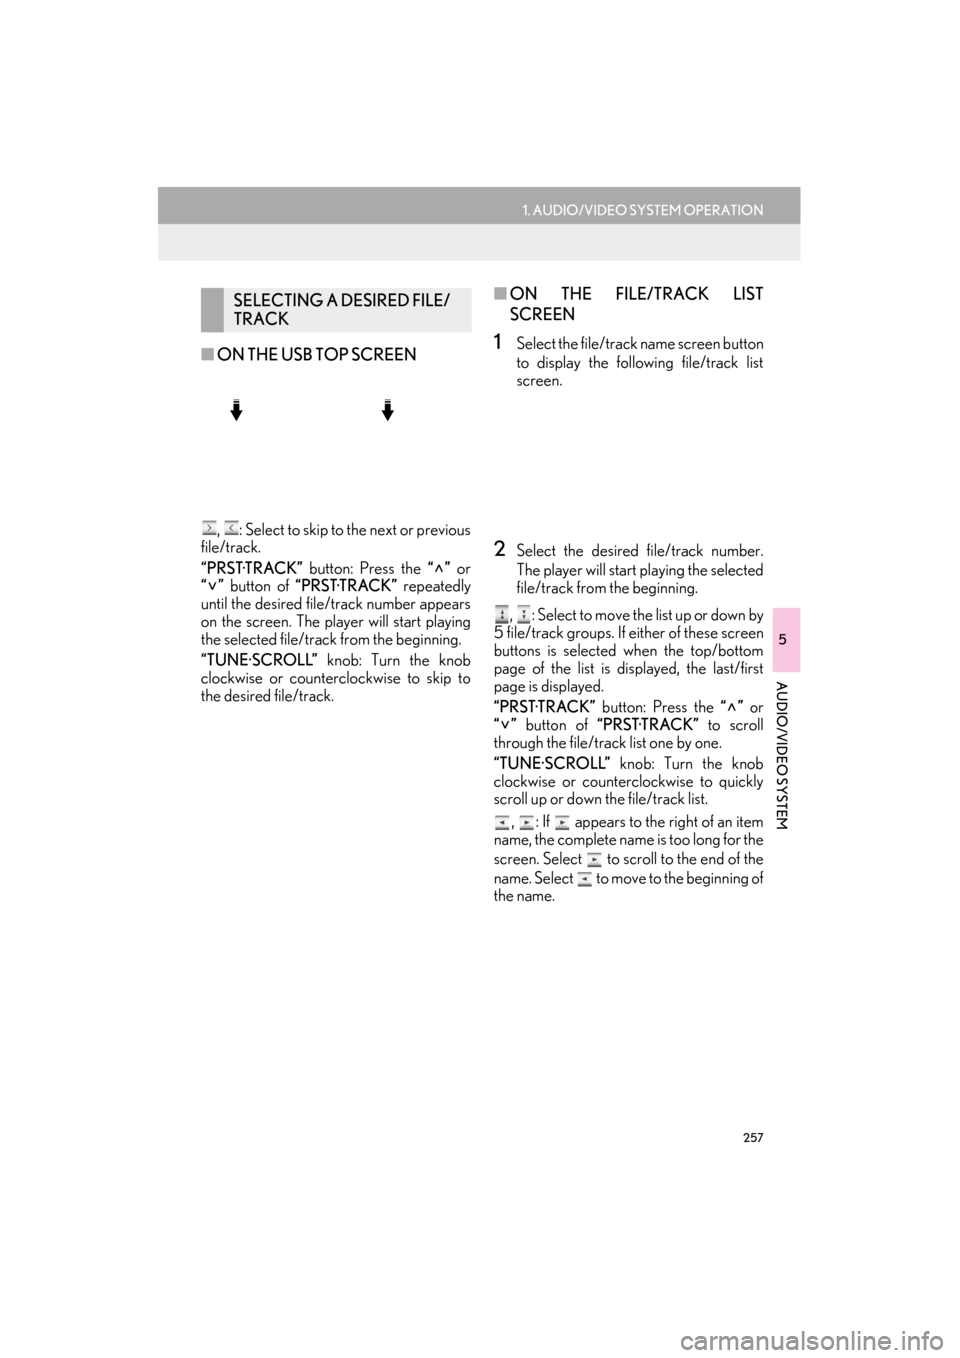
, : Select to skip to the next or previous
file/track.
“PRST·TRACK” button: Press the “” or
“” button of “PRST·TRACK” repeatedly
until the desired file/track number appears
on the screen. The player will start playing
the selected file/track from the beginning.
“TUNE·SCROLL” knob: Turn the knob
clockwise or counterclockwise to skip to
the desired file/track.
■ ON THE FILE/TRACK LIST
SCREEN
1Select the file/track name screen button
to display the following file/track list
screen.
2Select the desired file/track number.
The player will start playing the selected
file/track from the beginning.
, : Select to move the list up or down by
5 file/track groups. If either of these screen
buttons is selected when the top/bottom
page of the list is displayed, the last/first
page is displayed.
“PRST·TRACK” button: Press the “” or
“” button of “PRST·TRACK” to scroll
through the file/track list one by one.
“TUNE·SCROLL” knob: Turn the knob
clockwise or counterclockwise to quickly
scroll up or down the file/track list.
, : If appears to the right of an item
name, the complete name is too long for the
screen. Select to scroll to the end of the
name. Select to move to the beginning of
the name.
SELECTING A DESIRED FILE/
TRACK
Page 261 of 424
260
1. AUDIO/VIDEO SYSTEM OPERATION
ES350/300h_Navi_OM33A66U_(U)13.07.11 10:10
9. iPod OPERATION
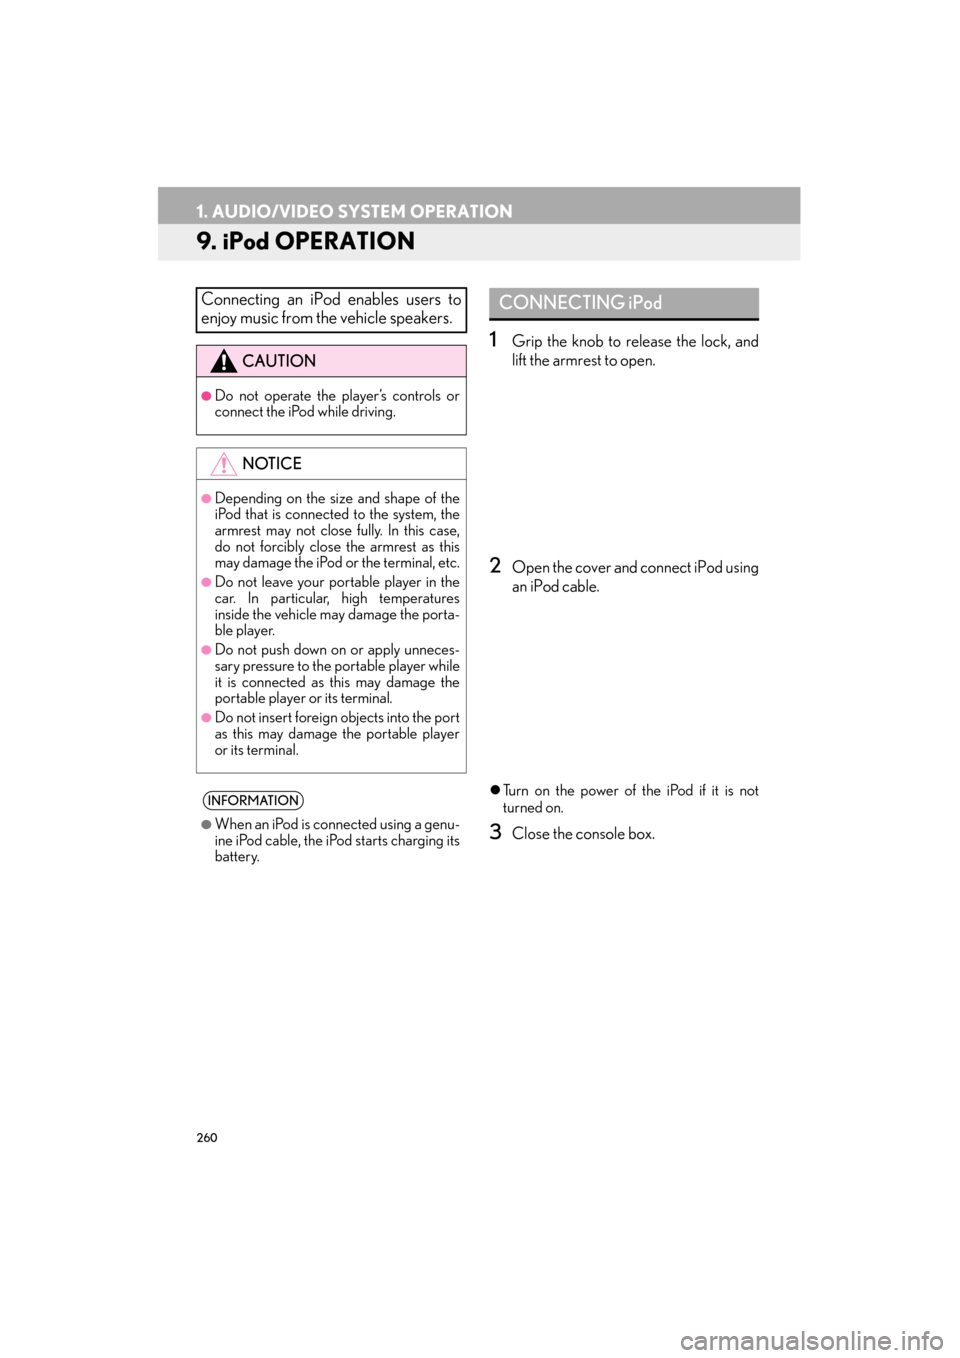
1Grip the knob to release the lock, and
lift the armrest to open.
2Open the cover and connect iPod using
an iPod cable.
�zTurn on the power of the iPod if it is not
turned on.
3Close the console box.
Connecting an iPod enables users to
enjoy music from the vehicle speakers.
CAUTION
●Do not operate the player’s controls or
connect the iPod while driving.
NOTICE
●Depending on the size and shape of the
iPod that is connected to the system, the
armrest may not close fully. In this case,
do not forcibly close the armrest as this
may damage the iPod or the terminal, etc.
●Do not leave your portable player in the
car. In particular, high temperatures
inside the vehicle may damage the porta-
ble player.
●Do not push down on or apply unneces-
sary pressure to the portable player while
it is connected as this may damage the
portable player or its terminal.
●Do not insert foreign objects into the port
as this may damage the portable player
or its terminal.
INFORMATION
●
When an iPod is connected using a genu-
ine iPod cable, the iPod starts charging its
battery.
CONNECTING iPod
Page 263 of 424
262
1. AUDIO/VIDEO SYSTEM OPERATION
ES350/300h_Navi_OM33A66U_(U)13.07.11 10:10
2Select the desired play mode.
■ON THE iPod TOP SCREEN
, : Select to skip to the next or previous
track.
“PRST·TRACK” button: Press the “” or
“” button of “PRST·TRACK” repeatedly
until the desired track number appears on
the screen. The player will start playing the
selected track from the beginning.
“TUNE·SCROLL” knob: Turn the knob
clockwise or counterclockwise to skip to
the desired track.
■ ON THE TRACK LIST SCREEN
1Select the track name screen button to
display the following track list screen.
2Select the desired track number. The
player will start playing the selected
track from the beginning.
, : Select to move the list up or down by
5 track groups. If either of these screen but-
tons is selected when the top/bottom page
of the list is displayed, the last/first page is
displayed.
“PRST·TRACK” button: Press the “” or
“” button of “PRST·TRACK” to scroll
through the track list one by one.
“TUNE·SCROLL” knob: Turn the knob
clockwise or counterclockwise to quickly
scroll up or down the track list.
, : If appears to the right of an item
name, the complete name is too long for the
screen. Select to scroll to the end of the
name. Select to move to the beginning of
the name.
SELECTING A DESIRED
TRACK
Page 271 of 424

270
1. AUDIO/VIDEO SYSTEM OPERATION
ES350/300h_Navi_OM33A66U_(U)13.07.11 10:10
�zDepending on the portable player that is
connected to the system, the music may
start playing when selecting while it is
paused. Conversely, the music may pause
when selecting while it is playing.
■ ON THE AUDIO TOP SCREEN
, : Select to skip to the next or previous
folder/album.
■ ON THE PLAYLIST SCREEN
1Select the album name screen button to
display the followin g playlist screen.
2Select the desired screen button.
�zIf the folder name screen button is selected,
the track list screen is displayed.
3Select the desired track name screen
button.
, : Select to move the list up or down by
5 track/folder groups. If either of these
screen buttons is selected when the top/
bottom page of the list is displayed, the last/
first page is displayed.
“PRST·TRACK” button: Press the “” or
“” button of “PRST·TRACK” to scroll
through the track list one by one.
“TUNE·SCROLL” knob: Turn the knob
clockwise or counterclockwise to quickly
scroll up or down the track/folder list.
, : If appears to the right of an item
name, the complete name is too long for the
screen. Select to scroll to the end of the
name. Select to move to the beginning of
the name.
SELECTING A DESIRED
TRACK/FOLDER/ALBUM
Page 272 of 424

271
1. AUDIO/VIDEO SYSTEM OPERATION
5
AUDIO/VIDEO SYSTEM
ES350/300h_Navi_OM33A66U_(U)13.07.11 10:10
■FAST FORWARDING OR RE-
WINDING
1Press and hold the “” or “” button of
“PRST·TRACK” to fast forward or re-
wind the song.
�z When the button is released, the player
resumes playing from that position.
■ ON THE AUDIO TOP SCREEN
, : Select to skip to the next or previous
track.
“PRST·TRACK” button: Press the “” or
“” button of “PRST·TRACK” repeatedly
until the desired track number appears on
the screen. The player will start playing the
selected track from the beginning.
“TUNE·SCROLL” knob: Turn the knob
clockwise or counterclockwise to skip to
the desired track.
■ ON THE TRACK LIST SCREEN
1Select the track name screen button to
display the following track list screen.
INFORMATION
●
Depending on the portable player that is
connected to the system, certain func-
tions may not be available.
●Some titles may not be displayed
depending on the type of portable player.
SELECTING A DESIRED
TRACK