2014 KIA Sedona heater
[x] Cancel search: heaterPage 178 of 382
3169
Features of your vehicle
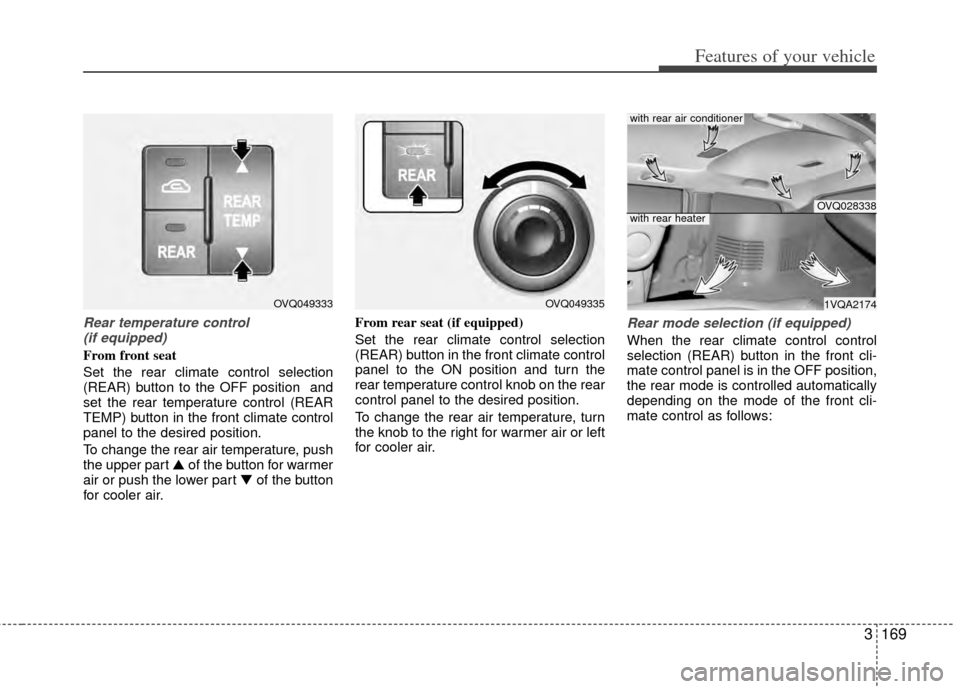
Rear temperature control (if equipped)
From front seat
Set the rear climate control selection
(REAR) button to the OFF position and
set the rear temperature control (REAR
TEMP) button in the front climate control
panel to the desired position.
To change the rear air temperature, push
the upper part ▲ of the button for warmer
air or push the lower part ▼ of the button
for cooler air. From rear seat (if equipped)
Set the rear climate control selection
(REAR) button in the front climate control
panel to the ON position and turn the
rear temperature control knob on the rear
control panel to the desired position.
To change the rear air temperature, turn
the knob to the right for warmer air or left
for cooler air.
Rear mode selection (if equipped)
When the rear climate control control
selection (REAR) button in the front cli-
mate control panel is in the OFF position,
the rear mode is controlled automatically
depending on the mode of the front cli-
mate control as follows:
OVQ049333OVQ049335
OVQ028338
1VQA2174
with rear air conditioner
with rear heater
Page 179 of 382
Features of your vehicle
170
3
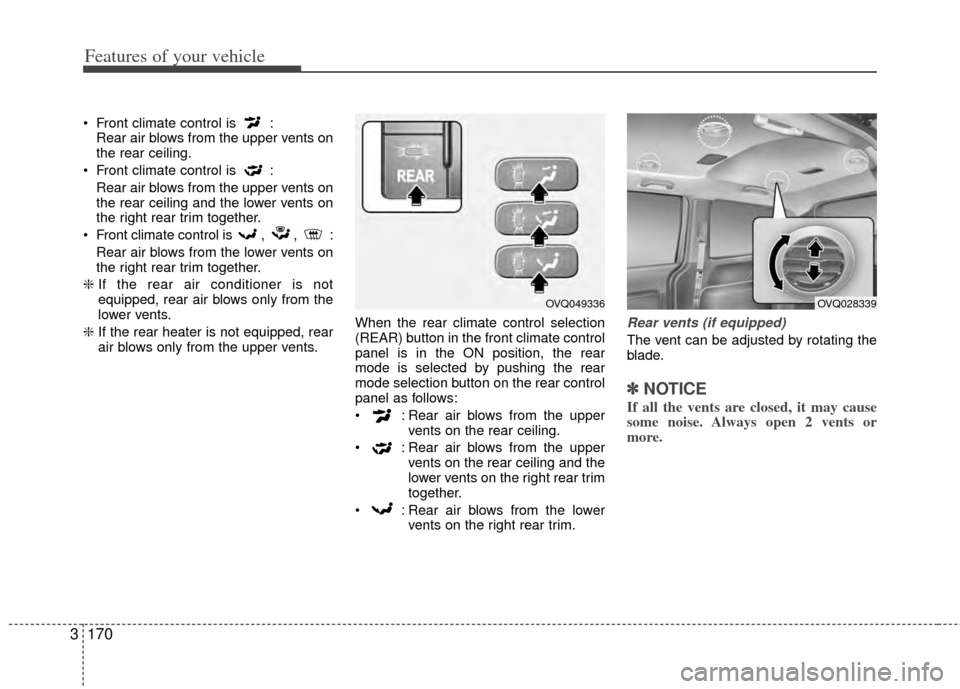
Front climate control is :
Rear air blows from the upper vents on
the rear ceiling.
Front climate control is : Rear air blows from the upper vents on
the rear ceiling and the lower vents on
the right rear trim together.
Front climate control is , , : Rear air blows from the lower vents on
the right rear trim together.
❇ If the rear air conditioner is not
equipped, rear air blows only from the
lower vents.
❇ If the rear heater is not equipped, rear
air blows only from the upper vents. When the rear climate control selection
(REAR) button in the front climate control
panel is in the ON position, the rear
mode is selected by pushing the rear
mode selection button on the rear control
panel as follows:
: Rear air blows from the upper
vents on the rear ceiling.
: Rear air blows from the upper vents on the rear ceiling and the
lower vents on the right rear trim
together.
: Rear air blows from the lower vents on the right rear trim.
Rear vents (if equipped)
The vent can be adjusted by rotating the
blade.
✽ ✽NOTICE
If all the vents are closed, it may cause
some noise. Always open 2 vents or
more.
OVQ049336OVQ028339
Page 183 of 382
Features of your vehicle
174
3
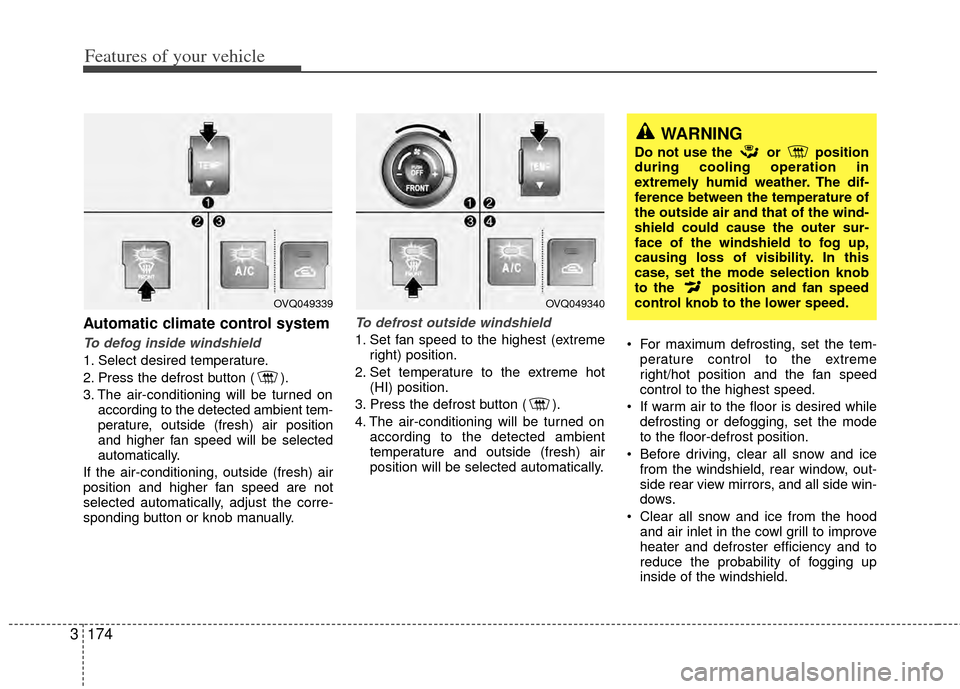
Automatic climate control system
To defog inside windshield
1. Select desired temperature.
2. Press the defrost button ( ).
3. The air-conditioning will be turned on
according to the detected ambient tem-
perature, outside (fresh) air position
and higher fan speed will be selected
automatically.
If the air-conditioning, outside (fresh) air
position and higher fan speed are not
selected automatically, adjust the corre-
sponding button or knob manually.
To defrost outside windshield
1. Set fan speed to the highest (extreme right) position.
2. Set temperature to the extreme hot (HI) position.
3. Press the defrost button ( ).
4. The air-conditioning will be turned on according to the detected ambient
temperature and outside (fresh) air
position will be selected automatically. For maximum defrosting, set the tem-
perature control to the extreme
right/hot position and the fan speed
control to the highest speed.
If warm air to the floor is desired while defrosting or defogging, set the mode
to the floor-defrost position.
Before driving, clear all snow and ice from the windshield, rear window, out-
side rear view mirrors, and all side win-
dows.
Clear all snow and ice from the hood and air inlet in the cowl grill to improve
heater and defroster efficiency and to
reduce the probability of fogging up
inside of the windshield.
WARNING
Do not use the or position
during cooling operation in
extremely humid weather. The dif-
ference between the temperature of
the outside air and that of the wind-
shield could cause the outer sur-
face of the windshield to fog up,
causing loss of visibility. In this
case, set the mode selection knob
to the position and fan speed
control knob to the lower speed.
OVQ049340OVQ049339
Page 202 of 382
3193
Features of your vehicle
(1) : It can be used when the ignitionswitch is in ACC or ON position.
(2), (3) : It can be used regardless of the ignition switch position.
Power outlet
The power outlets are designed to pro-
vide power for mobile telephones or
other devices designed to operate with
vehicle electrical systems. The devices
should draw less than 10 amps with the
engine running.
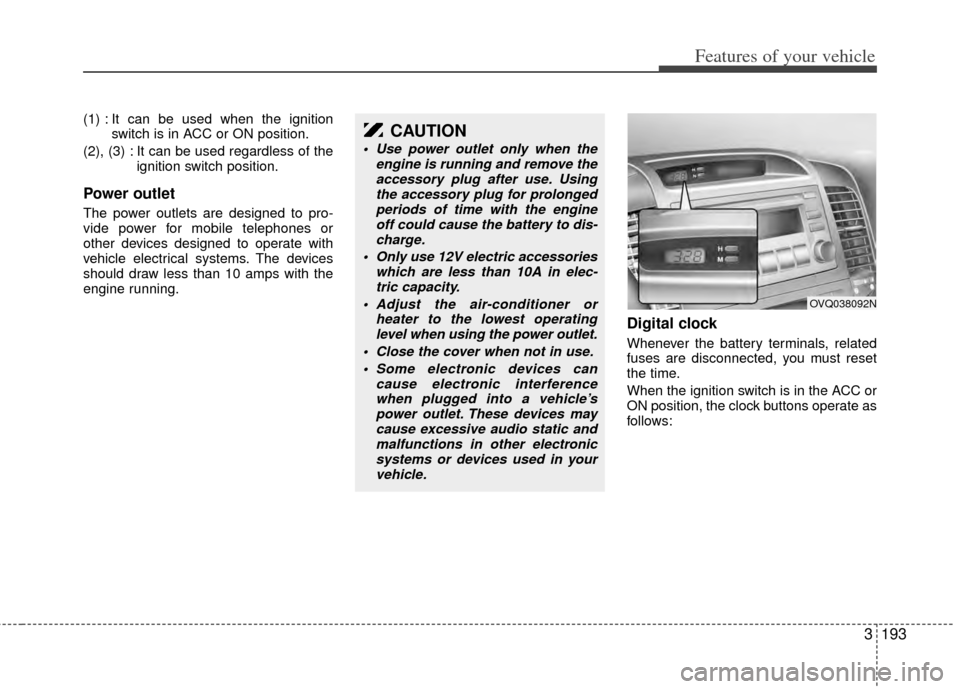
Digital clock
Whenever the battery terminals, related
fuses are disconnected, you must reset
the time.
When the ignition switch is in the ACC or
ON position, the clock buttons operate as
follows:
CAUTION
Use power outlet only when theengine is running and remove theaccessory plug after use. Usingthe accessory plug for prolonged periods of time with the engineoff could cause the battery to dis- charge.
Only use 12V electric accessories which are less than 10A in elec-tric capacity.
Adjust the air-conditioner or heater to the lowest operatinglevel when using the power outlet.
Close the cover when not in use. Some electronic devices can cause electronic interferencewhen plugged into a vehicle’spower outlet. These devices may cause excessive audio static andmalfunctions in other electronicsystems or devices used in your vehicle.
OVQ038092N
Page 217 of 382
Features of your vehicle
208
3
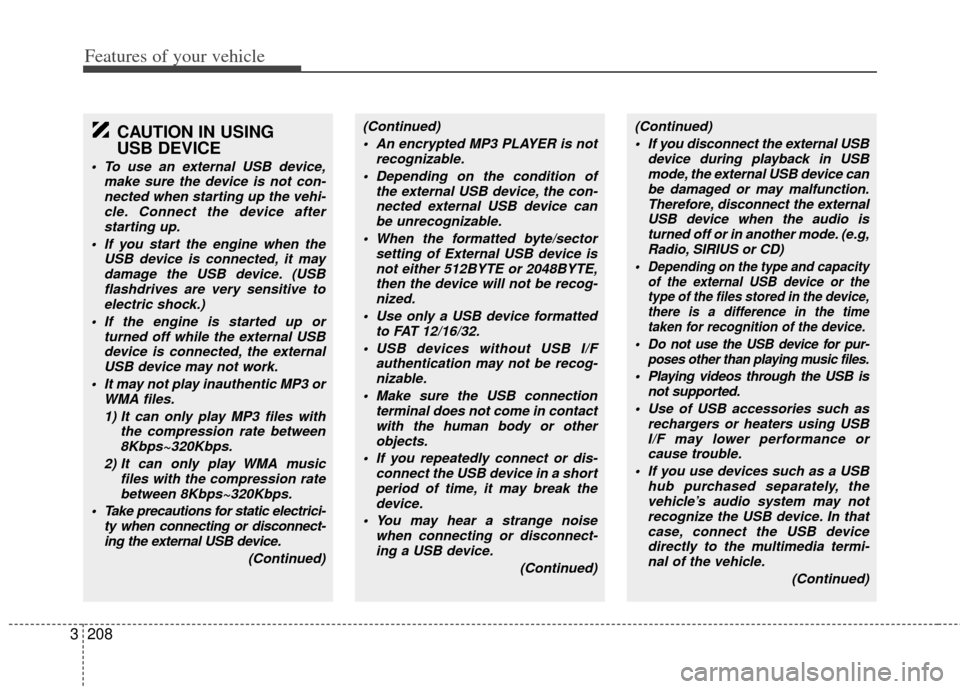
CAUTION IN USING
USB DEVICE
To use an external USB device,
make sure the device is not con-nected when starting up the vehi-cle. Connect the device afterstarting up.
If you start the engine when the USB device is connected, it maydamage the USB device. (USBflashdrives are very sensitive toelectric shock.)
If the engine is started up or turned off while the external USBdevice is connected, the externalUSB device may not work.
It may not play inauthentic MP3 or WMA files.
1) It can only play MP3 files with the compression rate between8Kbps~320Kbps.
2) It can only play WMA music files with the compression ratebetween 8Kbps~320Kbps.
Take precautions for static electrici- ty when connecting or disconnect-ing the external USB device.
(Continued)
(Continued) An encrypted MP3 PLAYER is not recognizable.
Depending on the condition of the external USB device, the con-nected external USB device canbe unrecognizable.
When the formatted byte/sector setting of External USB device isnot either 512BYTE or 2048BYTE,then the device will not be recog- nized.
Use only a USB device formatted to FAT 12/16/32.
USB devices without USB I/F authentication may not be recog-nizable.
Make sure the USB connection terminal does not come in contactwith the human body or otherobjects.
If you repeatedly connect or dis- connect the USB device in a shortperiod of time, it may break thedevice.
You may hear a strange noise when connecting or disconnect-ing a USB device.
(Continued)(Continued) If you disconnect the external USB device during playback in USBmode, the external USB device canbe damaged or may malfunction. Therefore, disconnect the externalUSB device when the audio is turned off or in another mode. (e.g,Radio, SIRIUS or CD)
Depending on the type and capacity of the external USB device or thetype of the files stored in the device, there is a difference in the timetaken for recognition of the device.
Do not use the USB device for pur- poses other than playing music files.
Playing videos through the USB isnot supported.
Use of USB accessories such as rechargers or heaters using USBI/F may lower performance or cause trouble.
If you use devices such as a USB hub purchased separately, thevehicle’s audio system may notrecognize the USB device. In that case, connect the USB devicedirectly to the multimedia termi-nal of the vehicle.
(Continued)
Page 260 of 382

Driving your vehicle
24
Before entering vehicle:
• Be sure that all windows, outside mir-ror(s), and outside lights are clean.
Check the condition of the tires.
Check under the vehicle for any sign of leaks.
Be sure there are no obstacles behind you if you intend to back up.
Necessary inspections
Fluid levels, such as engine oil, engine
coolant, brake fluid, and washer fluid
should be checked on a regular basis,
with the exact interval depending on the
fluid. Further details are provided in
Section 6, Maintenance.
Before starting
Close and lock all doors.
Position the seat so that all controls areeasily reached.
Adjust the inside and outside rearview mirrors.
Be sure that all lights work.
Check all gauges.
Check the operation of warning lights when the ignition switch is turned to
the ON position.
Release the parking brake and make sure the brake warning light goes out.
For safe operation, be sure you are famil-
iar with your vehicle and its equipment.
BEFORE DRIVING
(Continued)
You are much more likely to have a
serious accident if you drink or take
drugs and drive.
If you are drinking or taking drugs,
don’t drive. Do not ride with a driv-
er who has been drinking or taking
drugs. Choose a designated driver
or call a cab.
WARNING- Driving under
the influence of alcohol or
drugs
Drinking and driving is dangerous.
Drunk driving is the number one
contributor to the highway death
toll each year. Even a small amount
of alcohol will affect your reflexes,
perceptions and judgement. Driving
while under the influence of drugs
is as dangerous or more dangerous
than driving drunk.
(Continued)
WARNING
Driving while distracted can result
in a loss of vehicle control, that may
lead to an accident, severe person-
al injury, and death. The driver’s
primary responsibility is in the safe
and legal operation of a vehicle, and
use of any handheld devices, other
equipment, or vehicle systems
which take the driver’s eyes, atten-
tion and focus away from the safe
operation of a vehicle or which are
not permissible by law should
never be used during operation of
the vehicle.
WARNING
When you make a sudden stop orturn the steering wheel rapidly,
loose objects may drop on the
floor and it could interfere with
the operation of the foot pedals,
possibly causing an accident.
Keep all things in the vehicle
safely stored.
If you do not focus on driving, it may cause an accident. Be care-
ful when operating what may dis-
turb driving such as audio or
heater. It is the responsibility of
the driver to always drive safely.
Page 303 of 382

57
What to do in an emergency
IF THE ENGINE OVERHEATS
If your temperature gauge indicates over-
heating, if you experience a loss of
power, or if you hear a loud knocking or
pinging noise, the engine has probably
overheated. Should any of these symp-
toms occur, use the following procedure:
1. Turn on the hazard warning flasher,then drive to the nearest safe location
and stop your vehicle; set the auto-
matic transaxle in P (Park) and apply
the parking brake.
2. Make sure the air conditioner is off.
3. If coolant or steam is boiling out of the radiator, stop the engine and call an
Authorized Kia Dealer for assistance.
If coolant is not boiling out, allow the engine to idle and open the hood to
permit the engine to cool gradually.
If the temperature does not go down with the engine idling, stop the engine
and allow sufficient time for it to cool. 4. The coolant level should then be
checked. If the level in the reservoir is
low, look for leaks at the radiator
hoses and connections, heater hoses
and connections, radiator, and water
pump. If you find a major leak or
another problem that may have
caused the engine to overheat, do not
operate the engine until it has been
corrected. Call an Authorized Kia
Dealer for assistance. If you do not
find a leak or other problem, carefully
add coolant to the reservoir.
If the engine frequently overheats, have
the cooling system checked and repairedby an Authorized Kia Dealer.
WARNING- Removing
radiator cap
Do not remove the radiator cap
when the engine and radiator are
hot. Scalding hot coolant and steam
may blow out under pressure. This
could cause serious injury.
Page 326 of 382
Maintenance
10
6
OWNER MAINTENANCE
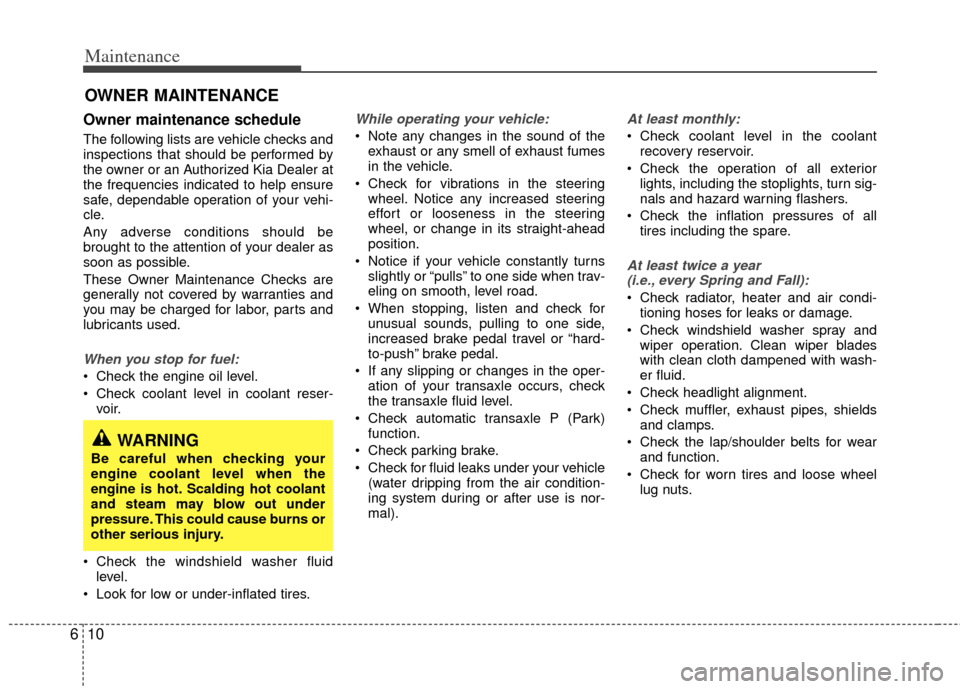
Owner maintenance schedule
The following lists are vehicle checks and
inspections that should be performed by
the owner or an Authorized Kia Dealer at
the frequencies indicated to help ensure
safe, dependable operation of your vehi-
cle.
Any adverse conditions should be
brought to the attention of your dealer as
soon as possible.
These Owner Maintenance Checks are
generally not covered by warranties and
you may be charged for labor, parts and
lubricants used.
When you stop for fuel:
Check the engine oil level.
Check coolant level in coolant reser-
voir.
Check the windshield washer fluid level.
Look for low or under-inflated tires.
While operating your vehicle:
Note any changes in the sound of the exhaust or any smell of exhaust fumes
in the vehicle.
Check for vibrations in the steering wheel. Notice any increased steering
effort or looseness in the steering
wheel, or change in its straight-ahead
position.
Notice if your vehicle constantly turns slightly or “pulls” to one side when trav-
eling on smooth, level road.
When stopping, listen and check for unusual sounds, pulling to one side,
increased brake pedal travel or “hard-
to-push” brake pedal.
If any slipping or changes in the oper- ation of your transaxle occurs, check
the transaxle fluid level.
Check automatic transaxle P (Park) function.
Check parking brake.
Check for fluid leaks under your vehicle (water dripping from the air condition-
ing system during or after use is nor-
mal).
At least monthly:
Check coolant level in the coolantrecovery reservoir.
Check the operation of all exterior lights, including the stoplights, turn sig-
nals and hazard warning flashers.
Check the inflation pressures of all tires including the spare.
At least twice a year (i.e., every Spring and Fall):
Check radiator, heater and air condi- tioning hoses for leaks or damage.
Check windshield washer spray and wiper operation. Clean wiper blades
with clean cloth dampened with wash-
er fluid.
Check headlight alignment.
Check muffler, exhaust pipes, shields and clamps.
Check the lap/shoulder belts for wear and function.
Check for worn tires and loose wheel lug nuts.
WARNING
Be careful when checking your
engine coolant level when the
engine is hot. Scalding hot coolant
and steam may blow out under
pressure. This could cause burns or
other serious injury.