2014 KIA Sedona light
[x] Cancel search: lightPage 265 of 382
47
Driving your vehicle
Transaxle ranges
P (park)
Always come to a complete stop before
shifting into P (Park). This position locks
the transaxle and prevents the front
wheels from rotating.
R (reverse)
Use this position to drive the vehicle
backward.
N (neutral)
The wheels and transaxle are not locked.
The vehicle will roll freely even on the
slightest incline unless the parking brake
or service brakes are applied.
D (drive)
This is the normal forward driving posi-
tion. The transaxle will automatically shift
through a 6-gear sequence, providing the
best fuel economy and power.
For extra power when passing another
vehicle or climbing grades, depress the
accelerator fully, at which time the
transaxle will automatically downshift to
the next lower gear.
✽ ✽NOTICE
Always come to a complete stop before
shifting into D (Drive).
(Continued)
Never leave a child unattended in
a vehicle.
CAUTION
The transaxle may be damaged ifyou shift into P (Park) while the vehicle is in motion.
CAUTION
Always come to a complete stopbefore shifting into or out of R (Reverse); you may damage thetransaxle if you shift into R while the vehicle is in motion, except asexplained in “Rocking the Vehicle”,in this manual.
WARNING
Shifting into P (Park) while the vehicle is in motion will cause the
drive wheels to lock which will
cause you to lose control of the
vehicle.
Do not use the P (Park) position in place of the parking brake.
Always make sure the shift lever
is latched in the P (Park) position
so that it cannot be moved unless
the lock release button is pushed
in, AND set the parking brake
fully.
Before leaving the driver’s seat, always make sure the shift lever
is in the P (PARK) position. Set
the parking brake fully, shut the
engine off and take the key with
you. Unexpected and sudden
vehicle movement can occur if
you do not follow these precau-
tions in the order specified.
(Continued)
Page 269 of 382
411
Driving your vehicle
The cruise control system allows you to
program the vehicle to maintain a con-
stant speed without resting your foot on
the accelerator pedal. This system is
designed to function above approximate-
ly 40 km/h (24 mph).
✽ ✽NOTICE
To activate cruise control, depress the
brake pedal at least once after turning the
ignition switch to the ON position or
starting the engine. This is to check if the
brake switch which is important part to
cancel cruise control is in normal condi-
tion.
To set cruise control speed:
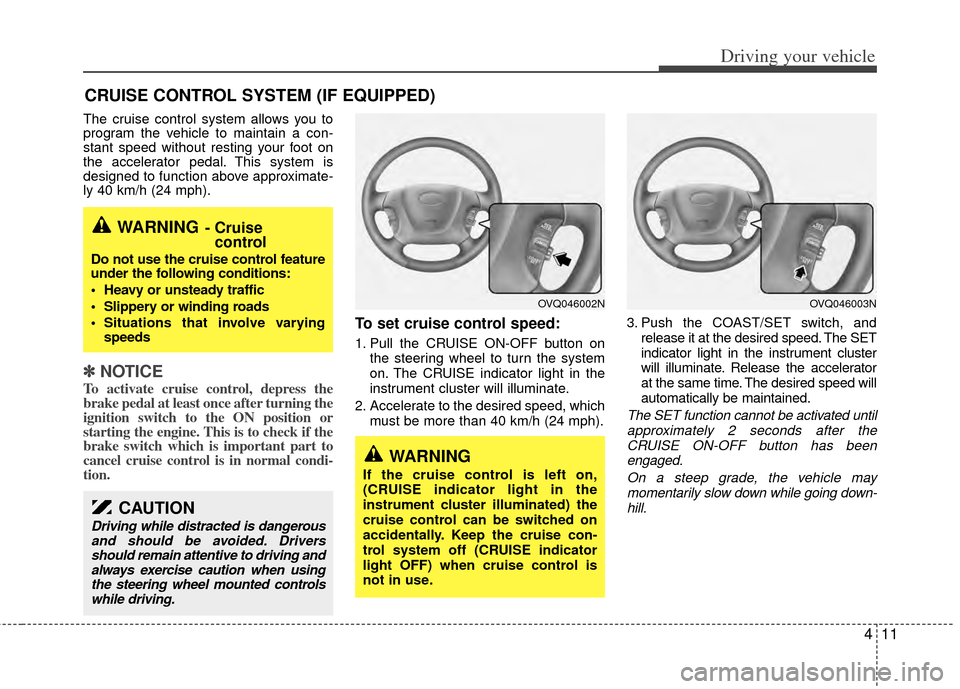
1. Pull the CRUISE ON-OFF button on
the steering wheel to turn the system
on. The CRUISE indicator light in the
instrument cluster will illuminate.
2. Accelerate to the desired speed, which must be more than 40 km/h (24 mph). 3. Push the COAST/SET switch, and
release it at the desired speed. The SET
indicator light in the instrument cluster
will illuminate. Release the accelerator
at the same time. The desired speed will
automatically be maintained.
The SET function cannot be activated untilapproximately 2 seconds after the CRUISE ON-OFF button has beenengaged.
On a steep grade, the vehicle maymomentarily slow down while going down-hill.
CRUISE CONTROL SYSTEM (IF EQUIPPED)
WARNING- Cruise control
Do not use the cruise control feature
under the following conditions:
Heavy or unsteady traffic
Slippery or winding roads
Situations that involve varying
speeds
WARNING
If the cruise control is left on,
(CRUISE indicator light in the
instrument cluster illuminated) the
cruise control can be switched on
accidentally. Keep the cruise con-
trol system off (CRUISE indicator
light OFF) when cruise control is
not in use.
OVQ046003NOVQ046002N
CAUTION
Driving while distracted is dangerous
and should be avoided. Driversshould remain attentive to driving andalways exercise caution when usingthe steering wheel mounted controlswhile driving.
Page 270 of 382
Driving your vehicle
12
4
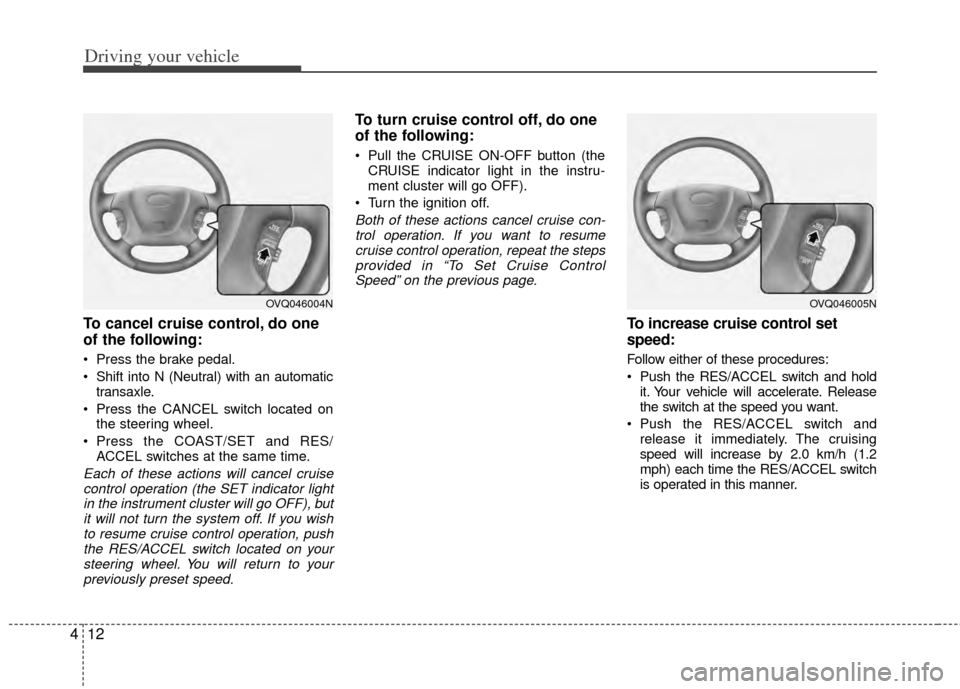
To cancel cruise control, do one
of the following:
Press the brake pedal.
Shift into N (Neutral) with an automatic
transaxle.
Press the CANCEL switch located on the steering wheel.
Press the COAST/SET and RES/ ACCEL switches at the same time.
Each of these actions will cancel cruisecontrol operation (the SET indicator lightin the instrument cluster will go OFF), butit will not turn the system off. If you wishto resume cruise control operation, pushthe RES/ACCEL switch located on your steering wheel. You will return to yourpreviously preset speed.
To turn cruise control off, do one
of the following:
Pull the CRUISE ON-OFF button (the CRUISE indicator light in the instru-
ment cluster will go OFF).
Turn the ignition off.
Both of these actions cancel cruise con- trol operation. If you want to resumecruise control operation, repeat the stepsprovided in “To Set Cruise ControlSpeed” on the previous page.
To increase cruise control set
speed:
Follow either of these procedures:
Push the RES/A CCEL switch and hold
it. Your vehicle will accelerate. Release
the switch at the speed you want.
Push the RES/A CCEL switch and
release it immediately. The cruising
speed will increase by 2.0 km/h (1.2
mph) each time the RES/ACCEL switch
is operated in this manner.
OVQ046004NOVQ046005N
Page 272 of 382
Driving your vehicle
14
4
Power brakes
Your vehicle has power-assisted brakes
that adjust automatically through normal
usage.
In the event that the power-assisted
brakes lose power because of a stalled
engine or some other reason, you can
still stop your vehicle by applying greater
force to the brake pedal than you nor-
mally would. The stopping distance, how-
ever, will be longer.
When the engine is not running, the
reserve brake power is partially depleted
each time the brake pedal is applied. Do
not pump the brake pedal when the
power assist has been interrupted.
Pump the brake pedal only when neces-
sary to maintain steering control on slip-
pery surfaces.
In the event of brake failure
If service brakes fail to operate while the
vehicle is in motion, you can make an
emergency stop with the parking brake.
The stopping distance, however, will be
much greater than normal.
BRAKE SYSTEM
(Continued)
When descending a long or steep
hill, shift to a lower gear and
avoid continuous application of
the brakes. Continuous brake
application will cause the brakes
to overheat and could result in a
temporary loss of braking per-
formance.
Wet brakes may result in the vehi- cle not slowing down at the usual
rate and pulling to one side when
the brakes are applied. Applying
the brakes lightly will indicate
whether they have been affected
in this way. Always test your
brakes in this fashion after driv-
ing through deep water. To dry the
brakes, apply them lightly while
maintaining a safe forward speed
until brake performance returns
to normal.
Always, confirm the position of the brake and accelerator pedal
before driving. If you don't check
the position of the accelerator
and brake pedal before driving,
you may depress the accelerator
instead of the brake pedal. It may
cause a serious accident.
WARNING- Parking brake
Applying the parking brake while
the vehicle is moving at normal
speeds can cause a sudden loss of
control of the vehicle. If you must
use the parking brake to stop the
vehicle, use great caution in apply-
ing the brake.
WARNING- Brakes
Do not drive with your foot rest-ing on the brake pedal. This will
create abnormal high brake tem-
peratures, excessive brake lining
and pad wear, and increased
stopping distances.
(Continued)
Page 273 of 382
415
Driving your vehicle
Disc brakes wear indicator
Your vehicle has disc brakes.
When your brake pads are worn and new
pads are required, you will hear a high-
pitched warning sound from your front
brakes or rear brakes (if equipped). You
may hear this sound come and go or it
may occur whenever you depress the
brake pedal.
Please remember that some driving con-
ditions or climates may cause a brake
squeal when you first apply (or lightly
apply) the brakes. This is normal and
does not indicate a problem with your
brakes.
Parking on curbed streets
When parking your vehicle on an uphillgrade, park as close to the curb as
possible and turn the front wheels
away from the curb so that the front
wheels will contact the curb if the vehi-
cle moves backward.
When parking your vehicle on a down- hill grade, park as close to the curb as
possible and turn the front wheels
toward the curb so that the front
wheels will contact the curb if the vehi-
cle moves forward.
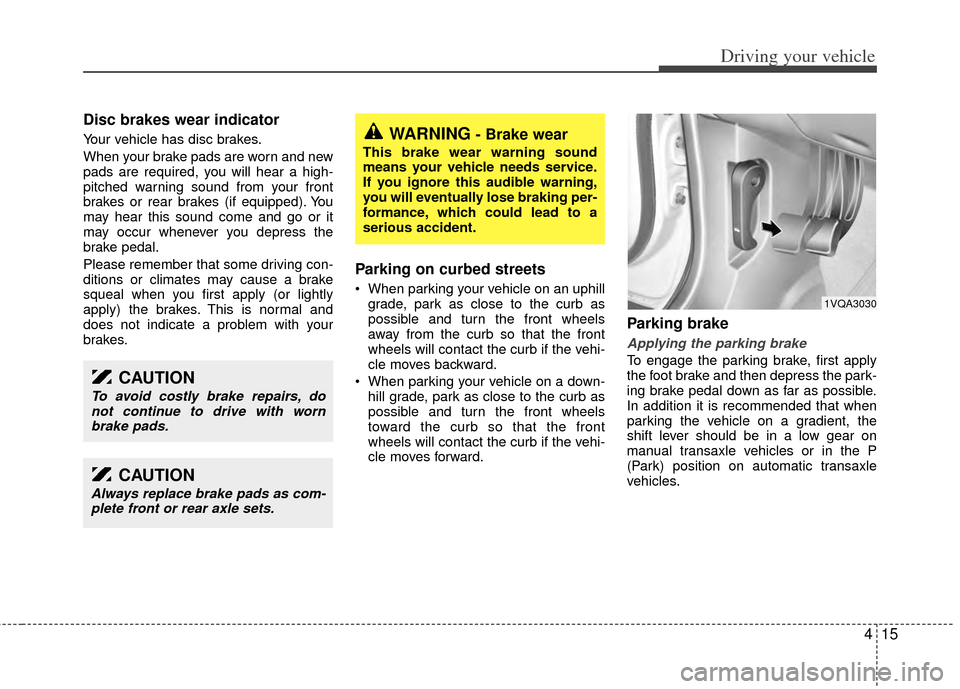
Parking brake
Applying the parking brake
To engage the parking brake, first apply
the foot brake and then depress the park-
ing brake pedal down as far as possible.
In addition it is recommended that when
parking the vehicle on a gradient, the
shift lever should be in a low gear on
manual transaxle vehicles or in the P
(Park) position on automatic transaxle
vehicles.
WARNING- Brake wear
This brake wear warning sound
means your vehicle needs service.
If you ignore this audible warning,
you will eventually lose braking per-
formance, which could lead to a
serious accident.
CAUTION
Always replace brake pads as com-plete front or rear axle sets.
CAUTION
To avoid costly brake repairs, donot continue to drive with wornbrake pads.
1VQA3030
Page 275 of 382
417
Driving your vehicle
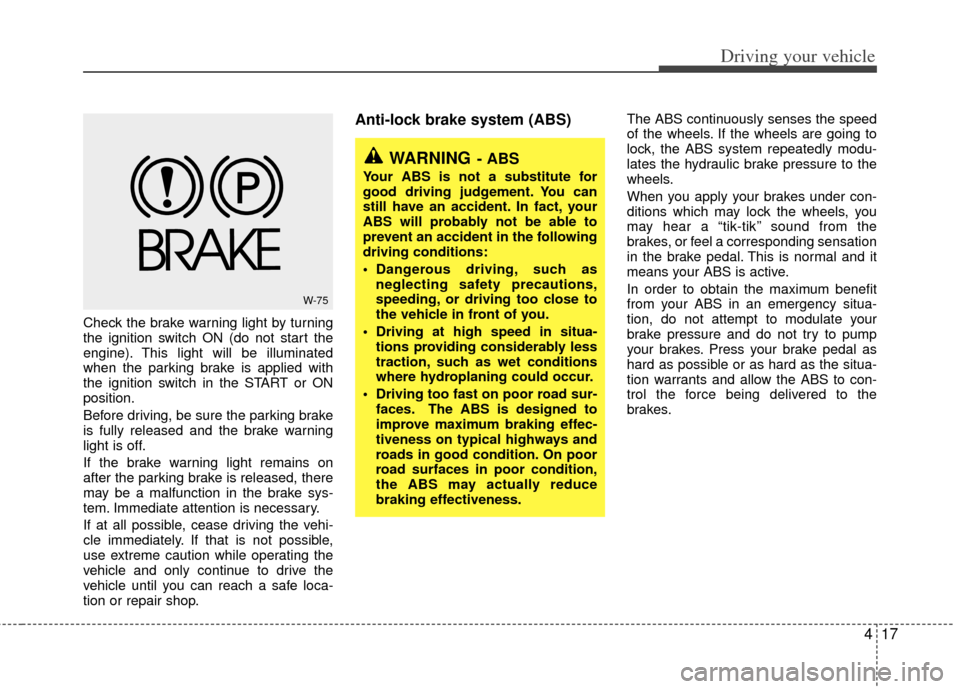
Check the brake warning light by turning
the ignition switch ON (do not start the
engine). This light will be illuminated
when the parking brake is applied with
the ignition switch in the START or ON
position.
Before driving, be sure the parking brake
is fully released and the brake warning
light is off.
If the brake warning light remains on
after the parking brake is released, there
may be a malfunction in the brake sys-
tem. Immediate attention is necessary.
If at all possible, cease driving the vehi-
cle immediately. If that is not possible,
use extreme caution while operating the
vehicle and only continue to drive the
vehicle until you can reach a safe loca-
tion or repair shop.
Anti-lock brake system (ABS) The ABS continuously senses the speed
of the wheels. If the wheels are going to
lock, the ABS system repeatedly modu-
lates the hydraulic brake pressure to the
wheels.
When you apply your brakes under con-
ditions which may lock the wheels, you
may hear a “tik-tik’’ sound from the
brakes, or feel a corresponding sensation
in the brake pedal. This is normal and it
means your ABS is active.
In order to obtain the maximum benefit
from your ABS in an emergency situa-
tion, do not attempt to modulate your
brake pressure and do not try to pump
your brakes. Press your brake pedal as
hard as possible or as hard as the situa-
tion warrants and allow the ABS to con-
trol the force being delivered to the
brakes.
W-75
WARNING- ABS
Your ABS is not a substitute for
good driving judgement. You can
still have an accident. In fact, your
ABS will probably not be able to
prevent an accident in the following
driving conditions:
Dangerous driving, such asneglecting safety precautions,
speeding, or driving too close to
the vehicle in front of you.
Driving at high speed in situa- tions providing considerably less
traction, such as wet conditions
where hydroplaning could occur.
Driving too fast on poor road sur- faces. The ABS is designed to
improve maximum braking effec-
tiveness on typical highways and
roads in good condition. On poor
road surfaces in poor condition,
the ABS may actually reduce
braking effectiveness.
Page 276 of 382
Driving your vehicle
18
4
Even with the anti-lock brake system,
your vehicle still requires sufficient
stopping distance. Always maintain a
safe distance from the vehicle in front
of you.
Always slow down when cornering. The anti-lock brake system cannot pre-
vent accidents resulting from exces-
sive speeds.
On loose or uneven road surfaces, operation of the anti-lock brake system
may result in a longer stopping dis-
tance than for vehicles equipped with a
conventional brake system.
✽ ✽ NOTICE
When you jump start your vehicle
because of a drained battery, the engine
may not run as smoothly and the ABS
warning light may turn on at the same
time. This happens because of the low
battery voltage. It does not mean your
ABS is malfunctioning.
• Do not pump your brakes!
• Have the battery recharged before
driving the vehicle.
W-78
CAUTION
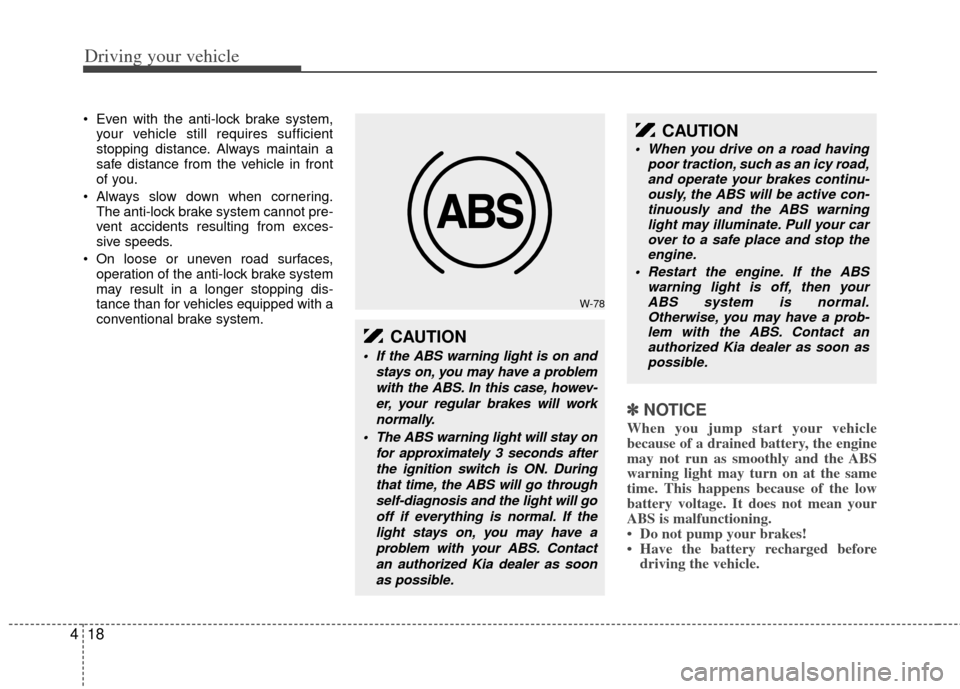
If the ABS warning light is on and
stays on, you may have a problemwith the ABS. In this case, howev-er, your regular brakes will worknormally.
The ABS warning light will stay on for approximately 3 seconds afterthe ignition switch is ON. Duringthat time, the ABS will go throughself-diagnosis and the light will gooff if everything is normal. If thelight stays on, you may have aproblem with your ABS. Contactan authorized Kia dealer as soonas possible.
CAUTION
When you drive on a road having poor traction, such as an icy road,and operate your brakes continu- ously, the ABS will be active con-tinuously and the ABS warning light may illuminate. Pull your carover to a safe place and stop the engine.
Restart the engine. If the ABS warning light is off, then yourABS system is normal. Otherwise, you may have a prob-lem with the ABS. Contact an authorized Kia dealer as soon aspossible.
Page 277 of 382
419
Driving your vehicle
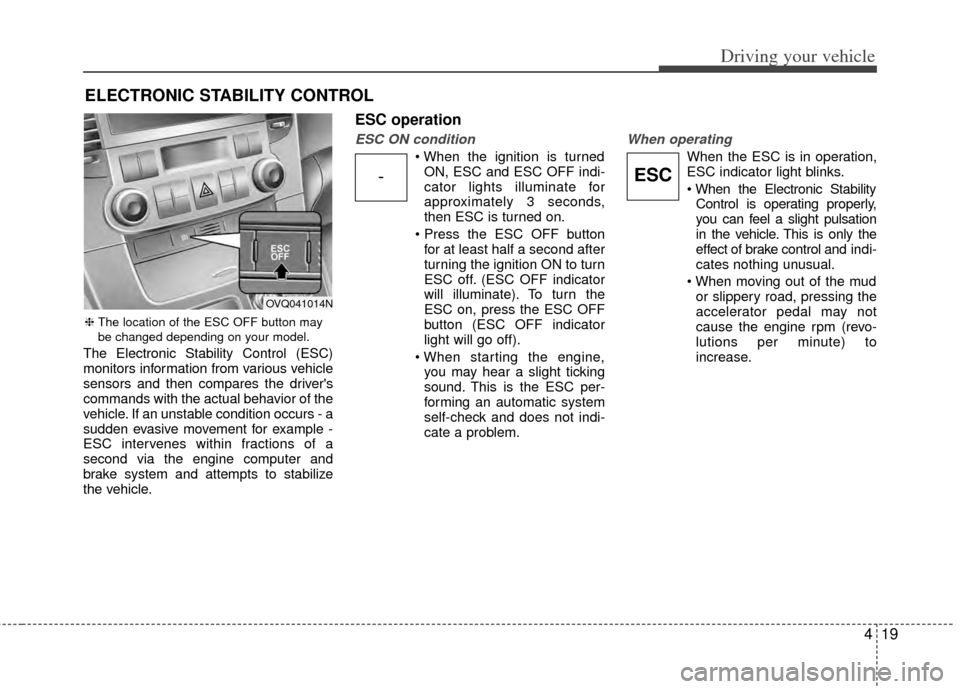
The Electronic Stability Control (ESC)
monitors information from various vehicle
sensors and then compares the driver's
commands with the actual behavior of the
vehicle. If an unstable condition occurs - a
sudden evasive movement for example -
ESC intervenes within fractions of a
second via the engine computer and
brake system and attempts to stabilize
the vehicle.
ESC operation
ESC ON condition
ON, ESC and ESC OFF indi-
cator lights illuminate for
approximately 3 seconds,
then ESC is turned on.
for at least half a second after
turning the ignition ON to turn
ESC off. (ESC OFF indicator
will illuminate). To turn the
ESC on, press the ESC OFF
button (ESC OFF indicator
light will go off).
you may hear a slight ticking
sound. This is the ESC per-
forming an automatic system
self-check and does not indi-
cate a problem.
When operating
When the ESC is in operation,
ESC indicator light blinks.
Control is operating properly,
you can feel a slight pulsation
in the vehicle. This is only the
effect of brake control and indi-
cates nothing unusual.
or slippery road, pressing the
accelerator pedal may not
cause the engine rpm (revo-
lutions per minute) to
increase.
ELECTRONIC STABILITY CONTROL
-ESC
❈ The location of the ESC OFF button may
be changed depending on your model.
OVQ041014N