Page 284 of 382

Driving your vehicle
26
4
Your vehicle's fuel economy depends
mainly on your style of driving, where you
drive and when you drive.
Each of these factors affects how many
kilometers (miles) you can get from a
liter (gallon) of fuel. To operate your vehi-
cle as economically as possible, use the
following driving suggestions to help
save money in both fuel and repairs:
Avoid lengthy warm-up idling. Once the
engine is running smoothly, begin driv-
ing. Remember, engine warm-up may
take a little longer on cold days.
Save fuel by accelerating slowly after stopping.
Keep the engine in tune and follow the recommended periodic maintenance
schedule. This will increase the life of
all parts and lower your operating
costs. Do not use the air conditioner unnec-
essarily.
Slow down when driving on rough roads.
For longer tire life and better fuel econ- omy, always keep the tires inflated to
the recommended pressures.
Maintain a safe distance from other vehicles to avoid sudden stops. This
will reduce wear on brake linings and
pads. Driving in such a way will also
save fuel because extra fuel is required
to accelerate back to driving speed.
Do not carry unnecessary weight in the vehicle.
Do not rest your foot on the brake pedal while driving. This can cause
needless wear, possible damage to the
brakes, and poor fuel economy.
Improper wheel alignment results in faster tire wear and lower fuel econo-
my. Open windows at high speeds can
reduce fuel economy.
Fuel economy is less in crosswinds and headwinds. To help offset some of
this loss, slow down when driving in
these conditions.
Keeping a vehicle in good operating con-
dition is important both for economy and
safety. Therefore, have an authorized Kia
dealer perform scheduled inspections
and maintenance.
ECONOMICAL OPERATION
WARNING - Engine off dur- ing motion
Never turn the engine off to coast
down hills or anytime the vehicle is
in motion. The power steering and
power brakes will not function
properly without the engine run-
ning. Instead, keep the engine on
and downshift to an appropriate
gear for engine braking effect. In
addition, turning off the ignition
while driving could engage the
steering wheel lock resulting in
loss of vehicle steering which could
cause serious injury or death.
Page 287 of 382

429
Driving your vehicle
We recommend that you carry emer-gency equipment, including a window
scraper, windshield de-icer, a bag of
sand or salt, flares, a small shovel and
jumper cables.
Make sure you have sufficient ethyl- ene-glycol coolant in the radiator.
Check the battery condition and cables. Cold temperatures reduce the
capacity of any battery, so it must be in
excellent condition to provide enough
winter starting power.
Make sure the engine oil viscosity is suitable for cold weather.
Check the ignition system for loose connections and damage.
Use antifreeze-formulated windshield washer fluid. (Do not use engine
coolant antifreeze.)
Do not use the parking brake if it might freeze. When parking, shift to P (Park)
with an automatic transaxle and block
the rear wheels.Snow tires
If you mount snow tires on your Kia,
make sure they are radial tires of the
same size and load range as the original
tires. Mount snow tires on all four wheels
to balance your vehicle’s handling in all
weather conditions. Keep in mind that the
traction provided by snow tires on dry
roads may not be as high as your vehi-
cle's original equipment tires. You should
drive cautiously even when the roads are
clear. Check with the tire dealer for max-
imum speed recommendations.
Do not install studded tires without firstchecking local, state and municipal regu-lations for possible restrictions againsttheir use.
WINTER DRIVING
WARNING- Snow tire size
Snow tires should be equivalent in
size and type to the vehicle's stan-
dard tires. Otherwise, the safety and
handling of your vehicle may be
adversely affected.
Page 300 of 382

What to do in an emergency
45
EMERGENCY STARTING
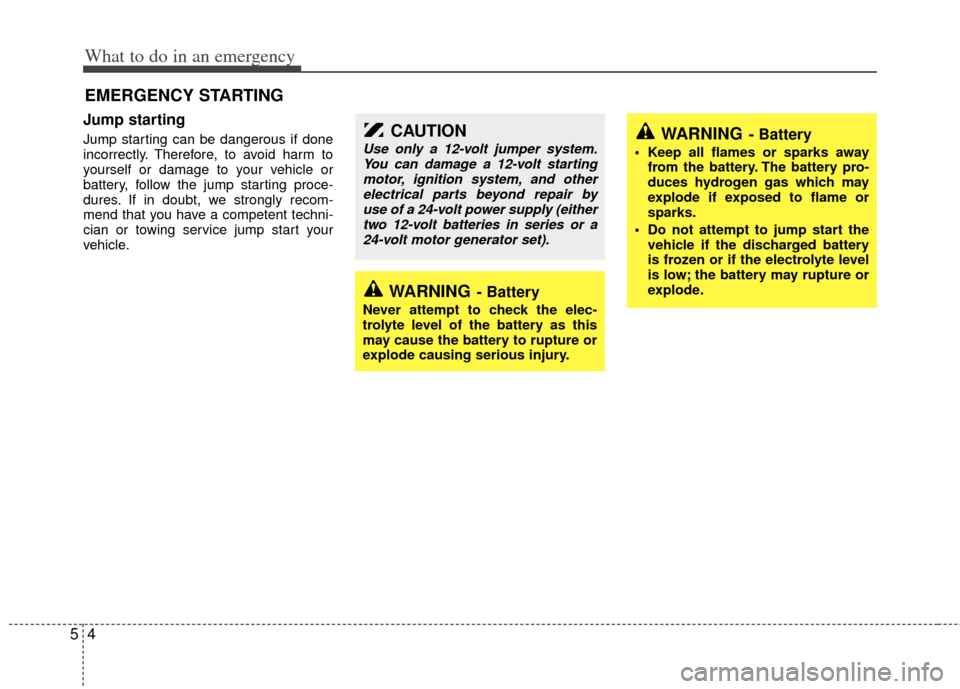
Jump starting
Jump starting can be dangerous if done
incorrectly. Therefore, to avoid harm to
yourself or damage to your vehicle or
battery, follow the jump starting proce-
dures. If in doubt, we strongly recom-
mend that you have a competent techni-
cian or towing service jump start your
vehicle.WARNING- Battery
• Keep all flames or sparks awayfrom the battery. The battery pro-
duces hydrogen gas which may
explode if exposed to flame or
sparks.
Do not attempt to jump start the vehicle if the discharged battery
is frozen or if the electrolyte level
is low; the battery may rupture or
explode.
WARNING- Battery
Never attempt to check the elec-
trolyte level of the battery as this
may cause the battery to rupture or
explode causing serious injury.
CAUTION
Use only a 12-volt jumper system.You can damage a 12-volt starting motor, ignition system, and otherelectrical parts beyond repair by use of a 24-volt power supply (eithertwo 12-volt batteries in series or a 24-volt motor generator set).
Page 314 of 382

What to do in an emergency
18
5
When towing your vehicle in an emer-
gency without wheel dollies :
1. Set the ignition switch in the ACC posi-
tion.
2. Place the transaxle shift lever in N (Neutral).
3. Release the parking brake.
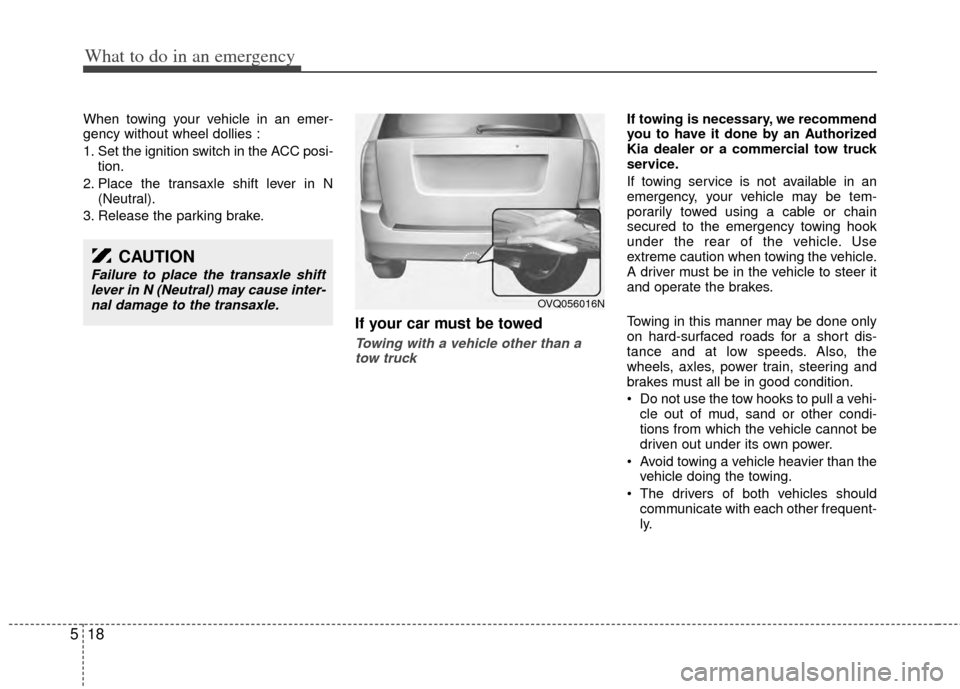
If your car must be towed
Towing with a vehicle other than a tow truck
If towing is necessary, we recommend
you to have it done by an Authorized
Kia dealer or a commercial tow truck
service.
If towing service is not available in an
emergency, your vehicle may be tem-
porarily towed using a cable or chain
secured to the emergency towing hook
under the rear of the vehicle. Use
extreme caution when towing the vehicle.
A driver must be in the vehicle to steer it
and operate the brakes.
Towing in this manner may be done only
on hard-surfaced roads for a short dis-
tance and at low speeds. Also, the
wheels, axles, power train, steering and
brakes must all be in good condition.
Do not use the tow hooks to pull a vehi- cle out of mud, sand or other condi-
tions from which the vehicle cannot be
driven out under its own power.
Avoid towing a vehicle heavier than the vehicle doing the towing.
The drivers of both vehicles should communicate with each other frequent-
ly.
CAUTION
Failure to place the transaxle shiftlever in N (Neutral) may cause inter-nal damage to the transaxle.
OVQ056016N
Page 340 of 382

Maintenance
24
6
Engine compartment
1. Turn the ignition switch and all other
switches off.
2. Remove the fuse box cover by press- ing the tap and pulling up.
3. Check the removed fuse; replace it if it is blown. To remove or insert the fuse,
use the fuse puller in the main fuse box
in the engine compartment.
4. Push in a new fuse of the same rating, and make sure it fits tightly in the clips.
If it fits loosely, consult an Authorized Kia
Dealer.
1VQA4006
CAUTION
After checking the fuse box in the engine compartment, securelyinstall the fuse box cover. If not, electrical failures may occur fromwater leaking in.
CAUTION
When replacing a blown fuse or relay with a new one, make surethe new fuse or relay fits tightlyinto the clips. The incomplete fas-tening fuse or relay may causethe vehicle wiring and electricsystems damage and a possiblefire.
Do not remove fuses, relays and terminals fastened with bolts ornuts. The fuses, relays and termi- nals may be fastened incomplete-ly, and it may cause a possiblefire. If fuses, relays and terminalsfastened with bolts or nuts areblown, consult with an authorizedKia dealer.
Do not input any other objects except fuses or relays intofuse/relay terminals such as adriver or wiring. It may cause con-tact failure and system malfunc- tion.
Page 341 of 382
625
Maintenance
Inner panel
1. Turn the ignition switch and all otherswitches off.
2. Open the fuse panel cover. 3. Pull the suspected fuse straight out.
Use the removal tool provided on the
main fuse box in the engine compart-
ment.
4. Check the removed fuse; replace it if it is blown.
Spare fuses are provided in the main
fuse box in the engine compartment.
5. Push in a new fuse of the same rating, and make sure it fits tightly in the clips.
If it fits loosely, consult an Authorized Kia
Dealer.
If you do not have a spare, use a fuse of the same rating from a circuit you maynot need for operating the vehicle, suchas the cigar lighter fuse.
If the headlights or other electrical com-
ponents do not work and the fuses are
OK, check the fuse block in the engine
compartment. If a fuse is blown, it must
be replaced.
1VQA40041VQA4002
OVQ059016N
Driver’s side panel
Rear cargo area panel
Page 345 of 382

629
Maintenance
Description Fuse rating Protected component
P/TRAIN7.5A Theft alarm relay, Main relay,
TCM, Generator, ECM, Injector
15A, ECU 2 15A, ECU 1 10A,
Air conditioner compressor relay,
Inlet metering valve, EGR sole-
noid valve, Air flow sensor,
Diesel box, Immobilizer module
FUEL PUMP 15A Fuel pump motor
SP 7.5A Spare fuse
SP 10A Spare fuse
SP 15A Spare fuse
SP 20A Spare fuse
SP 25A Spare fuse
ABS 1 40A ABS control module,
ESC control module
ABS 2 20A ABS control module,
ESC control module
FRT WIPER 30A Front wiper ON relay
KEY SW 2 30A Start relay, IG2 Load(Variable
rack stroke, ECM mirror, Rain
sensor, Seat warmer)
RAM 1 50A Rear area module
RAM 2 50A Rear area module
RAM 3 50A Rear area module
Engine compartment
Description Fuse rating Protected component
FRT/RR WASHER 10A Front washer motor relay,
Rear washer motor relay
IG 2 7.5A Fuel filter
STOP LAMP 20A Stop lamp, High mounted stop lamp
FUEL HEATER 20A Fuel filter heater
KEY SW 1 25A Instrument panel module
STOP SIGNAL 7.5A TCU, PCU/ECU, ABS/ESC Unit
A/C COMP 7.5A Air conditioner compressor relay
ATM 15A ATM solenoid
FRT DEICER 15A Front deicer
HORN 15A Horn relay
ECU 1 10A PCU/ECU, A/C comp relay, Mass air flow sensor, Immobilizer unit
O2 DN 10A O2 sensor(RL, RR)
ECU 2 15A PCU/ECU, Oil control valve 1/2, Variable intake manifold valve 1/2,
Canister purge solenoid valve,
Canister close valve,
Pulse width modulation relay
O2 UP 10A O2 sensor(FL, FR)
IGN COIL 20A Ignition coil 1/2/3/4/5/6, Condensor
INJECTOR 15APCU/ECU, Injector 1/2/3/4/5/6,
Glow relay 1/2, Intake manifold
valve, EGR Solenoid valve,
Cooling fan relay, Air flow sen-
sor, Intake throttle valve
Page 346 of 382
Maintenance
30
6
Description Fuse rating Protected component
IPM 1 50A Instrument panel module
IPM 2 50A Instrument panel module
IPM 3 50A Instrument panel module
FRT BLOWER 40A Inside relay box(Front blower
relay)
RR BLOWER 30A Inside relay box(Rear blower
relay)
IG 2 RELAY - Ignition relay
A/C COMP RELAY - Air conditioner compressor relay
MAIN RELAY - Main relay
START RELAY - Start relay
FUEL PUMP RELAY - Fuel pump relay
Engine compartment (main fuse)
Description Fuse rating Protected component
ALT 150A/200A Generator
C/FAN 60A Cooling fan